^ Learn Crochet index page – Previous: Anatomy Lessons + Next: Bigger and Smaller
In this page: single crochet, can or bottle cozy pattern, improved chain ring garland, turning chains, laying incomplete work aside, sewing crochet pieces together, finishing yarn ends, coaster and bookmark patterns, fingerless gloves pattern, patterns elsewhere.
Single crochet (abbreviation: sc; called double crochet in UK terminology), the basic stitch of amigurumi (crochet stuffed toys), is one step more complicated than slip stitch.
Start by chaining about 6 and joining into a ring with slip stitch. Chain 1. Insert your hook into the ring, yarn over, and pull that loop through the ring (2 loops on hook). Make sure to pull it all the way up to the outer edge of the ring. Now, yarn over a second time and pull that loop through the two loops on the hook (1 loop left on hook; 1 single crochet made). Some other diagrams and tidy photos of this can be found at Annie’s Attic, Knit Simple magazine, and Aesthetic Nest.
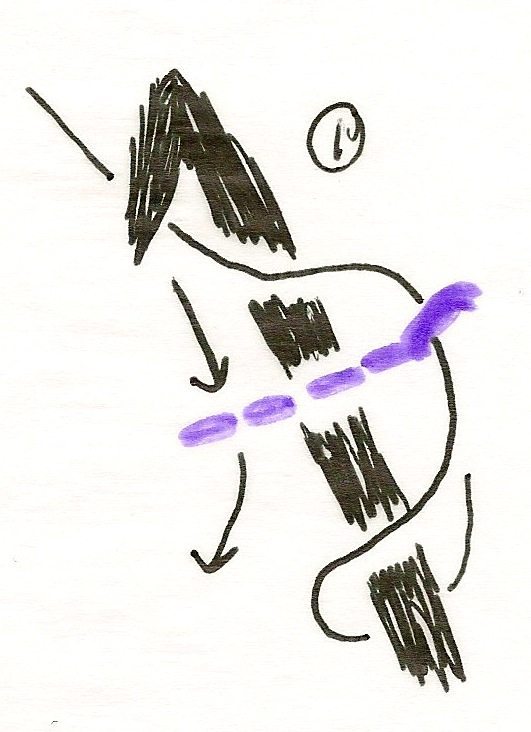

You have just crocheted around the chain, or into the chain space. Each single crochet stitch should have the same top view as a chain stitch, with two strands of yarn in a teardrop shape. Stay loose! It is easier to learn with too-loose stitches than too-tight, and your stitch size and tension will settle to a good level once you’ve mastered the motions.
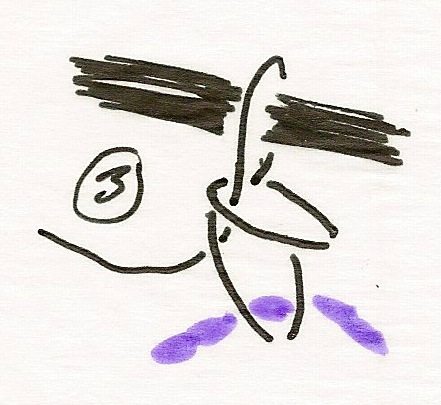
To stitch into a single crochet there is only one method1: insert your hook under both strands of the teardrop (akin to method 3 of stitching into chains). Then yarn over, pull up a loop, yarn over again, and pull that last loop through the other two on the hook.
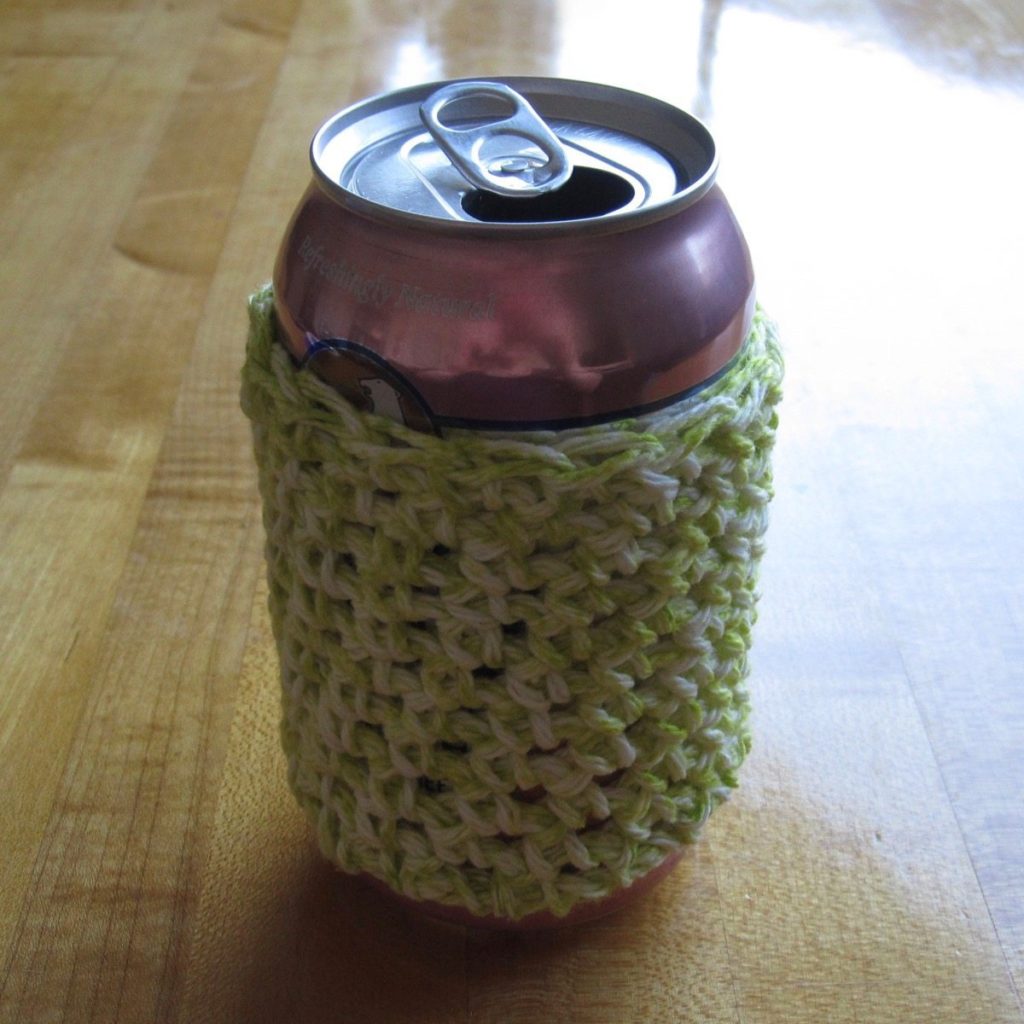
With this knowledge you can make a can or bottle cozy (first picture below):
With a large hook, chain enough to make a cord that just meets itself when gently stretched around the can or bottle you are fitting. Keep count! Sl st in first ch to join.
Ch 1 to get out of ring. Sc into ring 2 fewer times than there are chs.
Making sure the first round is not twisted, sc into first sc made and each subsequent sc, spiraling around until tube is desired height. Sl st in next sc and FO (see below for finishing information). The example pictured was made with worsted-weight cotton yarn and a J/6mm hook, 19 chains (so 17 sc) and 11 rounds.
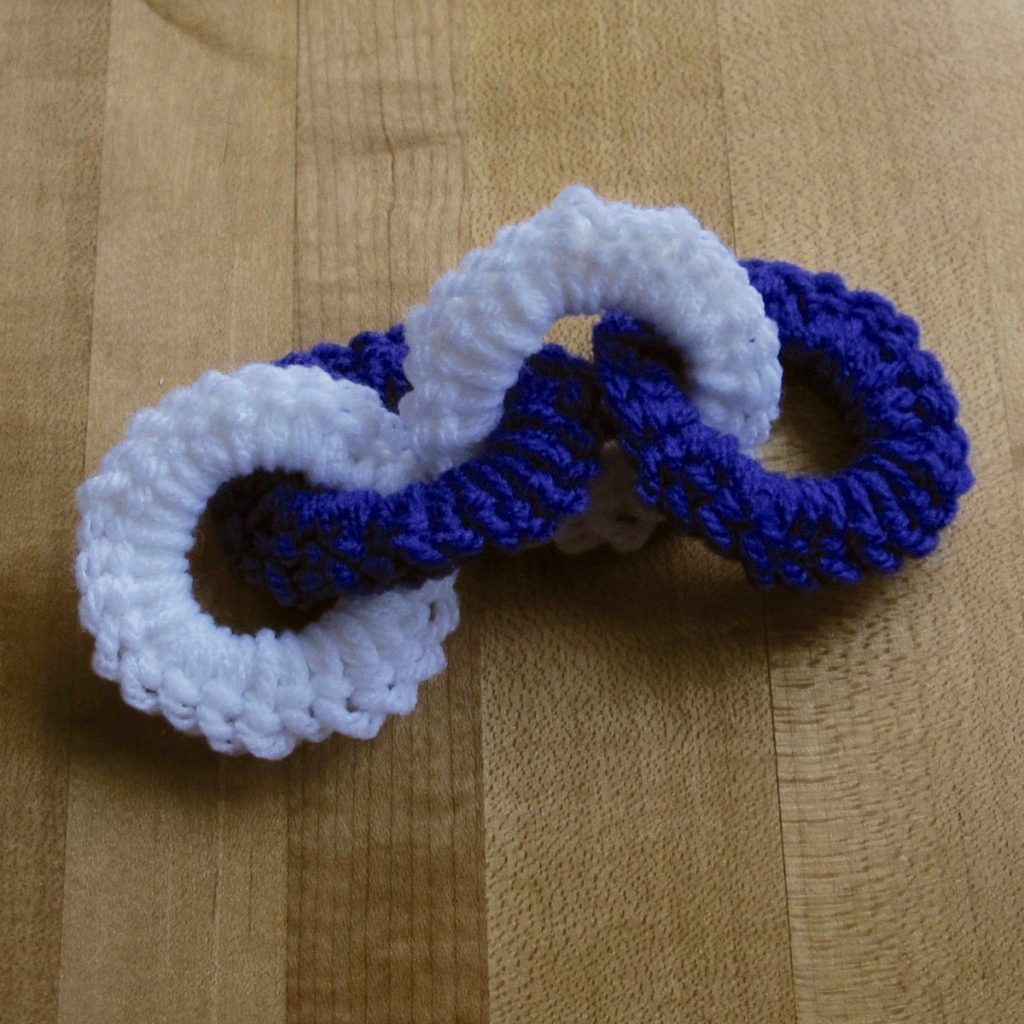
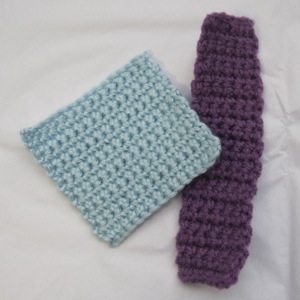
If you liked the idea of the chain garland but not the floppiness of it, you can make a nicer version by encasing the chain loops in single crochet (second picture above):
Ch 8-10; join into ring with sl st. Ch 1 and sc into the ring enough times to completely encase it – scrunch your stitches up to fit as many as possible for maximum solidity. You’ll probably need about three times as many sc as ch; the rings pictured are ch 8, sc 25, made with worsted-weight acrylic yarn and a K/6.5mm hook. When you’ve got the chain ring covered, sl st into first sc and FO (again, see below). Repeat, joining each new ring to the previous by passing the end of the chain through the previous ring before slip stitching it to join. When the garland is as long as you like, simply stop, or close the garland into a loop by passing the last chain through both the first and last rings before joining.
The basic swatch in crochet is made as follows:
1. Chain the number of stitches you want, plus one.
2. Starting in the second chain from the hook, single crochet in each chain across.
3. Chain one and turn the work. Single crochet in every stitch across.
4. Repeat step 3 until the work is as tall as you like.
Crocheting into the chain is a bit fussy, which is why we’ve covered these steps out of order. The first row of crochet stitches is always the slowest row to make. You may find it easiest to use method 1 or 2 to begin; I like to use method 4 but it is a little tighter and hence maybe not best for the first go-round.
Step 3 starts with what’s called a turning chain, which is also what the “plus one” chain in Step 1 is. The loop on the hook becomes the top of the next single crochet, so it needs to be as high up as the stitch is tall. It’s not too important which way you turn the work, but away from you (counter-clockwise for a righty, clockwise for a lefty) will give a neater edge than toward you.
Here are some single crochet links: Right handed diagrams from Annie’s Attic and left handed diagrams from For Dummies (except the last picture). There is a right handed video from Tamara Kelly (stitches into the back bump, method 4 of inserting your hook into a chain) and a left handed video from Art of Crochet by Teresa (stitches under the top loop only, method 1).
As your projects grow in size you’ll want to be able to put them aside, which in crochet is simple: stop at the end of a stitch and pull the loop on the hook until it reaches a couple of inches above the work. When you want to continue, put your hook through the loop (pointing at the location of your next stitch) and pull it snug but not tight, as usual. I have read crochet instructions that say you must only put your work aside at the end of a row. That is not true; mainly, it is best to stop in a stretch where nothing is happening pattern-wise and you have just completed a stitch that is not a chain.
One of the upcoming patterns asks you to sew crocheted pieces together at their edges; I like to use a whipstitch, which goes through both pieces near the edge, wraps back around over the edge, and repeats, a little bit along the edge. You can also crochet or slip stitch edges together by inserting your hook into both layers of fabric, and then proceeding with the stitch as usual. If you are slip stitching across to join edges, it is neater if you finish with a chain before cutting your yarn and finishing off the end. Aesthetic Nest has a post about mattress stitch and single crochet to join pieces, and the Craft Yarn Council’s Crochet 911 has a section on mattress stitch, backstitch, slip stitch, and whipstitch (i.e., overcast stitch).
With more complex projects, tying off the yarn ends is no longer a good finishing method. The proper way to do it is to thread each one onto a yarn needle and weave it into the middles of your stitches, changing direction a few times, until it is secured by friction. Then trim it where it emerges from the work. Here is a video from Tamara Kelly; making the final chain stitch she does at the start of the video is optional, but note how she tugs the final corner of the work after pulling the needle through the first time – this keeps it from being deformed by the yarn being pulled too tightly. Photos rather than video may be found at Aesthetic Nest. There isn’t a single right method to do this: anything that secures the stitches without deforming the piece, and is hard to notice when you look, is perfect.
A simple rectangle can be many different things. All of these patterns follow the same form: chain a certain number of times, single crochet in the second chain from the hook and in each remaining chain across; you will make one fewer sc than ch. Chain 1 and turn, and single crochet across. Repeat until you have formed the specified number of rows (counting the row of single crochets into the chain, but not the chain itself). Stitch and row counts are given for both a large hook (J or K, 6-6.5mm) and a smaller hook (F or G, 3.75-4mm).
Coaster (below left):
With J/K: ch 12, sc 12 rows.
With F/G: ch 16, sc 15 rows.
Bookmark (below left):
With J/K: ch 5, sc 20 rows.
With F/G: ch 7, sc 24 rows.
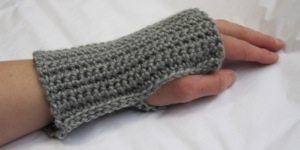
Fingerless gloves (above right):
With J/K: ch 24.
With F/G: ch 30.
Sc until it wraps loosely around your wrist (for me with a J hook, this was 28 rows). Do not finish off. Ch 1, turn, and fold the starting edge up to the back of the work. Sl st into both the final row and the starting ch for one inch, sl st into only the starting ch for two inches (thumb opening), and sl st into both the final row and starting ch for the rest of the line. Make sure to match the sts one to one – chs are tighter than sc as a rule, so they may not align naturally. Ch 1, FO.
For symmetry you may finish your second glove: sl st through both the final row and the starting ch until three inches remain, sl st into the starting ch only for two inches, sl st into both halves for the final inch. Ch 1, FO.
Patterns elsewhere:
Two squares sewn together on three sides make a cute hat. Make each square slightly smaller on a side than half of your largest head circumference (then two together are slightly less around than your head, and they will be slightly stretched and not fall off when you wear them). A version requiring color changing is at WoollyRhinoCrafts. Pompoms are optional, but if you want them, they’re easy. Here’s a photo and text tutorial at Domestically Speaking, and a video tutorial from Martha Stewart.
With a square of single crochet done relatively tightly (an F or G hook for worsted weight yarn) you can make a bunny, as shown for knitting by Jo So & Sew.
Crochet Spot has patterns for three washcloths that are created with single crochet and chains only. The second requires single crochet increase, which we haven’t technically covered yet but which is simply making two single crochets into the same previous stitch or starting chain. The third washcloth requires stitching in the front or back loop only of the previous stitch, which is new but not difficult; see Stitch Diva for photos.
Pops De Milk has a tutorial for trellis stitch, which is an open stitch pattern made with chains and single crochets, and a pattern for a scarf made with trellis.
A non-rectangle pattern you can do with skills learned to this point is my mobius strips (the basic one).
1 This is not true, of course; there are other methods, but they will always be explicitly called for. Look up crocheting into the back loop or front loop only (BL or FL only).
^ Learn Crochet index page – Previous: Anatomy Lessons + Next: Bigger and Smaller