 This page supplements the handout for my “Learn Crochet Via Granny Squares” class. I’ll start with links out to material that is not in the handout, and finish with some different resources for topics that are in the handout (such as videos of the double crochet stitch). If I left something out you think should be included, let me know via the contact form or a comment on the blog post about this page.
- Granny Square Variations
- Joining Granny Squares
- Borders for Granny Squares
- What to Do With Granny Squares
- Additional Granny Square Help
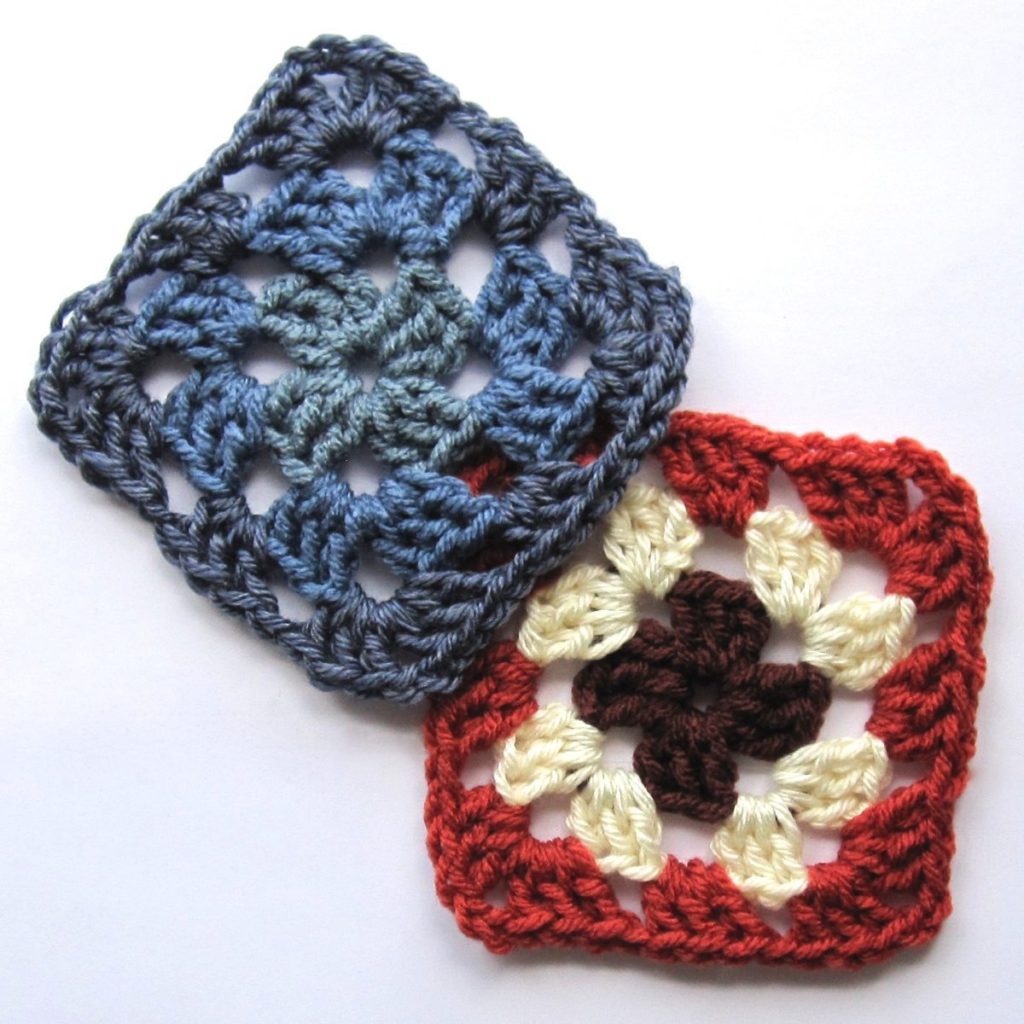
Granny Square Variations
The easiest variations are those of color, number of rounds, and number of chains separating dc-3 clusters. About.com has a visual comparison of grannies made using different numbers of chains.
Crochet Again has good instructions for a mitered granny square (that is, the beginning ends up toward one corner of the finished square) and a granny rectangle. The grannies there are made densely, without any chains separating the clusters on a single side.
Smooth Fox Lover has photos of spiral grannies made by various testers from her pattern. The pattern is not quite the same as mine but it gives a good idea of how different color choices will work out.
Squaring the Big Circle is a pattern from Signed with an Owl for a granny variation that begins with six circular rounds and then has two rounds that square off the corners.
Crafting with Style has instructions for a bobble granny square, where the center round is made from a kind of stitch called a bobble stitch, which is essentially three partial dcs finished together. Colour in a Simple Life shows granny squares made entirely with bobble stitches, both a standard granny and a granny spiral. For more cluster stitches, see A Bag Full of Crochet; bobble specifically is also taught at CraftStylish.
A-plus Amigurumi has a granny triangle pattern. It starts with multiple of 4 + 2; the 3 initial turning chains are not counted as a stitch but the turning chains of later rows are. The image linked to is a stitch symbol diagram starting with 26 chains (6 clusters in first row); this gives 6 rows. I expect you could use this to fill in the corners of a granny blanket where squares are turned on point. If you just want squares with a different look, though, here is one crafter’s extension of the previous pattern to make squares and diamonds by working on the opposite side of the starting chain.
Granny hexagons are quite popular. Here are three patterns: one with three circular rounds and one hexagonal round, three circular rounds and two hexagonal rounds, and finally one with two circular rounds made with decrease stitches, and a single hexagonal round. The last link also discusses deciding on pattern and yarn for a blanket.
And if the list above is not enough for you, My Creative Nook compiled 101 Free Granny Square Patterns, though some stretch the definition of “granny” quite a bit.
Joining Granny Squares
Your handout discusses slip-stitching or whipstitching granny squares together, but there are many ways to join them at various levels of fanciness.
Let’s start with refinements of the handout methods. Here is a particular way to slip stitch your squares with the goal of the flattest seam possible. I found two different tutorials called mattress stitch, but they are slightly different; you can see which one appeals to you: Crochet Ever After and Moogly (with a video). Do You Mind if I Knit shows an invisible ladder stitch, sewing through the posts of the outermost double crochets.
If you scroll down on this page from With a Side of Awesomesauce you’ll find instructions for what she calls a ric-rac join, which is made with slip stitches. You sl st once in the corner of the new square, then in the corner of the old square. Then you sl st in the next stitch over on the old square, and then in the new square (also one stitch over from the previous sl st in that square). She has a photo with arrows overlaid.
You can join squares as you make them, as well. This saves you from having to sew or stitch a bunch of squares together at the end, but it does lessen the portability of your work. The essence of it is that your first square is made as usual, and in later squares on any side that connects to a square already made, you replace some of the chains with slip stitches into chain spaces of the existing squares. Here is a photo tutorial from My Rose Valley and a video tutorial from Crochet Cabana.
Several joins and borders require you to learn the single crochet (sc) stitch, which is between the slip stitch and double crochet in complexity (no yarn-over, but you do pull a loop just through the work and then a new loop through the two loops on the hook: see my instructions for diagrams). For example, the flat braid join, which interlaces lengths of chain stitch to join squares, begins with chains attached at intervals by single crochet stitches. Hazel3Crochets has more on preparing a square for the flat braid join, and Gourmet Crochet has a variation on it she calls the scallop join.
A very fancy-looking join related to the flat braid join is available from Drew Emborsky.
Of course, once you know single crochet, you can just sc your squares together as well. It leaves a bit of a ridge since it’s taller than slip stitch, but that may suit the item at hand.
Borders for Granny Squares
You can always leave your grannies un-bordered, or edge them simply with slip stitch. The handout discussed a granny border and a shell border; here are more.
All sorts of considerations about borders and edgings are discussed at Crochet Cabana, with several example patterns. This is the page to visit if you want to design or adapt a border aimed at a different size or shape of blanket.
You’ll have to scroll a bit, but the fourth edging in this list of five from Craftsy is called block edging and uses only double crochet and chains. For a granny blanket you would attach your border yarn in a chain space with a slip stitch, chain 3, and dc into the next chain space. You’ll chain 3 again and then make 3 dc around the previous dc – treat it as though it were a chain space. Then start again with a dc in the next chain space (ignore the instructions about skipping stitches; you are doing that automatically by working only in chain spaces). For smooth corners you will most likely need two blocks in each corner chain space.
Le Monde de Sucrette has a fun arched blanket edging made with chains and single crochet stitches. It’s given as a stitch diagram; you need to know single crochet is represented by an X, and her chain symbols are rounder than mine. Instead of working it into a double crochet border as shown, you could make each arch base into a chain space.
Different fun effects can be had with bobble stitches, as taught at CraftStylish. That tutorial shows a 4-dc bobble. You can make bobbles of other sizes; the process is the same and the rule is that a X-dc bobble will give you X+1 loops on the hook when you are done with partial dcs and ready to pull a loop through everything on the hook. 3-dc bobbles seem to be popular in the border realm, which are 3 partial dcs resulting in 4 loops on the hook. You might use them as an edging by themselves; for a granny blanket I would recommend making a bobble in each chain space with 5 slip stitches between each bobble: one in the same chain space as the bobble, three in the 3 dcs before the next chain space, and one into the next chain space so you’re actually in it before making the next bobble. This pom-pom edging uses a pair of 3-dc bobbles (counting a ch-2 as a partial dc) that are slip stitched together to close them into a ball.
For more edgings you can revisit the Craftsy list and look at a collection of ten from Moogly (which includes the other three edgings linked here).
What to Do With Granny Squares
Fairly self-explanatory: blanket, pillowcase, placemat, coaster, scarf.
Here are standard blanket and afghan sizes. Note that a scarf can be one or two squares wide.
Less self-explanatory: slippers, bags, stuffed toys!
Here are free patterns for granny square slippers, a tote bag, clutch, and small barrel bag, how to make a ball from a cube of grannies, and two stuffed animals made from differently shaped granny motifs: the pentapus (pentagon octopus) and a hexagon bear.
Smaller granny squares, made with finer yarn and a small hook (or, if you like, with only a single round), may be sewn into phone or camera cozies, headbands, and pincushions. Even tinier granny squares made with crochet thread or embroidery floss may be used for earrings, and other jewelry. Here is a bracelet pattern.
Additional Granny Square Help
More information than you require about choosing and holding hook and yarn is in the Before You Begin section of my Learn Crochet series.
Likewise, if you want to see what you can do with just chain and slip stitch, there is a section on them as well, including slip knot. I would point out in particular the links to videos: right-handed chain, left-handed chain, right-handed slip stitch 1, right-handed slip stitch 2, left-handed slip stitch (really, using slip stitch to attach new yarn). On that last note, here is a video on using slip stitch to attach new yarn for right-handers.
Double crochet is taught in the same page as half double crochet, a closely related stitch. Videos: right-handed double crochet, left-handed double crochet.
Granny squares themselves appear quite late in my Learn Crochet series, in a section dedicated to working in the round. It is where the videos on attaching new yarn with a slip stitch come from. You might like a link to diagrams of working into a chain ring.
As for video tutorials of granny squares as a whole, Tamara Kelly (Moogly) has two: one for single-color granny squares and one for multi-color granny squares. The latter also includes a photo tutorial.
To move on to more general crochet pieces, look through the whole Learn Crochet series, which is organized so that single crochet is learned first and double crochet builds off that knowledge. You’ll be able to move fairly quickly through it if you’re comfortable with granny squares.