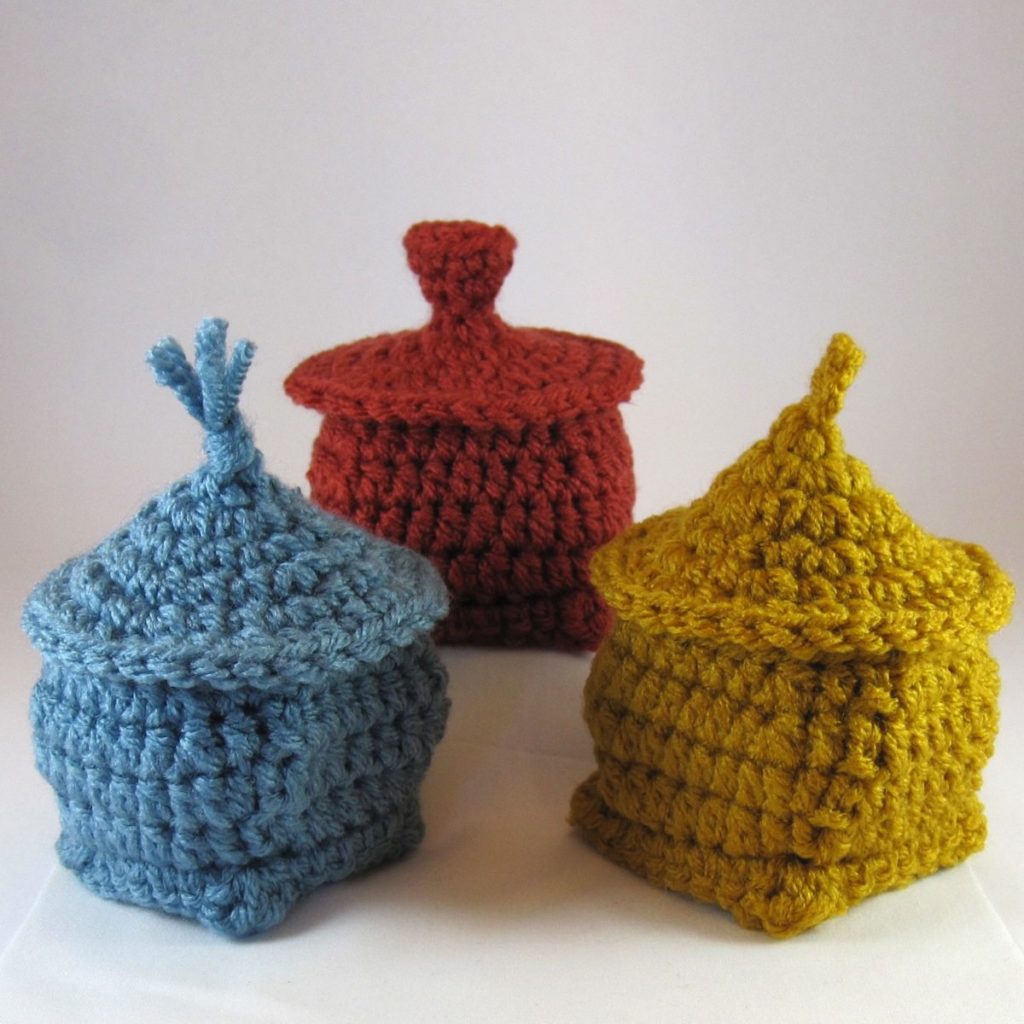
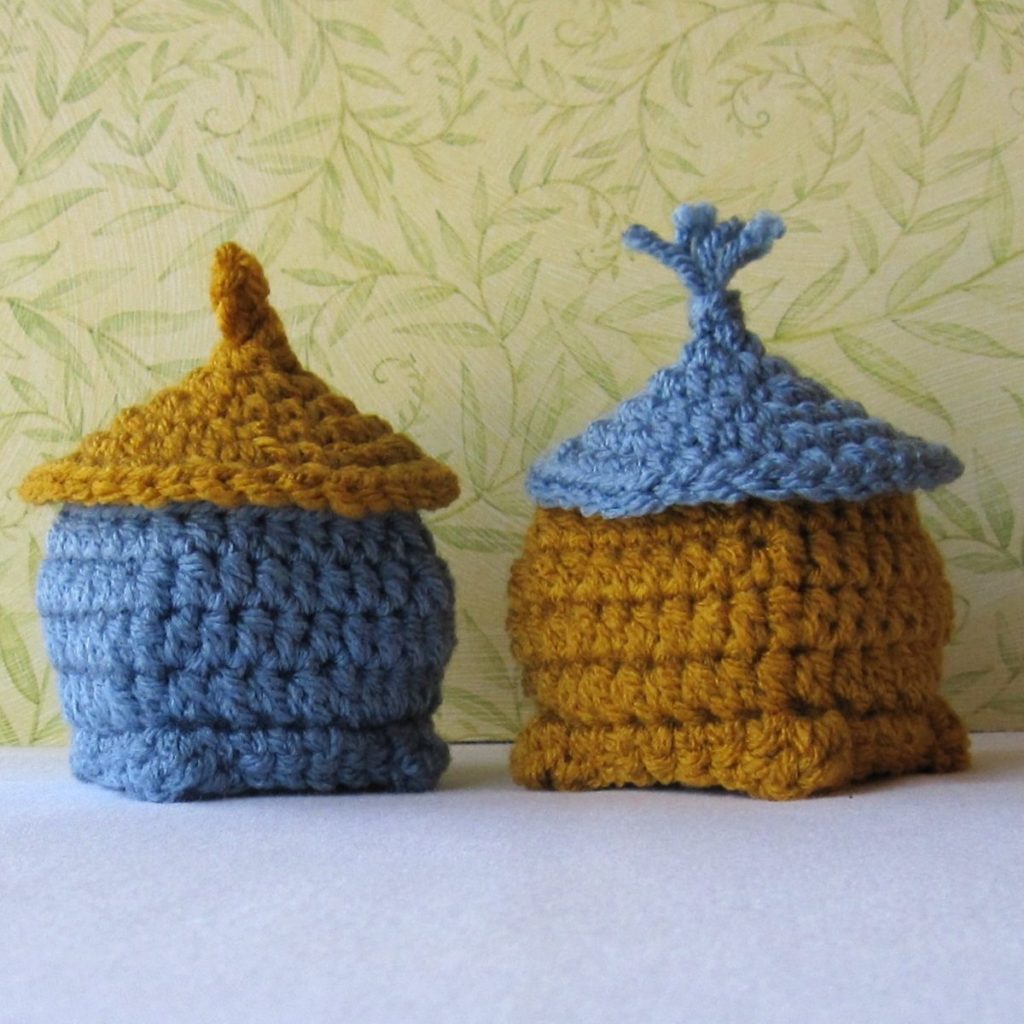
Description
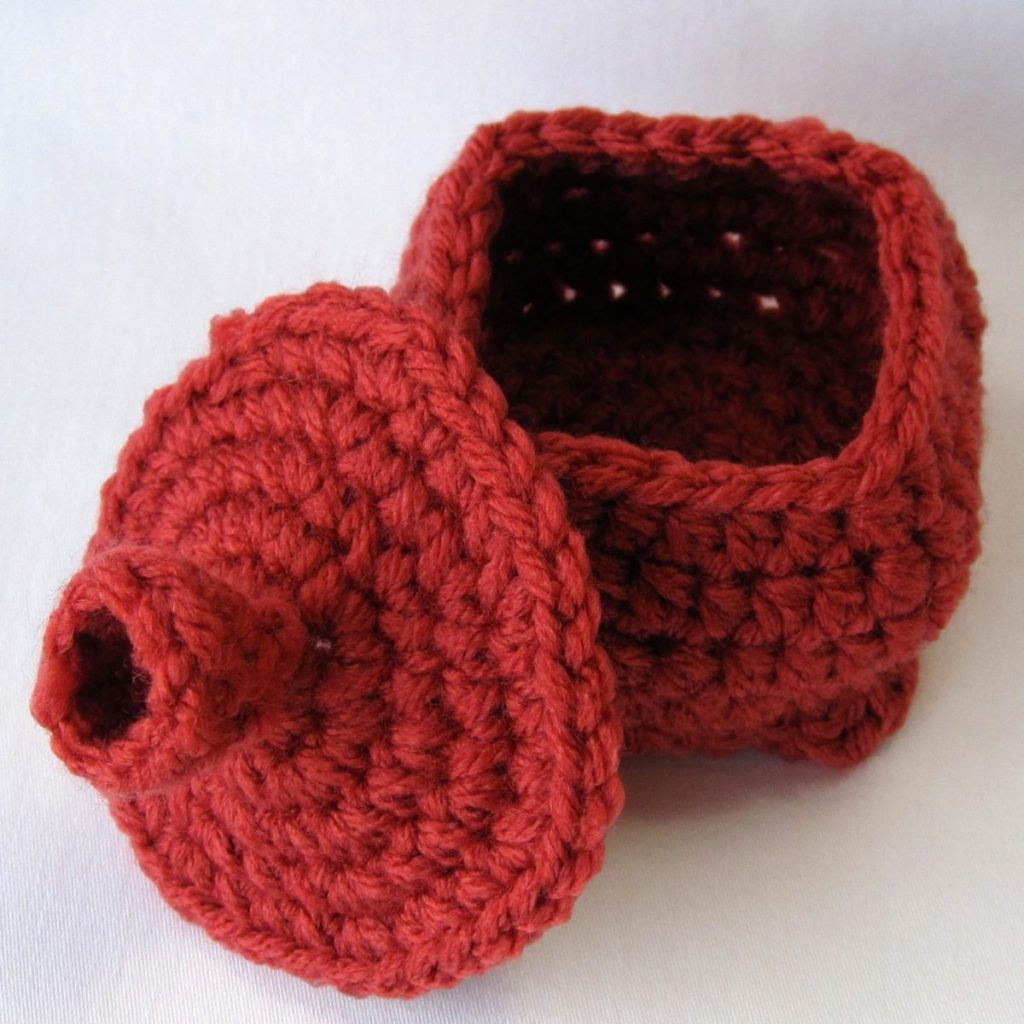
A small box for your small treasures, with three lids to choose among. Each trinket box begins with the base, worked in the round using a hybrid of joined rounds and spiral that I call a stepped spiral: slip stitch at the end of each round, but do not chain up. This is described in the pattern. The sides, of sturdy half double crochet, are stitched in joined rounds directly onto the base. Two lids are worked with the same technique as the base, and the third in spirals built on foundation single crochet.
Stitches and techniques assumed: magic ring, chain, slip stitch, single crochet, stitching in front loop only, slip knot, attaching new yarn with slip stitch, half double crochet and its increase, double crochet, weaving in ends.
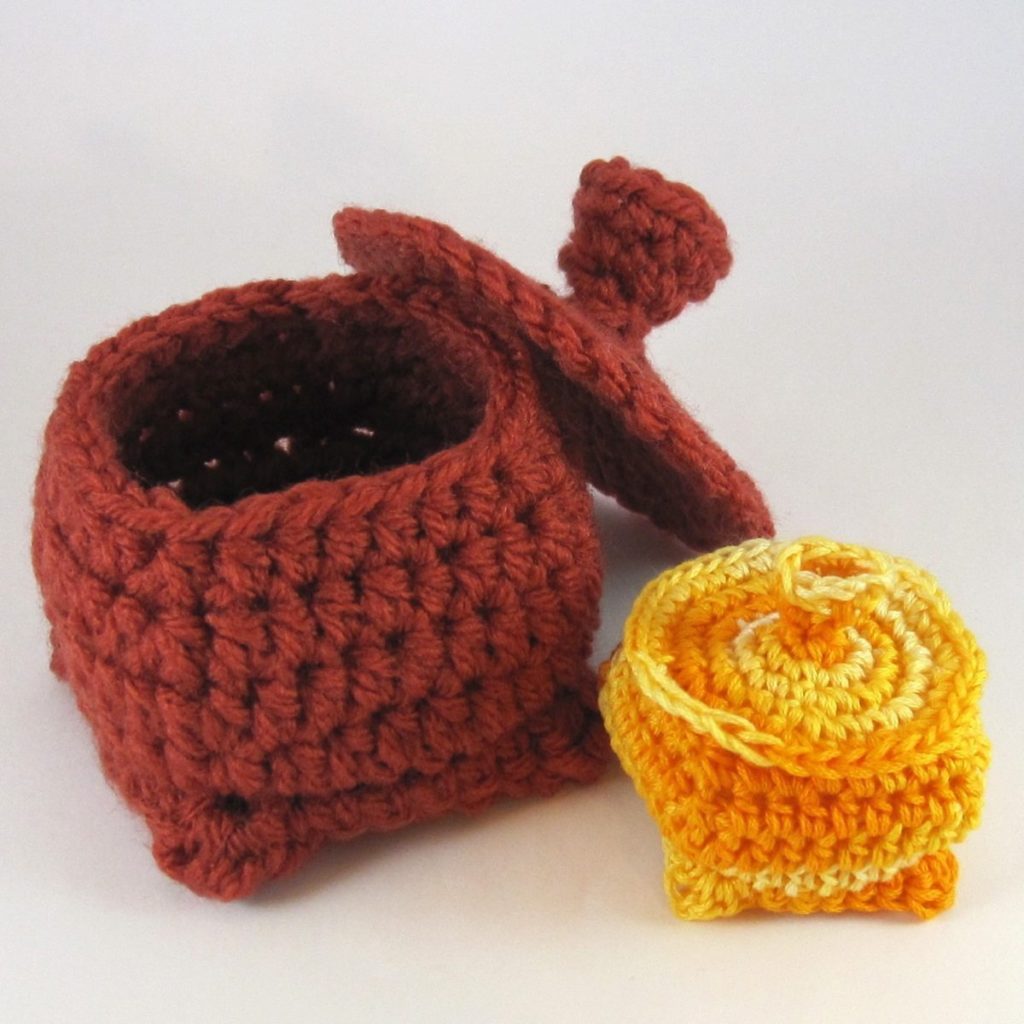
Supplements to items taught in pattern: The pattern includes brief instructions on a less bulky hdc decrease than the standard, the needle join, and foundation single crochet (fsc). This fsc link is mine and covers the particular manner in which fsc is used for the chimney lid (funnel-shaped); if you are new to fsc I recommend futuregirl’s extremely detailed instructions. An alternative method of construction is given in case you do not want to use fsc, though the top lip will not consist of teardrops and will include the slip knot. The locations of your needle joins are specified in the pattern, though in particular you will join in the second stitch from last.
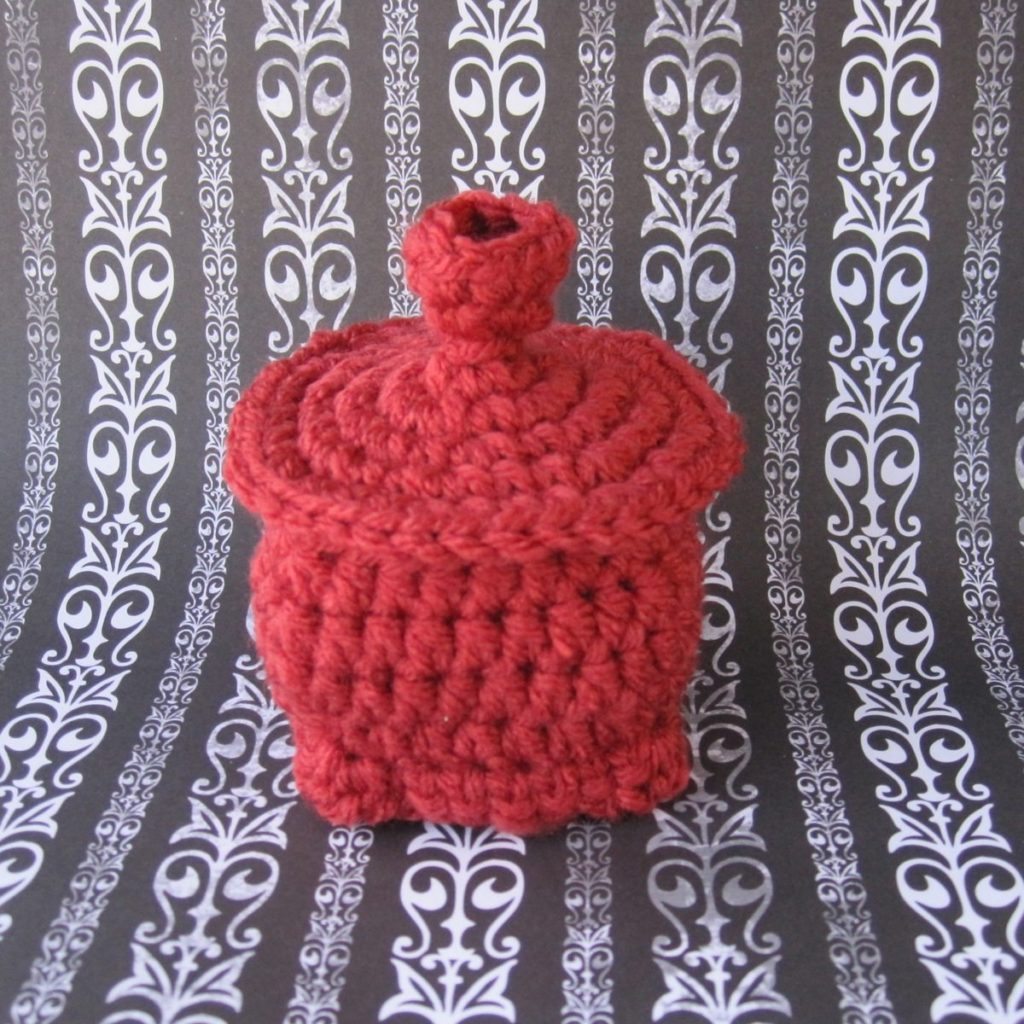
Stiffening: The boxes are reasonably solid as is, and the only one I stiffened is the red one – and it is not stiffened in every shot. To give them a boost, mix equal parts water and white glue (all-purpose or school glue, such as Elmer’s). With a wide brush, paint the dilute glue onto the inside of the box and underside of the lid. Be thorough but don’t soak it, and don’t push too hard with the brush as the wet yarn will deform more easily than dry yarn would. Pull neighboring “feet” of the box apart to square the bottom. Keeping the same fingers toward the glue throughout, pinch the box and lid into shape; this also helps the glue mixture soak into the yarn a bit. Let dry thoroughly – overnight will probably do. If you have used delicate yarn and are concerned about this method, try using twice as much water as glue. Apply a second coat or a coat to the underside of the box if necessary. You may also apply your favorite technique from thread crochet, though if it involves soaking the whole piece it will need support to hold the proper shape while drying.
Using different materials: The orange variegated box was made with embroidery floss (just over two skeins – so you may find it easiest to use 3 and start a new skein for base, sides, and lid) and a size 4 steel hook (2mm). Additional material/hook pairings will be added to this page as I work them out.

Reviews
There are no reviews yet.