The very flower of nerdiness

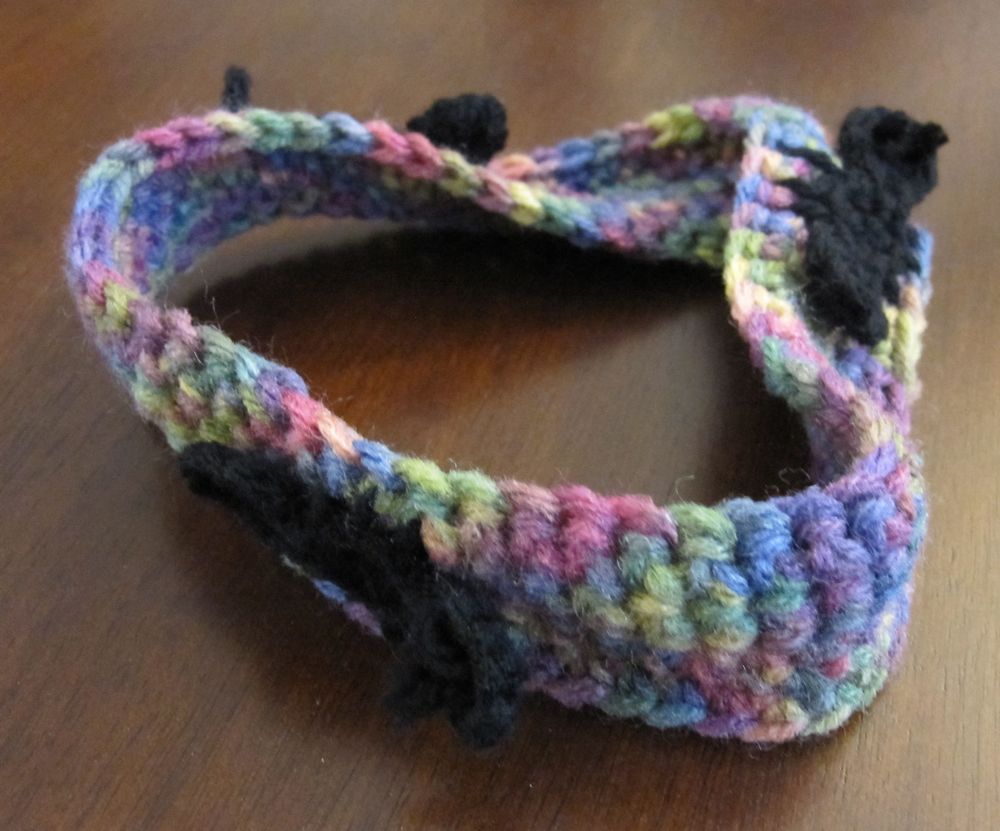
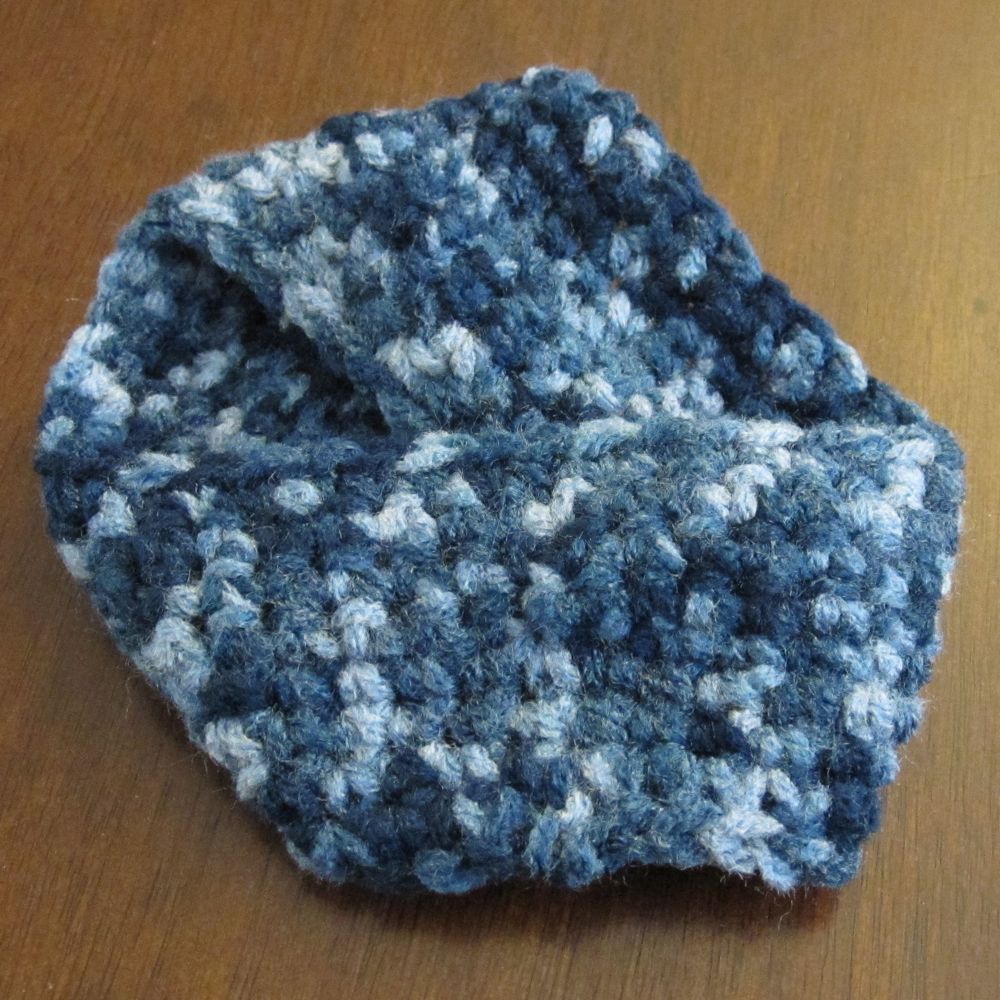
The July CAL on Ravelry was flower themed. I had, of course, just recently made flowers for an Amigurumi Army mission, so I worried about ideas. However, I had also just been in Colorado for a wedding and become enamored of wild lupine, so I thought I would make something purple. My thought was penstemon, or beard-tongue, but my efforts turned into more of a bellflower, so I embraced that. The pattern is simple (as always, abbreviations here): sc 6 in a magic ring. *sc 3, 2sc* four times so there are 10 sc in the round. *sc, ch 2, sc in back bump of second ch from hk, sc in next st of rnd* five times. Sl st, sl st, ch 1 [do not sk any sts], sl st, sl st, FO. (The ch 1 helps with the point of the first petal, which seems to need it.)

bellflower

bellflower

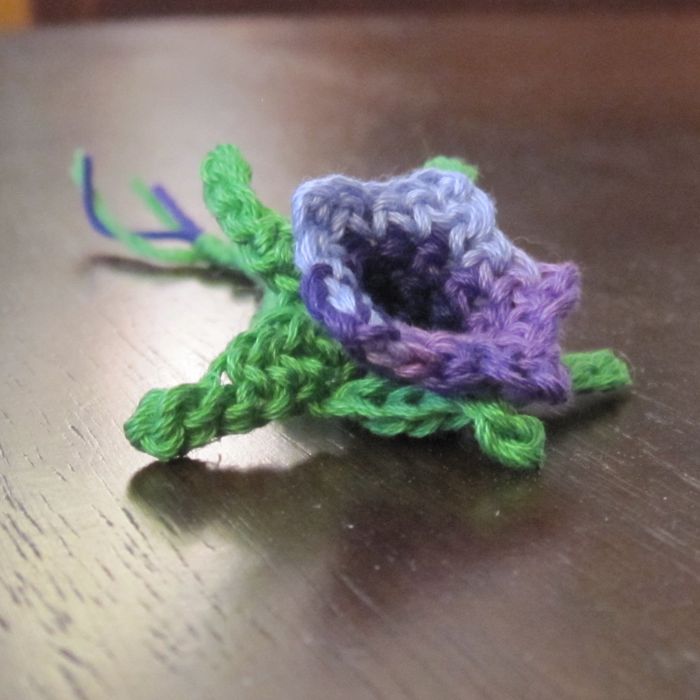
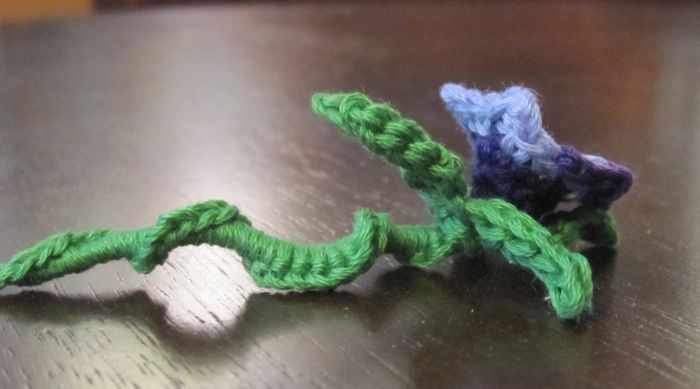
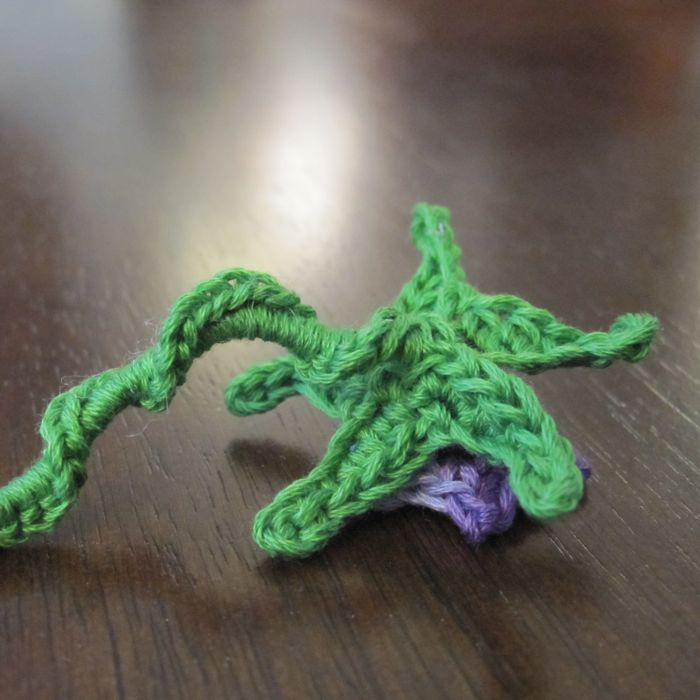
Since it turned into the kind of flower it did, I made a calyx for it. If you’re making a calyx you probably want to leave the loose ends of the flower yarn hanging out the back center of the flower. Each sepal is a chain with stitches down it, and this works best (stays flattest) if you stitch into only the top loop of the chain. Make a slip knot. *ch 7, and starting in second ch from hk, sl st, sl st, sc, hdc, hdc* five times (each time you’ll have a ch left over). Sl st to join and then sc around the inside opening, one sc per sepal (5 total). Put the loose ends of the flower yarn through the center of the calyx, stitch them through a loop and tie them together. Braid them with the initial end of the calyx and sc onto that braid with the working end of the calyx yarn. You’ll need to tighten it down on the braid and have the top of the stitches spiral around the braid to make it stable and straight.

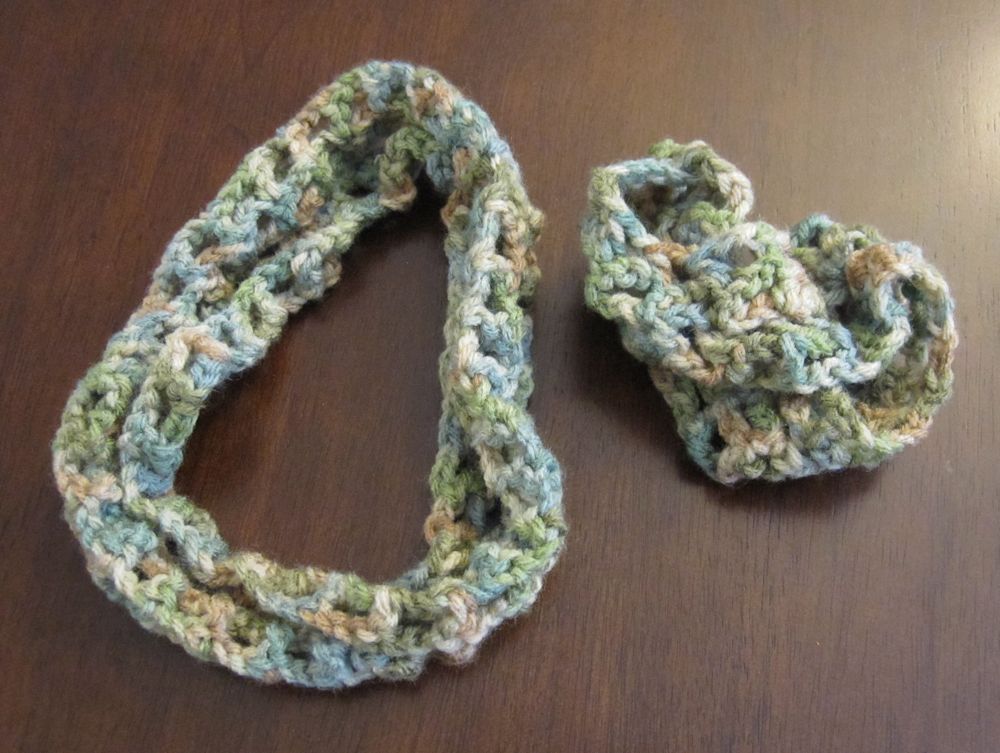
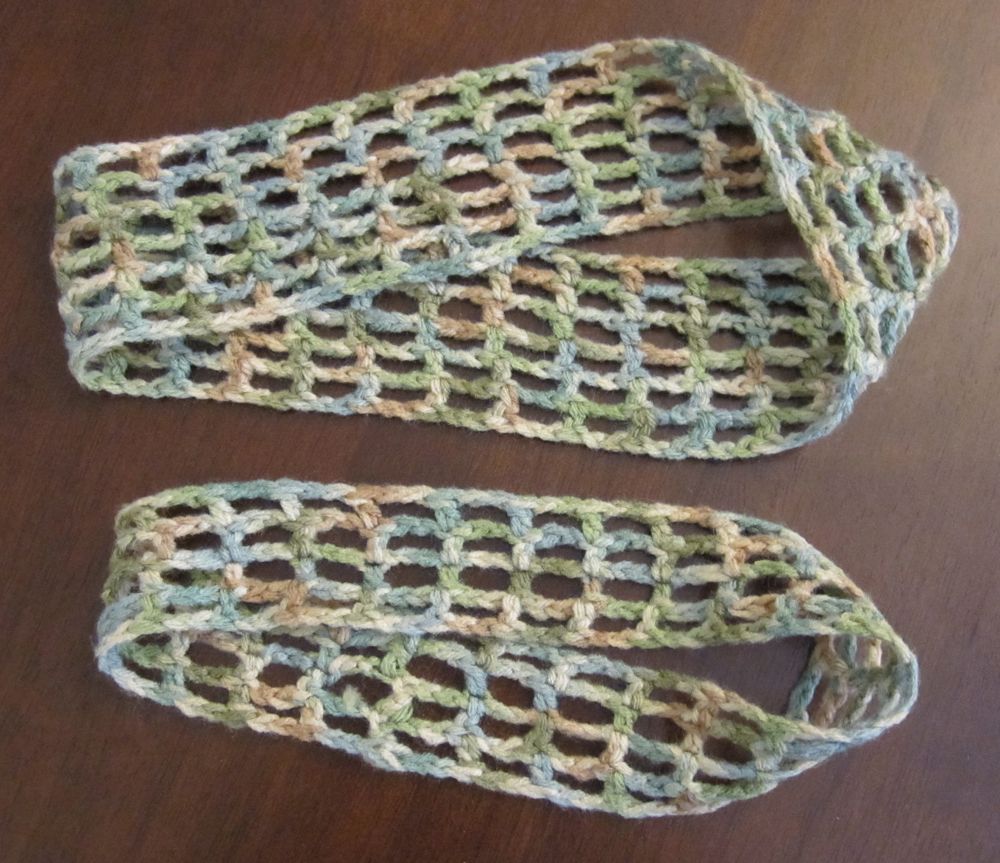
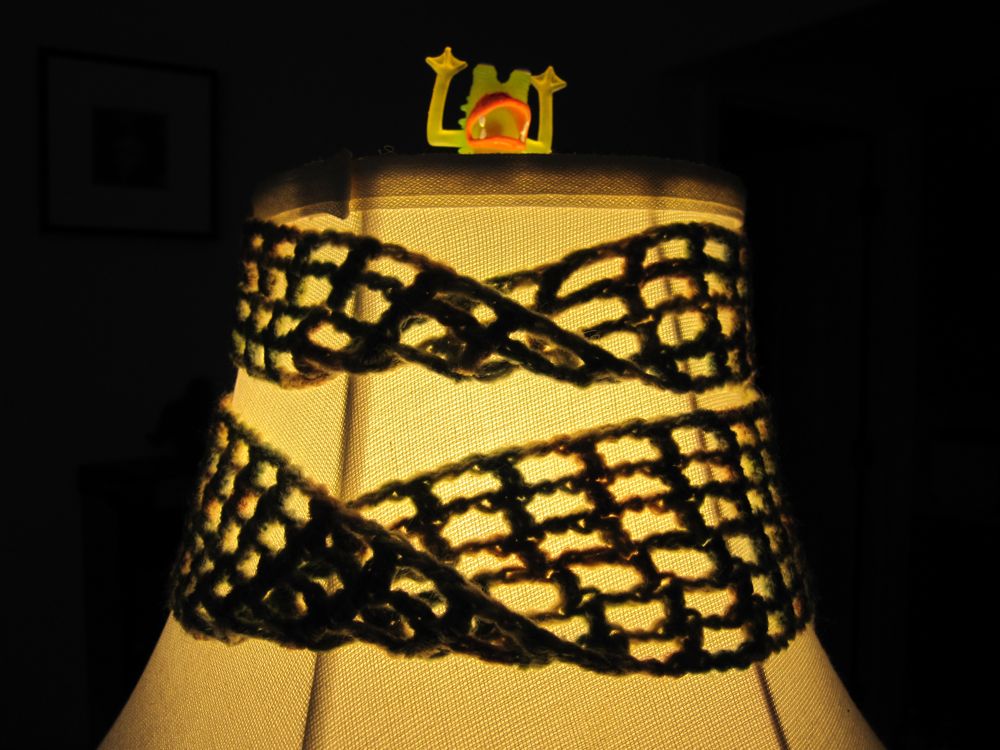
[Alternatively, of course, you can make a stem however you like, or just finish off the yarn and have a brooch-style flower.]

bellflower

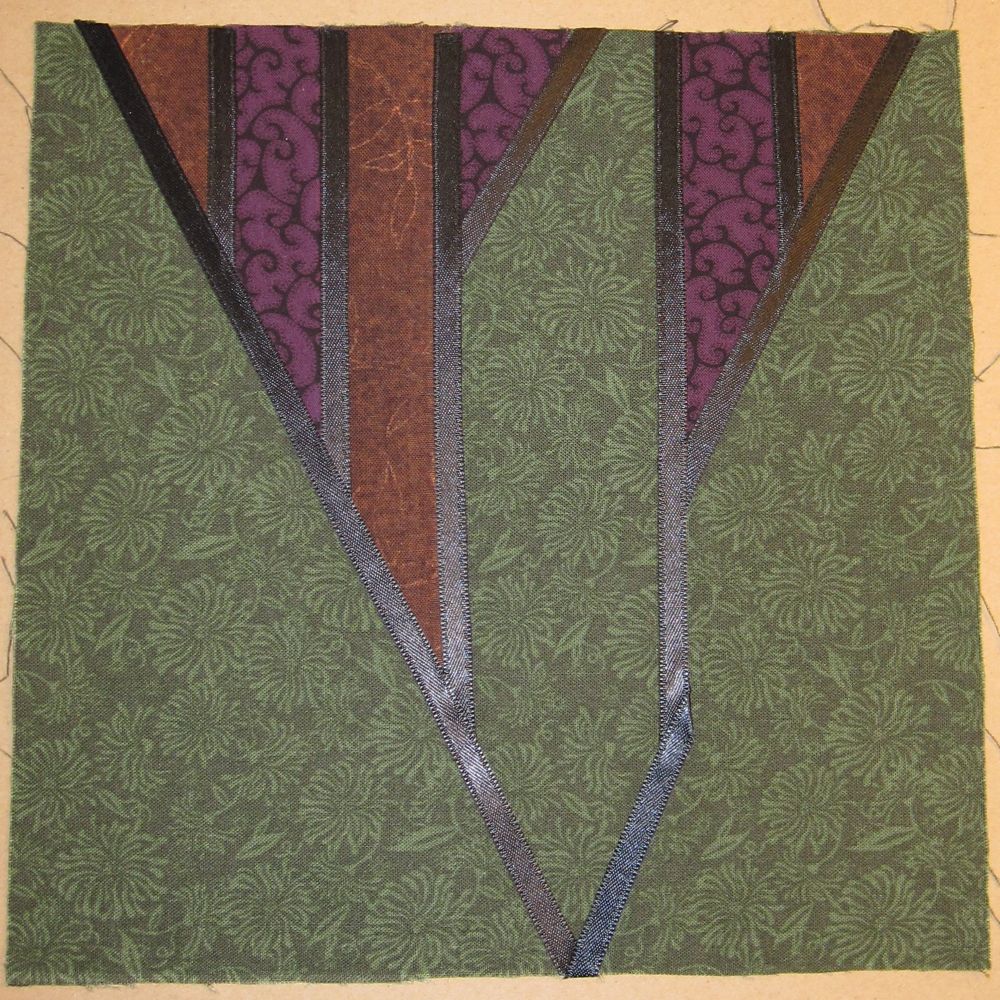
The Amigurumi Army mission for July was nerdy crochet. I thought about something from a fandom, but couldn’t come up with anything I wanted to make. However, as we know, I am mathematically minded, so I looked in that world and found this:

binary tree

A binary tree.

binary tree

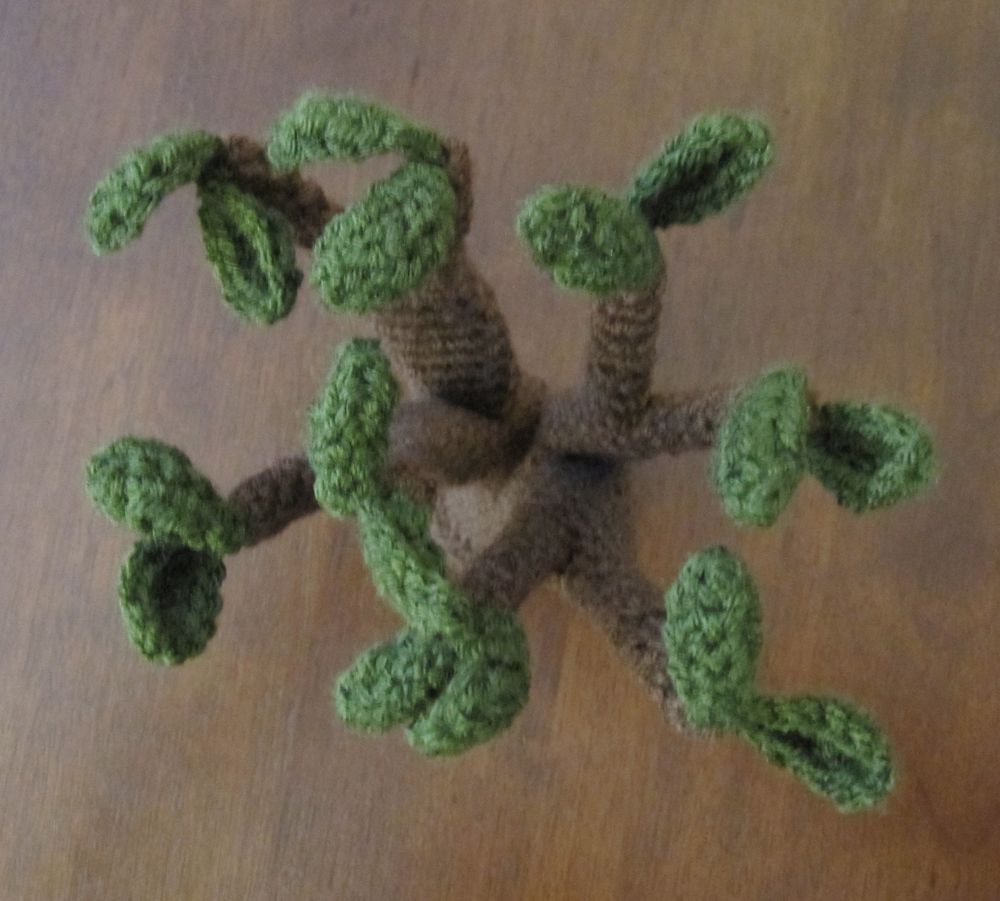
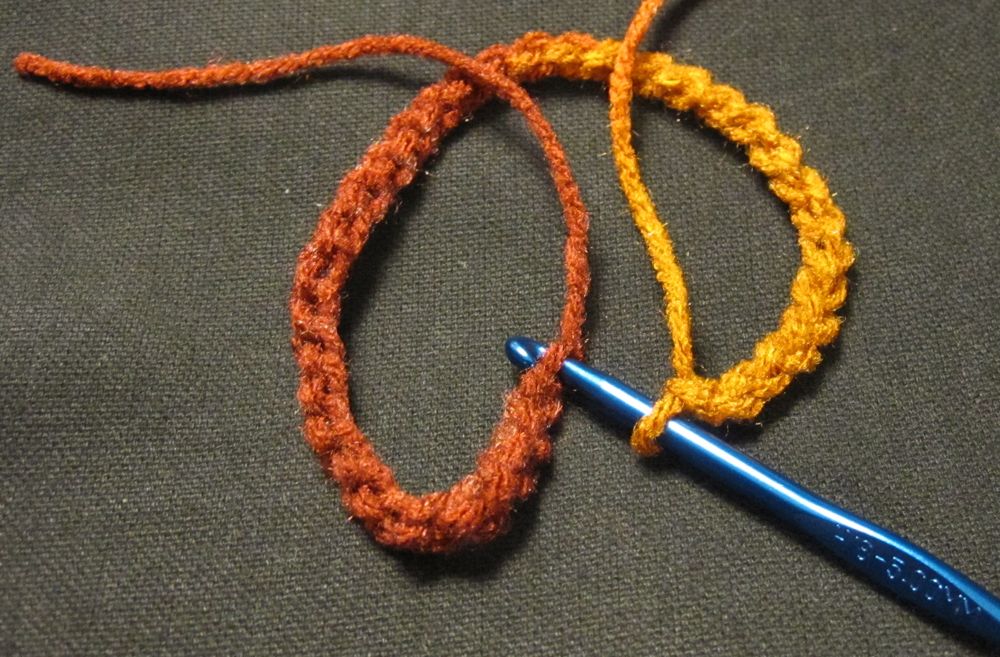
I made it from the top down, sewing as little as possible: when the second piece of each pair was made I just continued into the next segment down, stitching around the first piece without a gap. This required just a little thought about the order of operations. The only significant sewing was the leaves, though that was pretty significant. The smallest bits are 5sc in a magic ring, continued without increase. Then I just put pieces together and stitched around without counting, trying to keep things fairly compact, which is why nothing is exactly symmetric after that. The whole shebang is held up by eight pipe cleaners, one inside each of the smallest branches.

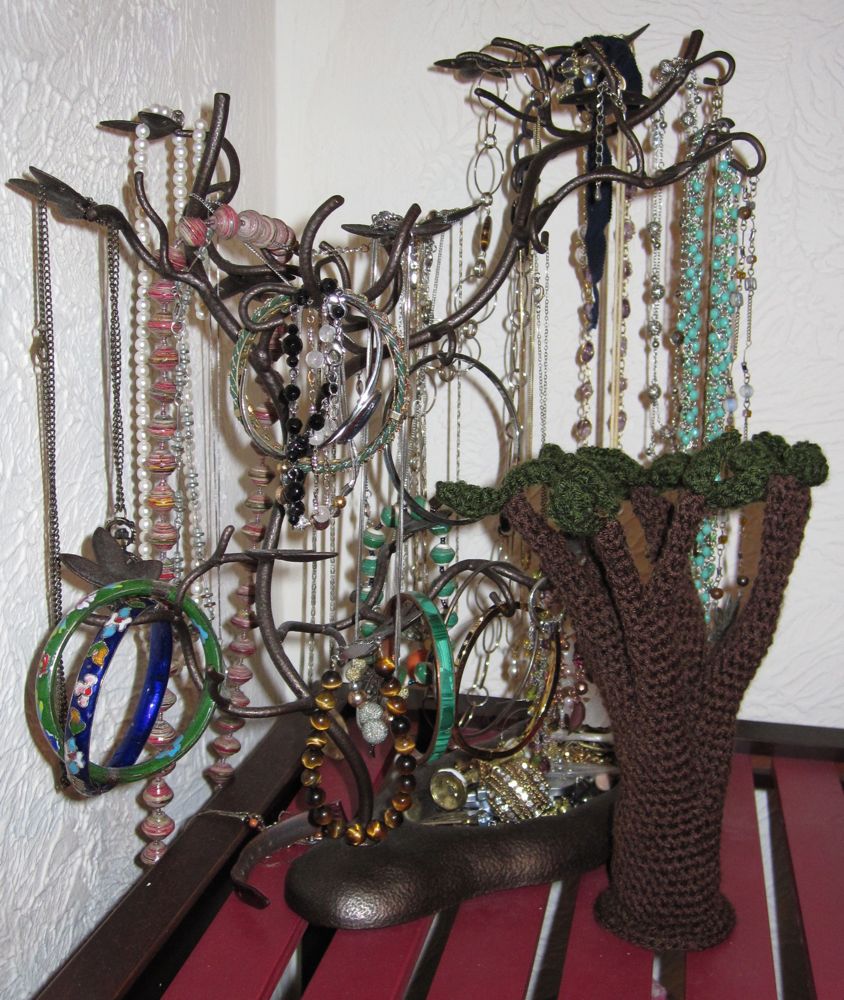
I finished it while visiting a friend with a jewelry tree, so I asked them to pose together.

trees together

Fibeenacci stained glass

Did you know the members of each successively earlier generation of a bee’s family tree are counted by the Fibonacci numbers? Starting with a drone or worker, one bee, there is one parent, the queen. The queen has two parents, a queen and a drone, and between them they have three parents, two queens and a drone. Among those three bees they have five parents, three queens and two drones. And it goes on: 1, 1, 2, 3, 5, 8, 13, 21, 34, …

I learned this from a lovely page on the Fibonacci numbers generally, that I found years ago while looking for teaching resources, and it came to mind when quilting friend of mine said she would love to make a Fibonacci quilt, but didn’t have a pattern.

My first design test is a stained glass quilt square. In stained glass quilting, the fabric is bordered by black or dark gray material (usually bias tape) to look like panes of stained glass. My square is 8″x8″ plus a 1/4″ allowance. Except for one corner, all of my “leading” was in straight lines, so I was able to substitute black ribbon for the bias tape I didn’t have. I attached everything with fusible web: Wonder Under for the contrast fabrics and Stitch Witchery, cut into thirds, for the ribbon. Gigantic (A Tale of Two Johns) kept me company.

Fibonacci bee family tree stained glass quilt square

I started at the top, and was able to hide all cut ribbon ends under other ribbon without any folding except for that lower right corner out in space. That took a fair amount of manipulating and some extra Stitch Witchery, and made me grateful for my retractable tweezer fingers.

My other ideas are more traditional quilt formats, and hence less intriguing to try out, but will follow in later installments.

Nonorientable crochet

Do you want a yarn Möbius strip? Of course you do – who doesn’t?

mobius with ants
Every Möbius strip needs ants.

One of the crochet techniques I have yet to master is working in the round when the beginning is an open hole instead of a magic circle or a chain that is worked on both sides. I can’t connect the ends of the starting chain to my satisfaction; there is always a big wonky bump at the join.

However, some experimentation has led me to the following discovery: it is easy to make a crochet Möbius strip that requires no sewing. This is hardly news, as the internet will tell you, but I think my instructions are easier, or at least more specific, than the ones I’ve seen online.

Crochet Möbius Strip: Make a chain as long as you want. There will be a natural way for the chain to come off the hook to the left with the back bumps facing up and the front teardrops facing down. With the back bumps facing up the whole length of the chain, bring the slipknot end toward you and to the hook to make the chain into a loop. Insert the hook from outside the loop to inside the loop through the back bump closest to the slipknot, and slip stitch to join the ends.

starting the strip
The back bumps go around the top when it’s set down like this.

Now, crochet around, using the back bumps, until you get back to the slipknot. Crochet into your initial slip stitch. It should be natural to make your next stitch in the front teardrop of the chain closest to the slipknot. Now the next time you get back to your slipknot it should be natural to crochet into the first stitch you made after slip-knotting the chain into a loop. Keep going until the Möbius strip is as wide as you want, making sure when you end, the rows are aligned on each side of the slipknot.

I found that my yarn tail was a useful indicator – if it faced toward me after I had put crochets on each side of the starting chain, then I needed to finish with it facing toward me.

Of course, this method makes the Möbius strip curl a bit into an S cross-section, since stitch rows tend to lean forward or back. I tried to change direction for the last row, but as you can see I ended up with a little nub at the turning (bottom center):

compact mobius strip

I tried a second time but didn’t come up with a solution that satisfied me.

Mesh Crochet Möbius Strip: Looking at the Escher picture made me think of crocheted mesh, so I tried that as well (see the crochet abbreviations). For this you must chain a multiple of 3 – it is better here to use the same size hook throughout. Slip stitch to join as described above, and chain 5. Skip two chains and dc into the next, in the back bump. (ch 2, sk 2 sts, dc in back bump) until you get back to your slip knot. This is a bit wobblier than sc, so make sure it is not twisted, ch 2 and do the next dc into the front teardrop of the first ch you made – it seems like you’re skipping 3 sts, but the joining slip stitch and initial chain are really the same stitch. (ch 2, sk 2 sts, dc in front teardrop) around, until you get to the ch 5. Ch 2 and sl st into the middle ch of the ch 5.

Now, *turn if desired, ch 5, (sk 2 sts, dc, ch 2) around (i.e., twice around initial chain), sl st in middle ch of ch 5; repeat from * until the Möbius strip is as wide as you like.

I washed these to see if the mesh would even itself out a little; the ch-5 squares and the squares on the starting chain didn’t really match the others. Of course, they crumpled up.

crumpled mobius strips

Q. How does one block a Möbius strip? A. With an iron. They smoothed out nicely. And are very decorative on my lampshade.

ironed mobius strips lampshade mobius strips