
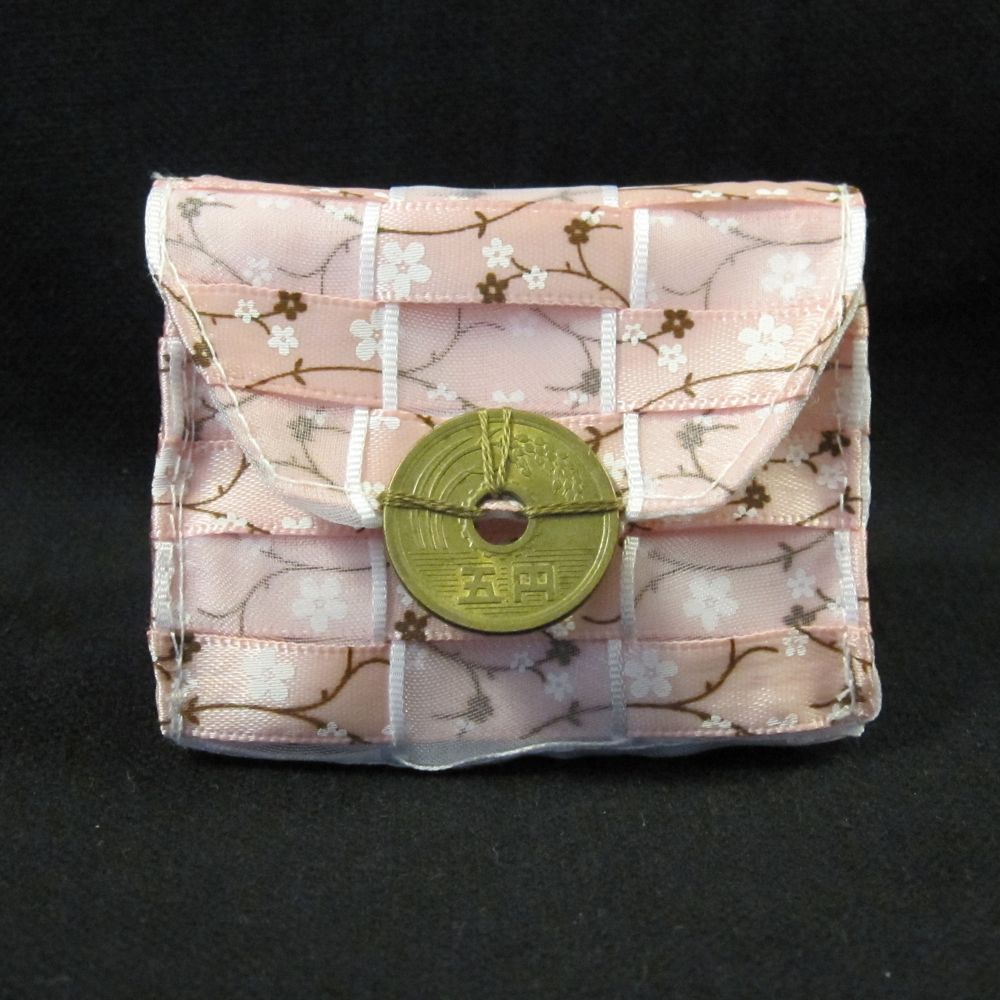
My sister and brother-in-law went to Japan last year, and one of the many gifts they sent me afterward (solar-powered dancing sumo wrestler!) was a five-yen coin. It added to my collection of coins from New Zealand, Canada, Iceland, and various Euro-using countries.
Through Dollar Store Crafts I learned of the existence of Iron Craft, a weekly crafting challenge. I’m minimizing my craft expenditures, at least through April[1], and so I passed on the Peep-crafting challenge, but the following week was money-related crafts. Perfect! I have wanted to try making a ribbon purse for a while now, and had the perfect ribbon to go with the yen.

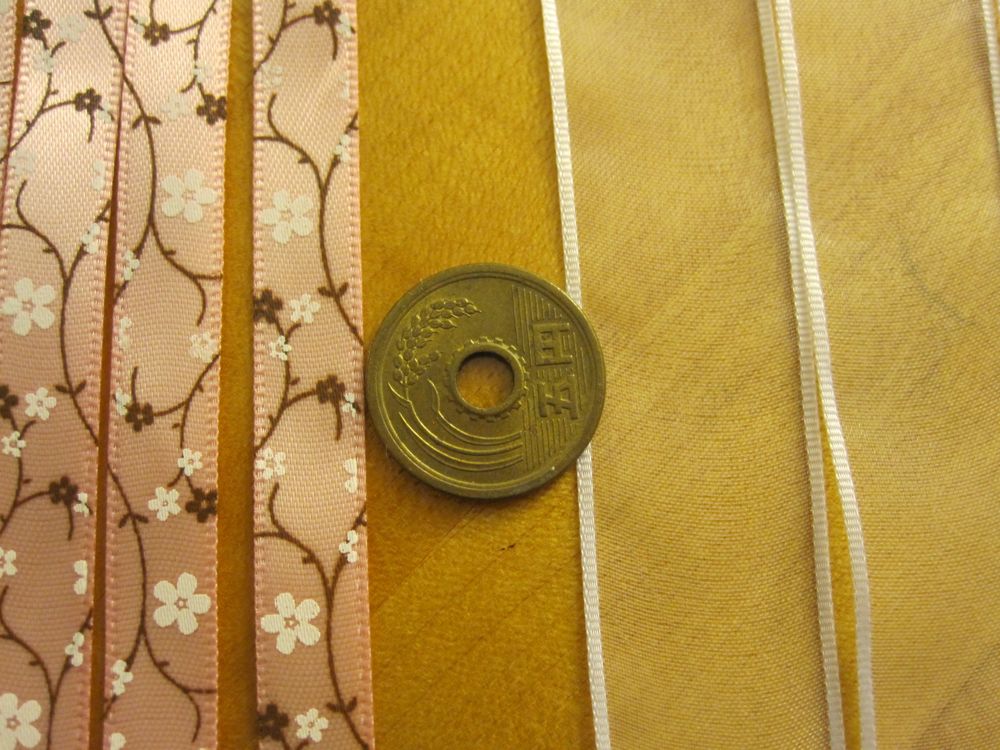
I’ve structured the rest as a tutorial. You’ll need a wider ribbon, a narrower ribbon, and some coordinating lining fabric. My wider ribbon was about twice as wide as the narrower ribbon (7/8″ vs 3/8″), so if yours isn’t your bag will have different proportions. I don’t recommend my sheer wide ribbon, as it did not want to stay squared, which made it hard to work with. The amount needed will vary, of course, but mine used less than 2.5 yards of the wider ribbon and 2 yards of the narrower ribbon.
Let W be the width of the wider ribbon and N be the width of the narrower ribbon. Cut 5 lengths of the wider ribbon: two of length 3W + 10N + 1.5 inches (“shorter”), and three of length 2W + 15N + 1 (“longer”). Cut 9 lengths of the narrower ribbon: five of length 10W + 1.5 inches, and four of length 3W + 1. [If you are working in metric, 1 can be 3cm and 1.5 can be 4cm. It is not important to be exact.]
For me, the height of the bag is 5N. Take one shorter and one longer wide ribbon and pin them at 90 degrees, the shorter ribbon centered on the longer one with one edge 5N + 1/2″ away from the end of the longer ribbon (or a bit further). Weave the remaining wide ribbons in a grid, pin, and stitch in place (I stitched along both edges of each of the two shorter ribbons).


Weave the narrower ribbons through the longer loose ends of the three wide ribbons. Put the longer narrow ribbons closer to the middle, and line all of them up so there is 1/2″ overhang on one side. Stitch along the outside edges of the wide ribbons.
Continue to weave the narrow ribbons through the wider ones. Work with the bag inside-out – that will make the final corner easier. You shouldn’t need to sew more than the far edge of each side (so, no maneuvering the sewing machine in the inner corner).
Of course, if you’re me, and you cut your narrow ribbon to be 8W instead of 10W, you might utter some unladylike words and have to cut new lengths of ribbon to cover the fourth side of the bag. I cut them much longer than necessary so I could line up the ribbon pattern in the corner.


When you get to the last corner, pin the narrow ribbons right sides together and stitch, just far enough out from the corner to avoid catching the wider ribbon. Trim to 1/2″ and press open.
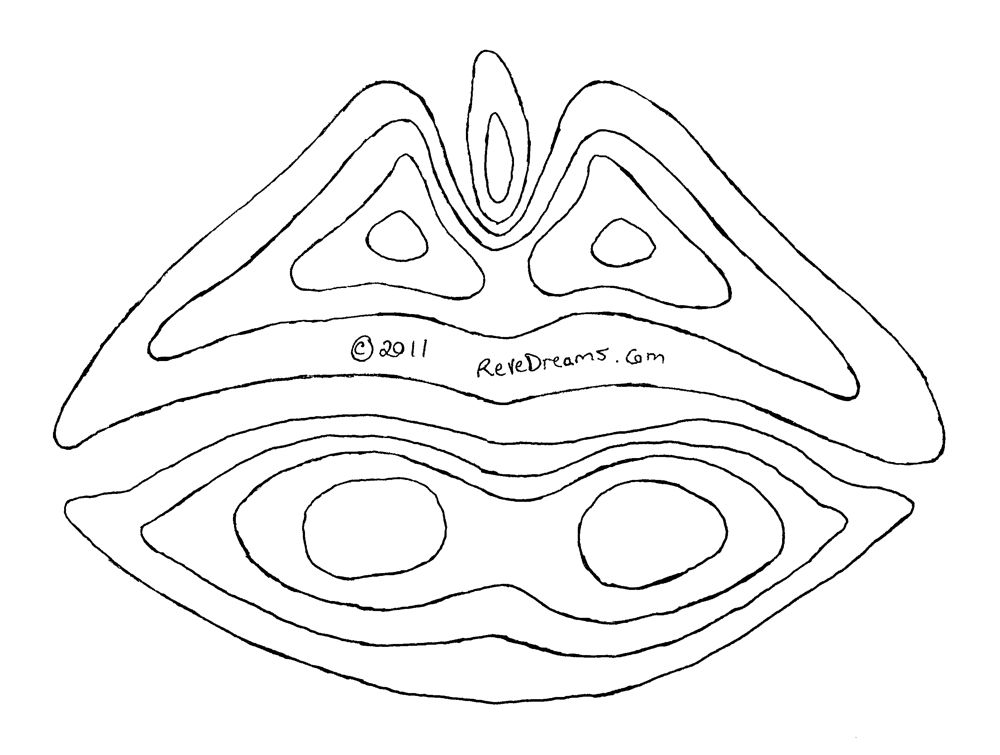
Now you need to cut out lining pieces. Follow my directions for the flap; if you prefer for the rest futuregirl has a tutorial complete with worksheet. The flap piece should be (flap height + 1)” by (flap width + 1)”. The other piece is (2*(bag height) + bag depth + 1)” by (bag width + bag depth + 1)”, where “depth” is the front-to-back measurement. [Here, precision is more important, so in metric, replace 1″ by twice your desired seam allowance, and in the following, replace 1/2″ with your seam allowance.]

Center the flap lining on the right side of the flap and stitch around the outside, catching only one of the two kinds of ribbon in your stitching but otherwise stitching as close as possible to the weave. You may need to scrunch the ribbons down on the middle wide ribbon, since they are not sewn in place. If you want fancier corners, as I did with my angled cut-off, I found it easier to stitch squarely with the ribbon side up, and then turn it over to stitch the angles. That way you know you are not stitching too close in, but you don’t have the visual distraction of all the ribbons.
Trim the seam allowance and turn. My ribbons didn’t take well to ironing, so I topstitched close to the flap edge to keep the lining from puffing out.


Fold the larger piece of lining material so that the bag width is preserved (fold the 2height+depth direction in half; you are making a seam that will run up the center of each side of the bag). Stitch the two edges perpendicular to the fold, with a 1/2″ seam allowance. Press the fold into a crease. Cut along the fold line outside each stitch line.
Open the seam allowance and fold the side down so the seam line runs along the bottom crease. Mark a line (bag height + 1/2)” down from the top edge, perpendicular to the seam line. Pin and stitch along that line. Do the same on the opposite side, cut the corners off at about 1/2″ from the stitching, and press them up toward the side seam. (If your wide ribbon is not sheer, pressing down toward the bottom of the lining is also fine.)


Fold the top edge of the lining down 1/2″ all around, with the raw edge and seam allowances to the outside, and set the lining into the ribbon bag. Line the lining seams up with the center sides of the ribbon bag, pin, and topstitch all around the bag. Again, you may need to make sure the narrow ribbon hasn’t arced up on the middle wide ribbon in front.
You may want to turn the bag inside-out and stitch from the ribbon side, to make sure that on the back of the bag your stitches line up with the ribbons.

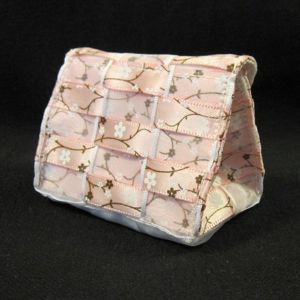
To make the bag fold in at the top and improve its shape, turn it inside-out, pinch the sides in half vertically, and stitch close to the fold line for 3/8″ to 1/2″. Turn the bag right-side-out again, pinch the four corners (try to catch the lining in the pinch all the way down) and stitch vertically close to the fold top to bottom.


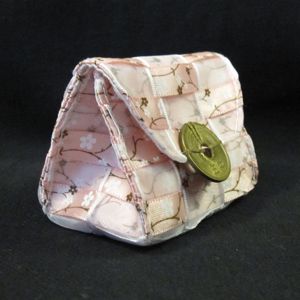
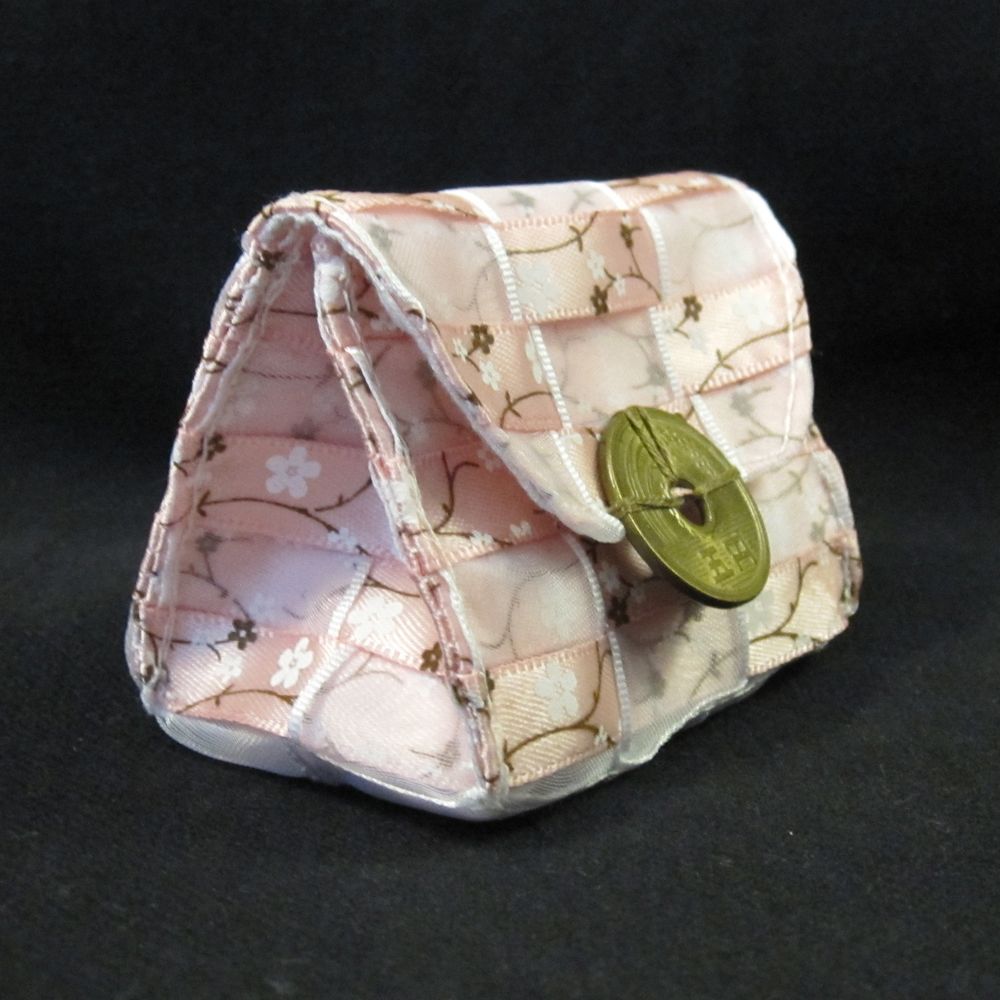
Finally, sew your coin (or button, or beads) centered at the edge of the flap. A snap or magnetic closure could be added underneath, or a button could be sewn on the front of the bag and a loop sewn onto the flap. I did none of that, so my bag does fasten shut. But my remaining international coinage has a prettier place to live now!
[1] edit: apparently Dollar Store Crafts took down their “April is Stash-Busting Month!” page after April. The idea is to buy nothing new for the month; craft only out of your existing materials.


