Good morning!

My sewing and crafting room is bursting at the seams – every available horizontal surface has baskets or bags or piles of stuff on it. I don’t like it that way, and as part of a more general downsizing and organizing push I am trying to make a dent in it. One aspect of that is to either complete or declare bankruptcy on all of my “current projects” (some of which have been in a large plastic storage bin labeled as such for several years). While going through piles I found some pieces of fabric that were earmarked to become coasters; some cutting and facing had been done. My first step in completing them was to cut interfacing of the full finished size (4 inches square) and use Wonder Under fusible web to affix it to the back of the fabric.
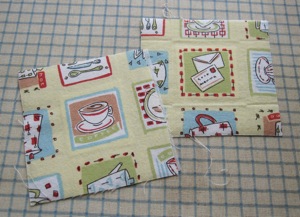
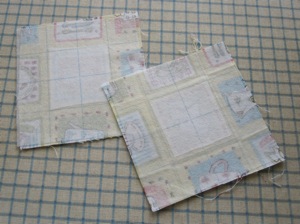
just fabric with interfacing

You can see the original bit of iron-on interfacing just under the image itself.

My original plan was to take the coordinating fabric and make a square frame around the center image, but I didn’t really put enough forethought into the process to do that. Instead, I sewed it to cover the partial images on two sides (sides on one coaster and top and bottom on the other), with pieces large enough that the raw edges were close to the center back, and folded another piece to match the uncovered image in front.
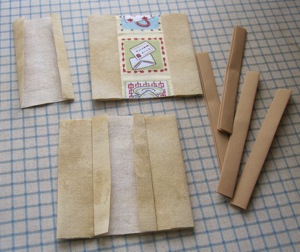
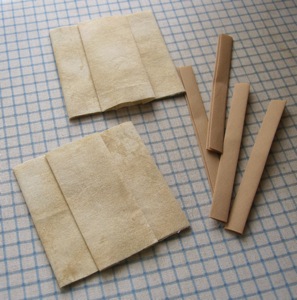
one layer sewn covering the raw edges in back

I think I may have swapped the two backings when I put them on, but that’s okay. They were attached with more Wonder Under. Then I found a coordinating color of bias tape (extra wide double fold, my standard kind) to cover the raw edge.
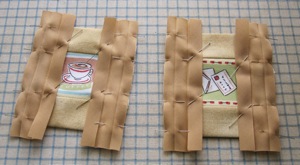
pinned

After sewing the hidden seam, I refolded the tape once, wrapped the ends around the edges of the coaster, folded the exposed corners so no raw tape edges would show, and stitched (somewhat sloppily) in the ditch with thread in two colors from the main images.
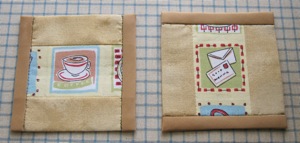
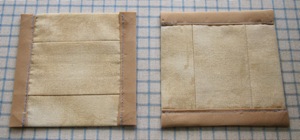
front back

Then I mailed them to my boyfriend, who was appreciative.
Civil War quilt project

As part of the Sew-Op I went to a meeting recently about a project for Quechee Library’s participation in Vermont Reads, a statewide community reading project. This time around the theme is the Civil War, because of its 150th anniversary, and since one of the librarians is a quilter, she thought of making a quilt in the style of those made for medic cots during the war. Since there was great need, they were simple so they could be made quickly.

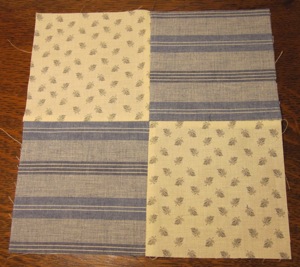
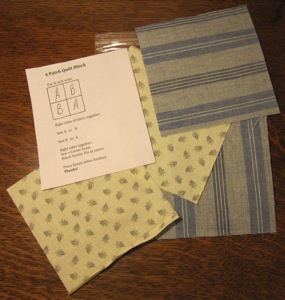
quilt square kit

She (perhaps with assistance) made a whole bunch of four-patch quilt square kits, as shown above. The fabric varies from kit to kit. The ones I chose are a reproduction of a period calico, and a homespun-style fabric. The finished quilt will have squares divided by strips of plain fabric, plus a border, 4 squares by 7 squares for a finished size of 48″ by 84″ – they needed to be long to tuck under the foot of the cot. She cut enough kits for two full quilts.

finished square

Even with pressing and photographing it took me less than 10 minutes to sew the square. If you are interested in participating, quilt square kits are available at the front desk of the library and due back by May 29. We’ll have a little bee at the Sew-Op on June second to assemble the quilt faces, which will then go back to the librarian to be batted and backed. Later in the summer there will be a community event to tie the quilts, and then they may be displayed, raffled, or donated.

Sketchbook update

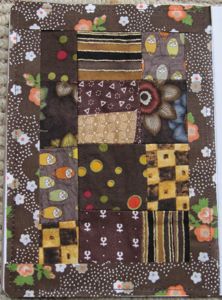
This time around I have a page and a half to show you. I finally finished the back side of the very first page I stitched:

brown quilt

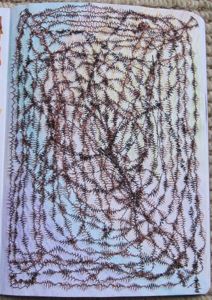
Since I have a lot of crafts with near-term deadlines, I didn’t do any hand embroidery this round. There will be plenty more of that, but I wanted to get something completed without spending several days on it. Hence, more machine embroidery. This time I colored the page before doing the stitching, and made the page pastel and the stitching black, like scratch-off coloring pages that are black over colors. I also switched from regular zigzag to a special diamond-shaped zigzag.

black diamonds

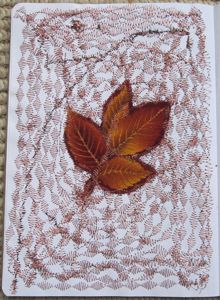
That was actually the underside while I was stitching. You can tell the kind of thread I had in the needle: copper metallic. Metallic thread is hateful stuff, but I am continually drawn to it despite that. Here’s the upper side:

copper and leaves

I worked it out and if the cover is included, I have to do a page a week from now on to finish the book on time. I’m not going to do exactly that; I’ll leave more for Thanksgiving and winter breaks. However, it was a boot to the rear to see those numbers! Starting in late November you can expect sketchbook updates to come slightly more than monthly.