Plush fabric coasters

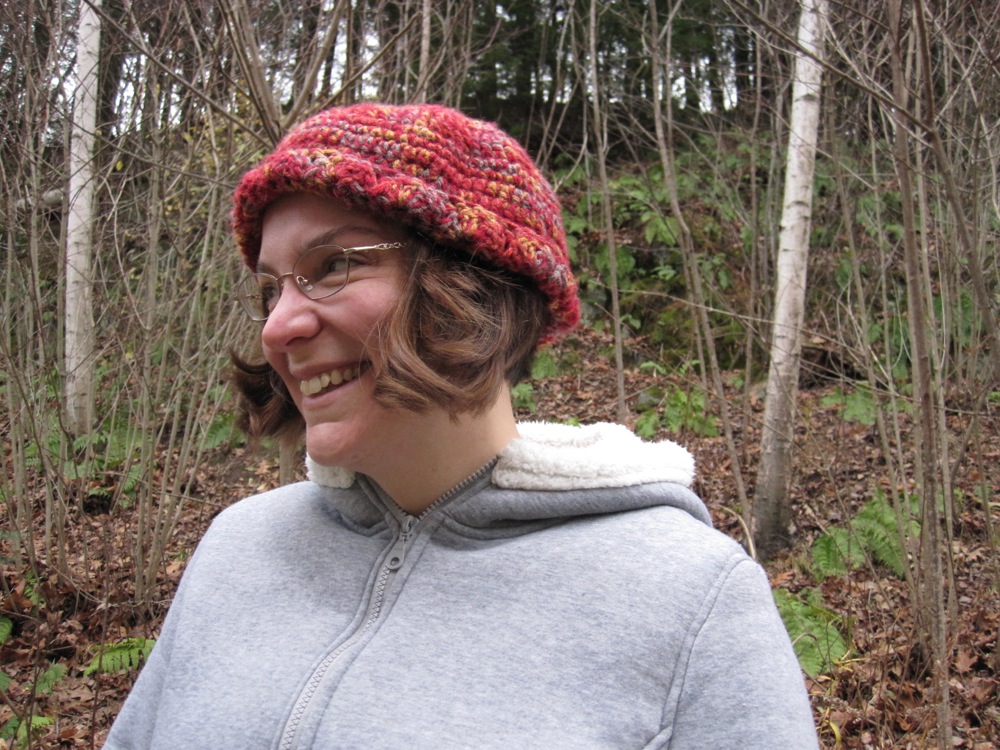
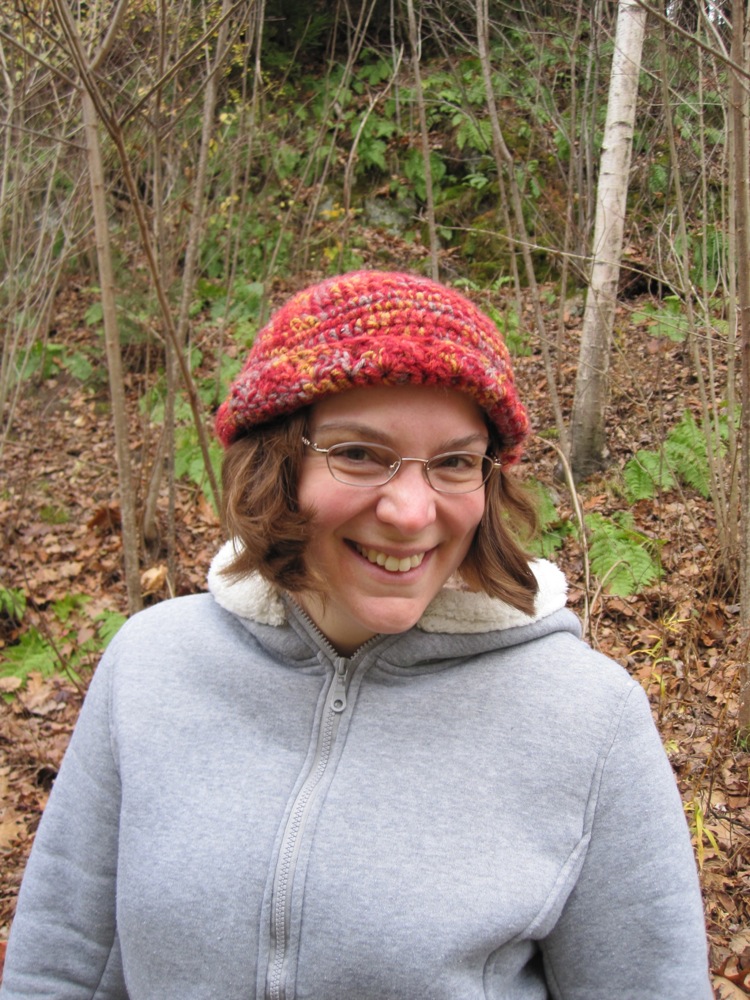
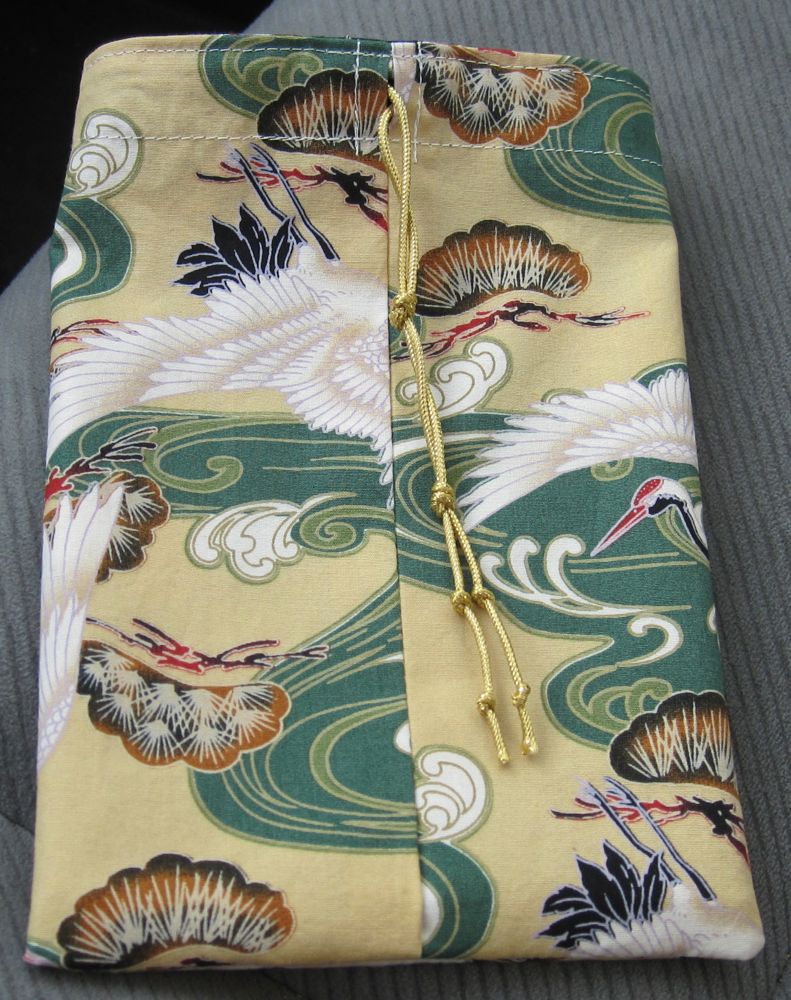
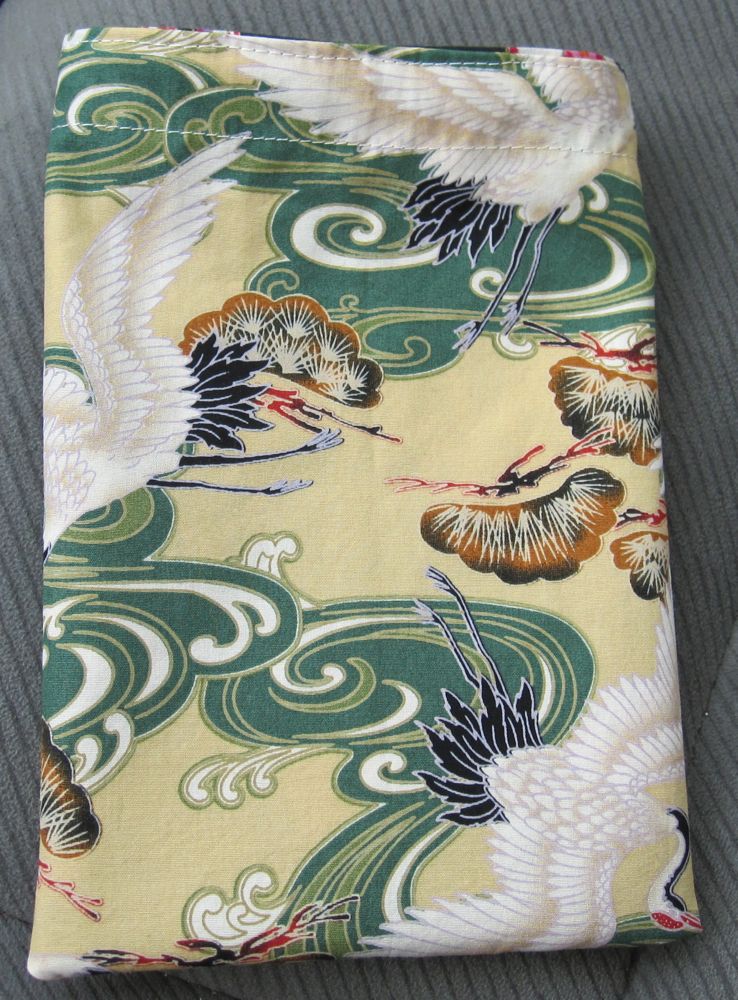
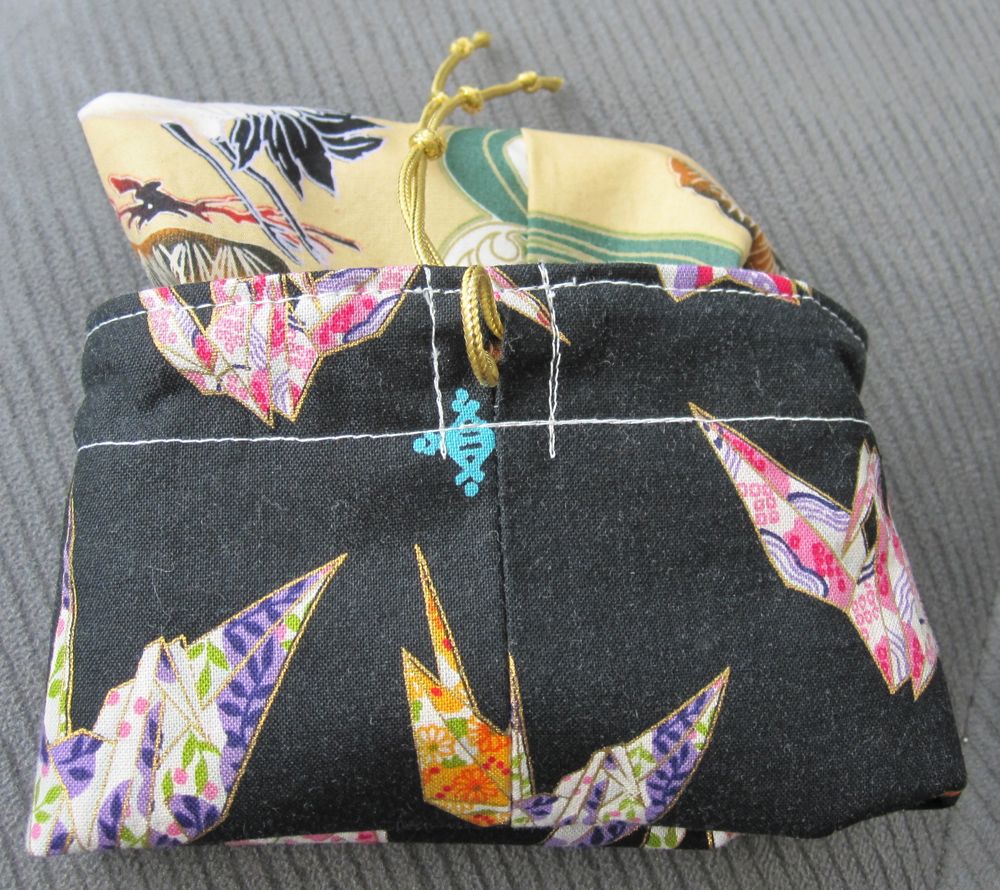
Sometimes, an ordinary fabric coaster doesn’t suffice. At least, that’s what my sister told me a few years ago. Her water bottle at work was sweating through the paper towels she used as coasters. In those situations, you need terrycloth.

I made her one then, and decided to make her another one this year featuring some of her favorite hobbies.

finished ballycumber face finished marker face

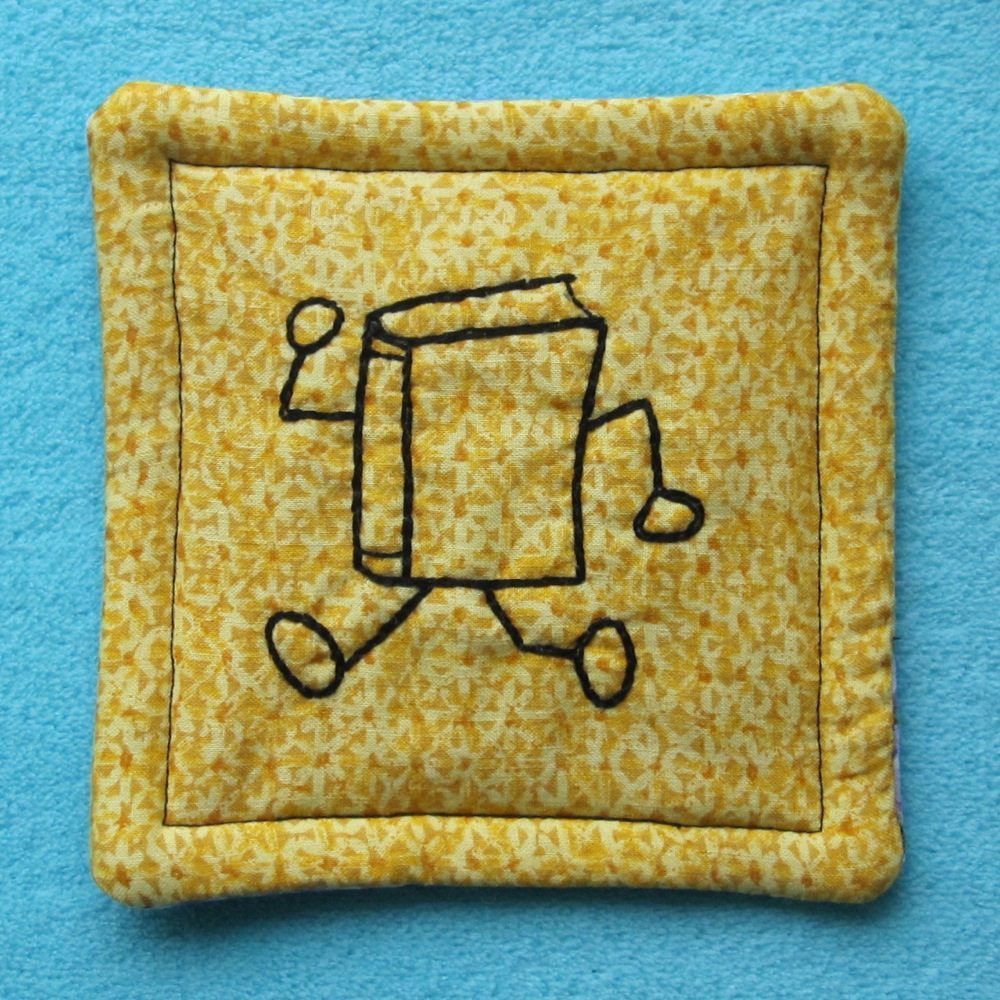
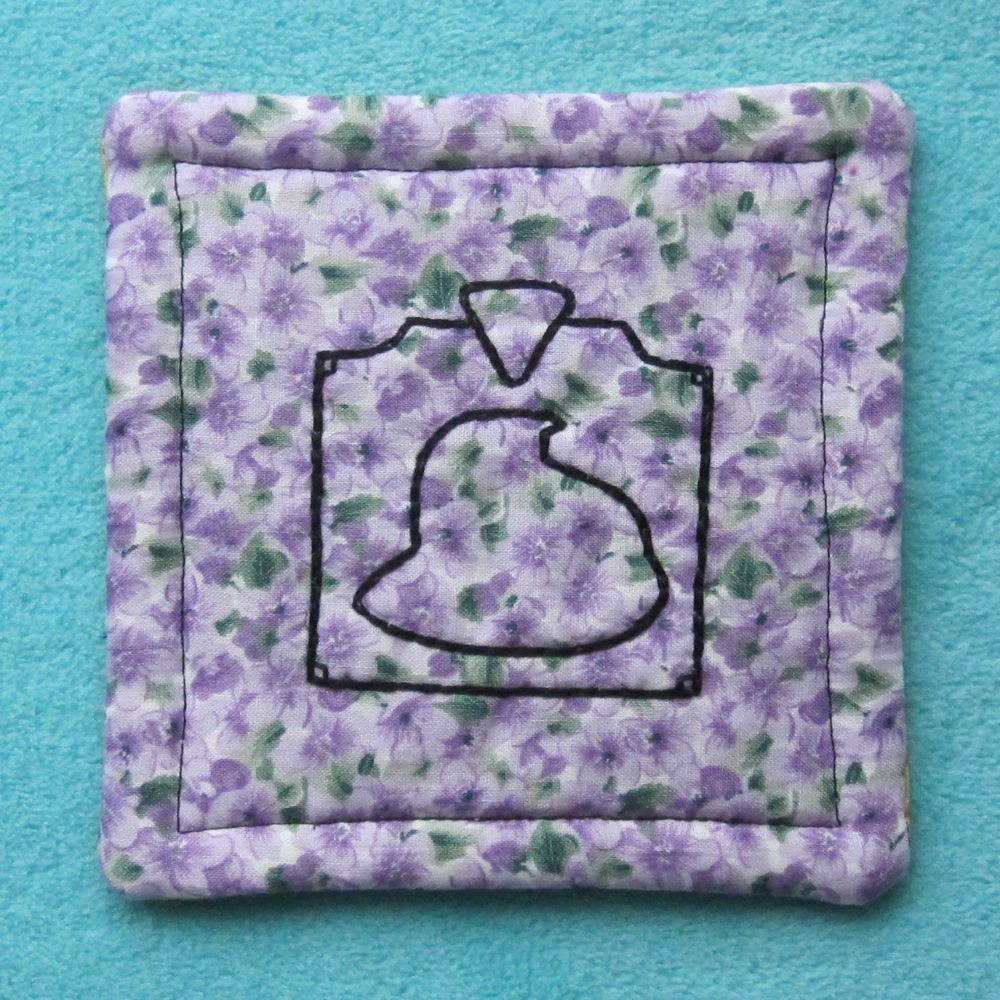
I use a double layer of terrycloth and made the coasters a bit larger than my usual ones to accommodate the thickness. It is also much easier to quilt the sides individually than the whole coaster together – and in this case I think it counts as quilting rather than “quilting.”

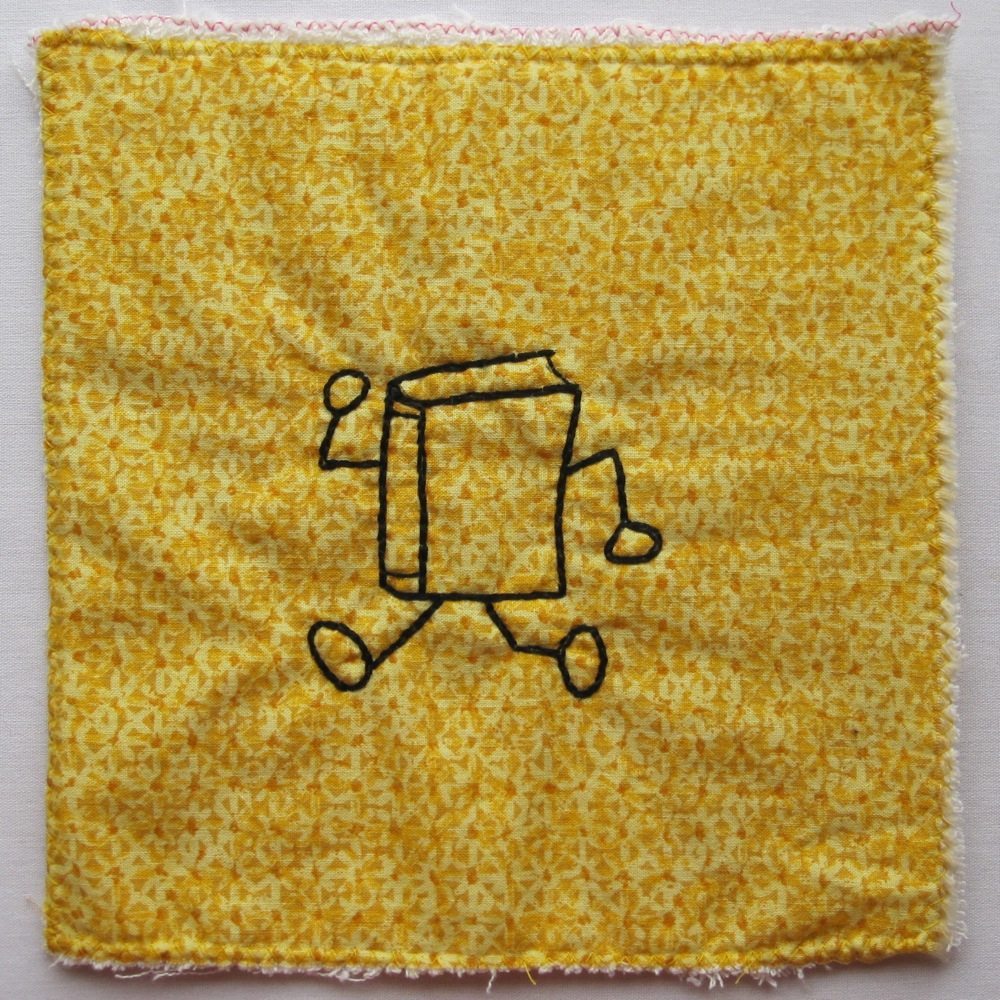
I don’t have records of measurements and so forth from the previous coaster; this time I cut fabric into approximate squares 7″ to 7.5″ on a side. After finding the images I wanted to use, I traced them onto the fabric (roughly centered) with a fabric marker. Finally, I zigzagged them onto terrycloth and then cut them out, in an effort to reduce the amount of terrycloth lint in my sewing machine.

The quilting on the previous coaster was your usual concentric squares and parallel lines, but this time it was accomplished by embroidering the images. I covered and widened the marker lines with stitching through both the fabric and the terrycloth.

stitched ballycumber unstitched peep in historical marker

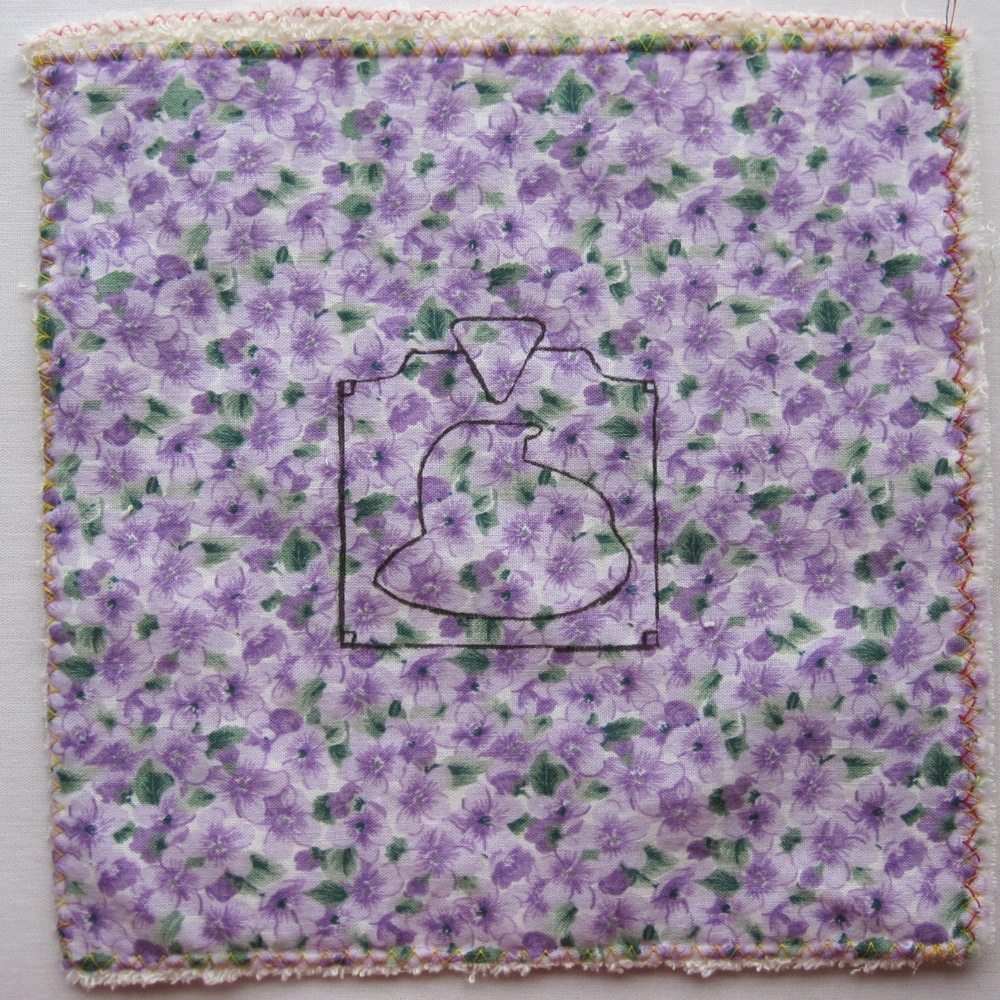
When I went to construct the coaster, I decided on a 5 1/4″ square. From the center of each image I marked out 2 5/8″ in each direction, discovering they were not at all centered on the fabric, and drew in the stitching line for the outer seam with a pen. I stitched around each face individually. To align the faces, I put a pin through each corner of the stitching on one face, with the pinpoint on the fabric side, and then put the pins through the corresponding corner, fabric to terrycloth, on the other face. “Up” is the same direction on each. After pinning, I stitched around the previous stitching lines, leaving the middle of one side open. I trimmed the seam allowance to between 3/8″ and 1/2″ and then turned it right-side-out, working the corners as far out as I could. I hand-stitched the opening shut and then top-stitched by machine between 3/8″ and 1/2″ from the edge (evenness was hard).

Incidentally, the yellow side of the coaster features Ballycumber, the yellow book mascot of Bookcrossing, a world-library project. The other side is for Markeroni, a historical marker with my sister’s Markeroni mascot on it. The colors even fit: many historical markers are green, and Peep the mascot is lavender. (I think. He may be a well-traveled pink.)

New hat!

Saturday was my second crochetiversary, which makes today my second crochetiversary, observed. So it is only fitting to have a crochet post.

I have been on a quest for a winter hat that fits my big head and doesn’t become completely useless when the wind blows. Last time I used two strands of worsted weight held together, and while my Strawberry Shortcake hat is a favorite now, it’s not what you would call warm.

side view front view

I made a second hat shortly after the hat above, also with two strands held together, and while it was more snug, it still wasn’t warm. I tried lining it with a second layer of hat, but then it was just floppy and unwieldy – without really being that much warmer, because now it didn’t come down far enough to protect my forehead or ears.

Enter two skeins of Lion brand Jiffy Thick & Quick and my N hook. There aren’t many pure-acrylic bulky yarns that are easy to crochet (the homespun types cause me no end of aggravation putting the hook through them instead of around them), and I can’t have even 20% wool against my forehead without being itchy to distraction. Fortunately, this kind comes in a variegated autumn color scheme I like.

Following the idea of a pattern I saw online, I made it from the bottom up. This made fitting a lot easier, since from the start I had something I could actually put on, rather than resting a pancake on my head and wondering “should I stop increasing now?” For extra density I used back post half double crochet, and for ease of real-time fitting I started with foundation half double crochet. For the latter, I did exactly futuregirl’s method for foundation single crochet, including starting with a ch 2 (ch 3 was too much, oddly), but with a yarn wrap before the first hook insertion. Back post is when the post is to the back of the stitch; it is the one where your hook goes into the back of the fabric, around the post, and back out through the back of the fabric.

front back

I realized I don’t know how to decrease properly in hdc, and instead of looking it up I made it up: make an hdc except for the final yarn over/pull through (3 loops on hook), pull up one loop in the next stitch, yarn over and pull through all four loops on the hook. Similarly for bphdc. I tried it with a yarn over between the two loops pulled up through stitches, which is the accepted method, and it was just too bulky. The way I did it you get a nice little triangular stitch.

I wanted to relax and not pay attention to the pattern, and of course hats are very sensitive to personal size and gauge, but the idea was this:

1. fhdc until you have something that fits around your head, over your ears and nape of neck to forehead. Sl st to join; this is the back of your head.
2. ch 2; hdc around with a dec on each side of the head [foundation stitches are supposed to be true to size, but even when I focus on pulling the link and chain through a good ways, mine are still a little tight]. Sl st to join.
3. This is the first back post round. Ch 1 and bphdc around, with an extra bphdc at the end (in the sl st). Here you start working in a spiral, so no joining.
4-5. bphdc around with 4 increases: two near the start of the round and 2 near the end [this puts them towards the back of your head where more of the size is].
6-7. bphdc around.
8. in this rnd you start decreasing. Put one dec about 1/6 of the way from each end, and otherwise bphdc around.
9. put three dec in the first quarter of the round and three more dec in the last quarter.
10. put 8 dec in, concentrated toward the front.
11. put 7 dec in, evenly spaced.
12. as in 11.
13. back to 8 dec, but evenly spaced. After this rnd I had 23 sts. If your head is smaller you might have fewer.
14. as in 13.
15. dec 7. Stitch around so the top loops show to the outside like in the bphdc and FO.

side

It is an incredibly warm hat that covers my ears almost completely, without being insufferably thick or floppy. Success!

We took these pictures on the same day as the kappa pictures, and the leaves were gorgeous. So, a little bonus picture of one of the most beautiful fall colorations I’ve ever seen:

gorgeous

Also: happy birthday to my brother Jason!

Half-hour reversible drawstring bag

Last Tuesday afternoon I had a haircut. As often happens, I completely forgot that it was the holiday season, and I would like to give my stylist a gift, until a couple of hours before. Or, really, about an hour and fifteen minutes before. I thought I would cut a piece of nice fabric, get cookies, and wrap them in the fabric.

In about twenty minutes I made a reversible drawstring gift bag, and then I stopped by the nice grocery store en route for some gluten free cookies. That is why these pictures are all in my car.

crane bag crane bag

crane bag crane bag
It wasn’t until I was writing this post that it occurred to me the other fabric is also cranes.

Later I made some more bags of the same sort, so I could share the method with you.

Continue reading Half-hour reversible drawstring bag