This continues the post from three weeks ago.
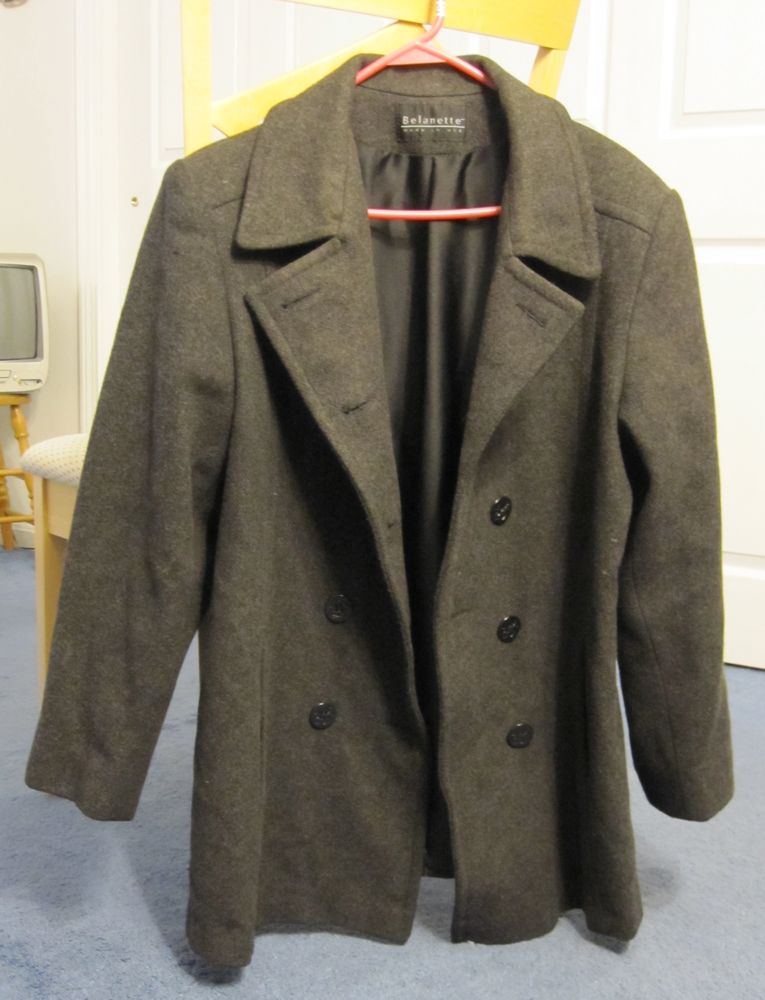
When our story left off, the coat had some tricot interfacing ironed into the back and new outer buttons sewn on. The lining had been removed and half of it disassembled, and paper pattern pieces made with a half-inch seam allowance.
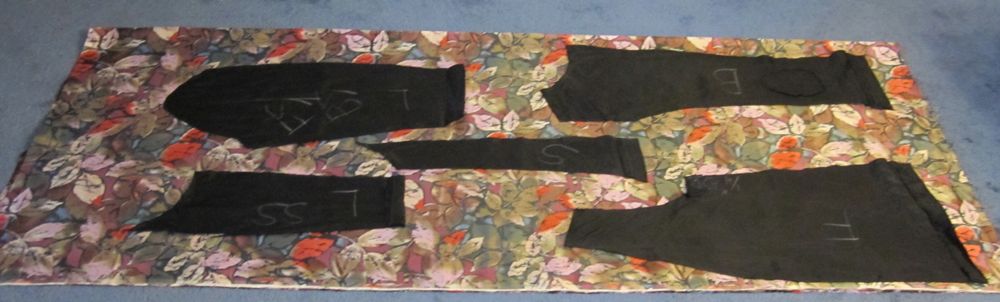
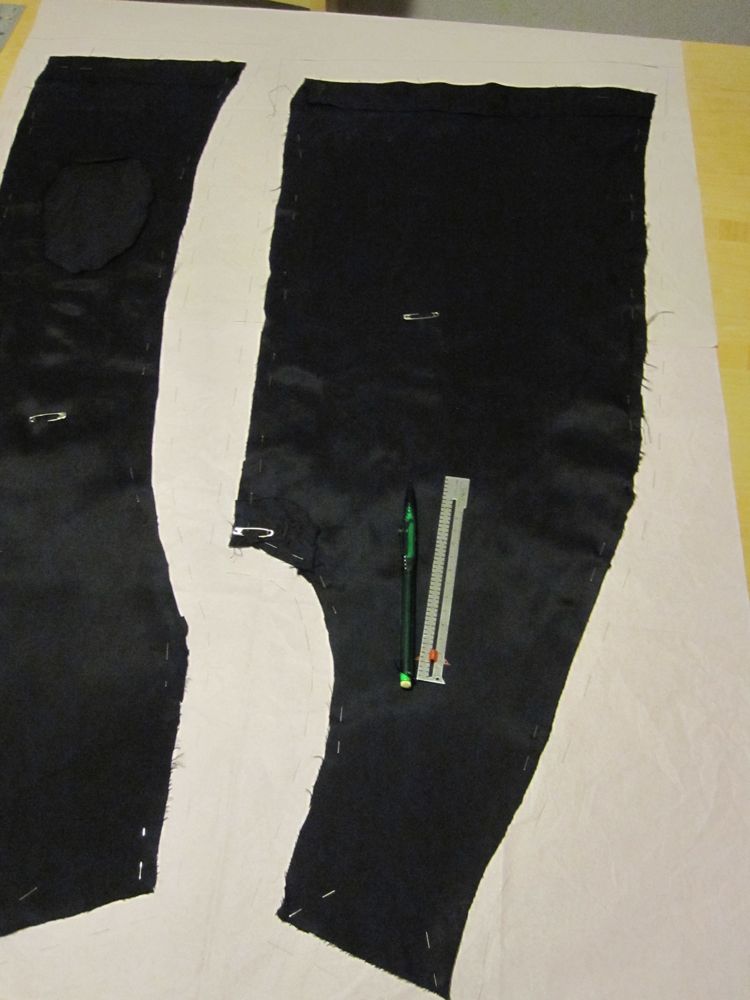
This time around I cleaned off my dining table, which is not so easy on the back as a cutting table but is the only sufficiently large surface to use, laid out the fabric and cut my pieces. Using the un-disassembled side of the original lining as a guide, I distributed them into a left half pile and a right half pile.
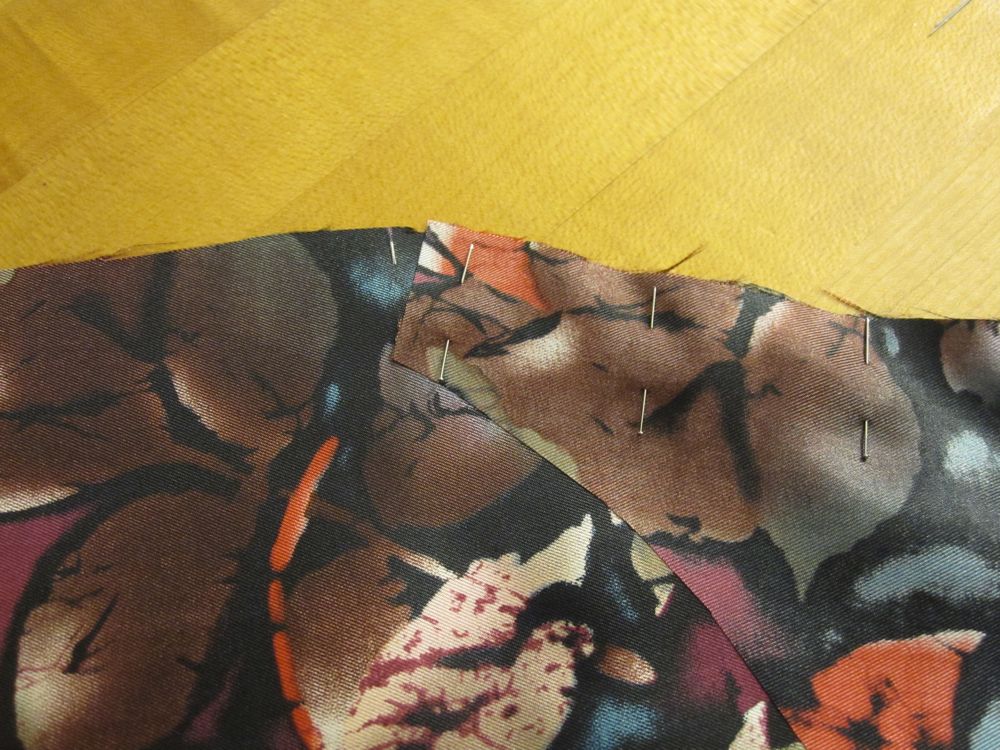
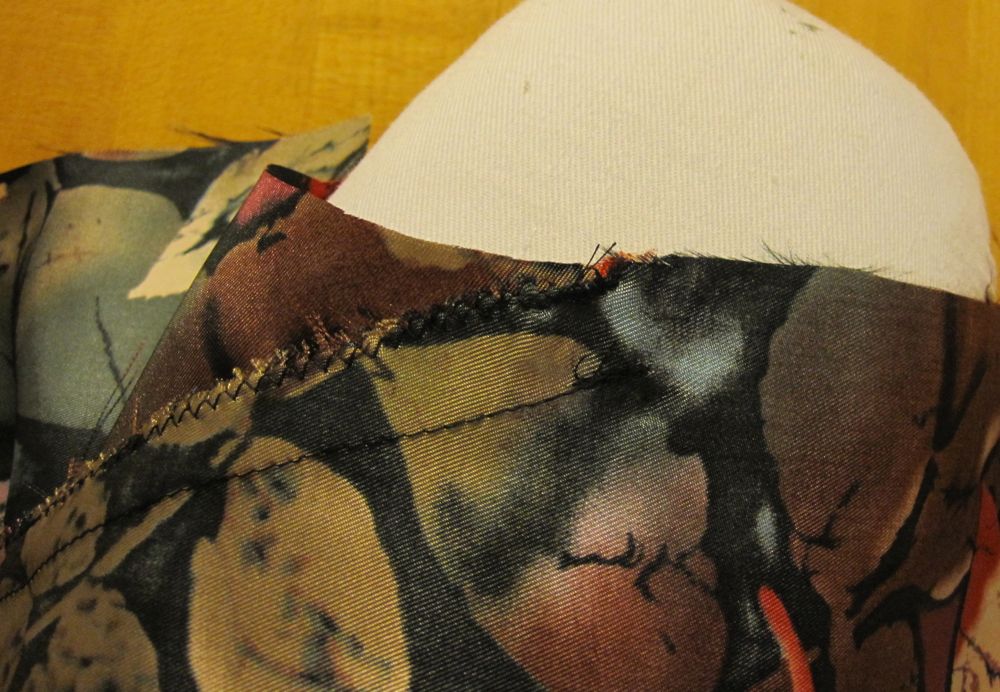
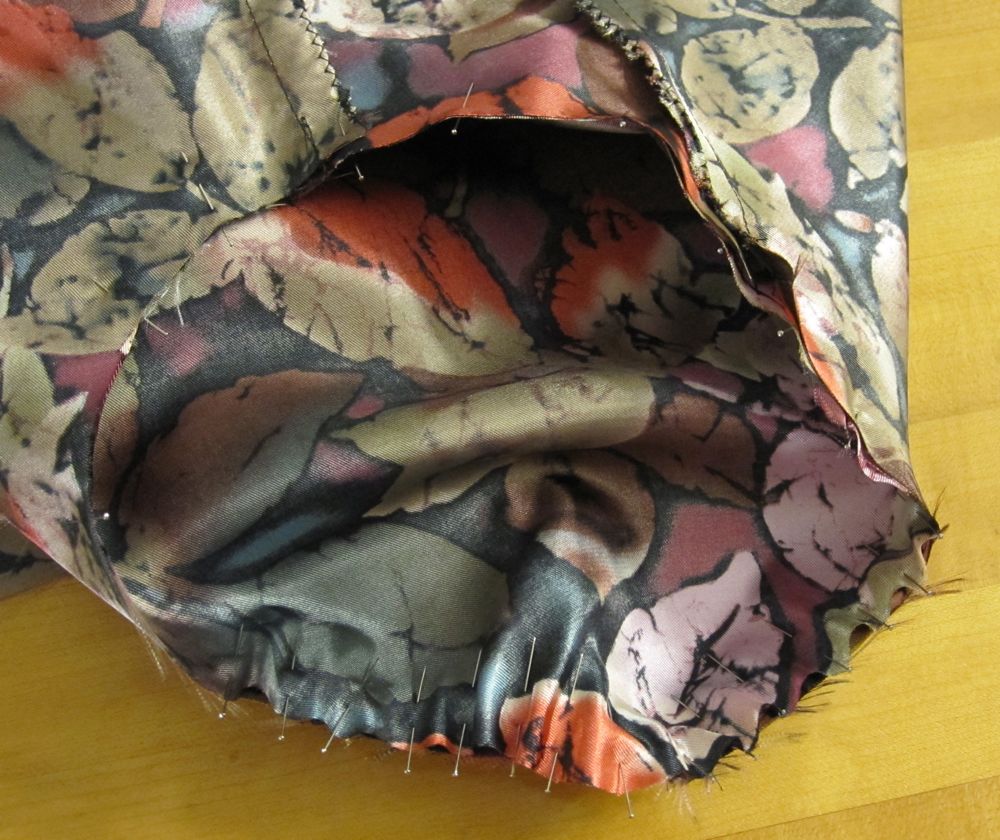
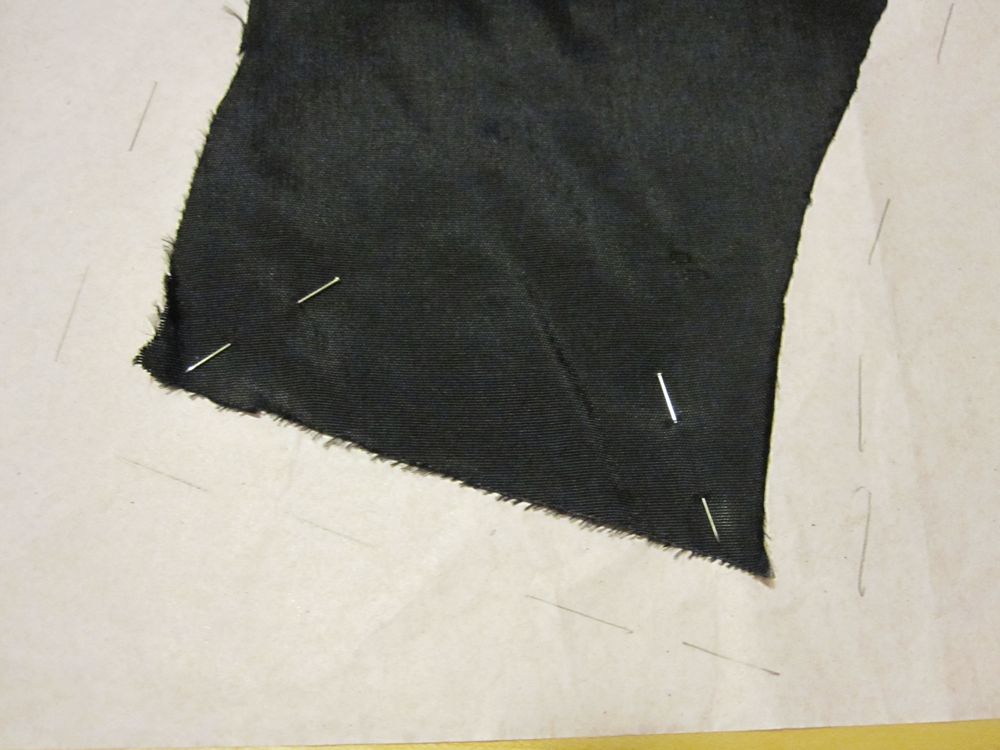
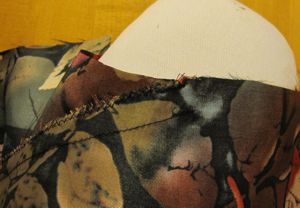
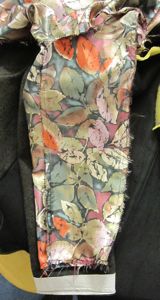
Now, patterns that are sold come with all kinds of markings to let you know what attaches where and how. Homemade patterns from a disassembled garment do not. Sometimes I just had to plunge on and trust all would work out, as in the first picture below, which looked questionable but turned into the second picture below.
In constructing the lining, I was concerned about two things: getting the pieces mixed up left/right, and setting the sleeves in correctly. For the first one I just made sure to sew the two halves together individually before sewing the center back seam (in a commercial pattern the steps would almost certainly be to assemble the back, side, and front pieces, and then assemble the sleeves, and then set the sleeves into the armholes). That let me maintain two separate piles. For the second, I started out by eyeballing the original lining for how much distance was between the seams of the armhole pieces and the seams of the side body pieces (it was convenient that the sleeve was two separate pieces). After doing one, I measured and made the other match, though it took me two attempts to mirror-image myself and do it correctly (fortunately only pinning was involved).
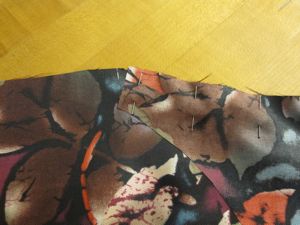
I ran into an unexpected issue: my sleeves were much larger than my armholes. Not by an unreasonable amount, but far more than I expected. I did the Lazy Gather: pin smooth until some reasonable distance away from the shoulder seam (about 3″ on each side), and then by folding find the centers and pin them together, find the centers of each half and pin them together, and repeat until you have it pinned at reasonable intervals (after the first two rounds I eyeballed the centers instead of folding to find them). The bumps sew down into little pleats, but no one is going to see the shoulders of my coat lining so I didn’t care.

The fabric was much less stiff than I thought it would be. For a while I was afraid it was going to be the kind of fabric that never stays squared and is miserable to sew, because you have to square it up and then pin it every centimeter to get clean stitch lines. Fortunately it was not so bad, though it did fray a fair bit. After sewing my seams I zigzagged the seam allowances, and then zigzagged all the raw edges.
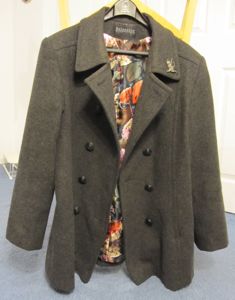
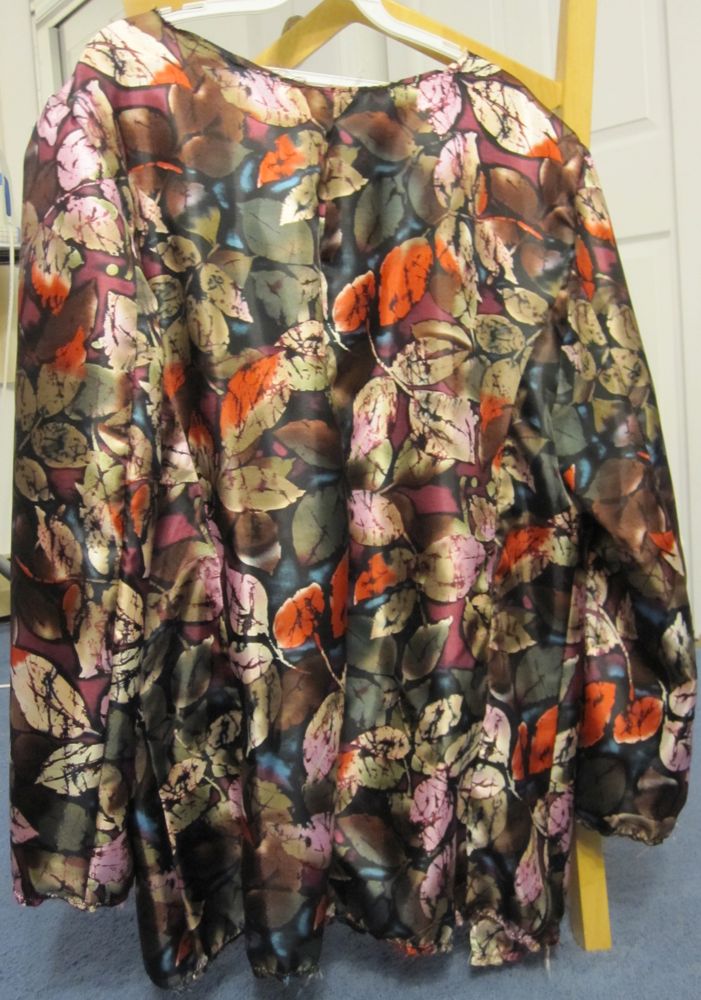
My last lining-only step was to put the pleat into the center back that had been in the original. Since lining is typically made out of non-stretchy fabric, ease is added to the lining via extra size, which is then pleated or gathered down to match the outer fabric. If you didn’t add some ease, you would find your mobility restricted. Here’s the finished but uninserted lining.

If this were a blouse, I would run away. But it made me excited as a lining!
Next came putting the lining into the coat, and this is where I found myself relying on my deconstruction photos. I decided the best order would be to sew the lining in at the top and slightly down the front opening, then do the sleeves, then figure out the hem, and finally finish sewing the lining at the front opening. In hindsight, it would perhaps have been easier to do the sleeves first, but I was worried I would get them attached all twisted around.
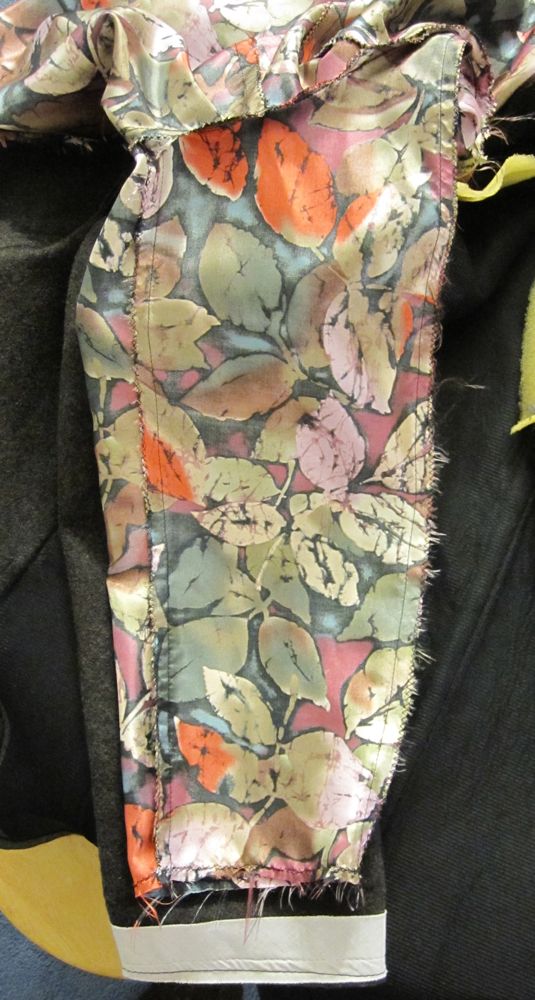
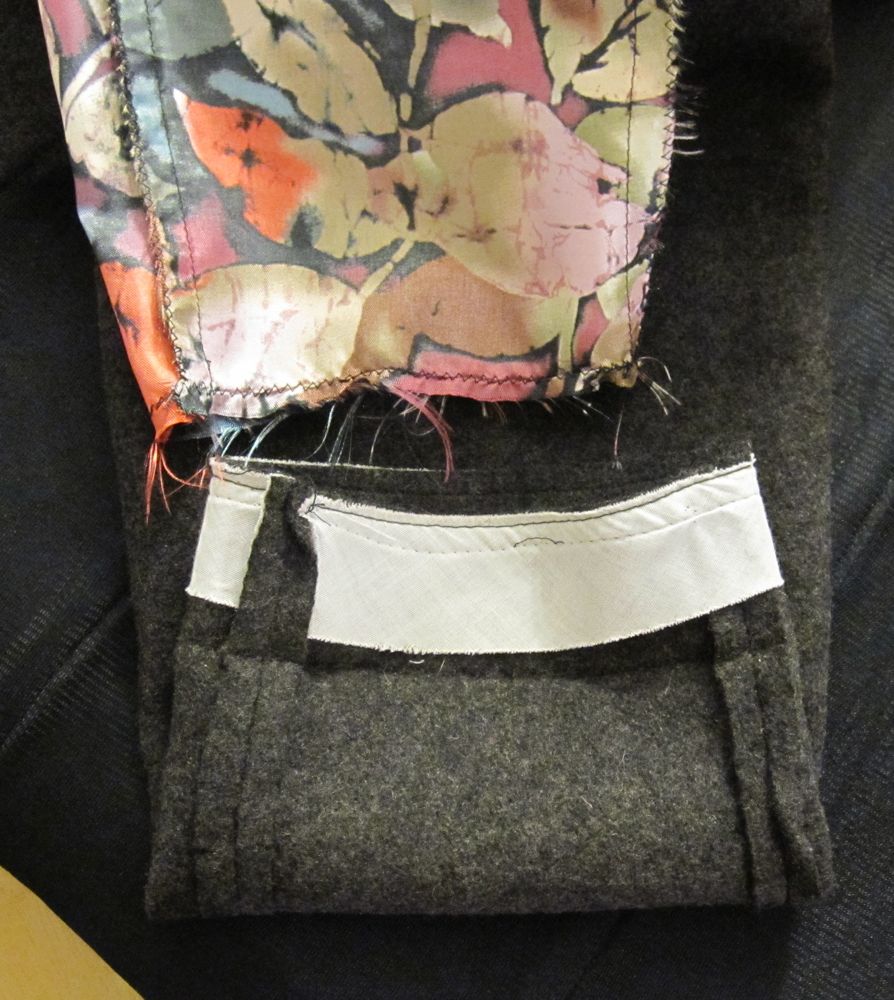
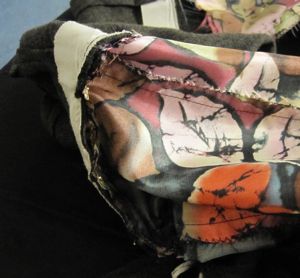
I did the first step and then put the sleeve linings down into the sleeves and hung up the coat to check their orientation. Glory hallelujiah, the coat sleeves were in two pieces also, and the seams were meant to match up (I later realized I had this information in photo form). Time to put them together. But how? There are not many lined jackets in my life, so this was a skill I had not exercised since I was seamstressing for a living. I stood there talking to myself – “do you have to do them from the outside? but no, then it would be a loop and you’d never get it right side out” – and figured it out. In the first picture below, the sleeves are lying with their shoulder sides together. In the second, I slid the lining up a bit and folded up the coat sleeve, and that is how they are supposed to meet.
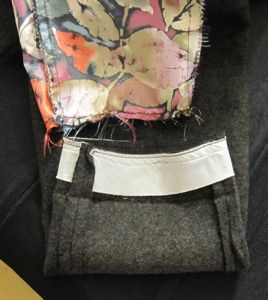
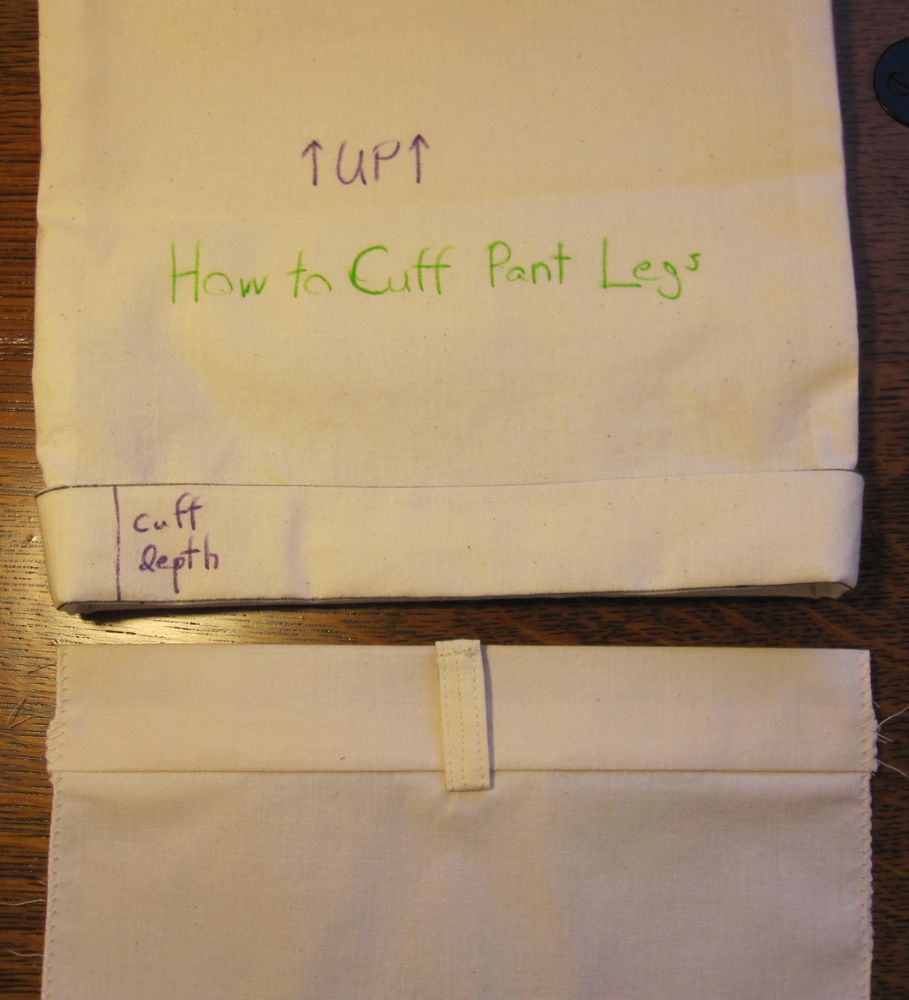
To pin them I folded the lining up a bit at the cuff and slid it inside the coat cuff, as in the third picture above. After stitching that seam I folded the coat cuff up on its existing fold line and hand-sewed the edge to the two seams to keep it up.
Before sewing the rest of the front seams I wanted to hem the lining. I’m glad I allowed 1 1/2″ in the pattern, because I only folded up 1″ in the center back. It was 1 1/2″ on the outside edges, though I could have gotten away with less, I think. I didn’t do an invisible hem, just a regular machine hem (I really kind of hate hand-hemming). Then the last attachment to the flaps folded in from the front of the coat, and hand-tacking those flaps to the outside of the coat at the bottom.
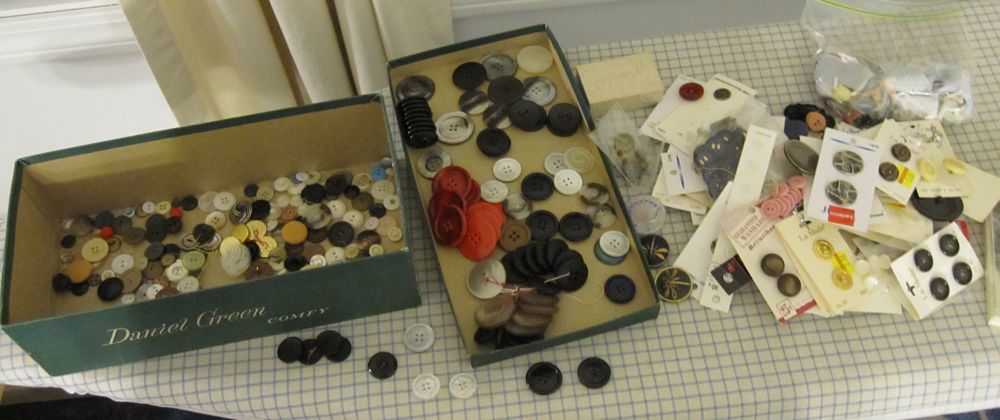
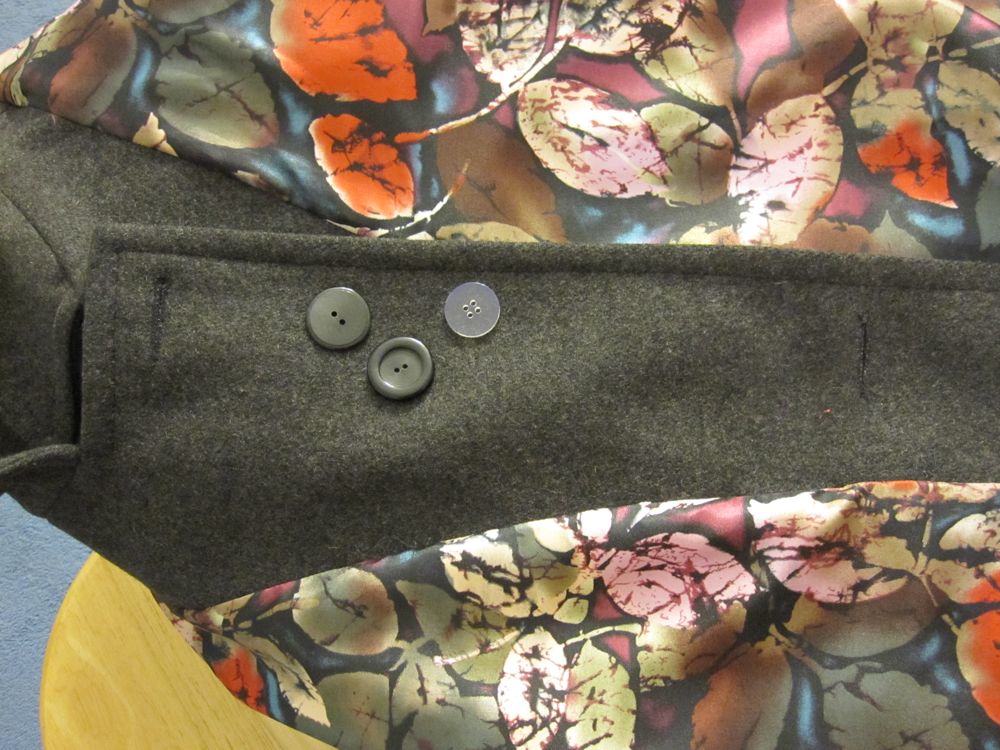
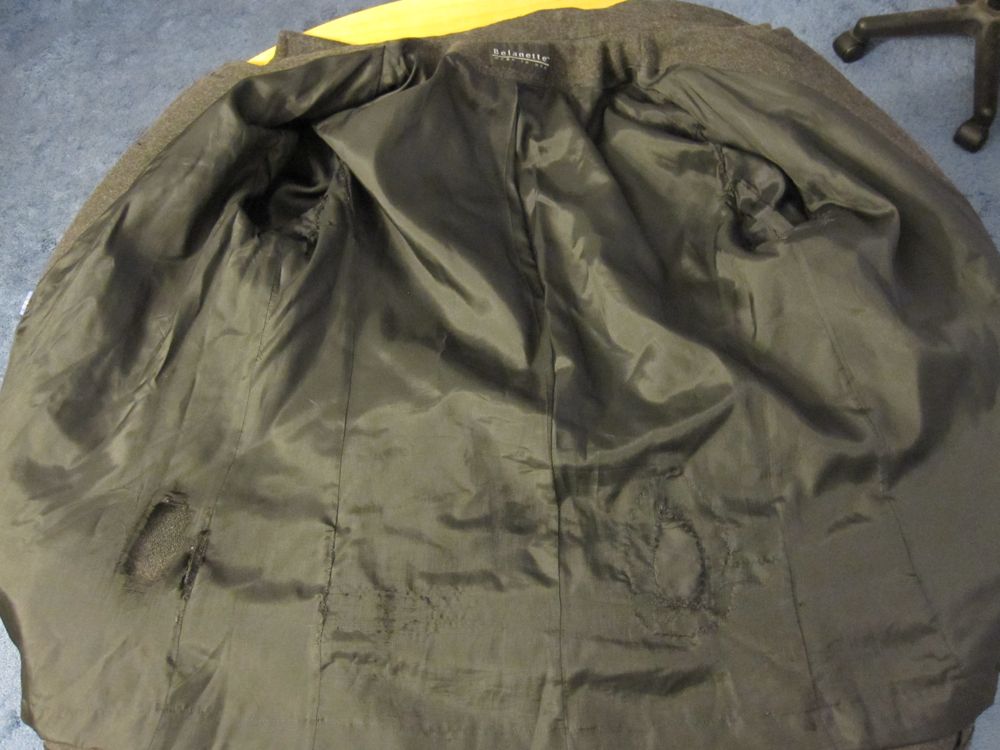
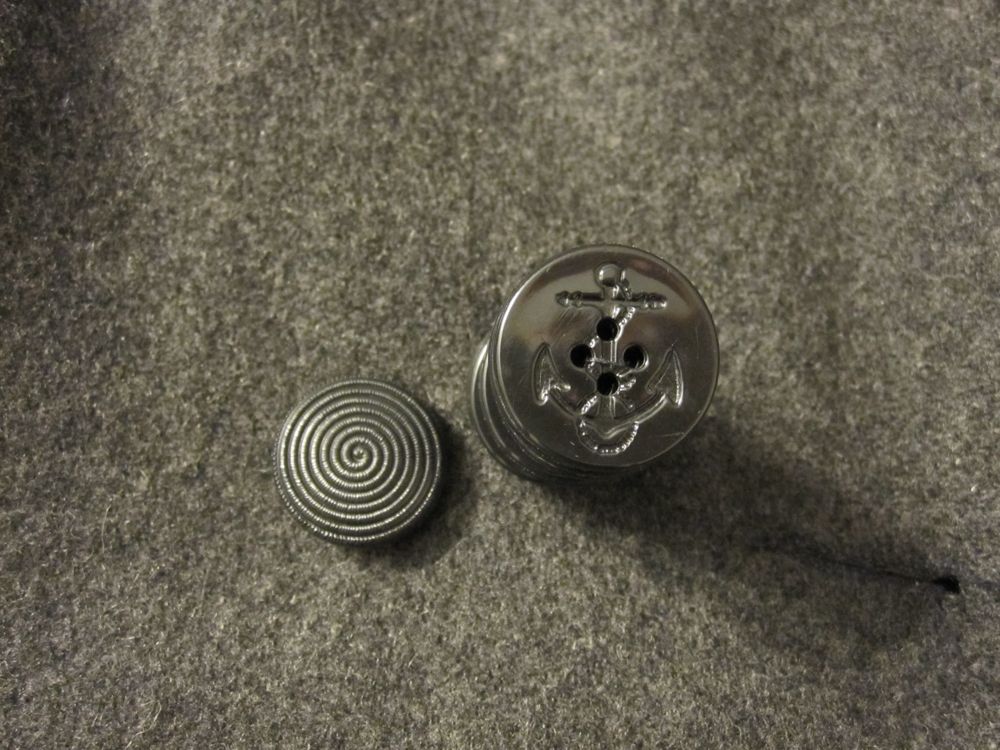
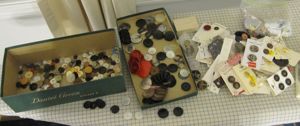
After the lining was in I could sew in the interior button. As it turned out, I had two interior buttonholes, and just the one interior button. So I dug into my grandmother’s button box (magical wonderland that it is) and replaced the ugly clear plastic button with two black buttons.
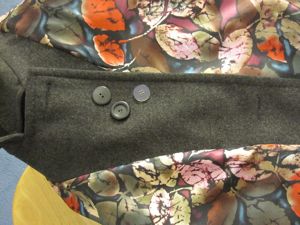
Unfortunately it took me two tries to sew one of the buttons on, and it ended up slightly off from where it was supposed to be. It still works, and I don’t often use the inside buttons anyway, so in the interest of not sewing it a third time I just left it.
After the buttons the only thing left was a swing tack to keep the back hem of the lining in the vicinity of the back hem of the coat. I think I’ll make a separate post on swing tacks; they’re worth knowing about.
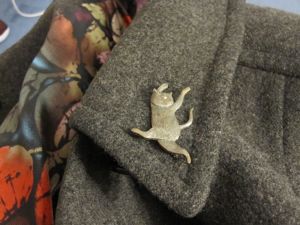
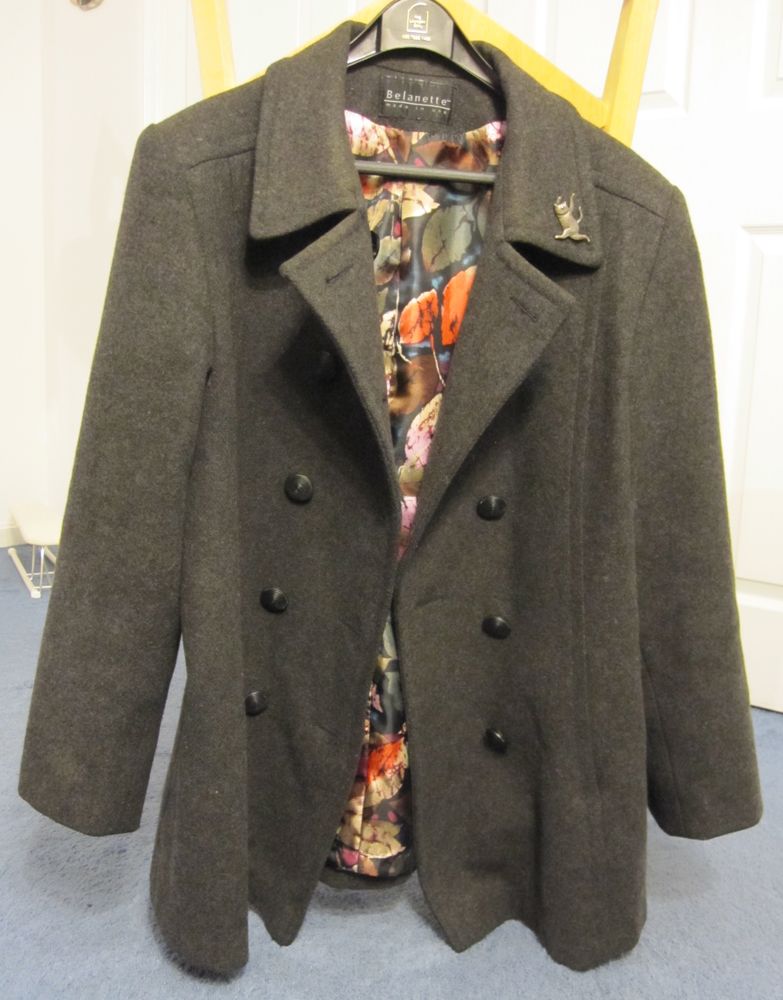
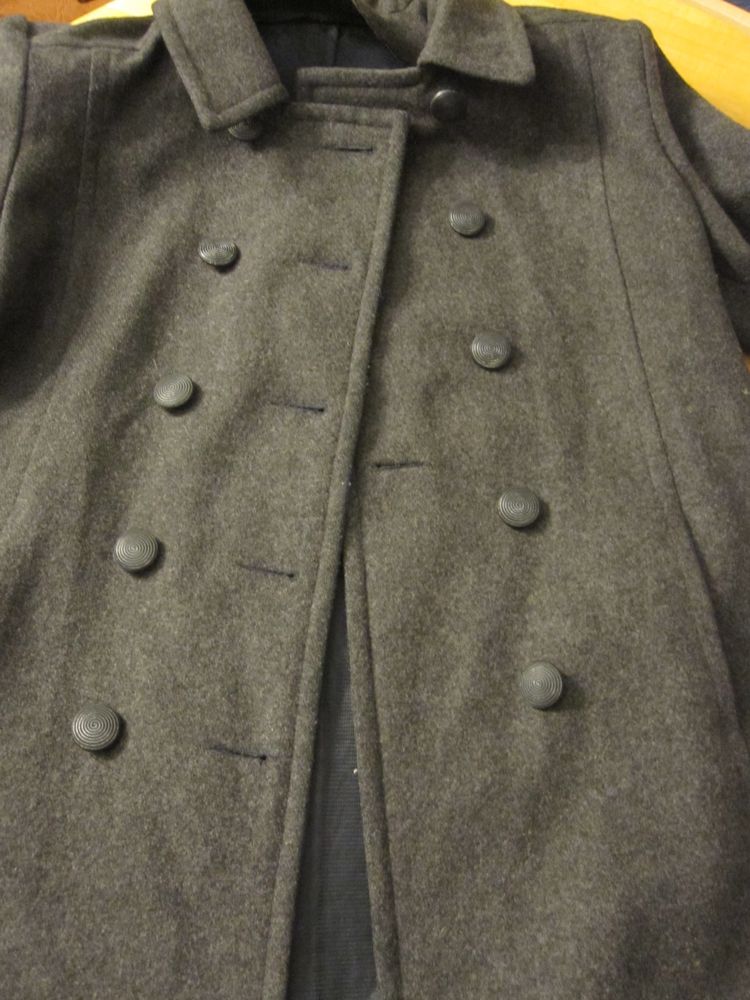
Lastly, for completeness, I put my pin back on. This pin was a gift from a dear friend, who got it at a Chicago art gallery or museum. It’s an Edward Gorey drawing that made him think of Where the Wild Things Are, which made him think of me. I had removed it, but it so perfectly fits this coat’s lapel that I was very happy to reinstate it.