Achieving closure

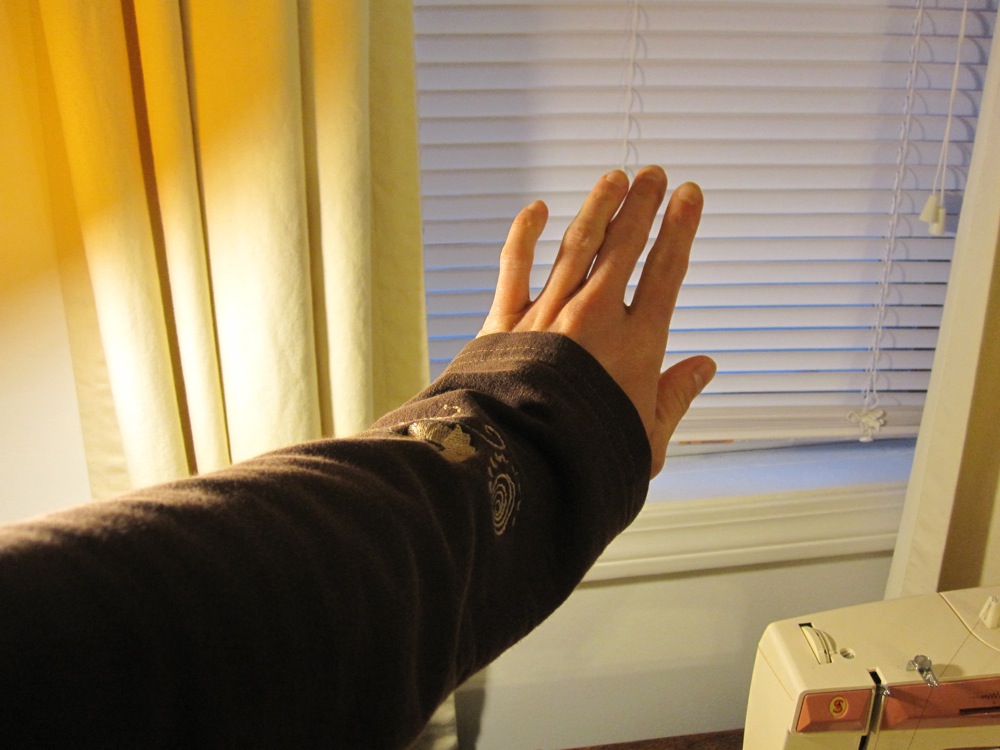
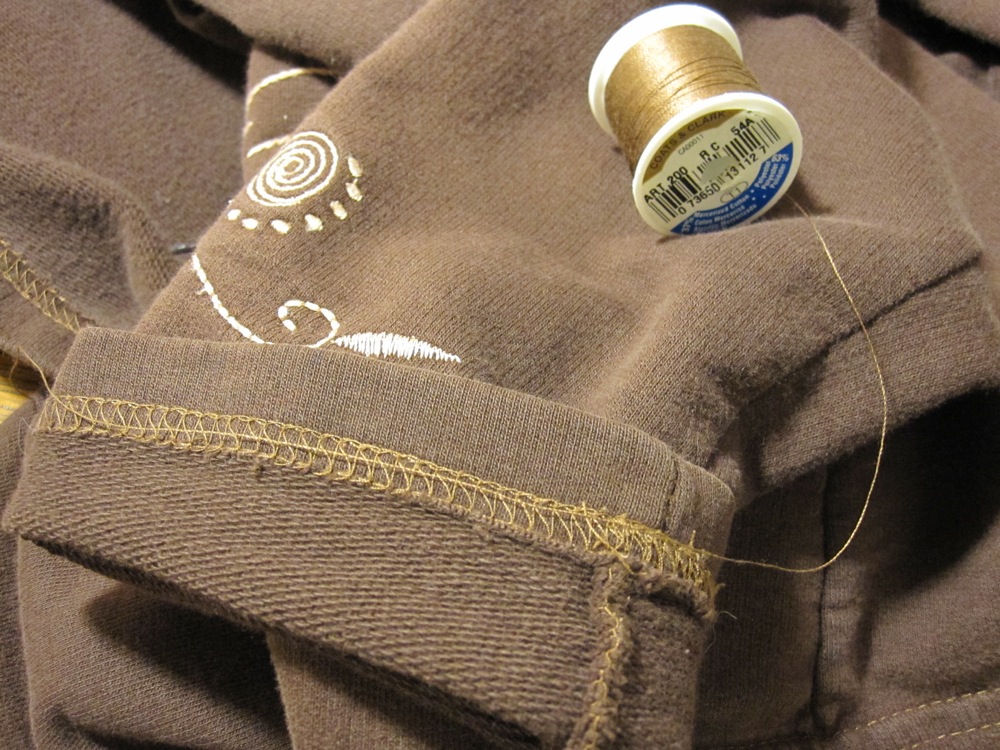
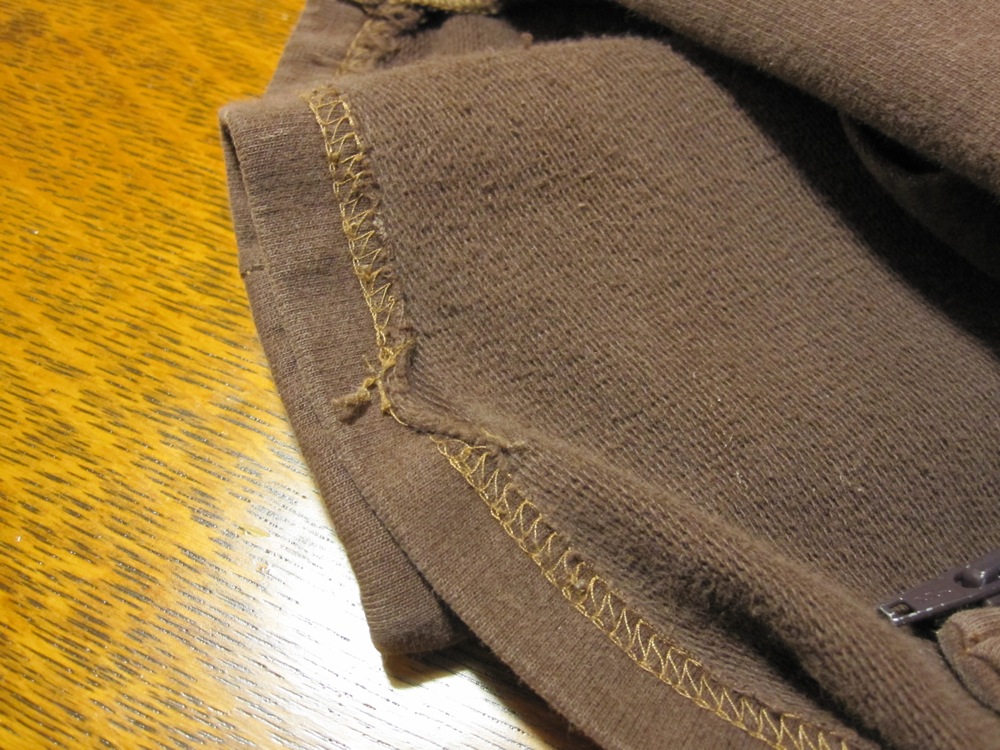
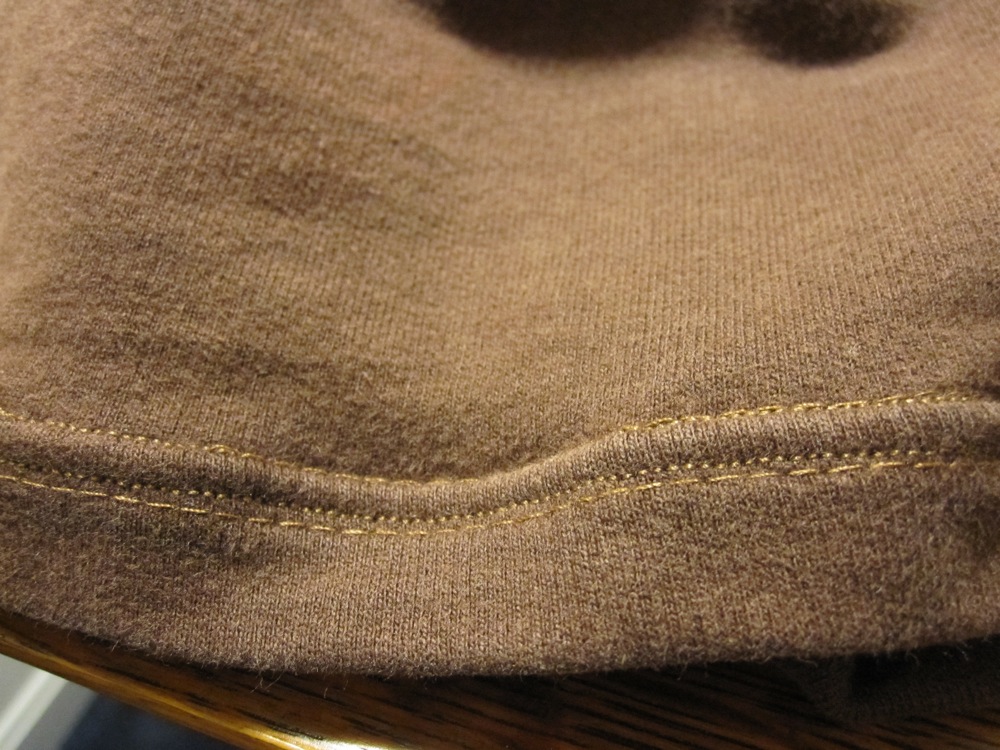
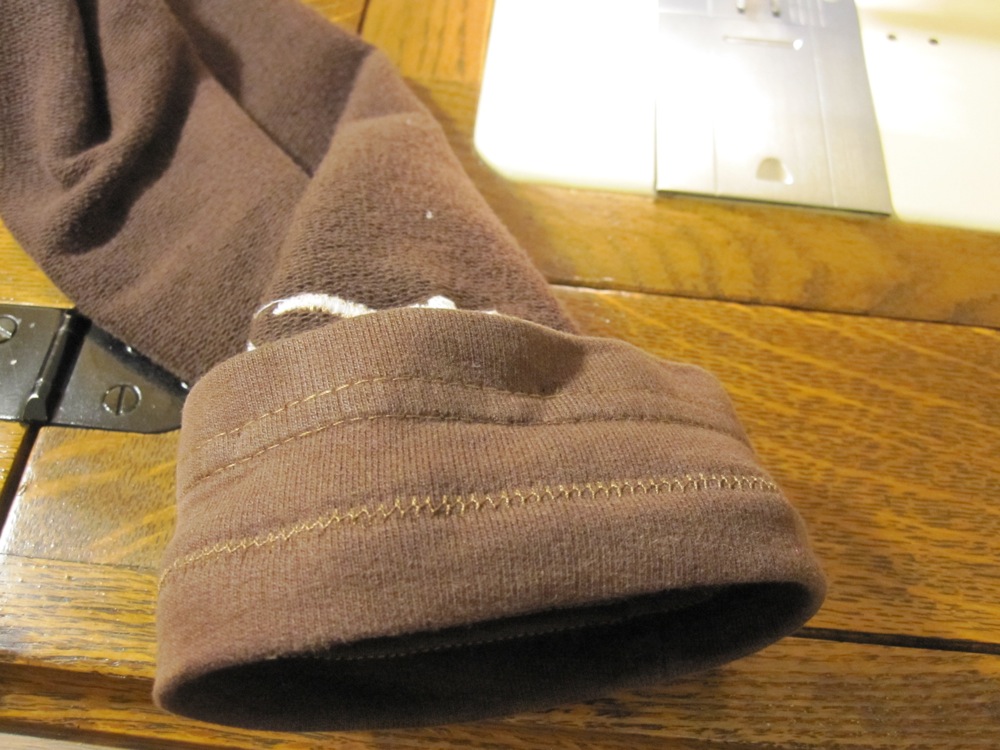
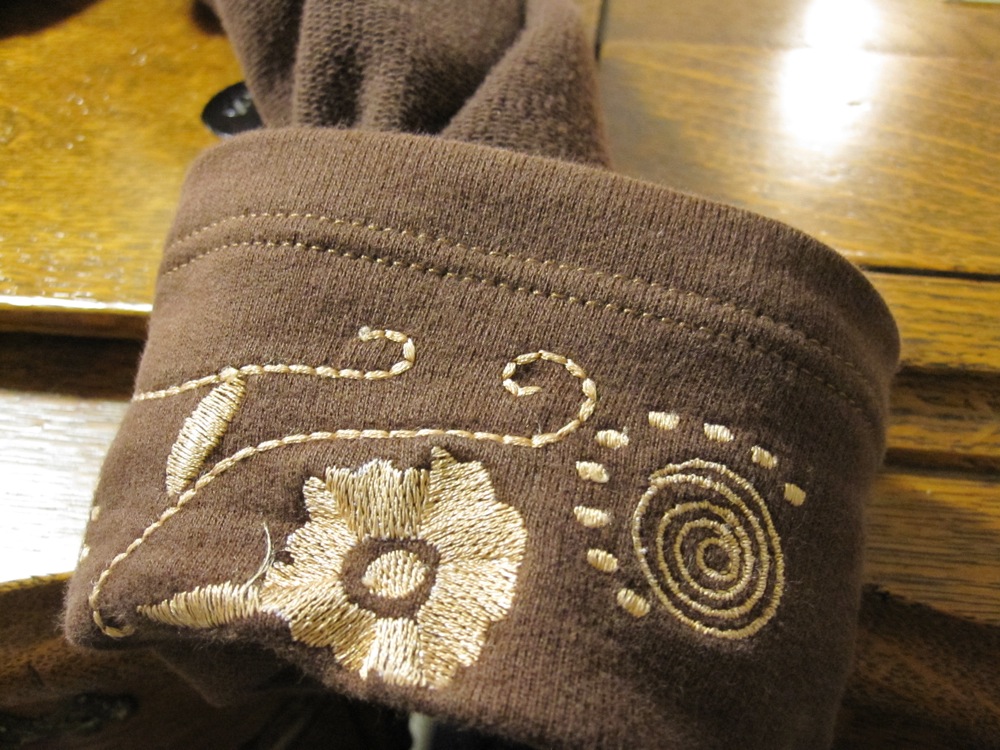
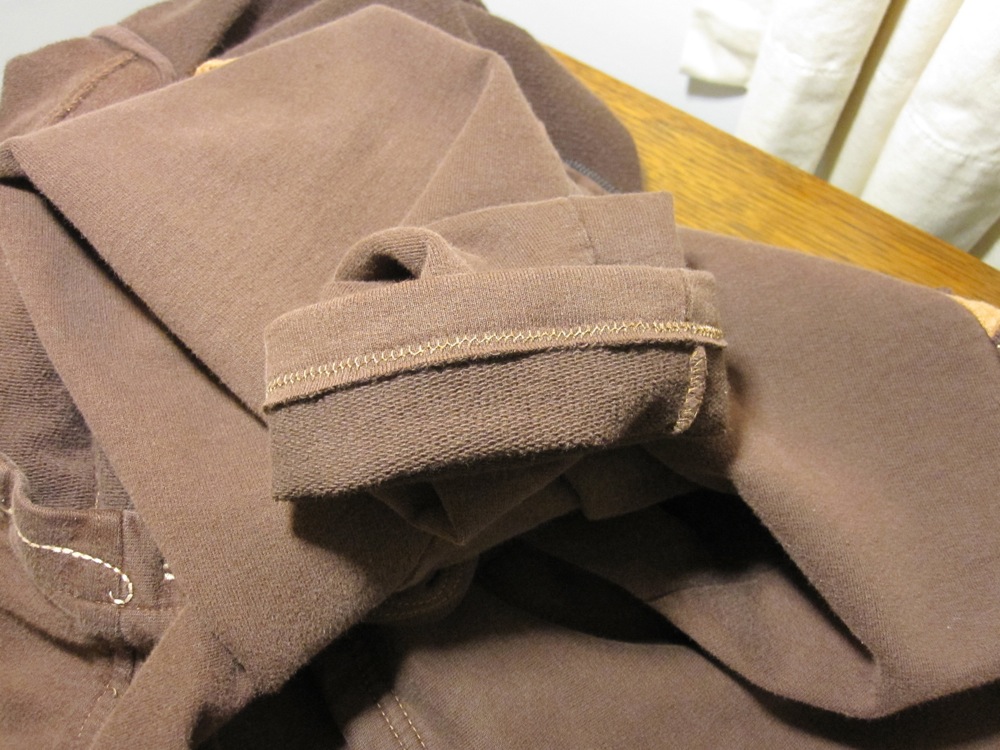
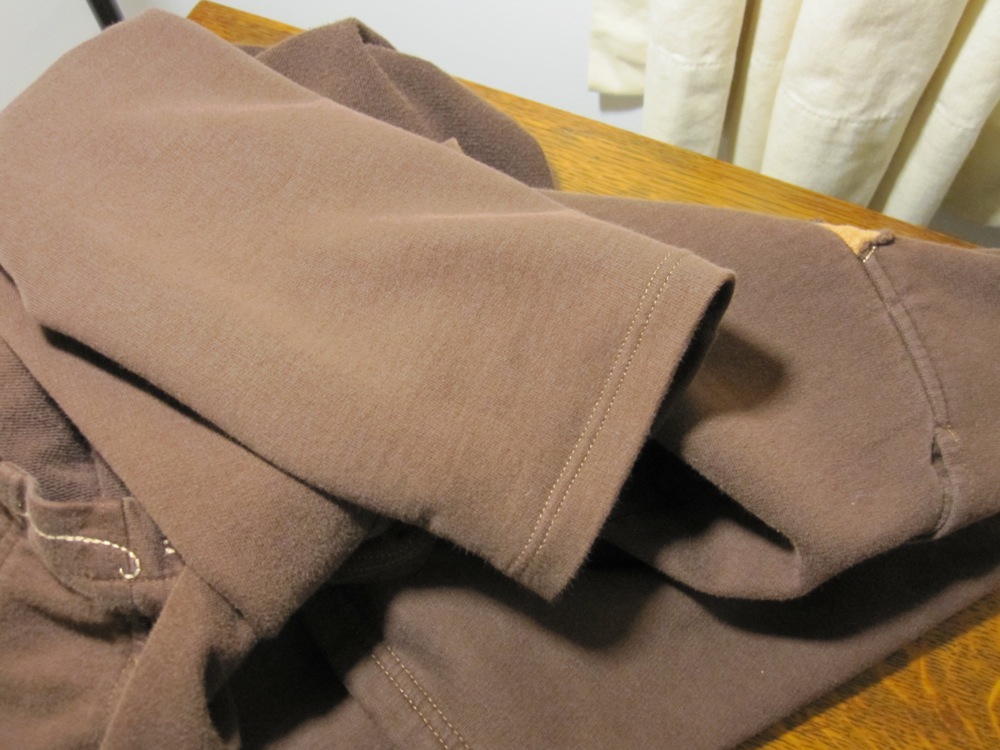
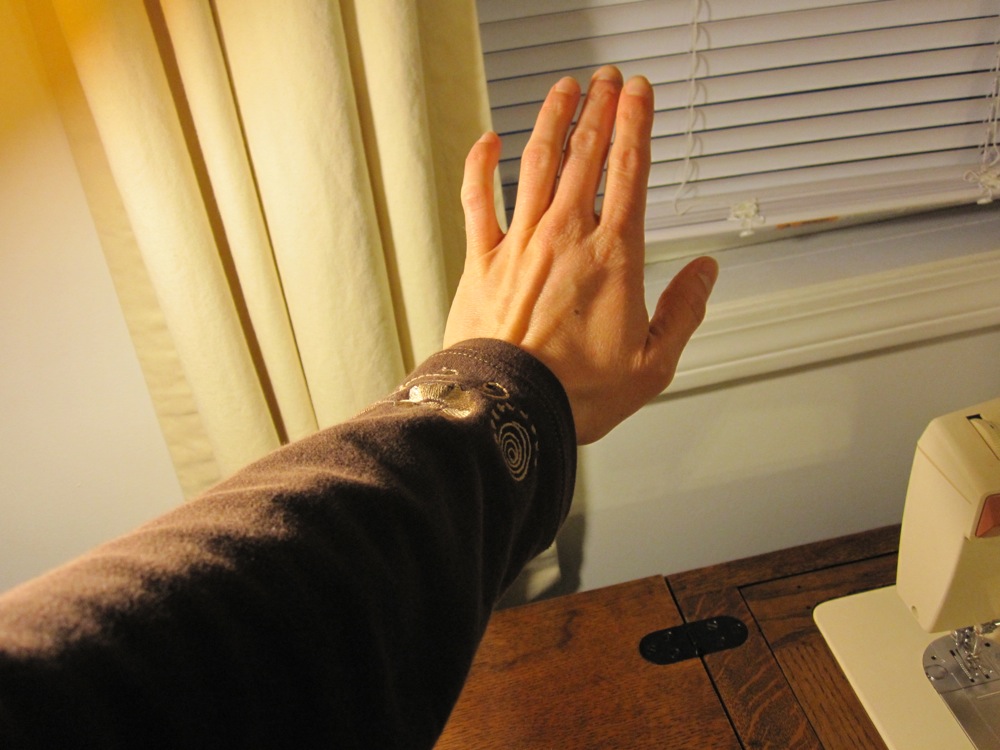
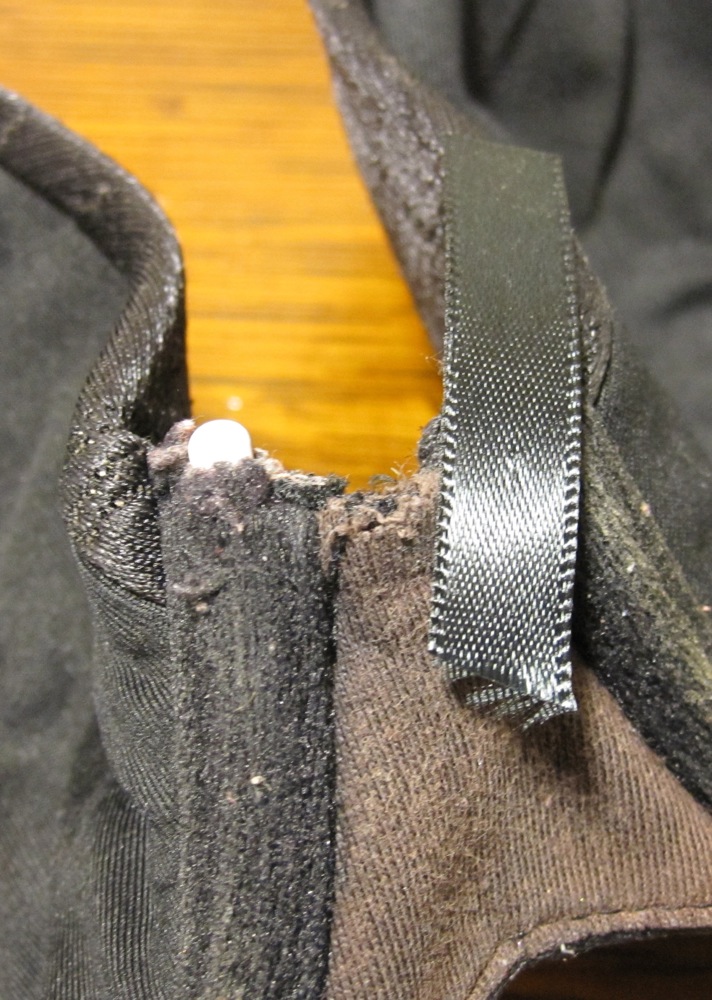
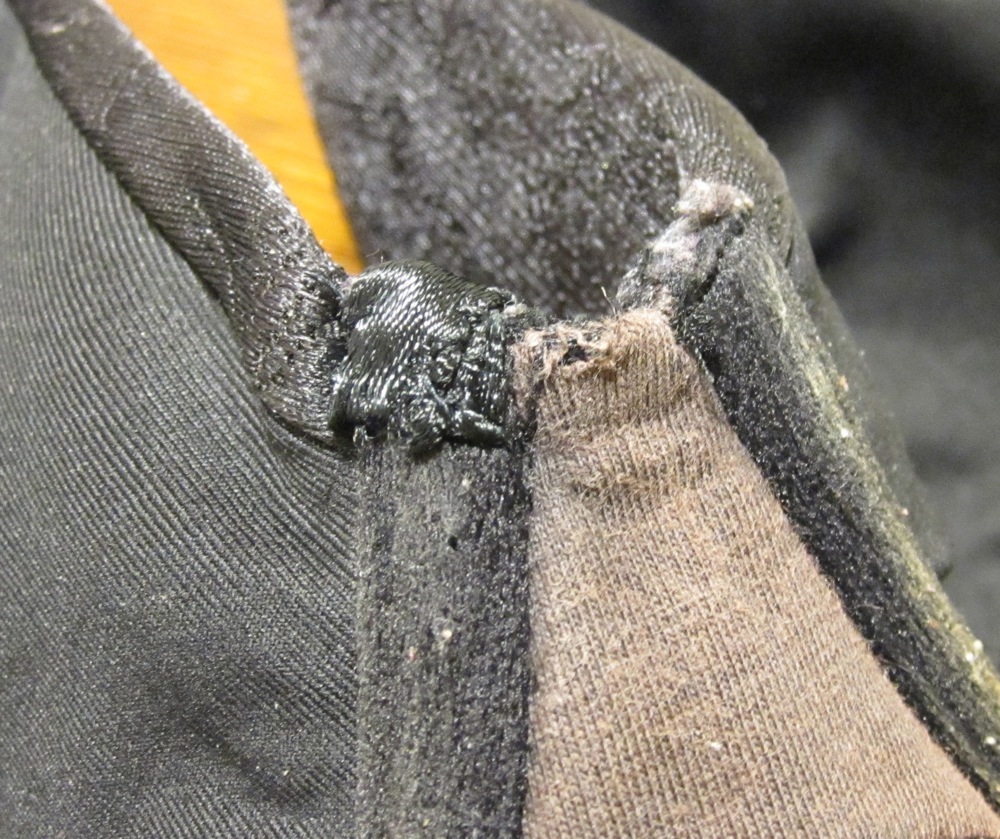
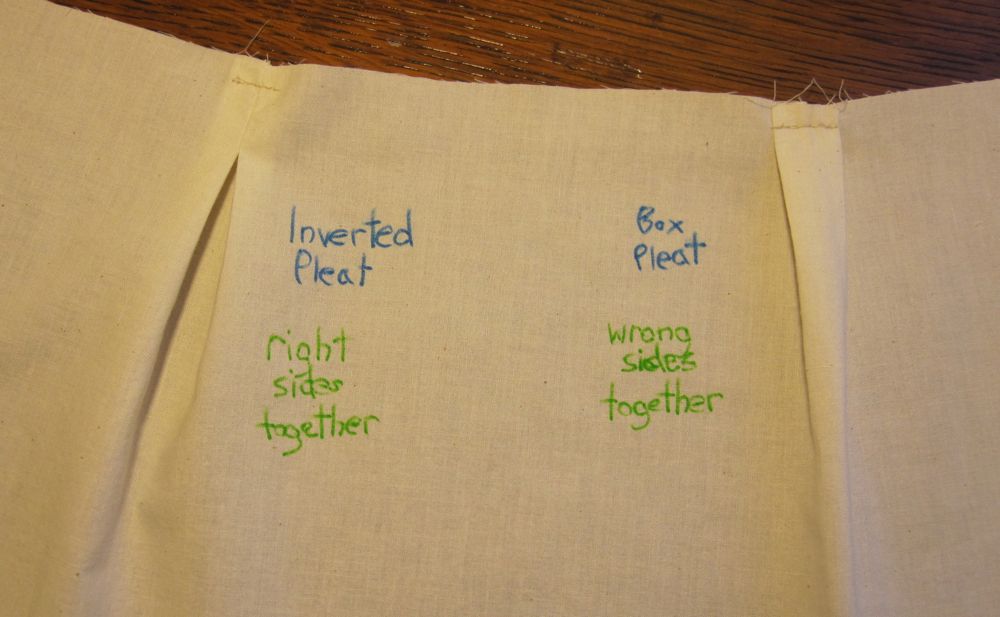
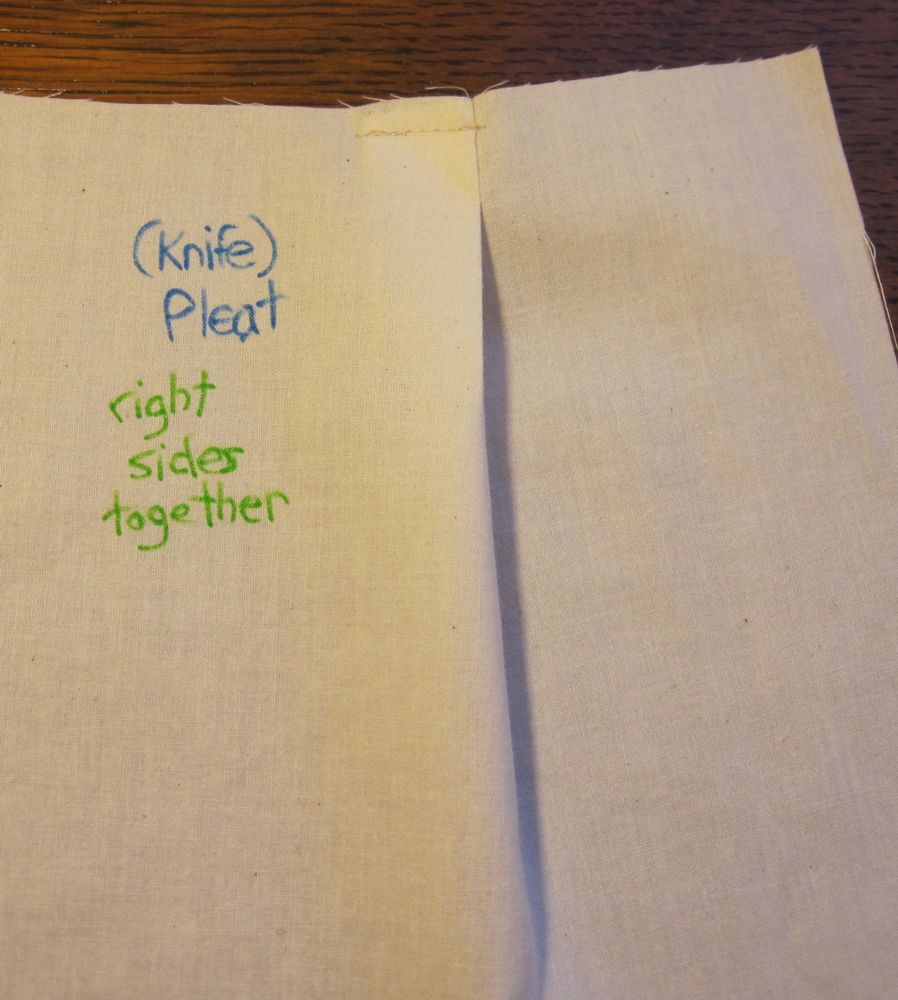
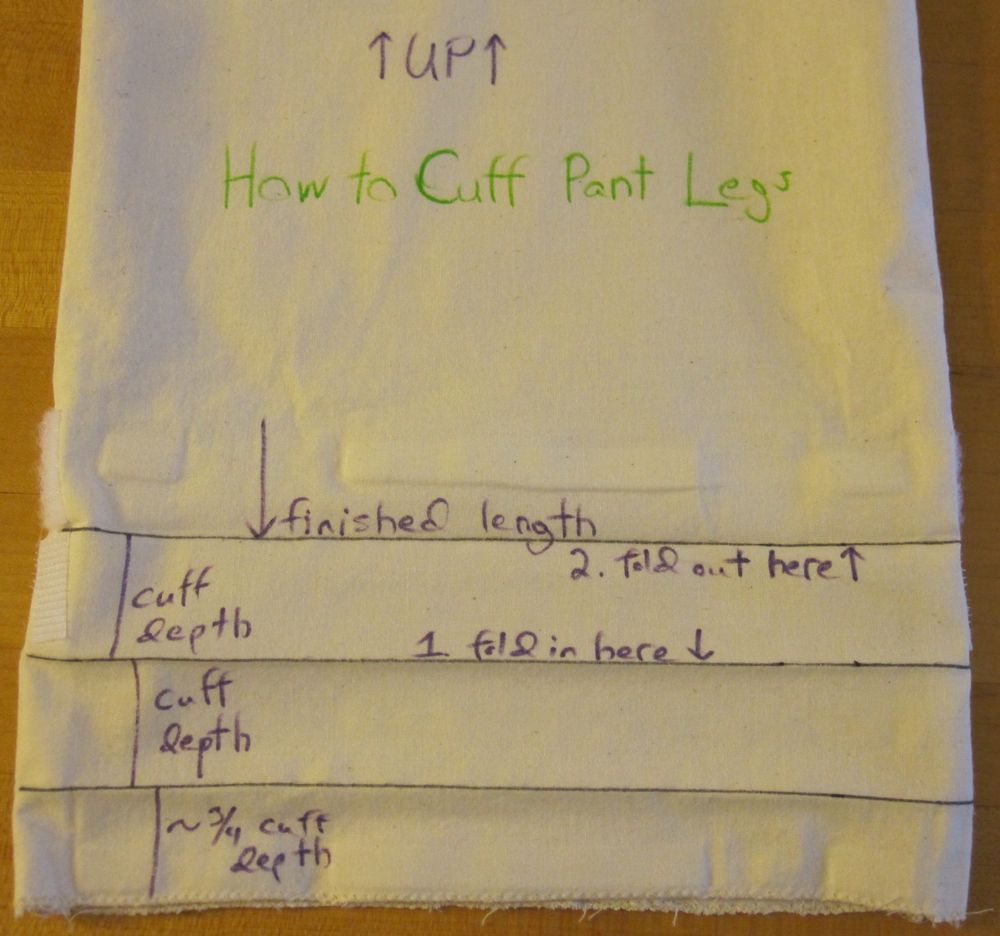
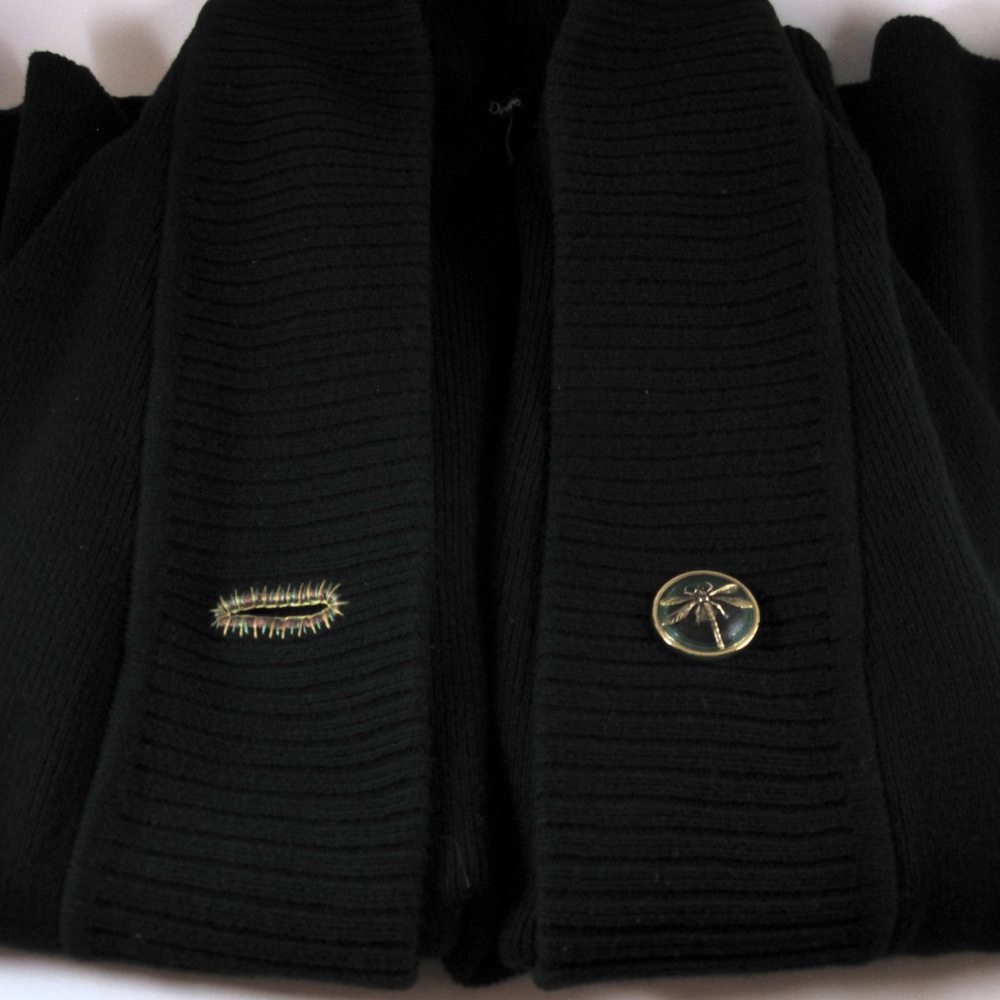
Three seasons of the year, I live in outerwear collected over the last decade-plus to meet the following criteria: openable in the front and not wool. One of my sweaters was simply open in the front rather than openable, which made it less useful – three temperature options are better than two. For a while I wore it with a shawl tied around my waist as a belt, but that was bulky and impractical. A better solution was to add a closure to it, and after perusing my options (hidden hook and eye, decorative hook and eye, frog, button and buttonhole, two buttonholes with “cuff links”) I decided on a large decorative button in the center of one front panel with a buttonhole symmetrically placed in the other. I had just such a button, a beautiful glass one I bought at a flea market. Furthermore, I decided to stitch the buttonhole with embroidery floss matching the colors in the button, so if I were wearing the cardigan open it would still be symmetric.

sweater closed sweater open

I can say with some confidence that the garment district need not fear my takeover any time soon, but I like how it came out. I finished this in the middle of last week so I’ve had a chance to try it out, and not only do I still like the look, I am pleased by the warmth difference.

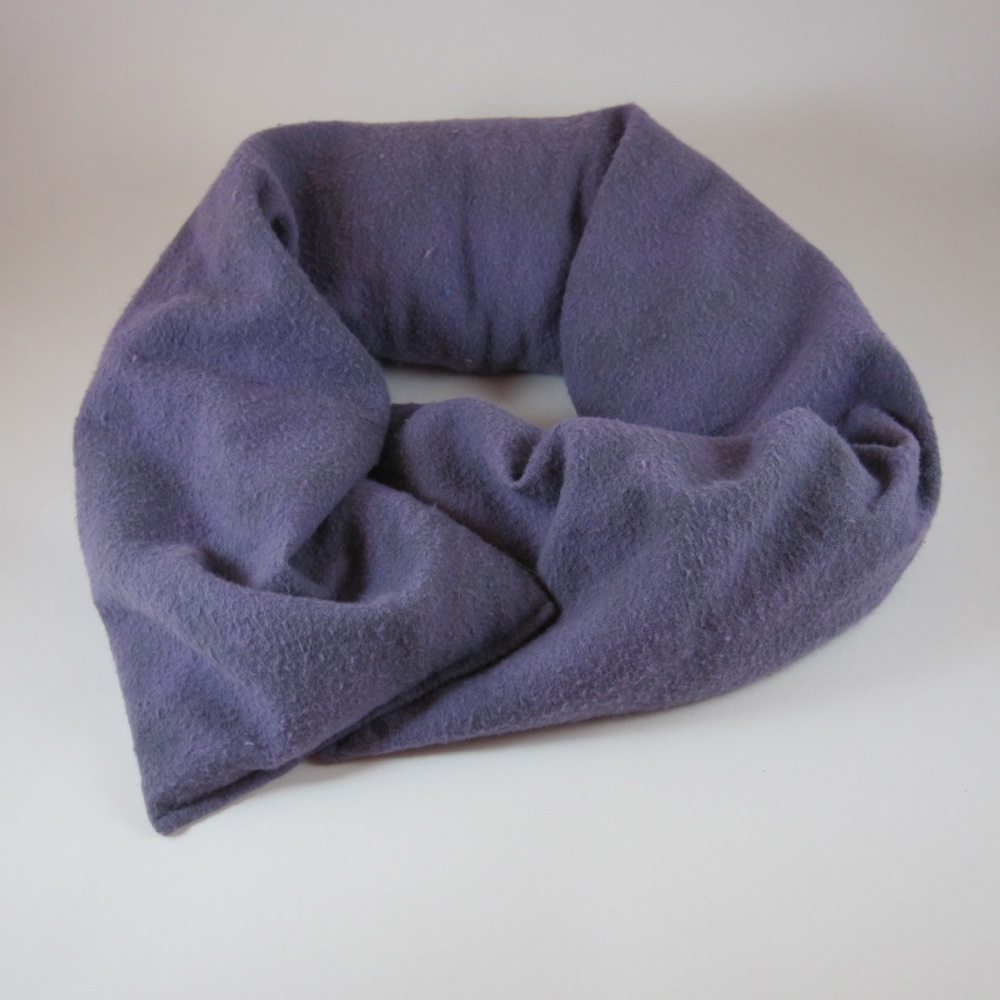
In other keeping-warm news, I made a neck warmer for my husband a week or so ago, out of 100% cotton flannel and rice. I threw in some mace, allspice, cinnamon, cloves, and coffee beans (the spices were chosen according to which I had in unground form), which I can’t smell when it is heated but he says he can. It takes about 2 minutes in the microwave to warm up, but it stays warm a nice long time.

neckwarmer

Quick fixes

I’ve been trying to downsize at home, including in my closet. I hang my sweaters/sweatshirts up at one end of a row, so whatever is at the other end is the item that has gone unworn the longest. I was eyeing that end for possible elimination, and the item hanging there was a lightweight zip-up jacket, kind of a really heavy t-shirt or unfuzzy sweatshirt material, with nice embroidery on it. I like it, but it had migrated from the beginning end after being washed all the way to the far end, without being worn once.

It occurred to me the only reason I don’t wear it more is that the sleeves are way too long, and they don’t stay pushed up. Therefore, even if I just wash my hands quickly they are likely to get wet and annoying.

yikes

That’s an easy fix, though – I checked, and two inches would do the trick. The embroidery on one sleeve would still be completely above the new line of stitching, so it wouldn’t complicate things. I even happened to have a perfect spool of thread!

perfect

While I was at it, I thought I’d fix some damaged parts of the bottom hem in the back, as well. I took my sewing machine repairman’s advice and lowered the tension as well as shortening the stitch. Shortening the stitch was not the best plan, but I did note many fewer dropped stitches than last time I did this, so lowering the tension was a good move.

worn out could be better

Oh well. I think the rippled texture will come out in the wash, and it’s the bottom back, so hopefully no one will be looking too hard.

The sleeves worked like magic, though. I moved the stitch length back to my usual setting, folded them up and pressed, and stitched without trimming the extra.

back front

Trimming afterward meant I didn’t have to worry about failing to catch the raw edge while sewing. Nice and smooth and no dropped stitches!

back front

Best of all, when I put my hands out the jacket hits at my wrist instead of my thumb.

perfect

While I was in the mood to finish things, I fixed this problem:

oops

Oh noes! Underwire! It didn’t want to scootch back into the casing completely, so I pushed it as far as I could and covered it over with a double layer of ribbon.

fixed

This bra is nearing the end of its lifespan anyway, so I expect this fix will last as long as the rest of it does.

Tidbits, Supplemental

I have for you another installment of material related to the Sewing Tidbits page. Mostly a few pictures.

I love box pleats. And inverted pleats, which are box pleats on the back. I think it is because I like symmetry. Below we also have a picture of a standard, or knife, pleat, for comparison.

box pleats knife pleat

Box pleats appear in the center back of dress shirts and where the lining of a coat meets the coat in the top center back. I use inverted pleats in many places where I need to take width out, because I think the way the fabric spreads is pretty. For example, if I were making a bag that was to be fuller on the inside than at the top opening, I would probably use a box pleat on the side to bring it down to the top dimension.

The following is my attempt to show the results of different approaches to meeting a new seam and an old one, for example when you take in pants at the waist. You can see that a very obtuse corner is not much different from an actual curve, because the fabric is inclined against having sharp folds, but a sharper angle (though still obtuse!) gives a decided corner to the fabric. The pictures below also illustrate clipping curves in seams. [I would also trim the allowance in real life so it was all in the 5/8″ range.] If the seam line is closest to the raw edge at the middle of the curve, clip a notch out; if the ends of the curve are toward the raw edge you can notch or just snip. In the former case when you turn the piece right-side-out the seam allowance has less room and in the latter case it has more room.

seam tapering seam tapering results

Finally, I have action shots of the pants cuff manipulative from class.

cuff making cuff making

cuff making cuff making

Just a few things of use…