Reviving

I live in t-shirts all year round, the nicer kind, typically with v-necks or scoop necks. They last me a long time, but sometimes I lose the desire to wear them well before they are actually worn out. When that happens I have two choices: give them away, or try to alter them somehow. After talking to an alterations student who happened also to be a Sew-Op teacher, I decided to remake the most recent batch: two shirts that were faded and floppy, and one that was too high in the neck and hem and had a tiny bleach spot. Here’s the first result.

leaves dyed

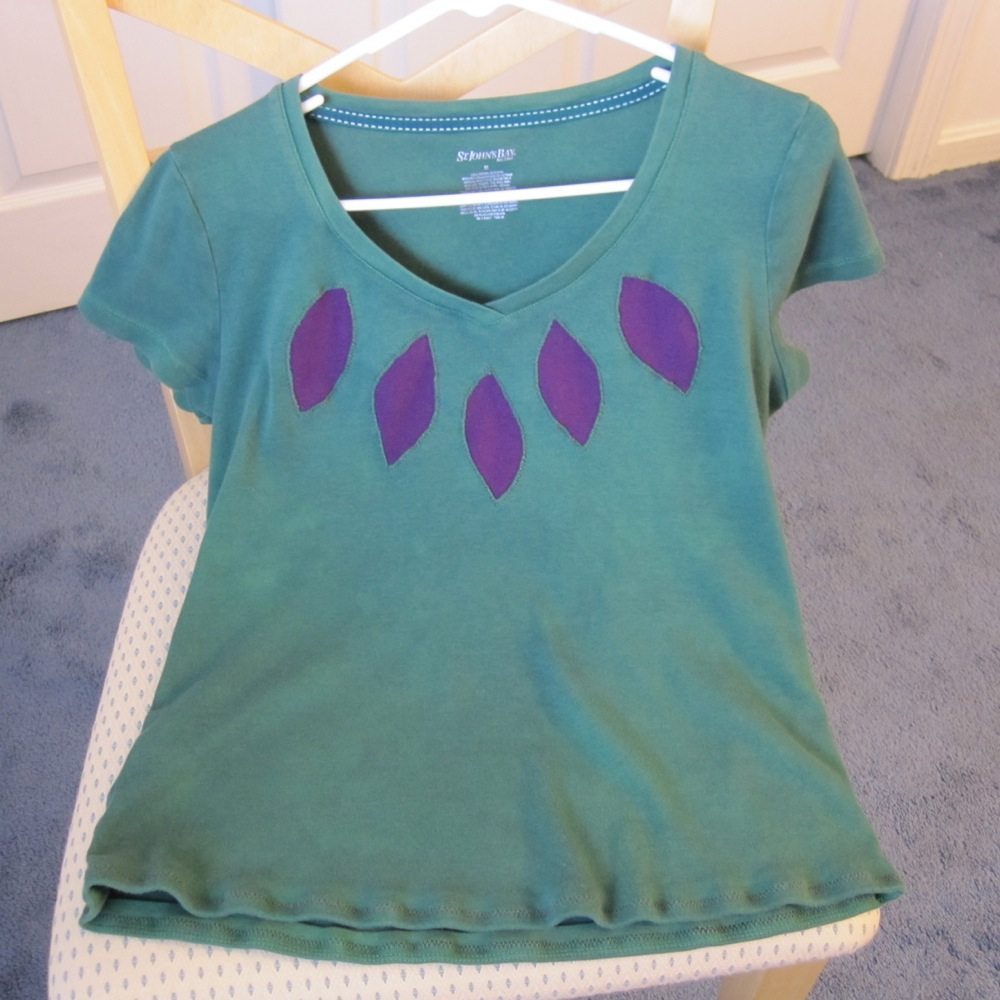
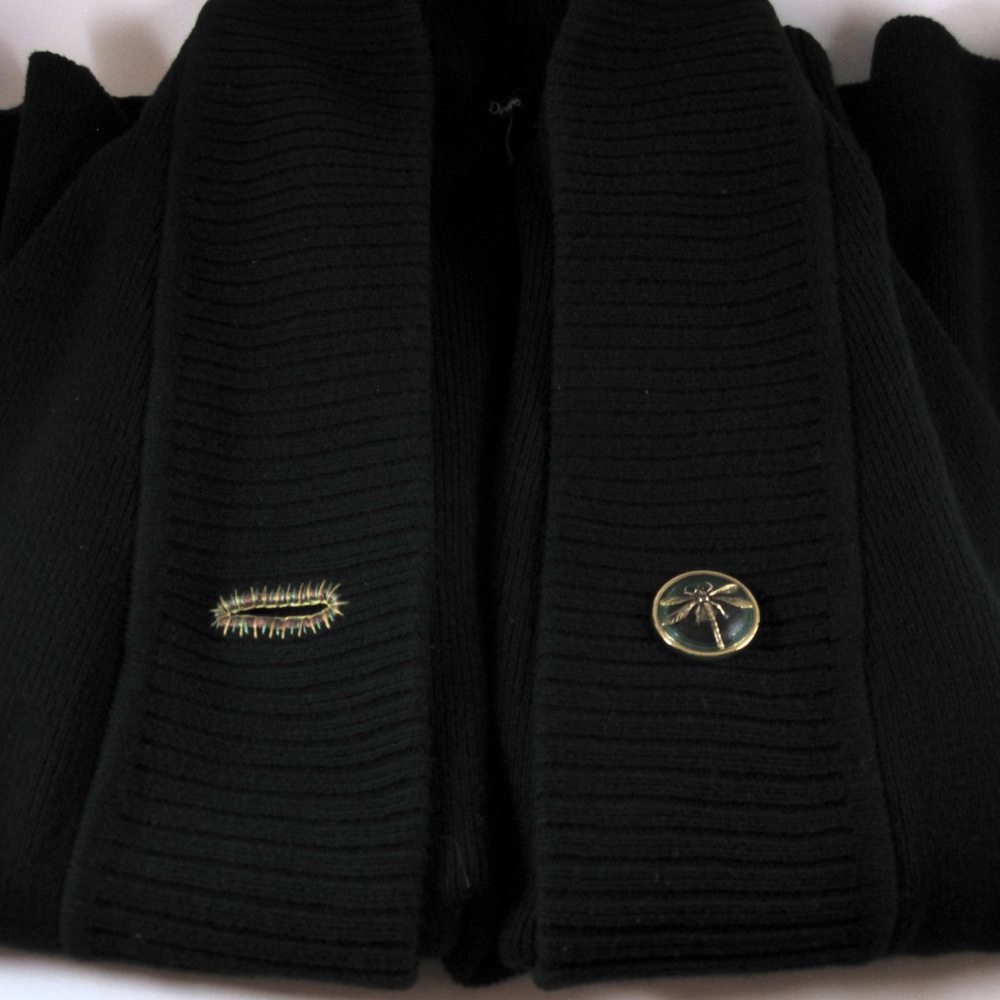
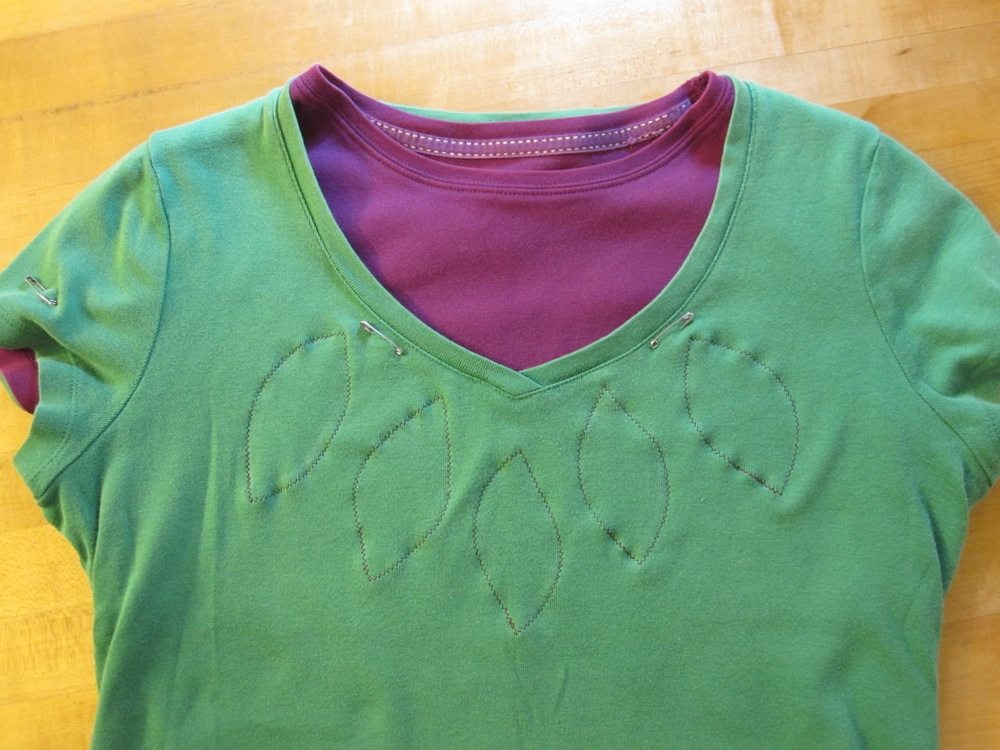
I combined the high-necked shirt with one of the floppy ones to try out reverse applique a la Hope Studios, though I did not plan to retain both full t-shirts. First I put them both on and lined them up so any parts that have stretched with time to accommodate my shape matched. Then I freehanded some leaf shapes at the neckline and pinned there. I used a narrow zigzag to sew around the outside of the leaves, with the thread tension turned up and the presser foot tension turned down in an effort to avoid stretching out the fabric. I cut away the excess fabric of the inner t-shirt, leaving the leaves connected and a decent amount at the bottom so I could smooth it out and avoid it being obvious from the outside that there was an extra layer ending at a random spot. Only after that did I clip out the insides of the leaves on the top layer, using small pointed-tip scissors. My advice to anyone who wants to do this is: go slowly. If you nick the bottom layer there’s not much you can do about it.

shirts pinned leaves stitched

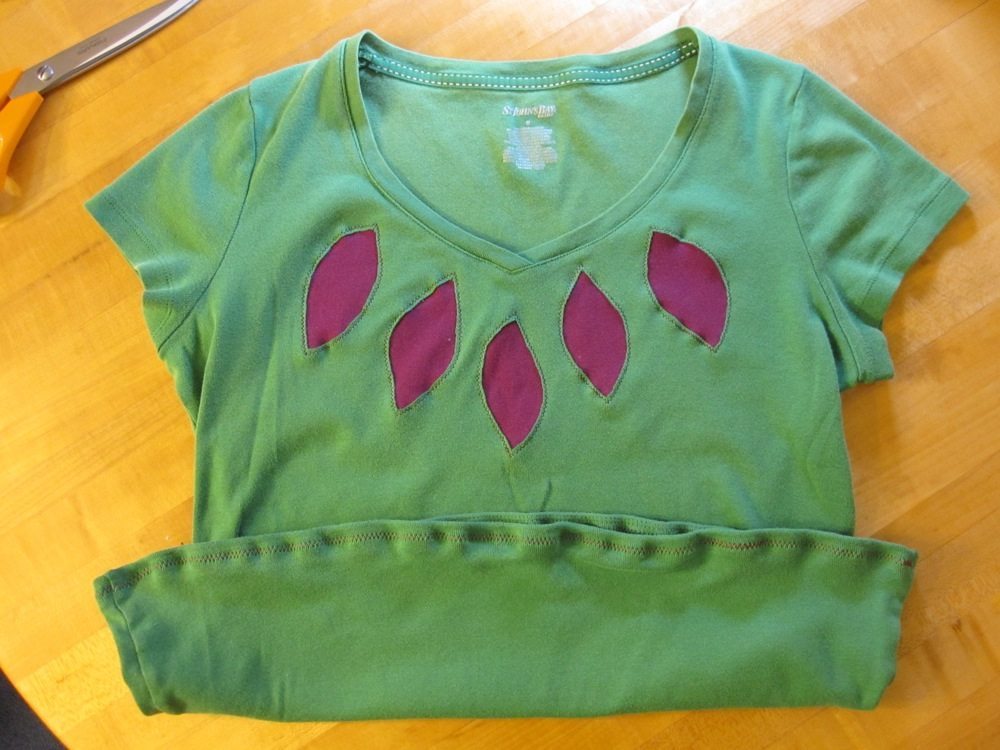
The top layer had a pinhole just above the hem stitching at center front, and to secure that as well as help with some of the floppy feeling, I turned the hem to the inside and stitched it up with a wider zigzag. All the stitching was in a thread that approximately matched the inner layer, though far from exact. I knew it didn’t matter too much because of the next step: overdying the whole shebang to harmonize the colors (which does not affect the thread). I gave them a 15 minute bath in a somewhat weak solution of royal blue RIT. I think that step might have been enough by itself to save the green shirt, because I love the finished color (which is richer than the photo at top makes it look).

Before I began the blog, referenced in my post about stitching with a twin needle but with mysteriously disappeared photos, I shortened several shirts, and bleached and re-dyed some others. I was using benzoyl peroxide on my face at the time and it was seemingly never possible to avoid damage to my clothing. I was pleased to realize that was almost three years ago and three of the four shortened shirts are still in rotation; the redyed shirts, however, are all retired. I don’t think I would bleach if I were doing that again. It is too hard on the fabric.

I’ll show you the results of the second project soon – it took a lot longer than anticipated!

Achieving closure

Three seasons of the year, I live in outerwear collected over the last decade-plus to meet the following criteria: openable in the front and not wool. One of my sweaters was simply open in the front rather than openable, which made it less useful – three temperature options are better than two. For a while I wore it with a shawl tied around my waist as a belt, but that was bulky and impractical. A better solution was to add a closure to it, and after perusing my options (hidden hook and eye, decorative hook and eye, frog, button and buttonhole, two buttonholes with “cuff links”) I decided on a large decorative button in the center of one front panel with a buttonhole symmetrically placed in the other. I had just such a button, a beautiful glass one I bought at a flea market. Furthermore, I decided to stitch the buttonhole with embroidery floss matching the colors in the button, so if I were wearing the cardigan open it would still be symmetric.

sweater closed sweater open

I can say with some confidence that the garment district need not fear my takeover any time soon, but I like how it came out. I finished this in the middle of last week so I’ve had a chance to try it out, and not only do I still like the look, I am pleased by the warmth difference.

In other keeping-warm news, I made a neck warmer for my husband a week or so ago, out of 100% cotton flannel and rice. I threw in some mace, allspice, cinnamon, cloves, and coffee beans (the spices were chosen according to which I had in unground form), which I can’t smell when it is heated but he says he can. It takes about 2 minutes in the microwave to warm up, but it stays warm a nice long time.

neckwarmer

Gifties!

I can only do this because I have some confidence the recipients of these gifts won’t be looking at my blog on Christmas Eve. As usual, I made a few Christmas gifts in crochet.

For Mama (said with the accent on the second syllable, of course), a couple more potholders.

potholders, front potholders, back

The triple-lobed one I freehanded, making the initial shape via stitch height and then continuing it by increasing around the lobes and decreasing (often via skipping a stitch) in the corners. The other is stitch pattern 421 from Linda Schapper’s Complete Book of Crochet Stitch Designs. It alternates double crochet with front post double crochet around a previous row’s double crochet, offset so you get a sort of checkerboard. Here’s a close-up:

stitch texture detail

If I were doing it again I would change the outermost double crochets into half double crochet or even maybe single crochet, because the edges are taller than the middle with the pattern as written. I still like how it came out, though. I should have written down what I did around the edge, because I can’t remember. I think it was single crochet around and then double crochet with a chain in between each, but I wouldn’t swear to it.

For Grandmother, a fluffy white scarf with gold snowflakes, to wear with her stylish white dress coat. Here are a picture before washing and a snowflake close-up after washing:

before washing after washing

The diagonal stitch is just double crochet, increased at one end and decreased at the other. I ended up designing three more snowflakes at the last minute, which I haven’t had the chance to write up formally yet. I think my favorite is the one that looks a bit like antlers. After washing the fluffy white yarn was less fluffy, so I used my pet slicker brush to comb out the mats.

I also made my own chocolates, the easy way: three high quality chocolate chips in a candy cup, microwave in short intervals until soft, press a nut or two on top, add five or six more chocolate chips and repeat. Use the tip of a butter knife to get rid of the chip-shaped bumps once the chocolate is fully soft. You can make peanut butter cups as well, with one or two more chocolate chips on the bottom to give a sturdy layer. The disadvantage to this method is that cocoa butter soaks the candy cup and when it cools it is stuck to whatever it’s sitting on. I also made “mini turtles” with chocolate chips, half a caramel, and a broken-up pecan half, but if I were doing that again I’d cut the caramels (standard Kraft ones) into thirds and be more careful about getting chocolate between them and the cup on all sides – they stick! Those I did in the oven at about 200F, because I was worried enough time in the microwave to melt the caramel would scorch the chocolate.

More gifts will be revealed in later posts…