When I teach sewing and students ask about hand vs. machine sewing, I tell them that I machine-sew what I can and hand-sew what I must. There are times you have to hand-sew because you just can’t get the machine where it would need to be, or you need to carefully avoid sewing through all layers of something, but I’m working on reducing the rest of my hand-sewing. I showed you machine-sewn snaps years ago, and now I’ve got machine-sewn buttons.
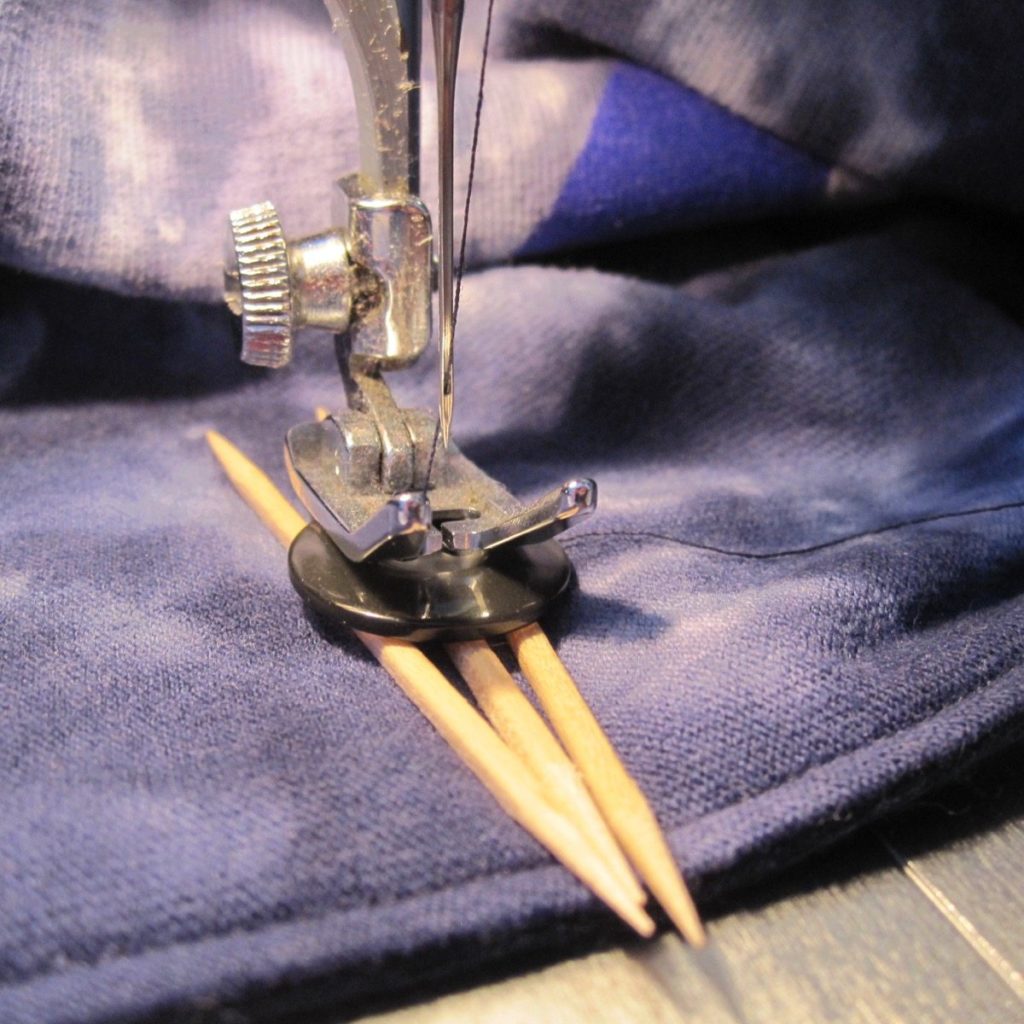
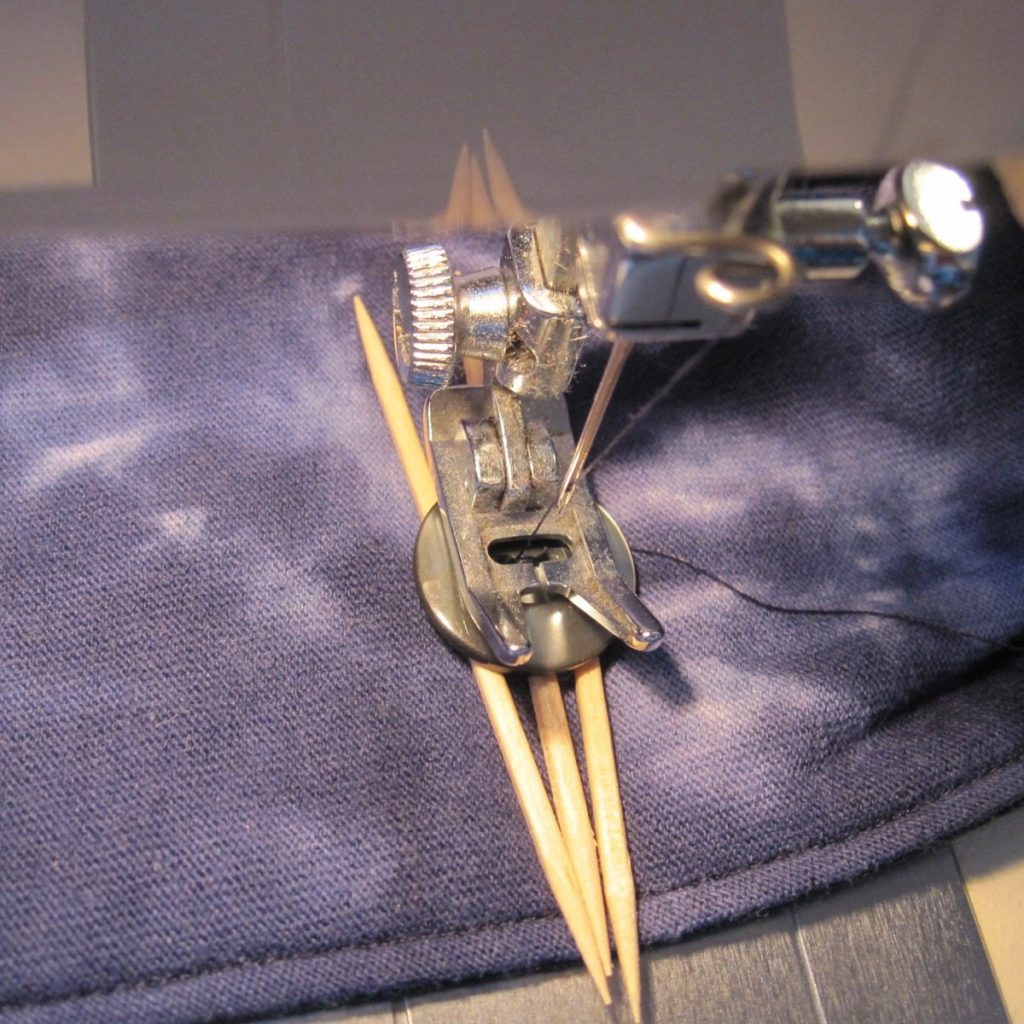
With snaps the complication was unevenness: the presser foot was too hard to get in position, so I took it off entirely. With buttons, at least in this case (I was sewing a thick pillowcase), the complication was that they needed to have shanks. Toothpicks to the rescue!
Pardon my lint!
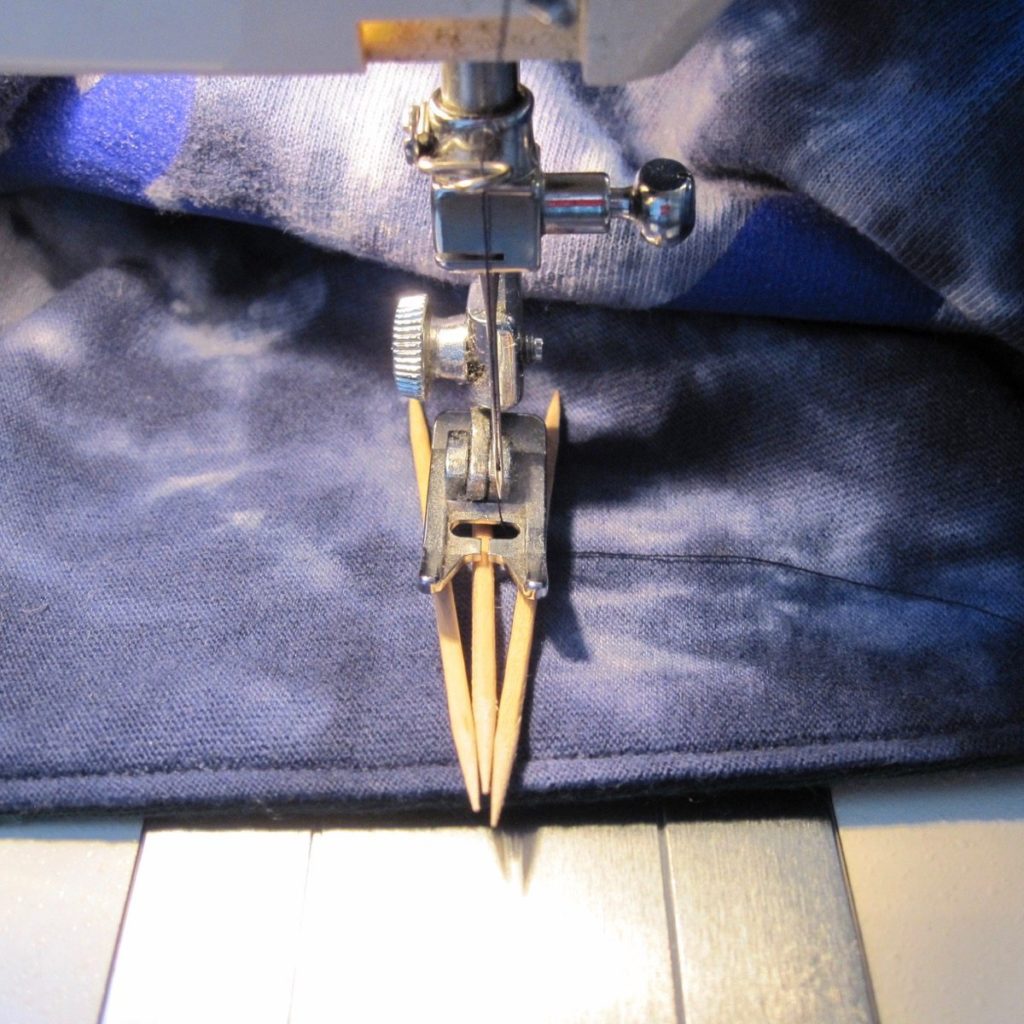
There are three toothpicks under the button in this case; for a smaller button you could omit the center toothpick (this may give a shorter shank if the fabric pulls up between the two outside toothpicks, but the smaller the button the less likely you are to need a shank at all). I lined the needle up where it needed to be, placed the toothpicks, and then slid the button in between the toothpicks and presser foot.
It’s quick and easy, though I did secure the thread ends by stitching them all to the back, tying a square knot, and running them between the layers of fabric before snipping them.
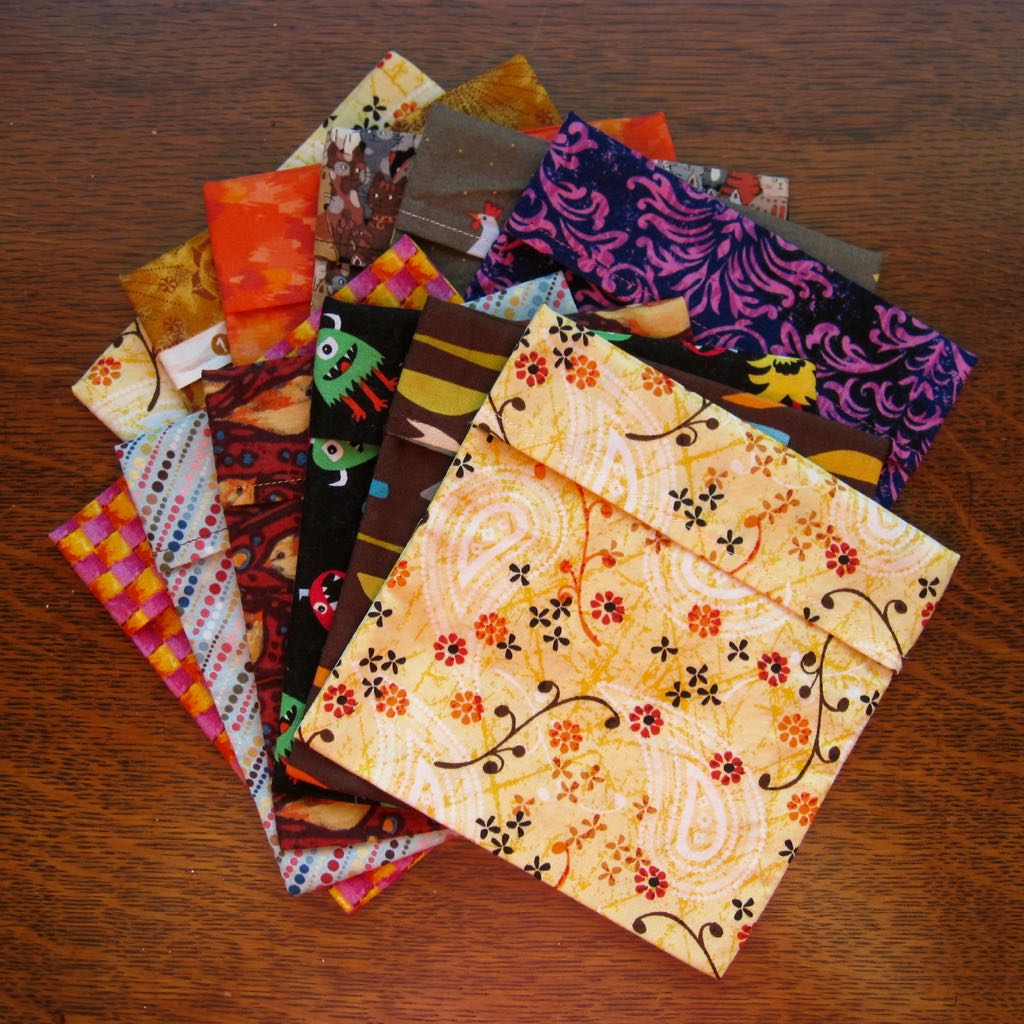
Side note:
I made a batch of fabric baggies recently, and with the experience of using my original set for a long time I adjusted the flap size to improve them. I’ve updated the post with baggie sewing instructions accordingly.