A tote for my Brother

Five or so years ago I bought an inexpensive Brother sewing machine to be my backup/portable machine. It’s made a little superfluous by my later acquisition of the Morse, and a club I’m part of is looking at turning some of our shelving into “cubbies” for individual members. Having learned there would be interest in a shared sewing machine there I’ve decided to use my cubby – whenever it exists – to house the Brother.

Brother sewing machine with tote bag

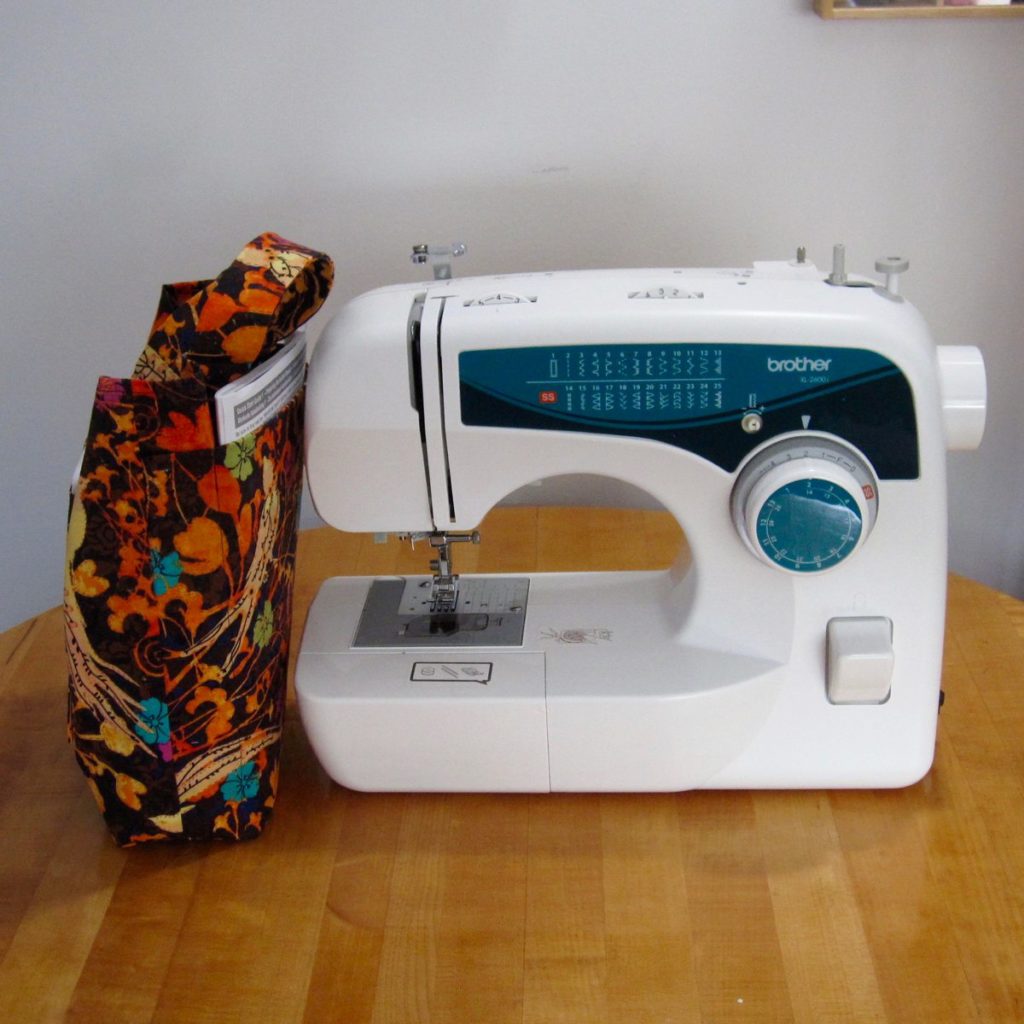
A sewing machine never travels alone, of course, and so a tote was in order for the manual, foot pedal, and bobbins. I also wanted to have some way to track use, for maintenance purposes, and a small sewing kit included to start people off.

contents of bag's outer pockets contents of main pocket of bag

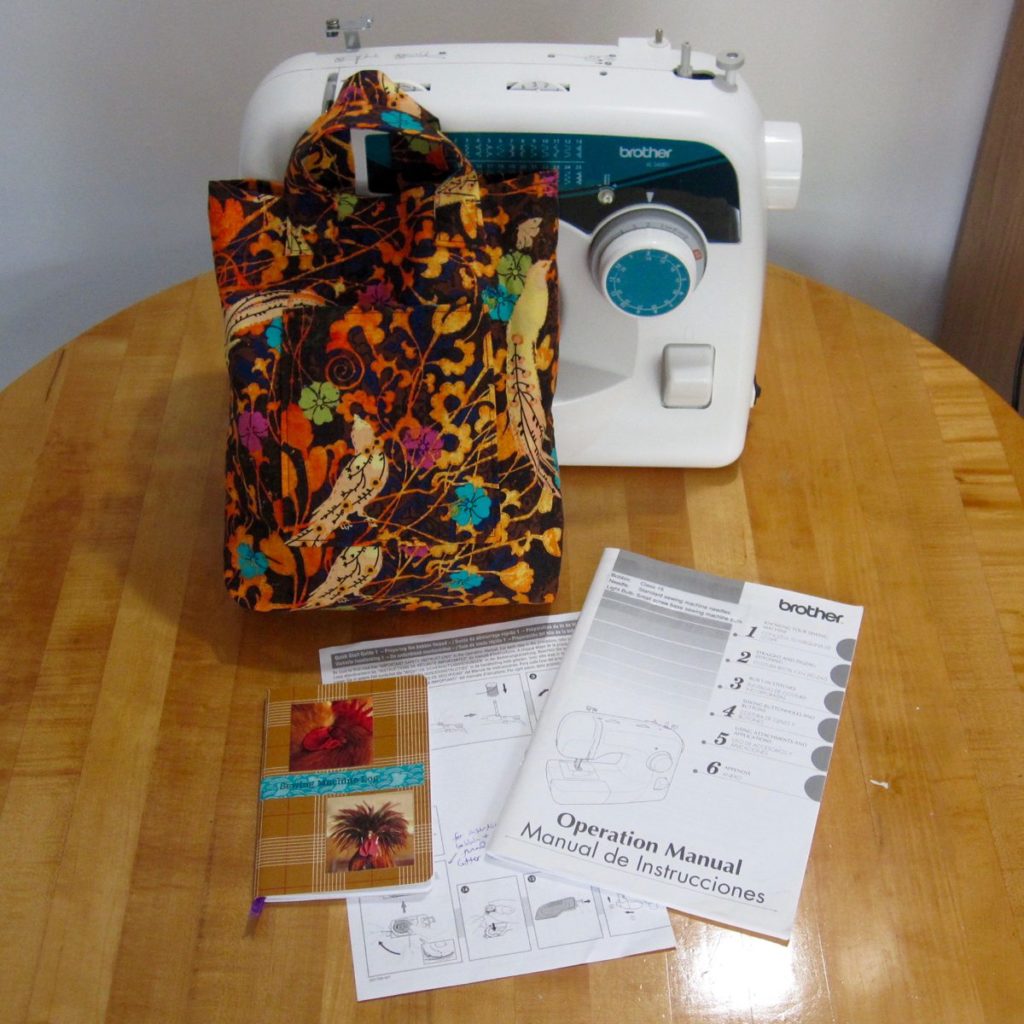
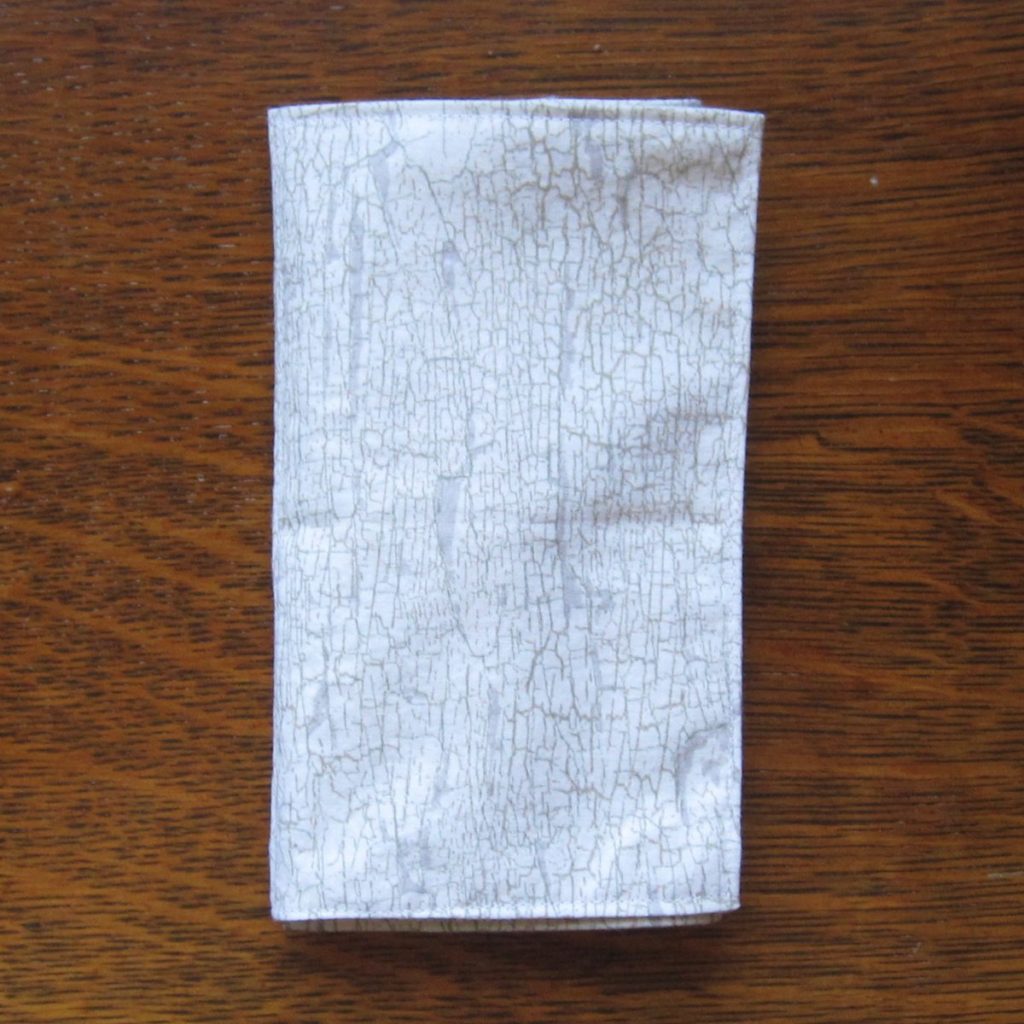
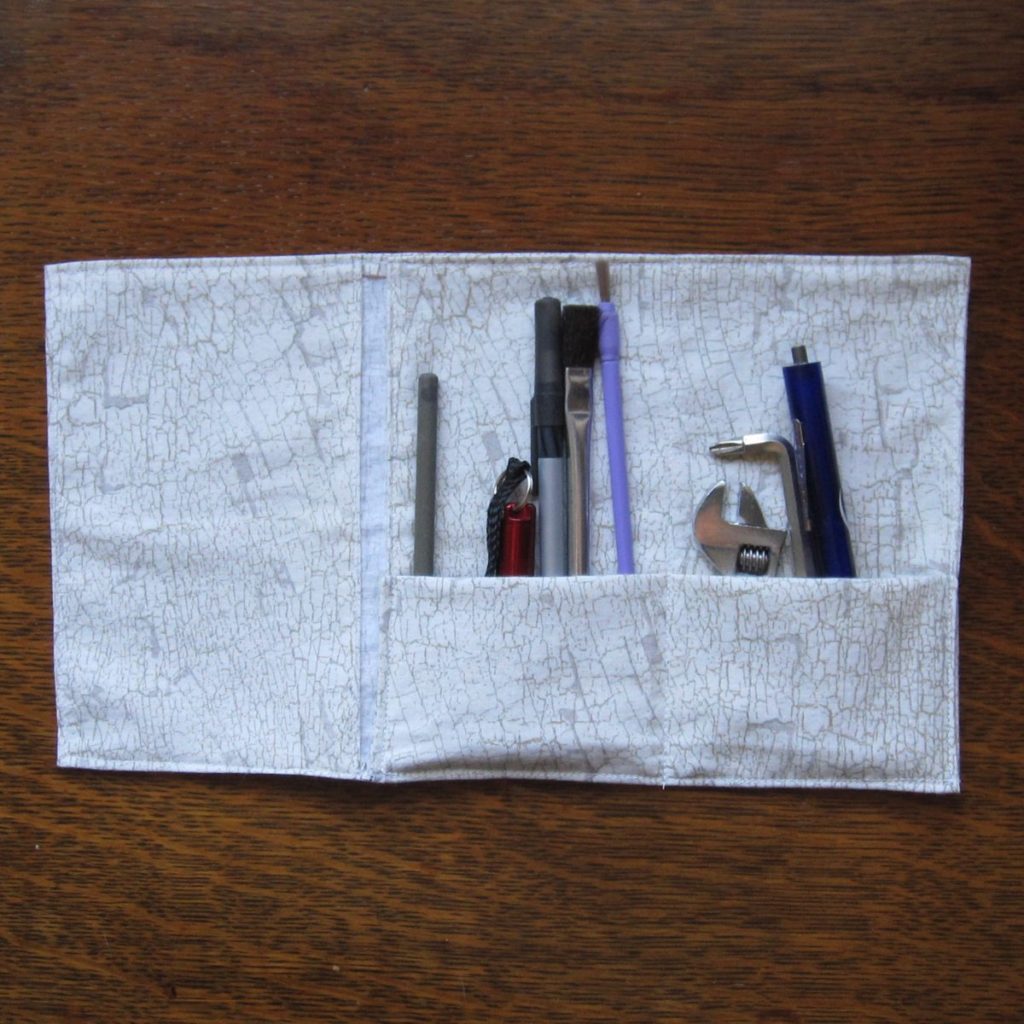
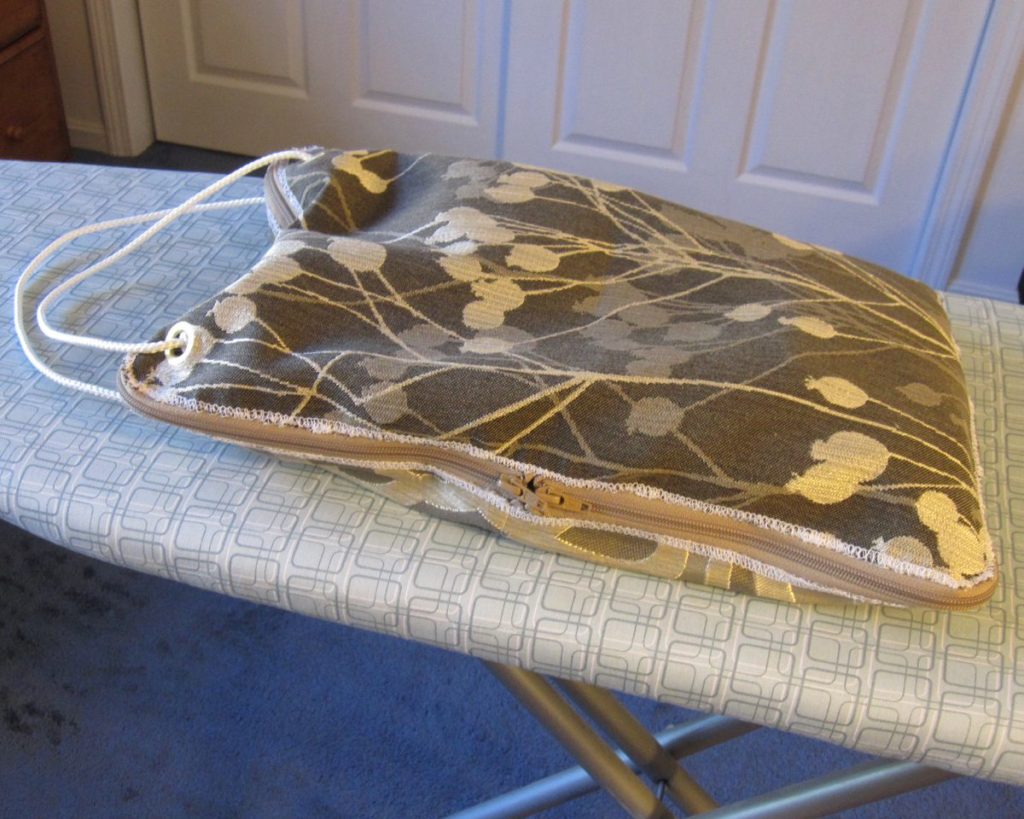
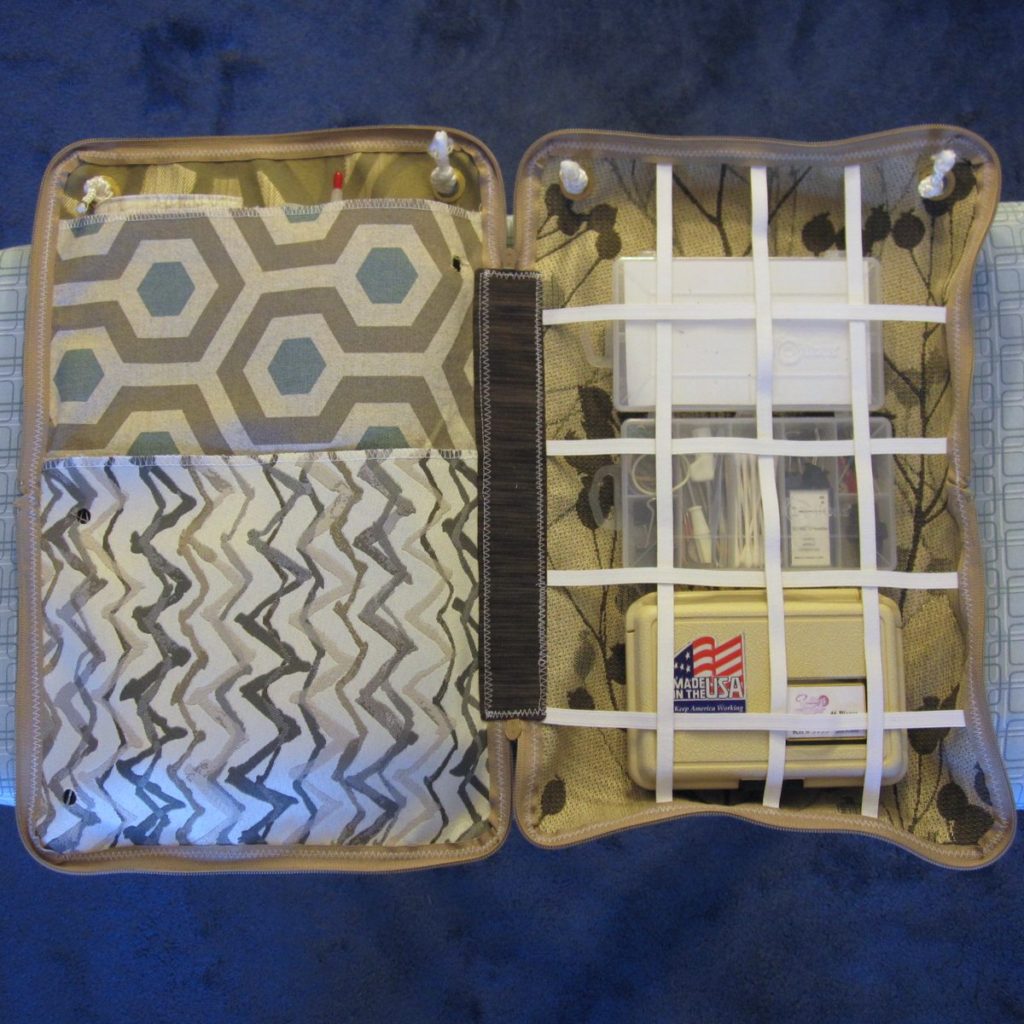
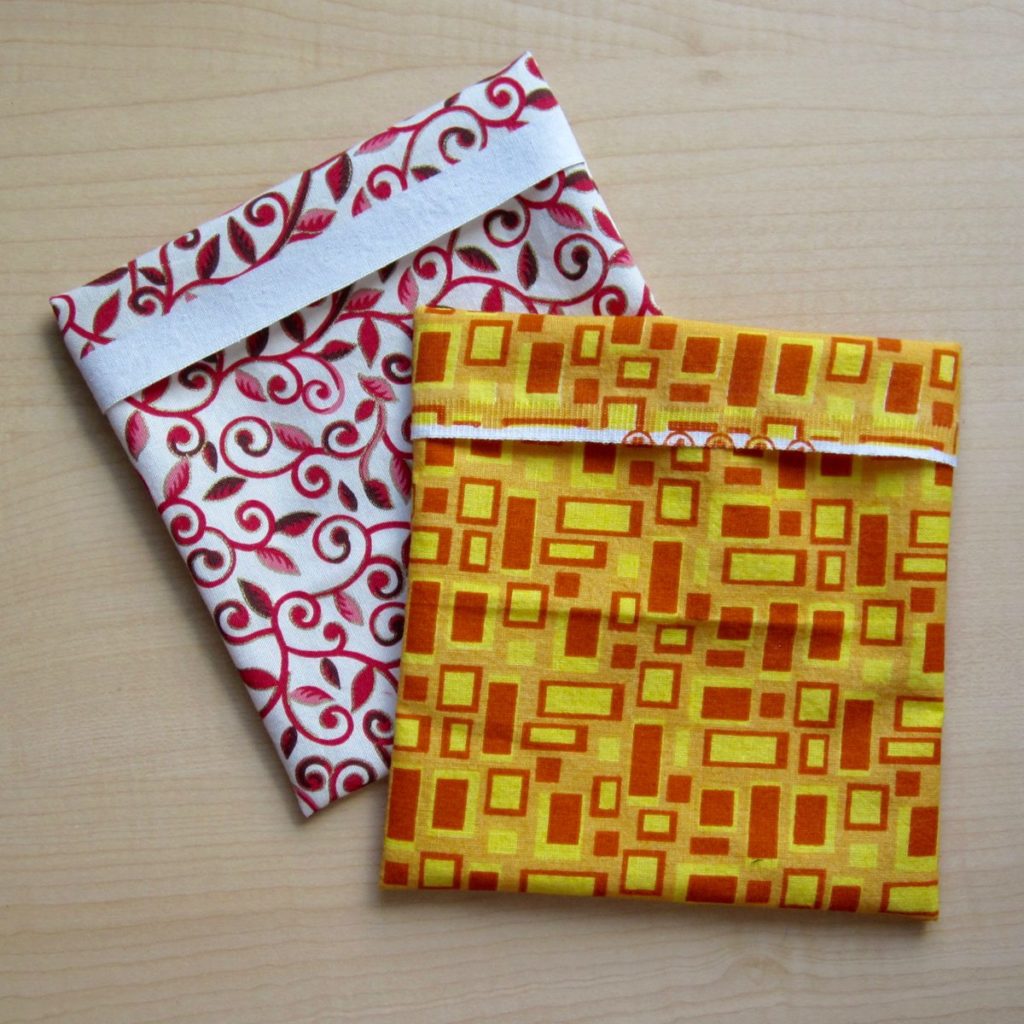
The main tote bag has two outer pockets, sized to hold the manual + quick start guide and a small notebook for record-keeping. You’ve seen that small notebook before, of course, though it has the addition of a “sewing machine log” banner across the cover.

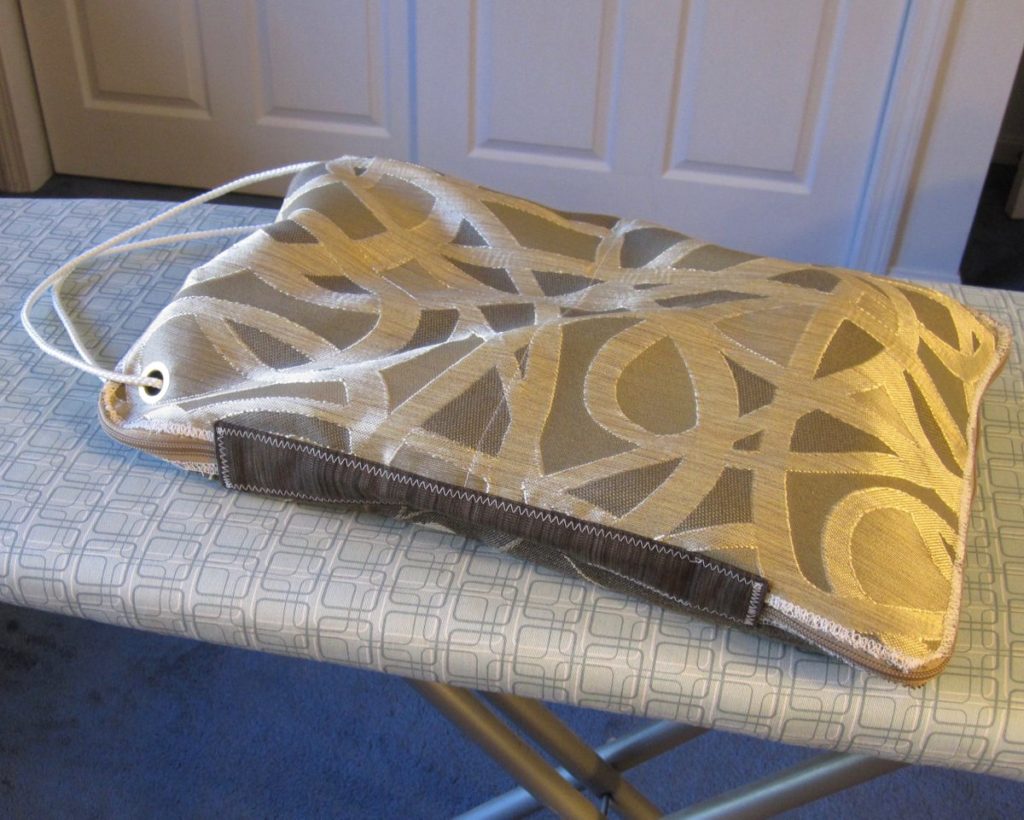
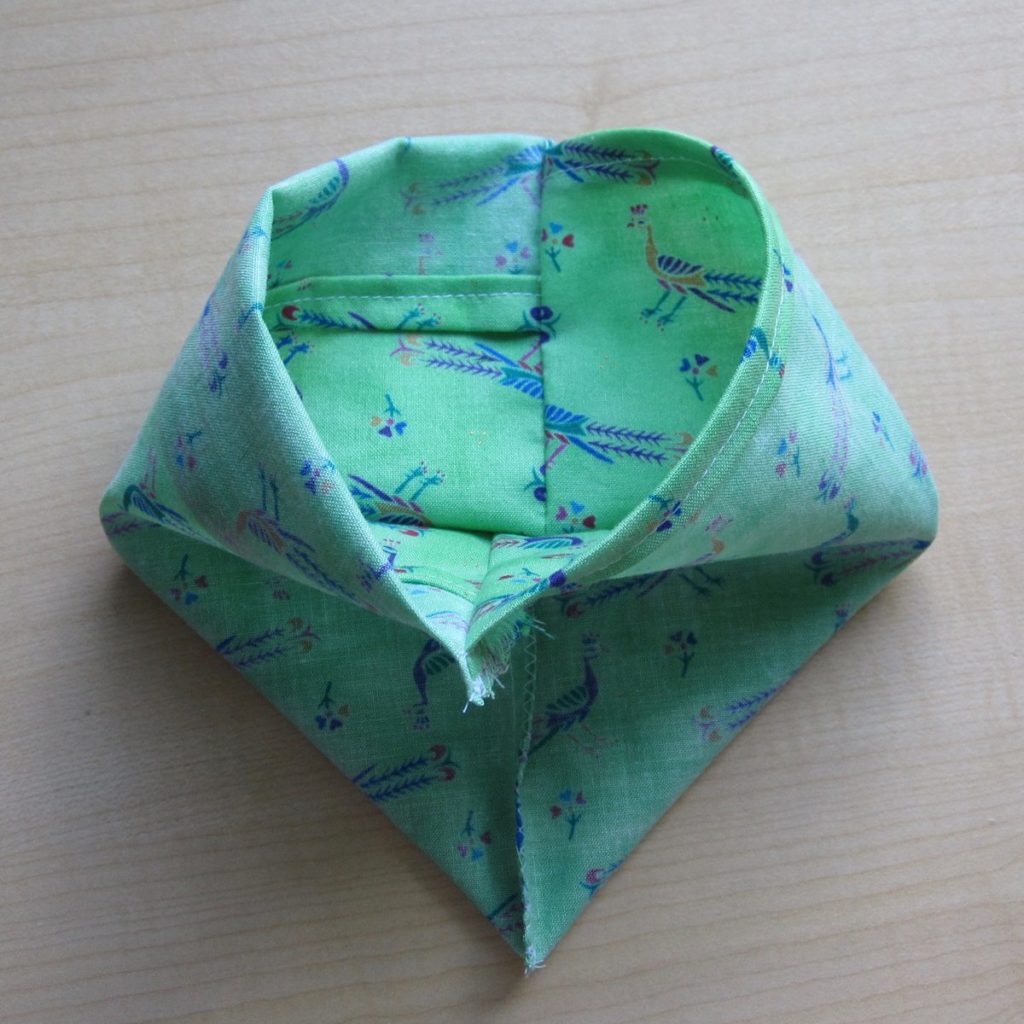
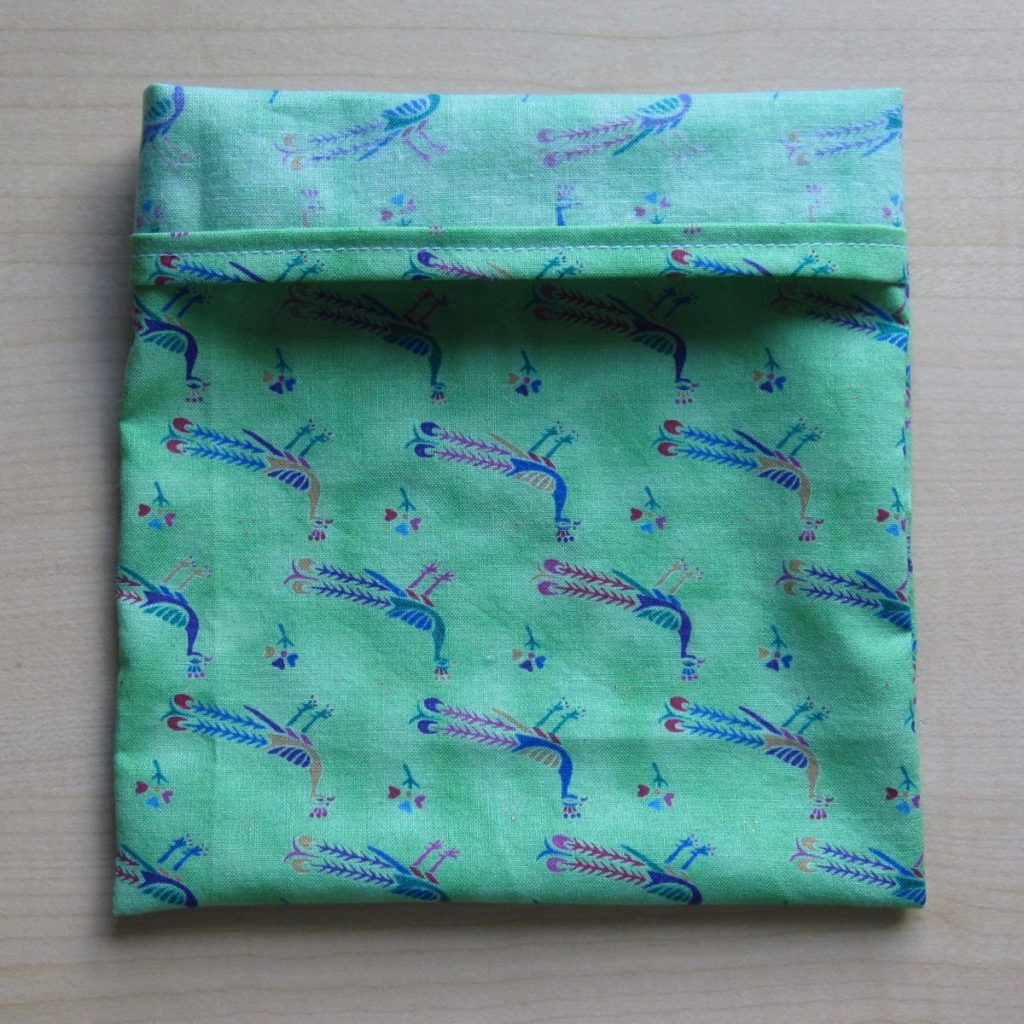
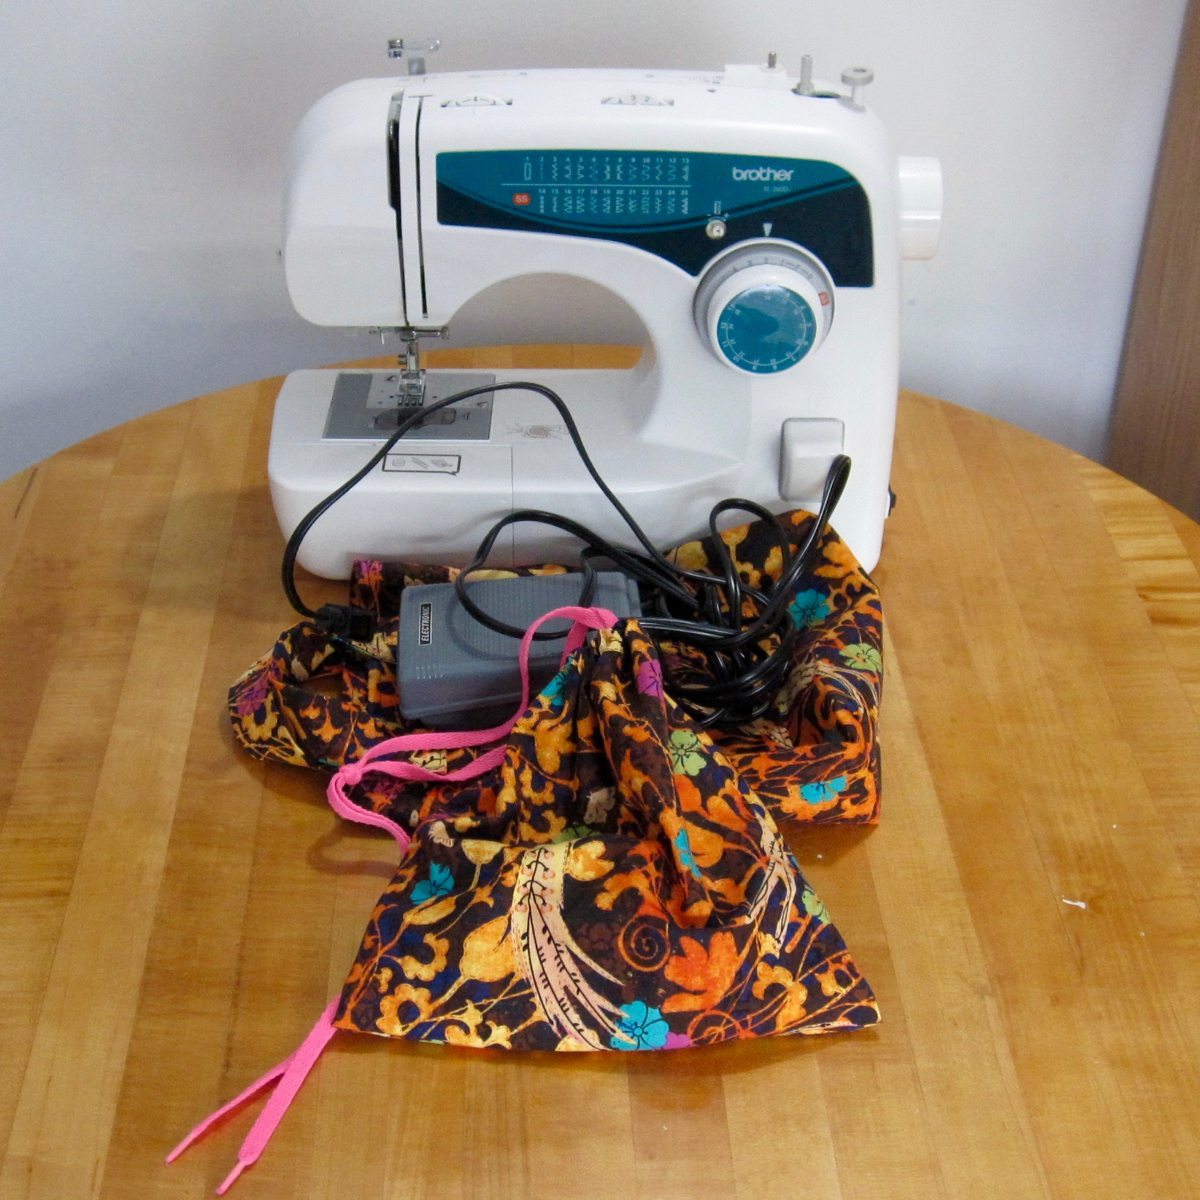
Inside the main tote are a drawstring bag and the foot pedal/power cord for the machine. The hot pink shoelace drawstring was in my stash; I believe my mother tied a gift for me with it at some point.

contents of inner drawstring bag

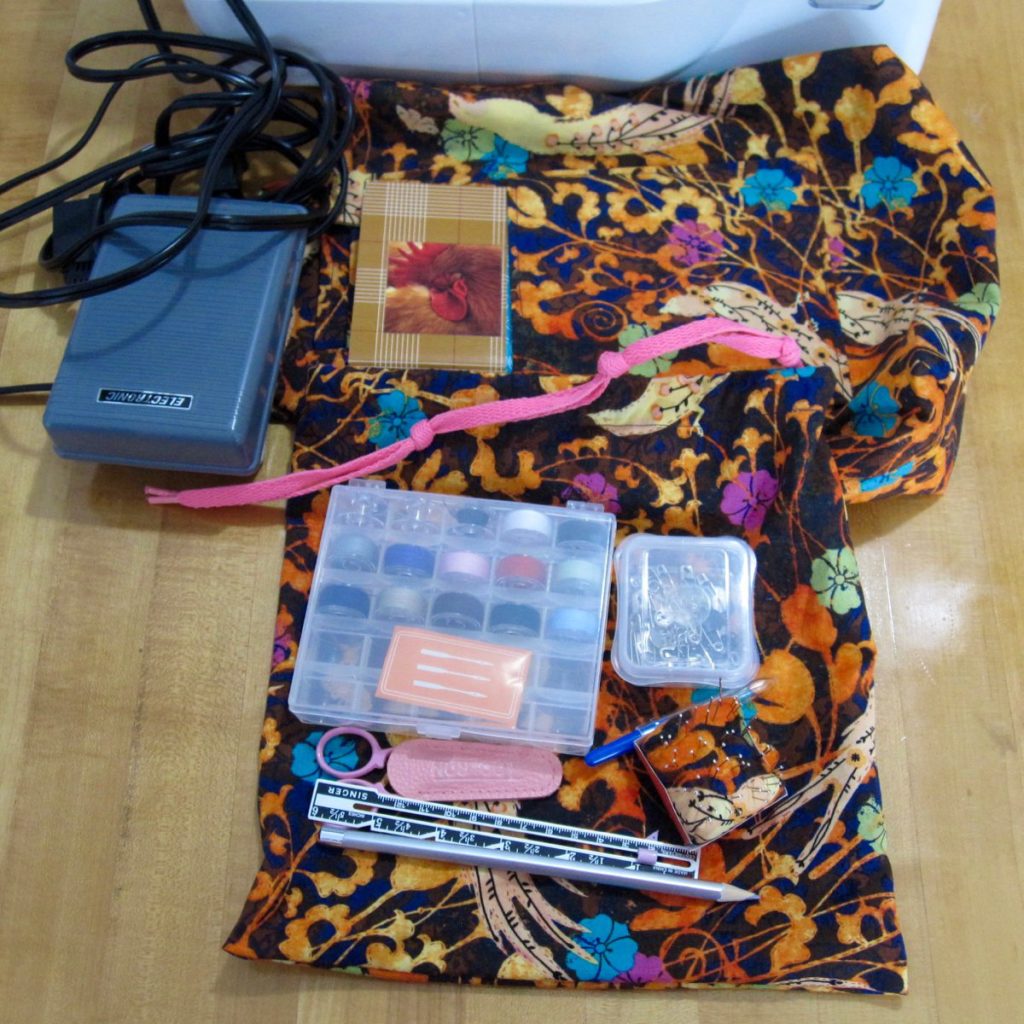
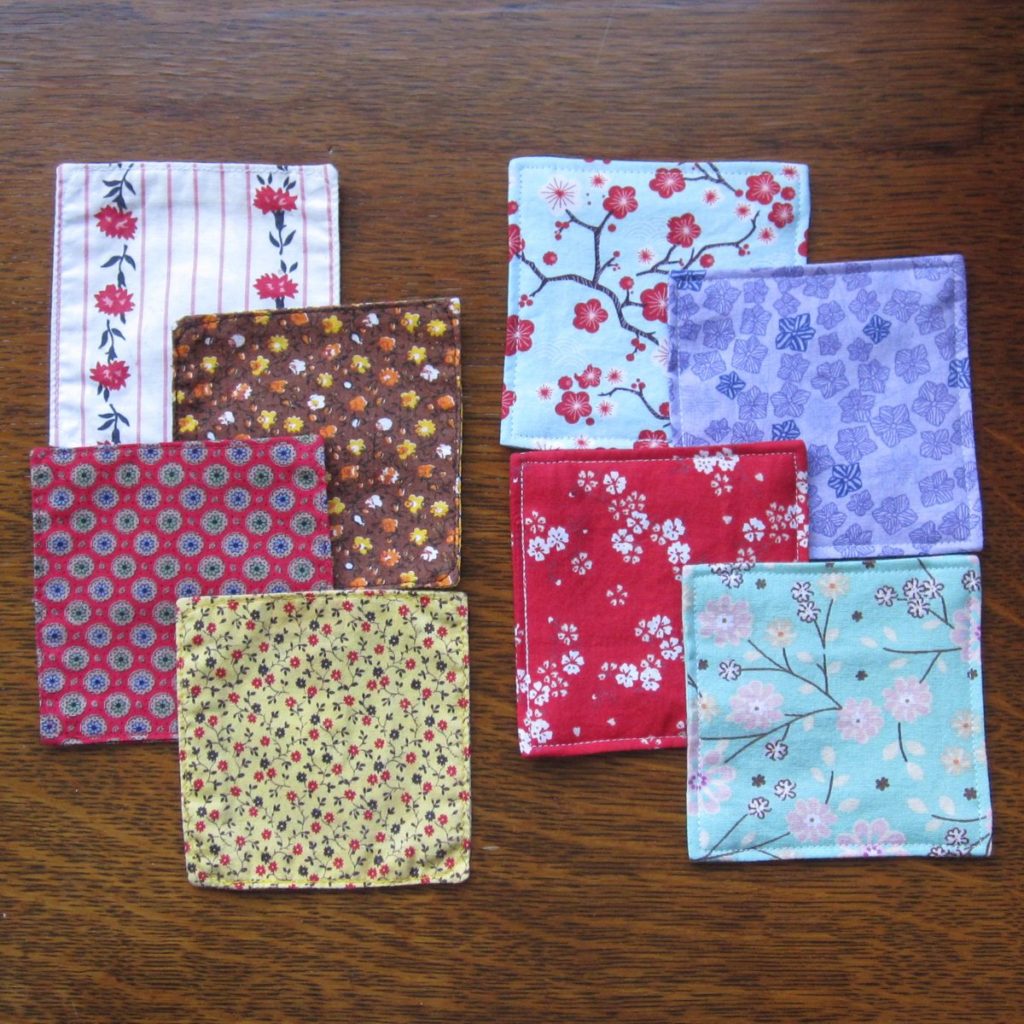
The drawstring bag is the sewing kit. The bobbin box was left over from a large project I am now realizing I never blogged, but it originally held pre-filled black and white bobbins. I half-filled it with a different set of pre-filled bobbins plus the three that came with the Brother. It also seemed like a good place for the Brother’s spare needles. The small plastic box originally held pins, from the same older project, and now has safety pins and a few snaps and hooks and eyes. The pincushion has one hand-sewing needle and a bunch of pins that came with the seam gauge and silver marking pencil. And, of course, you can’t have a sewing kit without scissors and a seam ripper.

I used this machine as a backup once when my machine had to go to the hospital in the middle of a project, but other than that it’s hardly been used. I’m looking forward to it being enjoyed instead of sitting on my shelf!

Independence Day crafting

Thank goodness for federal holidays! I jealously guard the ones I can for me-time, which means crafting time. Memorial Day was taken up with travel which means July 4th was the first time since President’s Day that I had a day I could preserve for just crafting – no chores, no errands, no outside obligations. Not coincidentally it was also the first time since President’s Day that I spent a whole afternoon in my sewing room; in fact, I spent a long afternoon plus the second half of the morning. It was glorious.

So let me show you what I made! There was some time spent on projects that didn’t get finished, of course, but I was very pleased with the completions.

old and new fabric coasters

On the left, my old sewing room coasters, thin and blah. On the right, my new sewing room coasters, one layer thicker and more visually appealing. I had cut them out and done the first round of sewing previously, so finishing them was a sort of warm-up.

tool roll, rolled up tool roll opened out

A roll for tools, similar to a knitting needle roll: one short divided pocket. Limitations of fabric meant the pocket couldn’t extend the whole way across, but that’s all right. The flap helps keep things together. I may decide to add a snap or other closure but we’ll see how it works out like this.

tool bag from side, with front side up tool bag from side with backside up

What the tool roll goes inside, the main event: a sewing machine repair travel tool bag. In this I can stash the basics for transport to the Sew-op or a friend’s house; any problems that require more than what fits in such a bag will be call for the machine to come home with me.

tool bag open and filled with tools

I am pleased with the bag and very pleased with myself that I dialed back my original plans, which would have involved many more pockets, individual elastic compartments for the three boxes, and in general a lot of complexity that may not have been so likely to come out well.

Except for the dark fabric making the “spine” of the bag the fabrics were all upholstery samples donated to the Sew-op. I bought the zippers – plus coordinating thread, but I decided to match the white serging they all shared instead. The rope was in our basement and the elastic was in my stash, as were all the materials for the previously-listed projects. A good haul for a day off.

Baggies!

For a long time I took an apple in my lunch bag every work day. Recently I started branching out more, to fruit that I don’t want floating naked in the lunch bag – cherries, grapes, that sort of thing. There’s no room to add another rigid container, throwing out a plastic bag every day is wasteful, and washing plastic bags is a giant pain. The solution? Fabric! Throw them in the laundry every weekend and you’re set.

sewn "sandwich bags"

These bags are modeled after old fashioned (i.e., non-zippered) plastic sandwich bags and sized after the zip-top kind. You can’t turn them over and shake and expect their contents to stay put, but as a barrier between my clean grapes and my … also clean! lunch bag, they are more than sufficient.

I have made many such bags over the years and I don’t think I’ve every blogged the recipe, which is a shame because they are very simple.

Edit May 2018: After using these baggies for the better part of a year I made a second round with a slightly wider flap; I think that is better. Measurements below have been updated.

For each 6.5″ square bag cut a 7″ x 16.25″ rectangle of cotton fabric. Fold the short edges to the wrong side by 3/4″ and then tuck the raw edges under; sew to secure. You are hemming the opening of the bag.

sewn, inside-out bag viewed flat looking inside the sewn, inside-out bag

Fold one short edge to the right side by 1.75″ to form the flap. Bring the opposite short edge up on top of it, almost to the flap fold line. Sew the sides at 1/4″ and then zigzag the edges to prevent fraying.

Turn the finished bag right side out and push out the corners. Fold the flap over so only the right side of the fabric shows. Done!

bag partially turned right-side-out bag turned fully right-side-out

Baggie Modifications

two bags with the selvedge showing

If you cut the rectangle with one short edge on a selvedge, you don’t need to fold it down, and your rectangle only needs to be 15.5″ instead of 16.25″. You can choose whether to have the selvedge inside the flap or at the end of the flap – it’s an artistic decision.

To make bags of different sizes, here is the formula:

Short side of rectangle: (Finished width of bag) + 1/2″
Long side of rectangle: (Finished height of bag × 2) + (flap width) + 1.5″

If one of your short edges is pre-finished, you can reduce the long side by 3/4″ — the 1.5″ above is two 3/4″ hem allowances.

To be totally clear, for the bag in the construction photos the measurements were:
Short side of rectangle: 6.5″ + 1/2″ = 7″
Long side of rectangle: (6.5″ × 2) + 1.75″ + 1.5″ = 16.25″

There are a couple of things to consider when resizing the bag: you’ll likely want a wider flap for a larger bag but you can’t reduce the flap by as much when making a smaller bag – keep it above 1/2″ wide. Also remember, for a smaller bag especially, that the sewn-down flap makes the opening a little narrower than the body of the bag. I made a small bag like this for a little bamboo eating utensil and sometimes it’s a struggle to get it in and out, though it has plenty of room once it’s inside.

The only key piece of construction is to remember the flap is on the inside when you’re sewing. Enjoy!