 In early April, I got the idea to make a bunch of origami flowers. I never actually did, but the idea stayed with me and inspired this month’s First Friday: making flowers out of paper. As you might imagine, I’ve been knee-deep in wedding sites this week, but the ultimate sources are a wide variety of DIY sites.
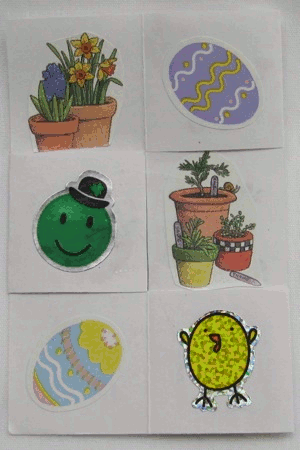
Since origami was the inspiration, let’s begin with it. Origami-Flower.org (a subsite of Origami-Make.com) has a long list of flowers organized by difficulty. Fewer but quite different flowers are available from the Origami Resource Center. There are many origami sites, so if you are looking for a specific flower a quick web search should set you up.
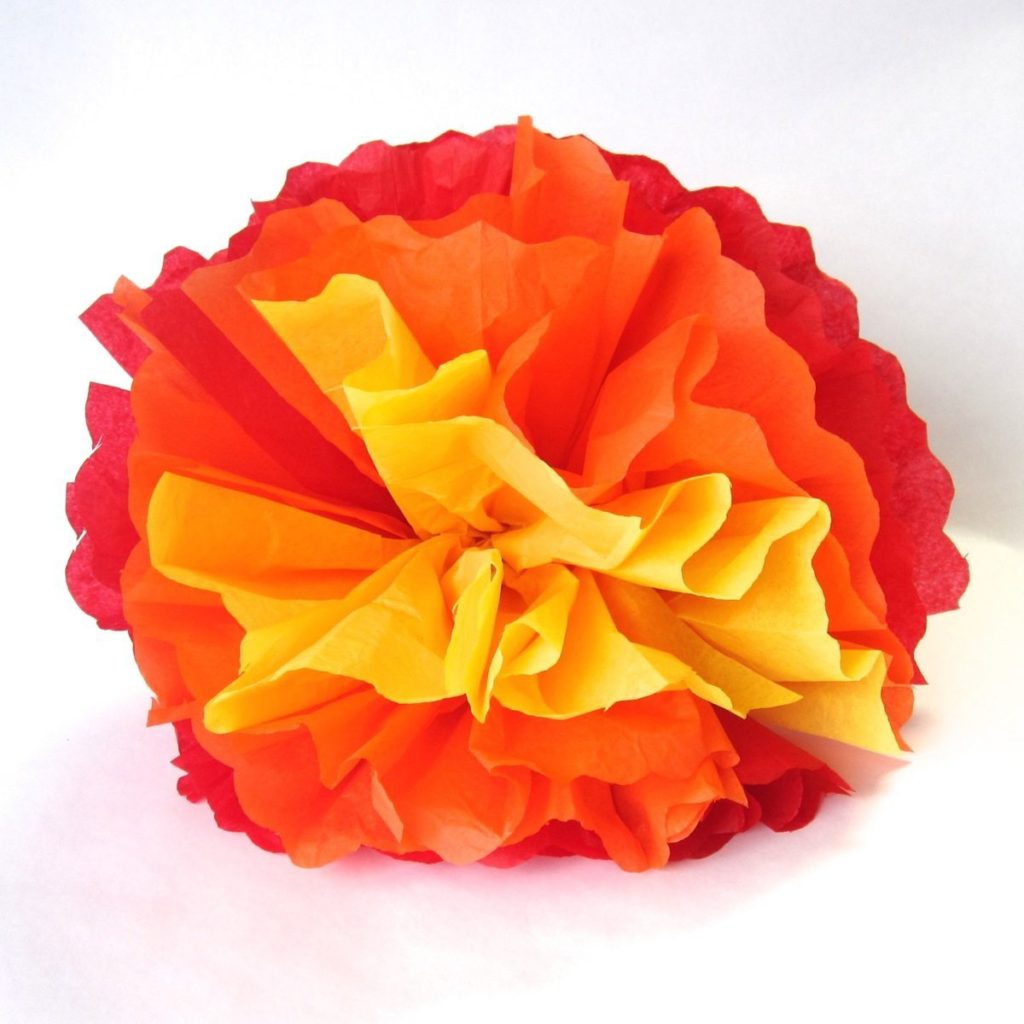
For successful non-origami flowers, the themes I’ve gleaned are patience and generosity with petals. Let’s survey some made with different kinds of paper. First, the accordion-folded tissue paper carnations many of us learned as children are given more nuance in a tutorial by Pink Paper Peppermints. I tried this, shown above, and the trimming made a big difference to the effect, though using fewer sheets of paper meant my flower shows its two-halves nature more. You can also make them tiny, as on Zakka Life.
Since they are already crimped, cupcake liners are a popular flower paper. My favorite versions were from DIY Network and Lia Griffith (who has many lovely flower tutorials; the picture below is two of her tutorials, albeit in inappropriate materials).
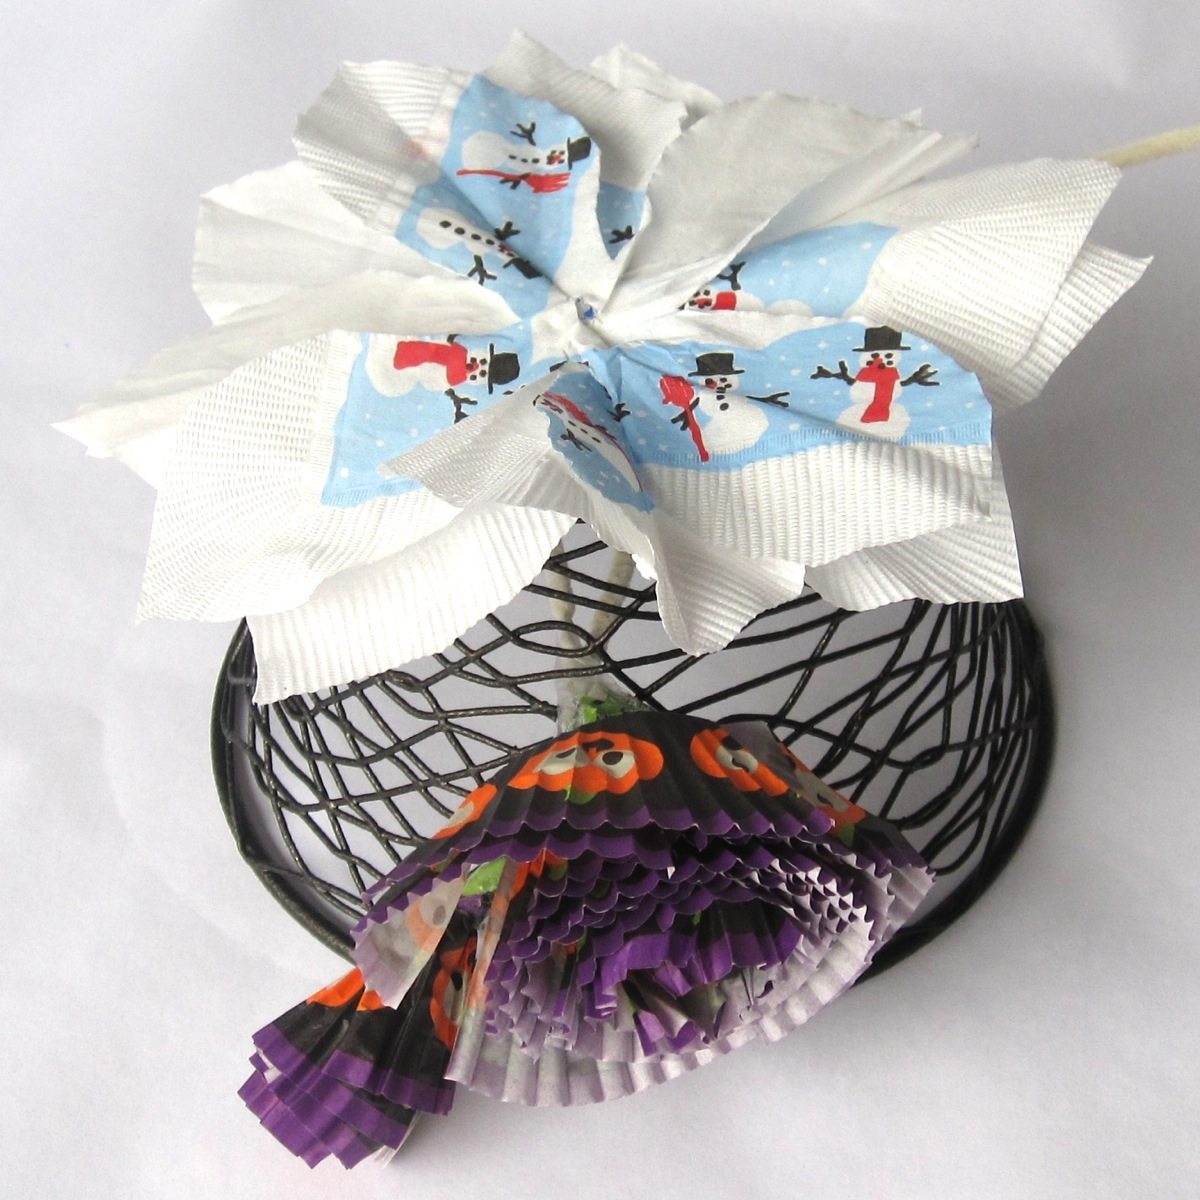
Snowman napkin poinsettia and Halloween cupcake liner peonies, after Lia Griffith.
Crepe paper is likewise popular, especially for roses, which are all of the tutorials in this paragraph. Its main appeal is that if you have the grain lengthwise along the petal, you can stretch the center of the petal sideways so it cups, or the top edge of the petal so it ruffles. You can use a long strip as on Folding Trees or Country Living, a strip with petal shapes cut into it as on The Bride’s Cafe, or individual cut out petals as on Foofanagle. With the right kind of crepe, you can even make them huge, as on Martha Stewart (alternate instructions with more photos are at Green Wedding Shoes).
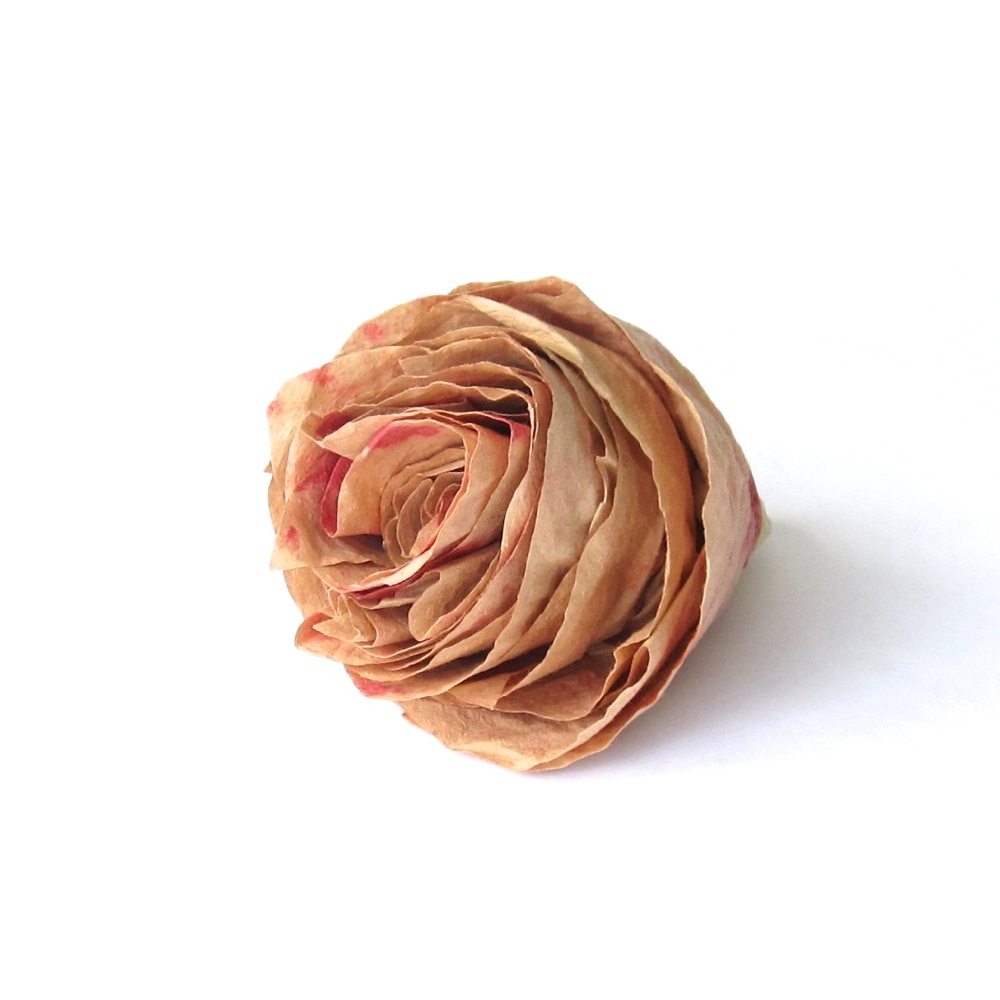
Since they are designed to survive being completely soaked, coffee filters take well to subtle (i.e., dilute) painting, and make lovely flowers. Martha Stewart has a rose tutorial, and although I wish it had more detail and progress photos, the result at the top makes me want to try it anyway. There’s a lot more detail in the tutorial for large peonies at Design Sponge if you want an easier entree to coffee filter flowers.
Experiments in filter flowers. This is neither of the tutorials above.
Ordinary paper becomes more malleable if you crumple and then smooth it, as used in this Instructables tutorial. (I usually avoid the crowd-sourced tutorial sites because of their grossly uneven quality, but I’m glad I clicked through on this one.) The comments on that tutorial are useful too. Cardstock can even be wet and shaped, and when it dries it will hold its shape but still look soft (in that link there are two tutorials, and the second does not require a special die or punch).
What should you do with paper flowers? Many sites recommend mixing them with real greenery for better-looking bouquets. Wire and Paper is a brief blog (plus a few extras on Facebook) about paper flower decorating: for vases, hand held bouquets, and shop displays. The photos there are lovely and you can get good ideas for materials and colors as well as uses. Although, of course, once I decided to add this section I could no longer find them, I saw a number of sites with stemless flowers attached to boxes, book covers, gift bags, headbands, and hair clips. You can string them together for a garland or hang them individually, make them into wreaths and cover picture or mirror frames with them.
I wanted to keep the number of links manageable but I can’t exclude the following lovely versions of specific flowers: crocuses and snowdrops (crepe paper), poinsettias (cocktail napkins), poppies (watercolor paper), and Chinese lanterns (coffee filters). I also want to include this tiny rose made from a strip of paper. The tutorial uses a special slotted tool but it could be done with a stuffing tool (large plastic yarn needle with the end of the eye snipped off) or perhaps two flat toothpicks taped together so their wide ends are close but not too pressed together.
If you want more or different tutorials, so, so many flowers in all sorts of materials are on Pinterest boards by manekibeader and zurina, with surprisingly little overlap. Also, in many cases you can make paper flowers with fabric: ribbon for long strips of paper, and lightweight fabric (starched if necessary) for sheets.
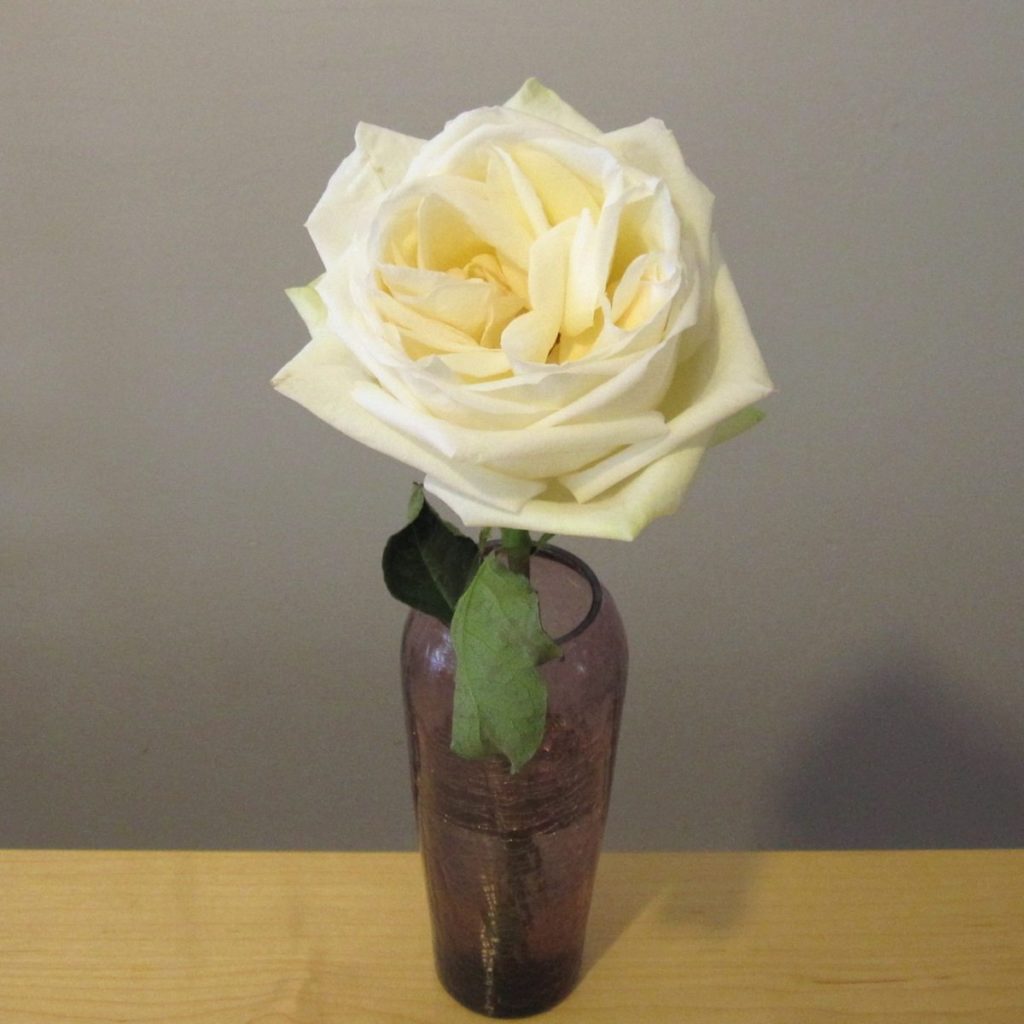
The real rose at the top was brought home by my husband and was three days old when the photo was taken, still looking as fresh as on day 1.