Glue

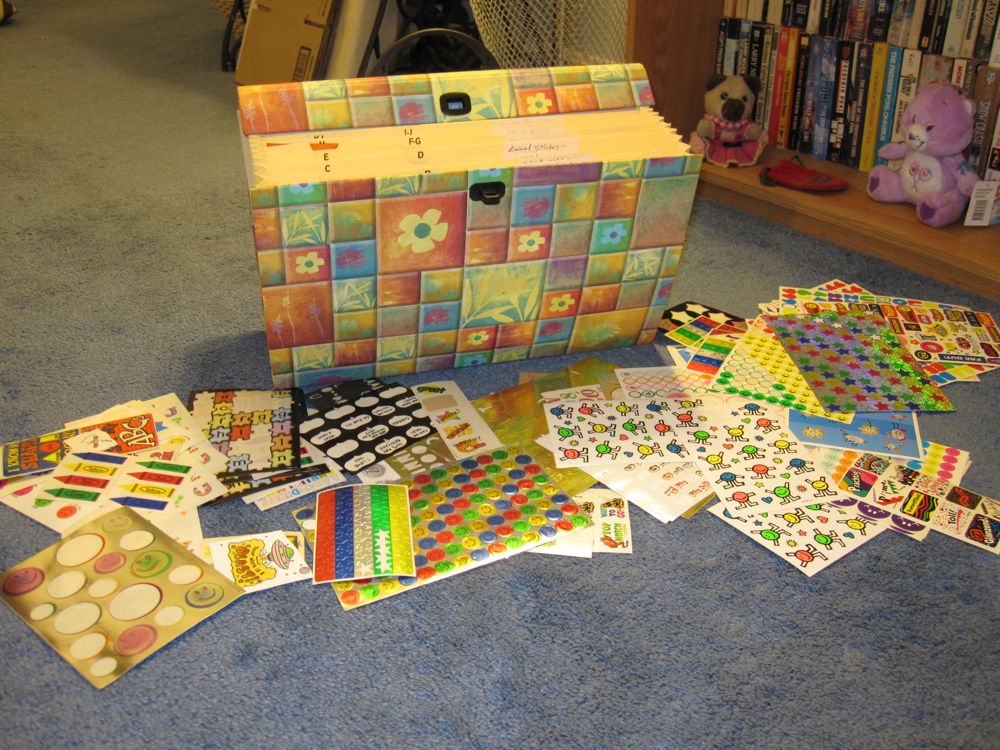
At the Sew-Op, we have a lot of fabric that is too small to sew with, unless you are extremely dedicated. In looking for things that can be done with very small scraps, I found many projects that use Mod Podge to glue fabric to a number of different surfaces. With the idea that, project in hand, we might be able to donate our fabric to a good home (a local art gallery that holds classes and after school programs), I decided to test this Mod Podge theory.

I used ordinary cotton calico, the kind sold for quilting. I have some doubts that Mod Podge would work terrifically well to glue anything very heavy or thick. I cut pieces to wrap around two binder clips and cover a promotional magnet, brushed Podge on the surface of the item, pressed the fabric onto it (this required trimming to fit in all cases, more so for the binder clips), and brushed more Podge onto the surface of the fabric.

mod podge projects mod podge projects, alternate view

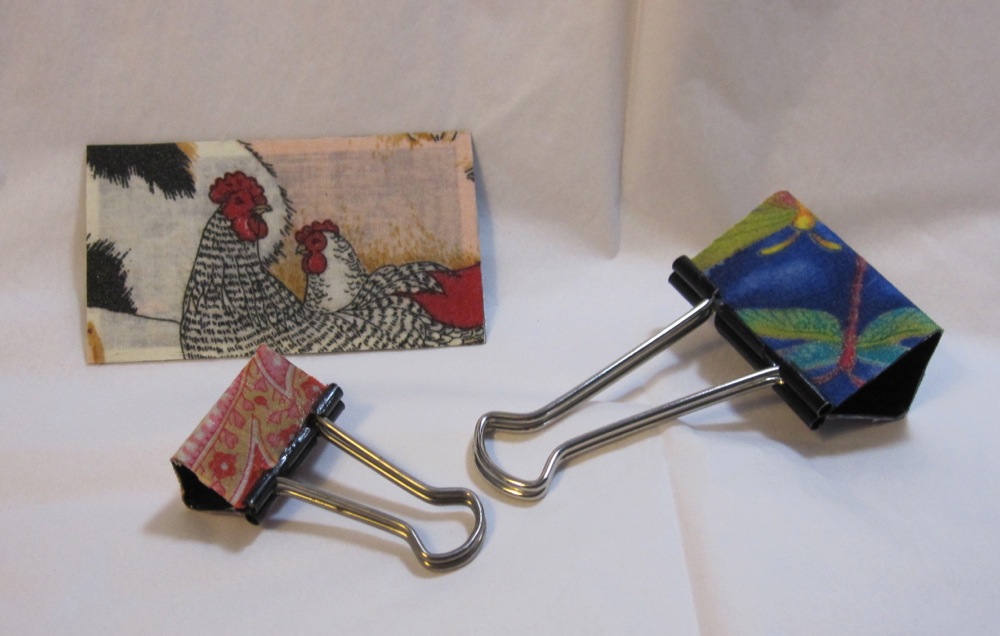
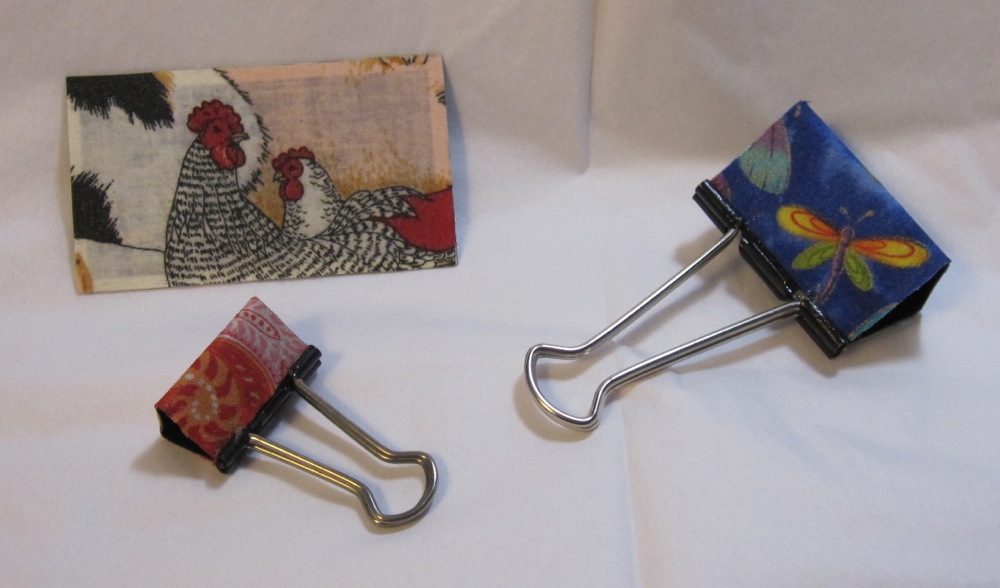
As you can see, it worked beautifully, with the caveat that the color of the base shows through the fabric a bit. On the other hand, the glue made the fabric sparkle a bit, which was an unexpected bonus.

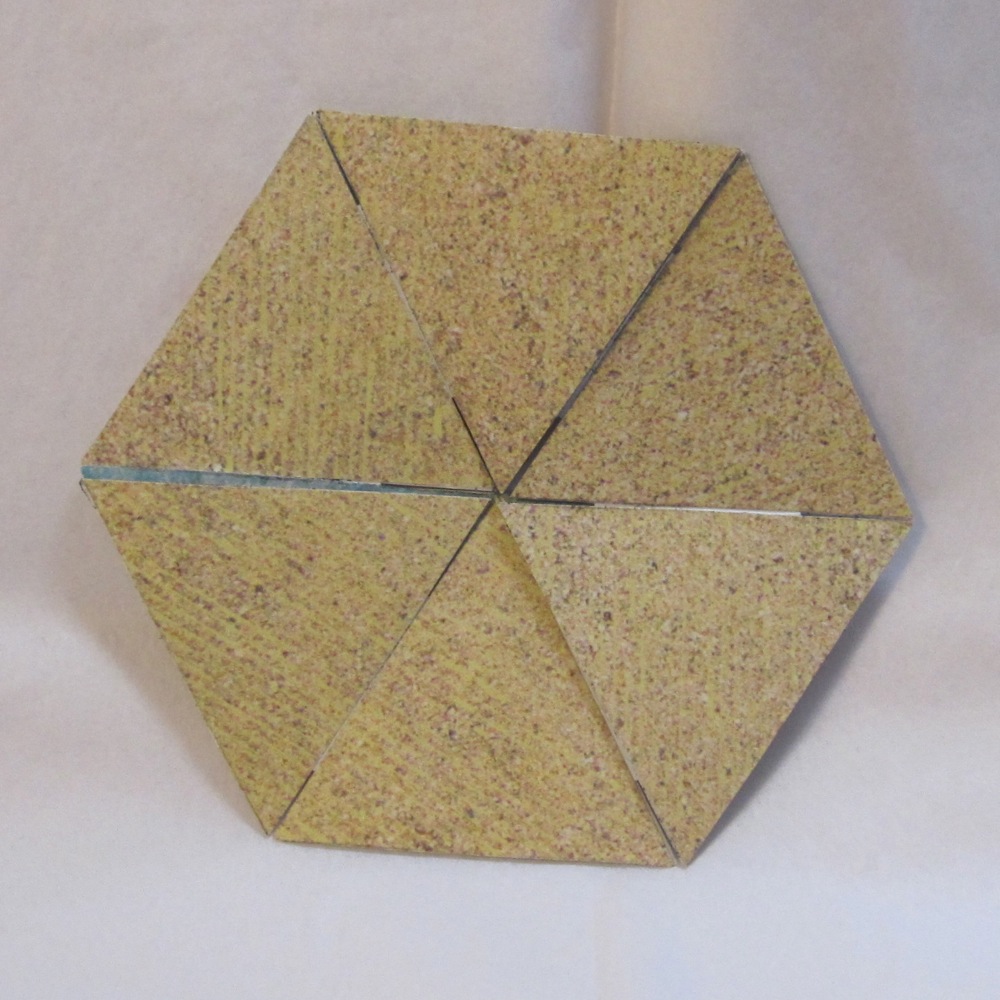
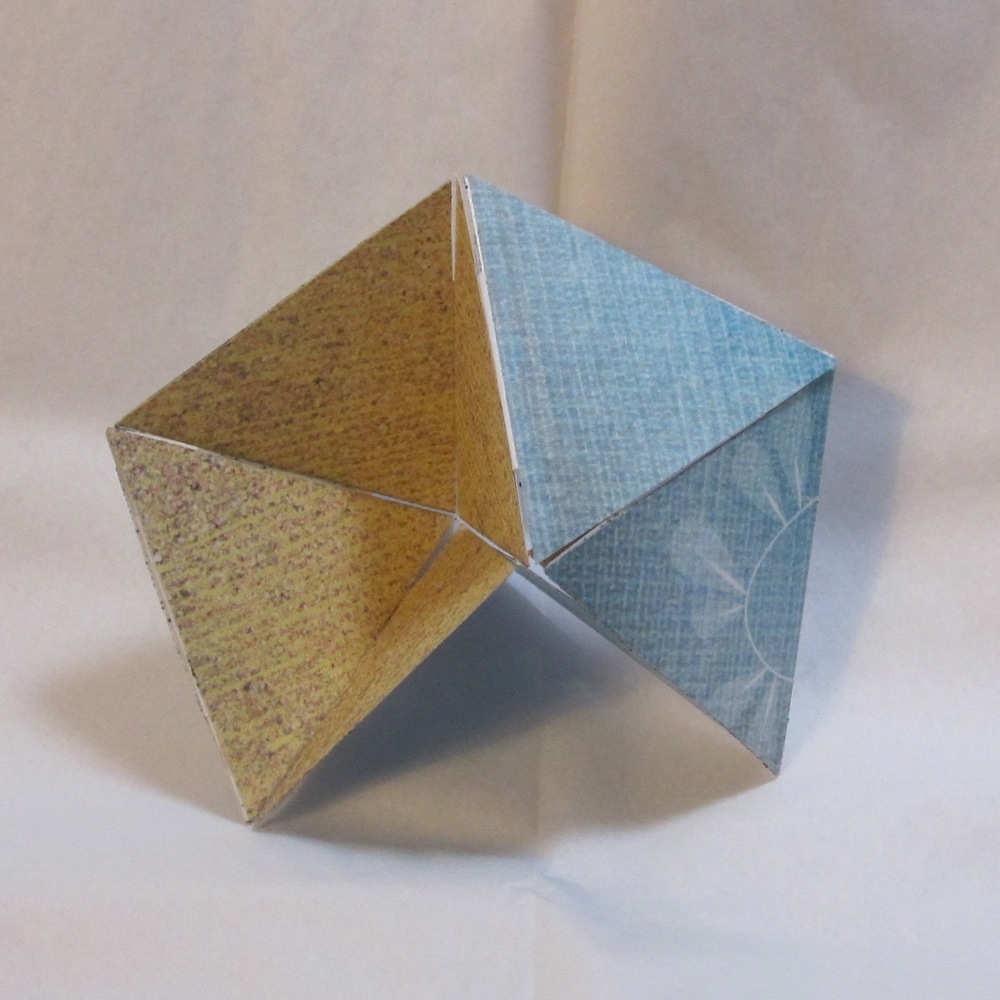
If you are disappointed in the post so far, never fear, there’s more. Recently a video was going around about flexagons. It made me think of the old fortune tellers we made in grade school (I’ve also heard them called cootie catchers) and I decided to make one. I was ambitious and cut out pieces for a dodecahexaflexagon (twelve faces, each a hexagon, two of which show at any given time), but came to my senses and made a trihexaflexagon first. I cut six equilateral triangles of each of three decorative papers, two inches on a side, and a bunch of half inch squares of plain paper for the hinges. I glued them together using rubber cement, following the instructions on the Flexagon Portal, with only a front side on one end. After folding the whole thing up I glued the back on.

face 1 face 2

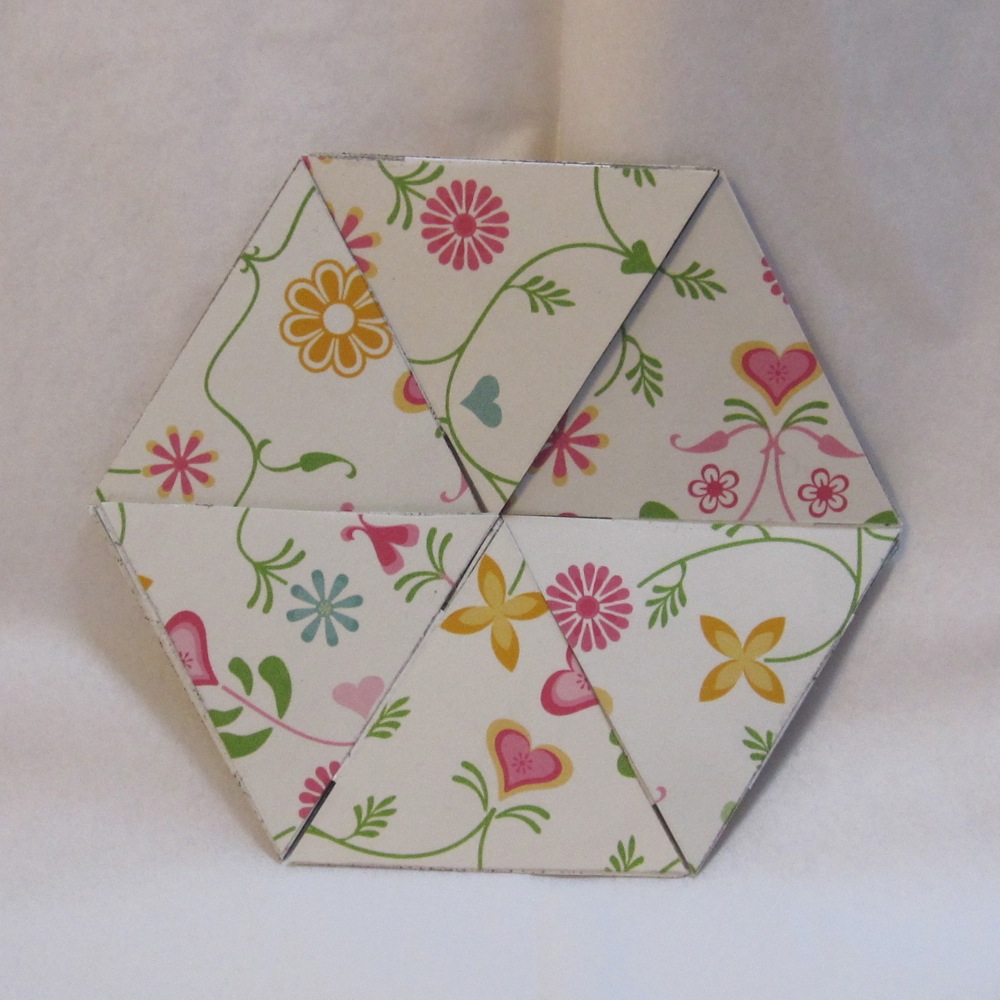
Changing from the second face to the third…

from 2 to 3 face 3

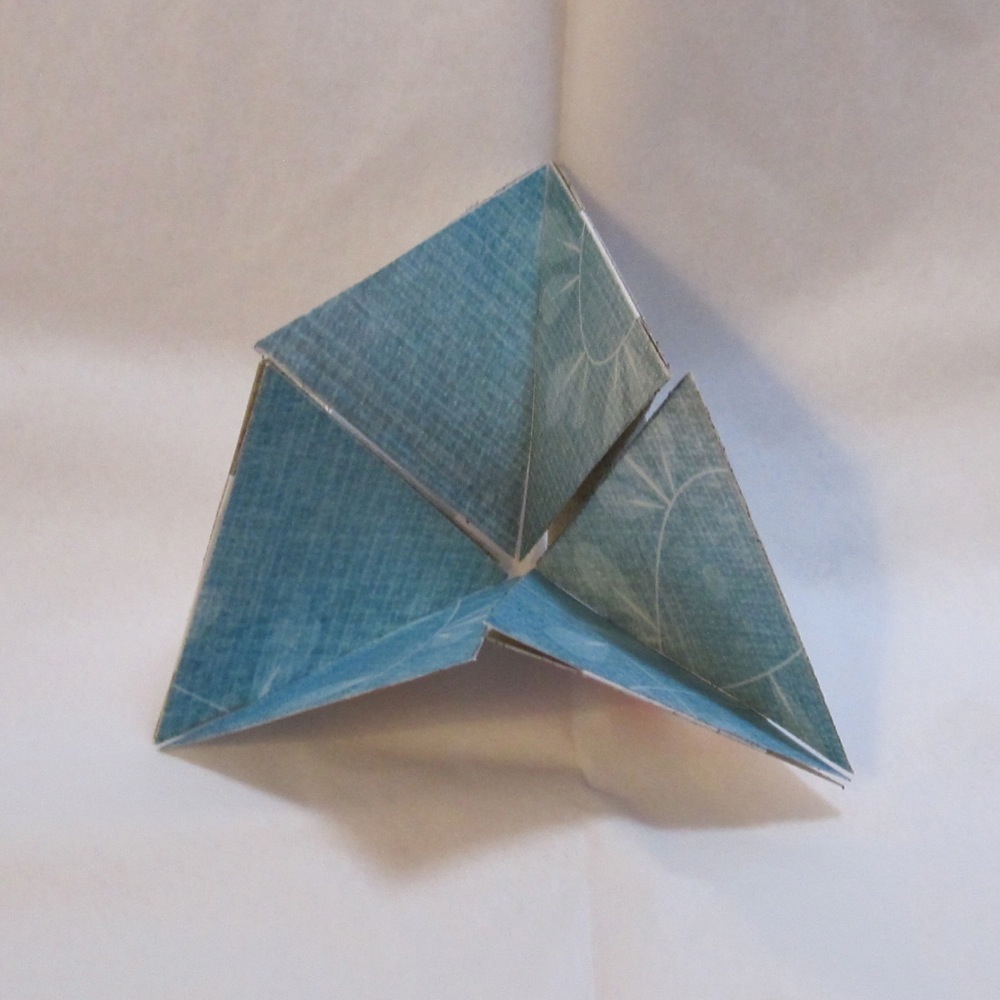
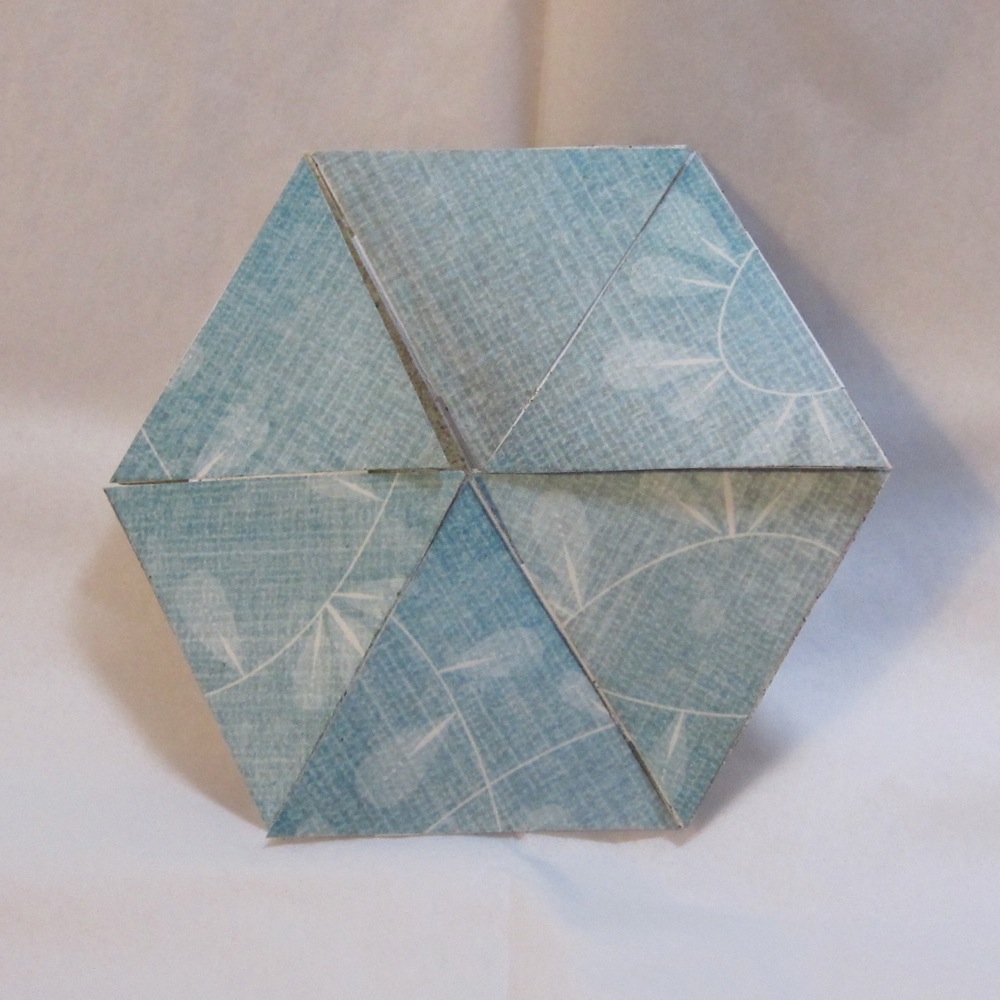
And back to the first…

from 3 to 1

Even more recently I discovered an old flexagon I made in middle school (I think). I’m not sure whether it officially counts as a flexagon, but it has more than two faces. In fact, it has four, and each consists of six squares in a two by three rectangle. With Thanksgiving I did not have time to explore it for this post, but it will appear at some point in the future!

A drop of decoupage

I acquired a strange obsession with Mod Podge after a friend brought some over the night we made pie charts, when I used it to make the candy wrapper collage shown on my About page. I also went through a long phase of saving all the wine, beer, and other alcohol labels I could, going to lengths to soak and scrape them off the bottles. I have long since stopped that, as it is far more laborious than it is worth to me, but I had an envelope of labels and finally (years after the pie chart night) purchased my own Mod Podge.

Also in my possession was a wooden box with grapevines on it.

closed box

So what is one to do but decoupage wine labels all over the interior and foot of the box?

open box bottom of box

I learned that Mod Podge is not the best glue, though it is an adequate glue. I kind of wish I’d glued the labels down with rubber cement originally and used the Mod Podge only as a finisher, but it worked out. I used many, many layers of Mod Podge. The oval label in the middle of the interior bottom had a ridge around the edge where it was poking up, and my efforts to sand that down led to the entire coating on the oval label peeling off! Fortunately, it only peeled off exactly over the oval, which meant further layers of Mod Podge helped smooth the surface – there was still a buildup of Podge outside the oval, so the ridge was diminished. I did, however, add a label from the neck of a vodka bottle to cover where I’d sanded off the oval label’s color.

box ceiling box floor

All in all, I would call this a fun and incredibly easy project, though it takes a lot of time. Not at once, but spaced out over a number of days. I used a foam brush and wrapped it in aluminum foil between uses, though I still had to replace it once or twice over the life of the project when it got gummy.

Trio of bookmarks

Craft Countdown #5 was bookmarks. A few years ago I bought a pack of plain bookmark-sized cardstock to make bookmarks for friends as Christmas gifts. That was still bumming around my stash so I thought for variety in the Countdown I would make some bookmarks.

some stuff

It helps in endeavors like this to have an obscenely large sticker collection.

o the humanity

To be fair, that file also holds greeting cards.

Unfortunately, the eyelets I bought in the scrapbooking section of a store were incompatible with the pliers I bought in the sewing section of the same store! I had to shimmy a few smashed eyelets off the pin of the pliers with another pair of pliers before I gave up. And now I should sort them out of my bin of eyelets so I don’t have this experience again.

But without further ado, the finished bookmarks:

without tassel with tassel

And, a Happy Birthday to my Aunt Liz!