Time for that middle-school-era “flexagon” I talked about. Because I recently learned how to make them, I present it in animated GIF form.

To flex from one face to the next, you fold the long edges away from you and open down the middle. When 1 and 2 are showing, 1 will not open but 2 will reveal 3. When 2 and 3 are showing, 2 will open to 1 and 3 will open to 4. Finally, as you would expect, when 3 and 4 are showing 3 opens to 2 and 4 does not open.
Of course, after making lovely schematics for you, I remembered to do a search to try to find this. It’s a tetra-tetraflexagon, known since at least 1961. I think my instructions still add something, but I’ll put them under a cut.
Meanwhile, I made a new one without numbers. Unfolded it looked as follows:
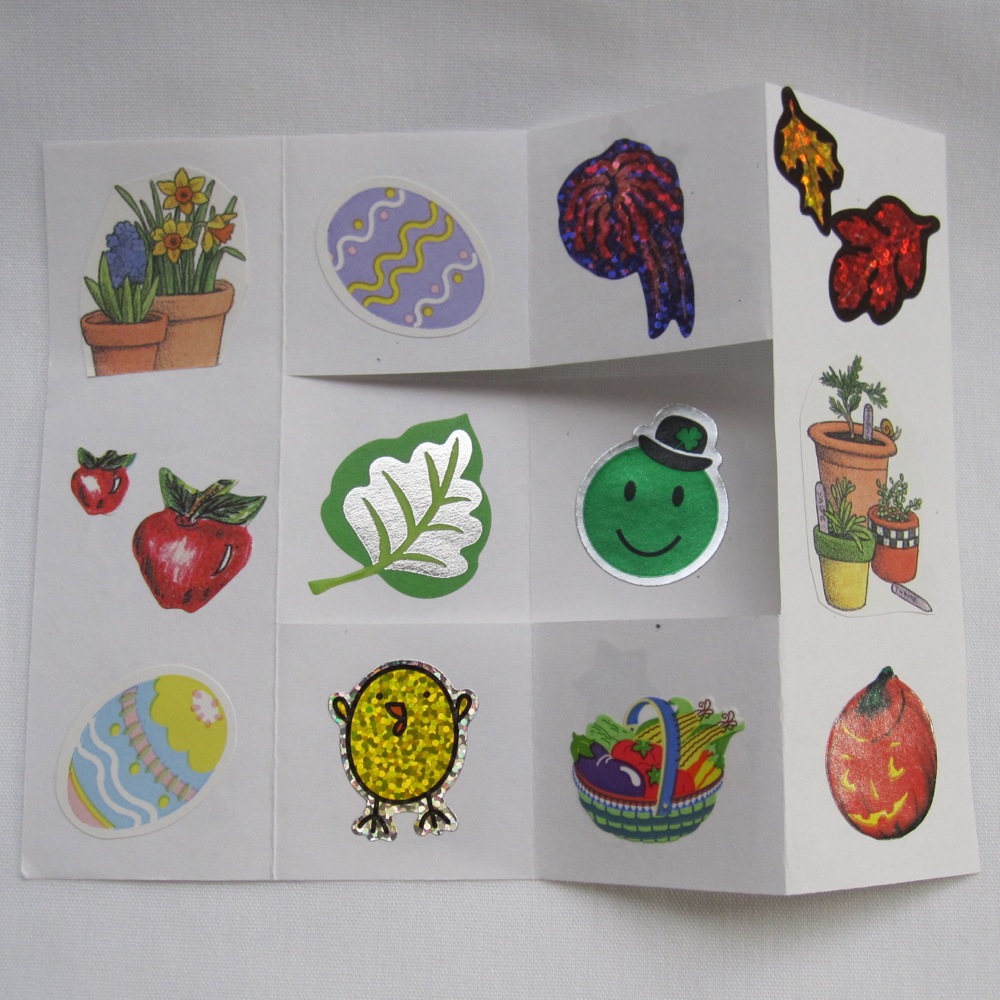
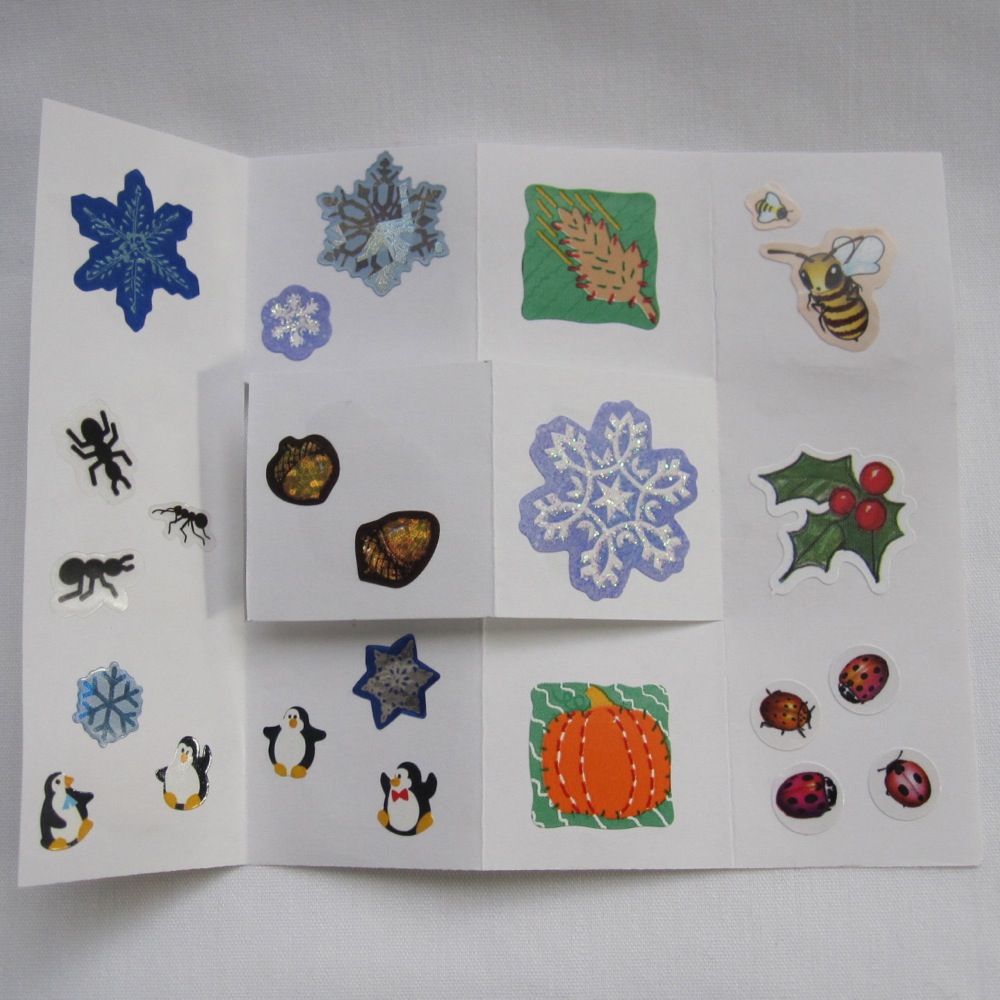
And here’s another animation!
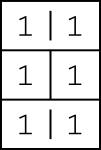
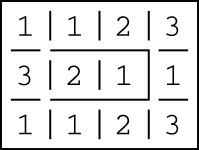
Start with a rectangular piece of paper, divided (perhaps only mentally) into twelve rectangles on each side such that every rectangle has equal width, and every rectangle has equal height (i.e. the vertical lines are equally spaced and the horizontal lines likewise). My rectangles were 1″ squares in the original flexagon, and 1.5″ squares in the new one. In these diagrams, the lines that don’t meet any other lines are there to indicate the boundaries of squares. All lines that meet other lines are edges of the paper.
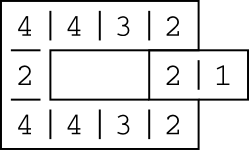
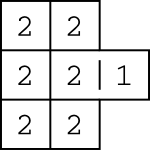
The middle two squares are cut away from the rest on three sides, including both longer sides. When the “hinge” of this flap is to the left, the squares belong to faces as follows:
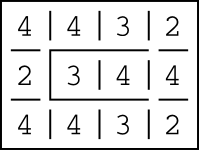
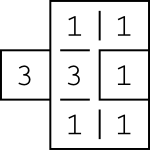
Turning the paper over, side to side so the same long edge is at the top, the squares belong to faces as indicated in the next diagram.
To fold, keep this latter side up and fold the middle flap out to the right.
Fold the leftmost column in once…
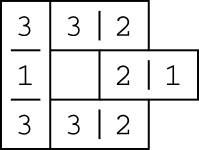
…and twice.
Turn the folded paper over and check that you have the correct faces showing.
Finally, fold the last tab in to the center and secure with a piece of tape.