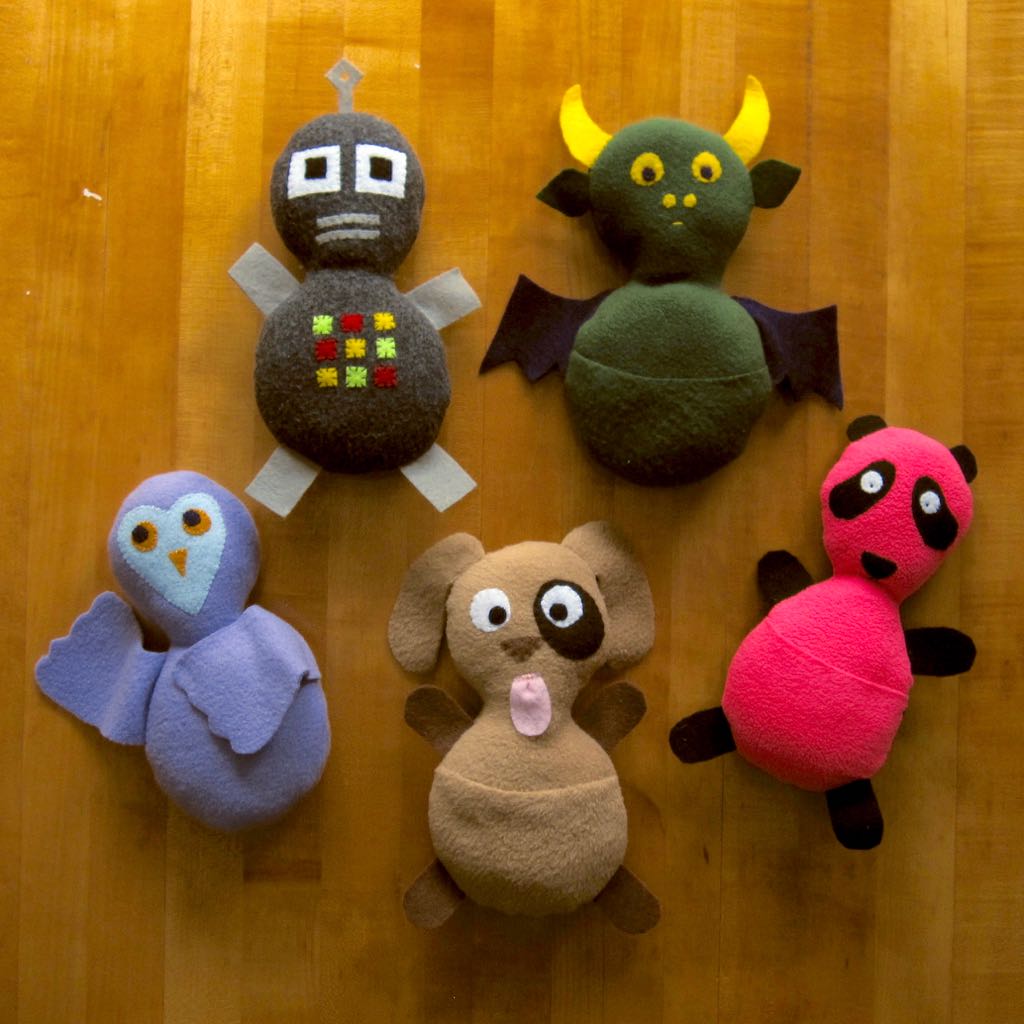
Spring of last year, I developed a design-your-own stuffed animal pattern, with the help of my artist husband, as an aid to teach basic hand-sewing skills. It is not looking like I’ll be teaching that class again, so I thought I’d share the pattern and instructions.
The animals are all basically snowman-shaped, with an optional front pocket (for treasures or lost teeth) and features designed by the creator. They require fleece and felt and a knowledge of whipstitch, running stitch, mattress stitch, and beginning and ending knots for hand sewing.
You can download my pdf stuffy pattern which includes the front/back, pocket, round- and square-end limbs, dragon wings/horns/ears, dog nose/ears, owl wings/face, and panda eyepatch. The simplicity of the overall shape lends itself to designing your own stuffy, though, or making variations on the ideas included – one of my students made a much cooler robot than mine, and another made an adorable panda, exaggerated like an animated character.
I’m putting this behind a cut because it got quite long. All photos can be clicked to bring up a larger version.
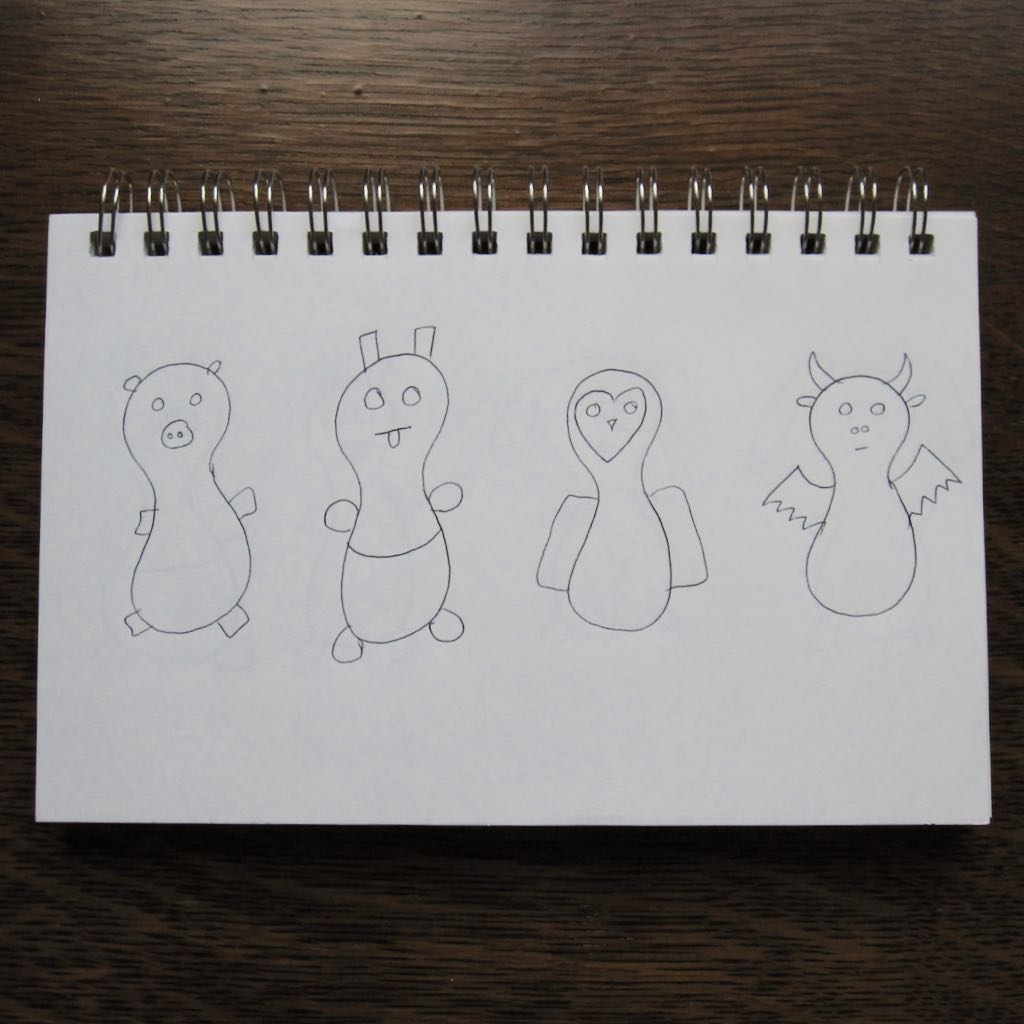
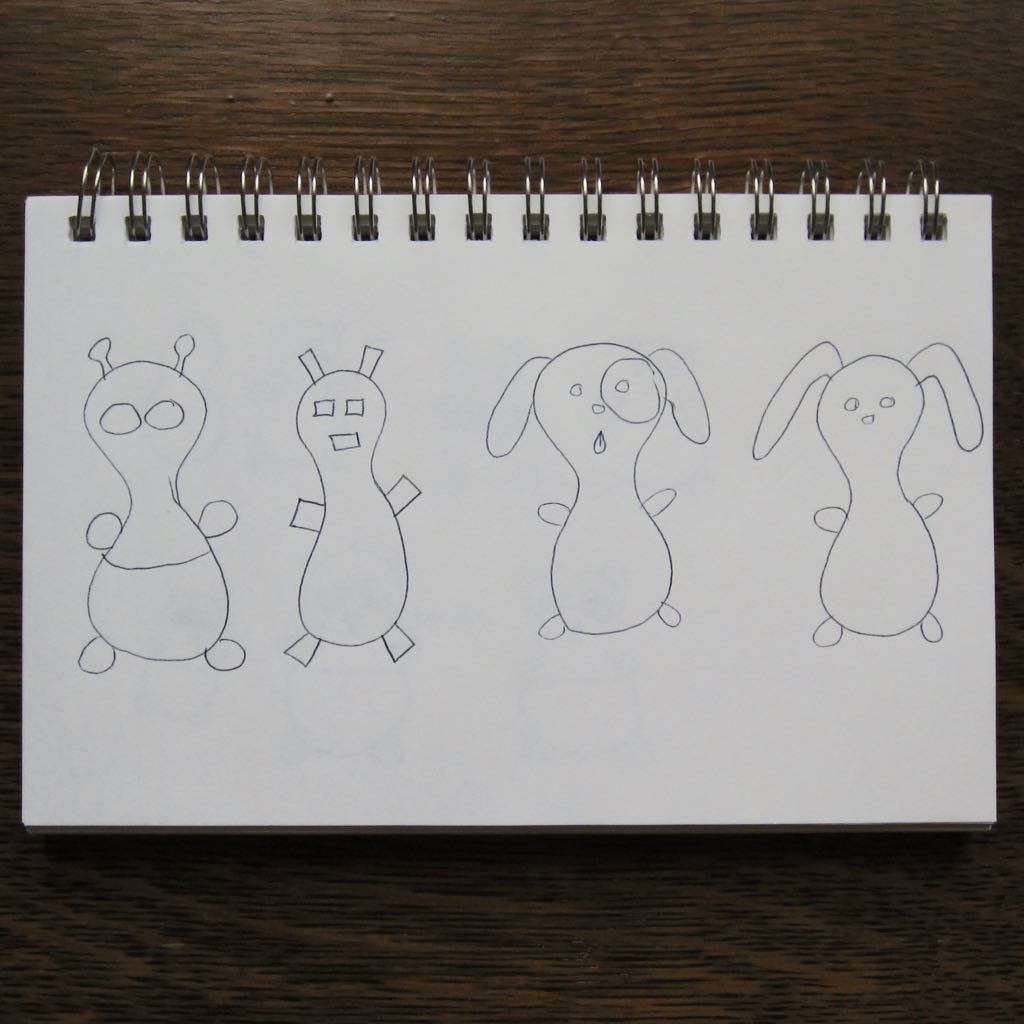
Step 1: Design, cut, and lay out your stuffy
What creature will you make? Pocket or no pocket? Realistic or caricatured? What color scheme?
While the shape and size of the mouth is important for expression, lots of personality comes from proportion and placement of the eyes.
Use fleece for the front, back, and pocket, and felt for anything that is particularly small or needs to hold its shape. In between, it depends on the effect you’re going for and the available materials – I used soft fleece for the owl’s wings, but stiffer felt for the dragon’s wings.
The dog’s tongue is a trimmed-down round-end limb with a pinch in the middle. The panda’s ears are also trimmed-down limbs.
For the tiniest features, some simple embroidery is easiest: the middle of the panda’s eyes, and the panda’s and dragon’s mouths, are made with little straight stitches.
If you have some form of digital camera on hand, photographing your laid-out stuffy is a great way to make sure you can sew all the pieces on in the right spots without driving yourself batty trying to keep them in place start to finish.
Step 2: Sew on features
Skill 1: Threading a needle and knotting the end
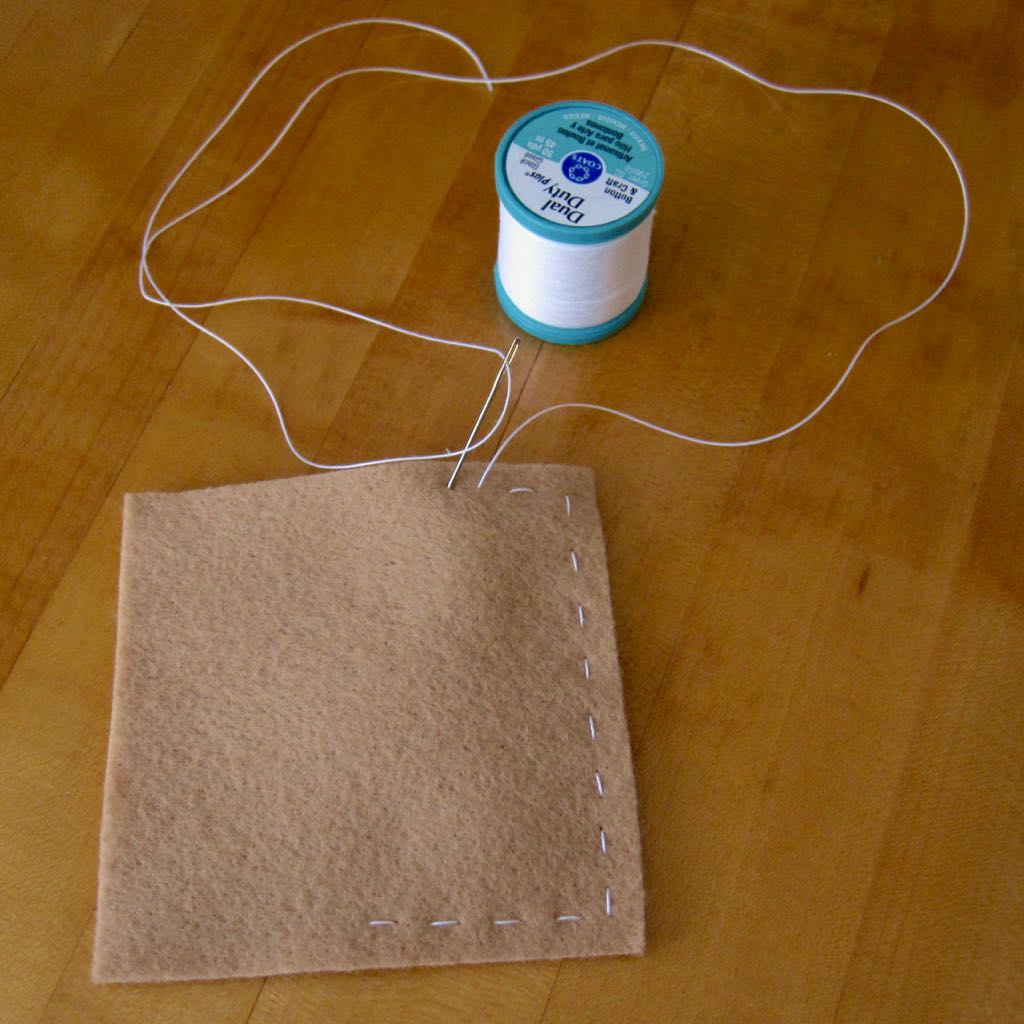
I like to sew these with a doubled length of thread, with the two ends knotted together with a couple of overhand knots. The overhand knot is the knot you start your shoelaces with. The photo below is just one length of thread for clarity, but to knot two you hold them together as though they were one.
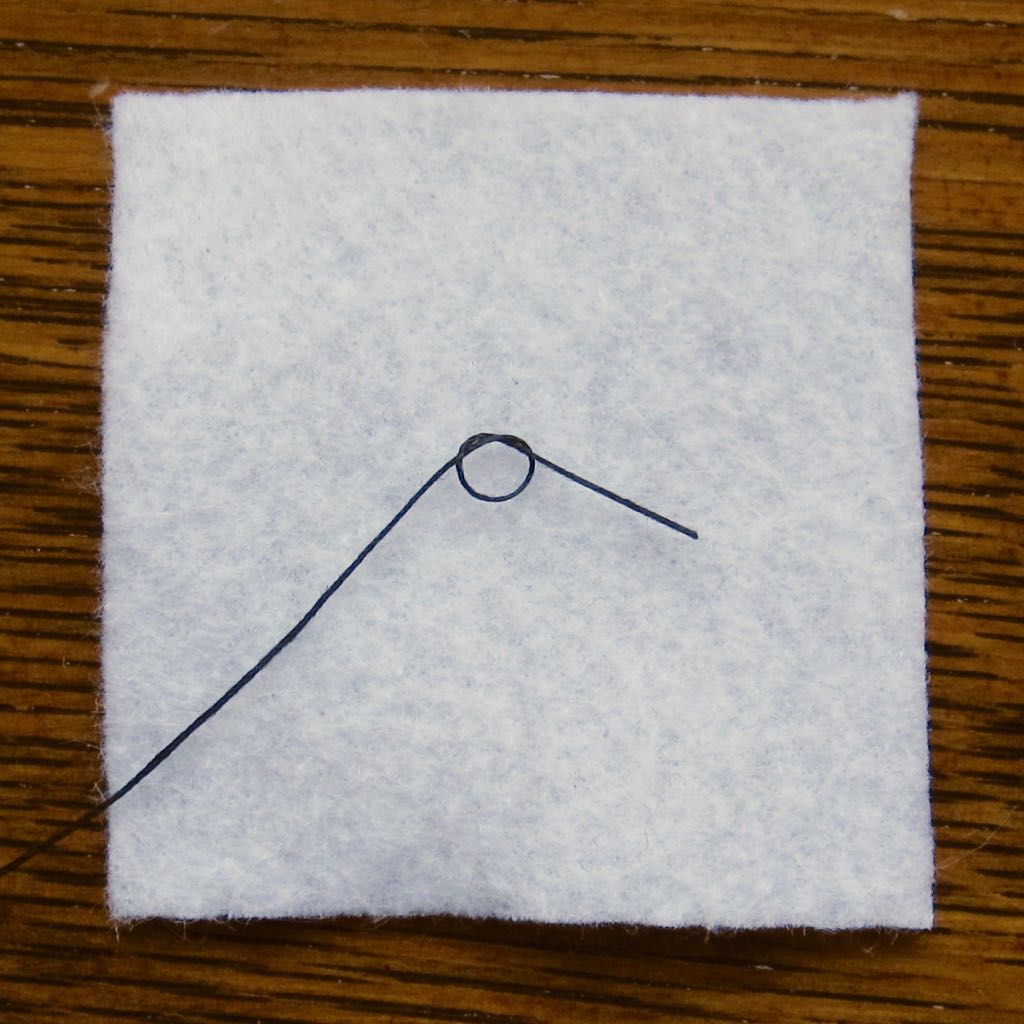
The nice thing about a stuffed animal is that until you get to the very end, thread tails can be hanging off all over the place – they’ll all be hidden on the inside.
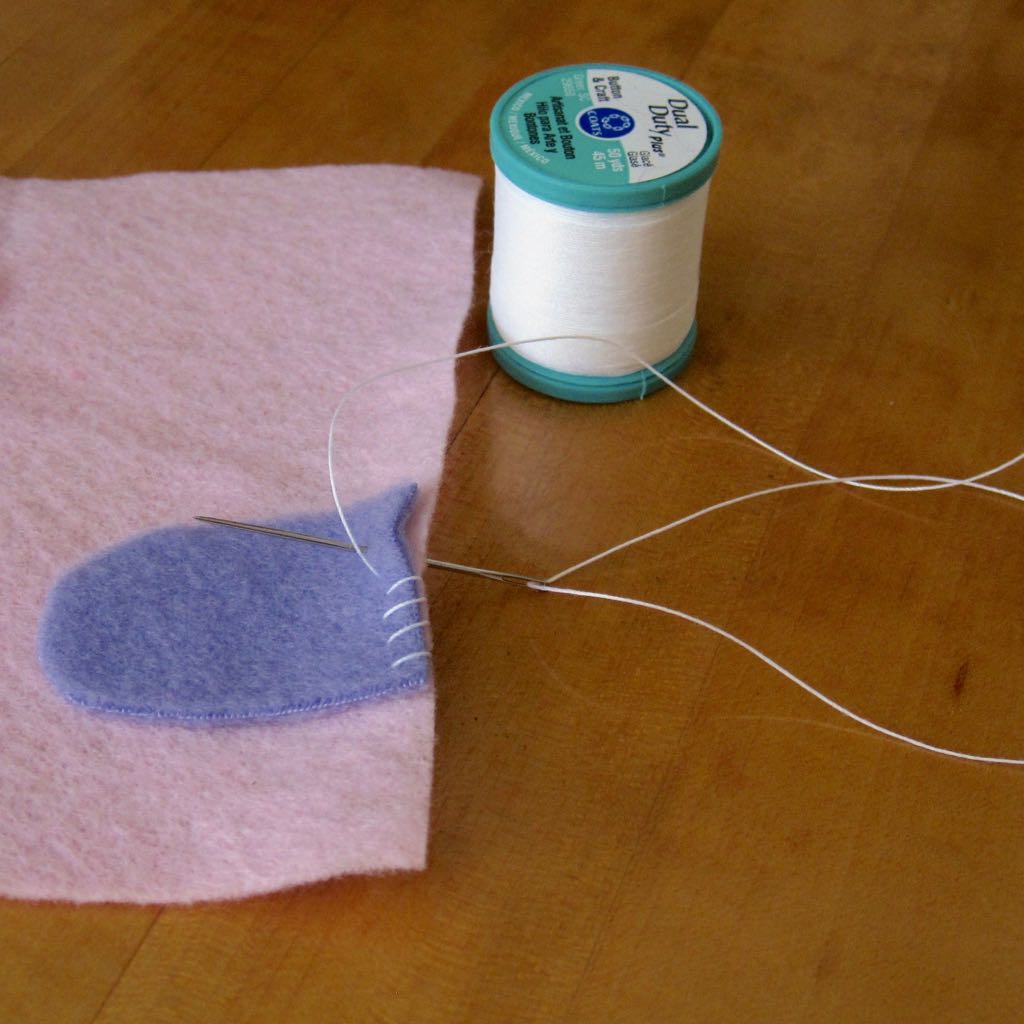
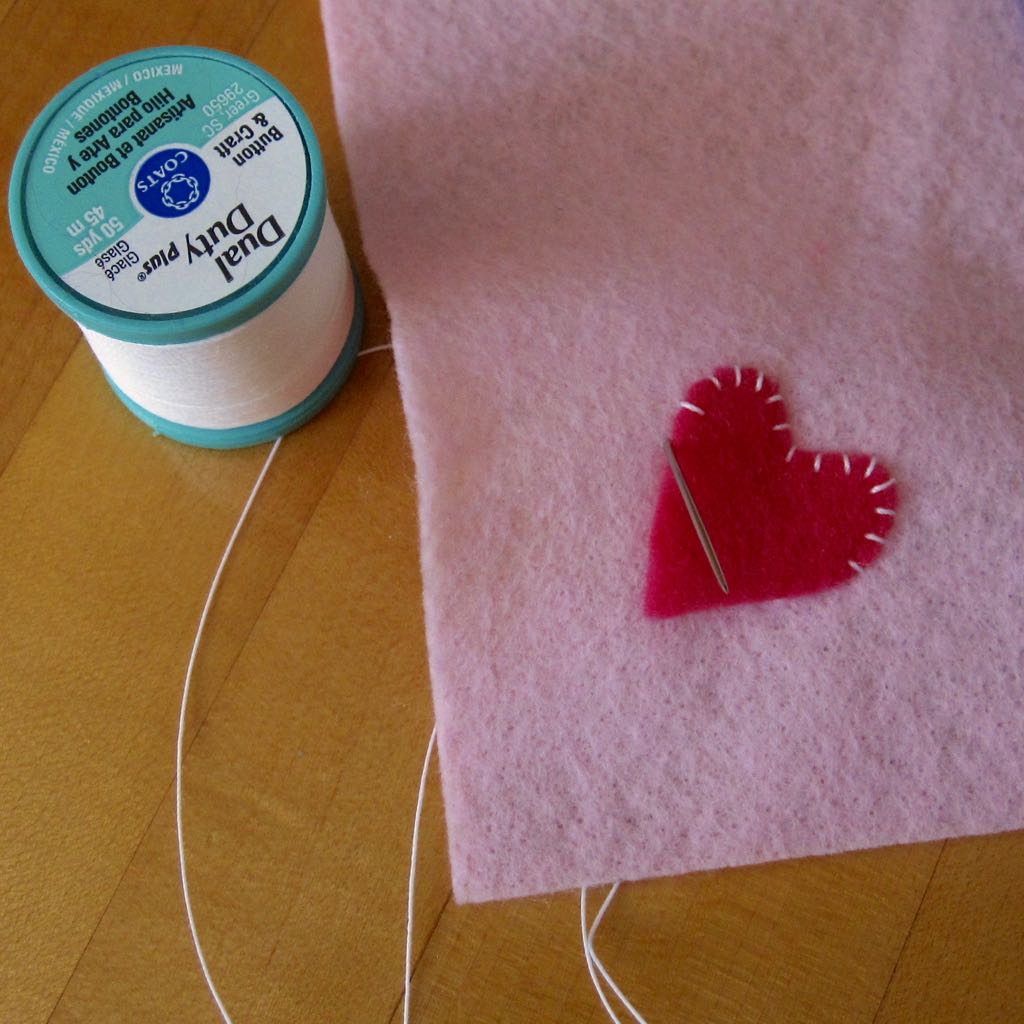
Skill 2: Whipstitch
Most of the stitching in these stuffies is whipstitch. All of the facial features, and chest buttons on the robot, are attached with whipstitch, and the pockets, limbs, ears, and anything else attached at the side seam are sewn to the front face with whipstitch before the front and back are sewn together. In the case of the pockets, that ensures the pocket doesn’t provide access to the stuffing (with the final mattress stitch it would be possible to catch only the pocket layer sometimes, so this is insurance). For the limbs and ears and things, it is basting so they are held in place while the final stitching happens. You could skip it, but it is quick and I especially recommend it to beginners as a frustration-saver.
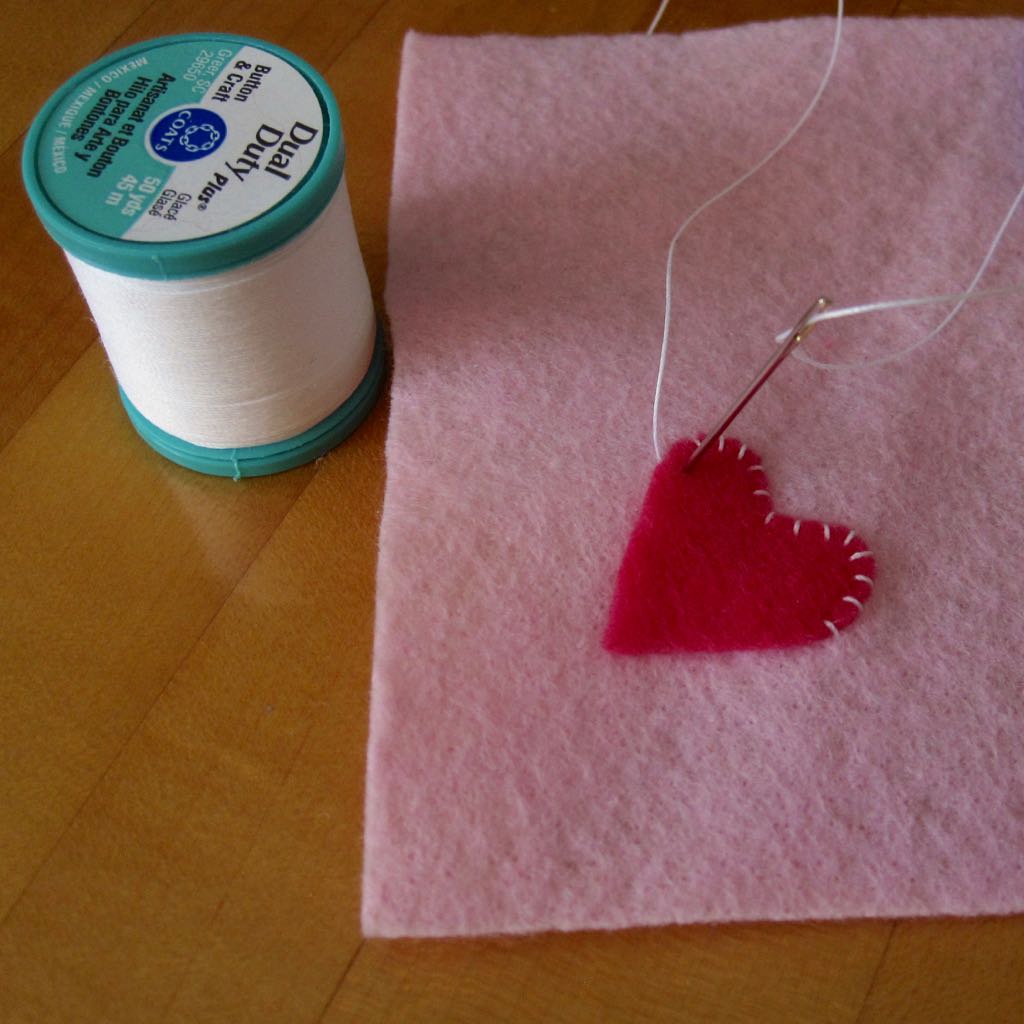
Whipstitch is a simple “up and down” stitch – from the back, stitch up just on the outside of your applique piece, and stitch down about an eighth of an inch inside the edge. It looks nicest if your stitches are perpendicular to the edge (or diagonal, at a corner), which means the strand on the opposite side will move diagonally from stitch to stitch.
I recommend this whipstitch video from Shiny Happy World if you like videos.
If you know blanket stitch, you can use it for the applique instead for a different effect.
Skill 3: Tying off a length of thread
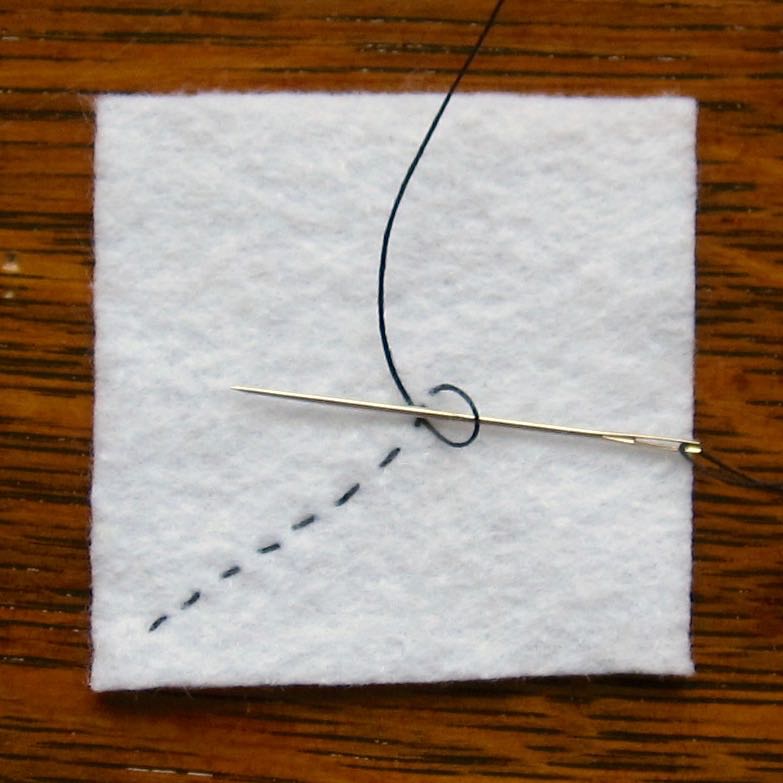
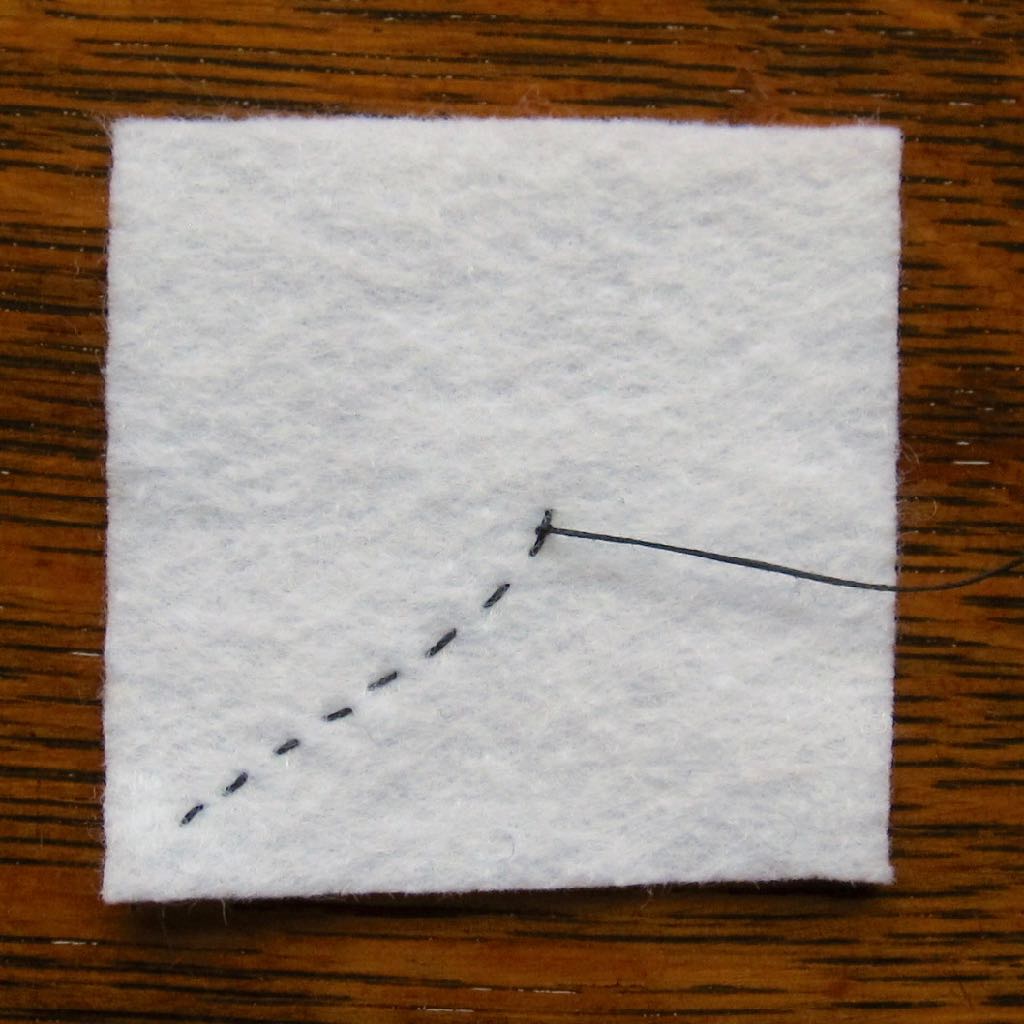
To finish a length of thread it’s all about the half hitch knot. To make a half-hitch, catch a nearby stitch or a little bit of fabric with your needle. Before pulling that loop tight, put your needle through it.
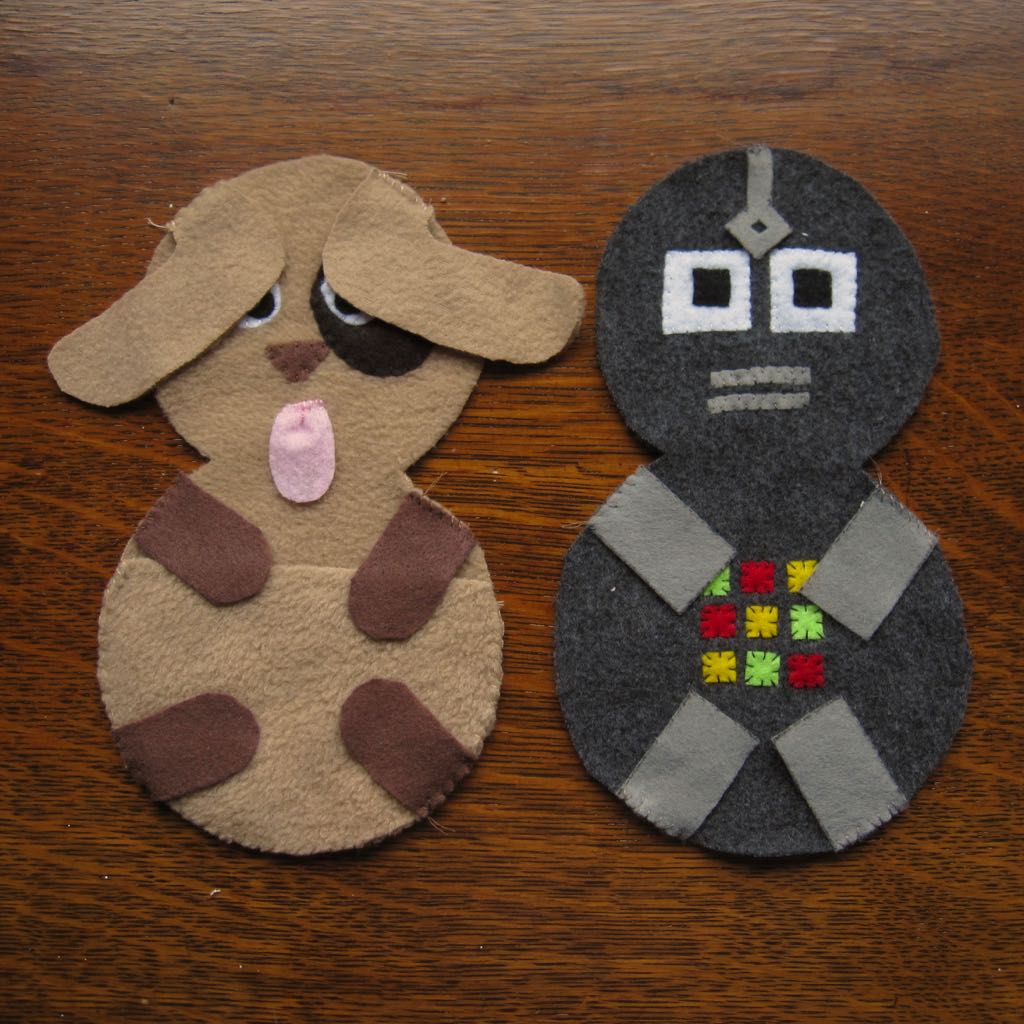
Here are two stuffy fronts, fully appliqued and basted and ready for the next step!
Step 3: Sew front and back together
Skill 4: Running stitch
We’re very close to the end now – these go from floppy flat things to actual stuffed animals pretty quickly. Place the back of the stuffy against the front so that what will be the outside of the finished creature is sandwiched in the middle. Make sure anything that should end up sticking out loose is away from the edges (I had to fold the dog’s ears in, for example). If your fleece is not the same on both sides take care that the back piece is going to show the same side as the front piece.
Use running stitch to sew front to back almost all the way around, about 1/4″ in from the edge. Leave 2-3 inches open, preferably somewhere around the bottom half of the stuffy. It is good to have all limbs/wings/ears be sewn in with the running stitch, which may limit where you can leave the opening. Leaving the opening somewhere around the pocket is okay. Definitely sew up the neck area with your running stitch.
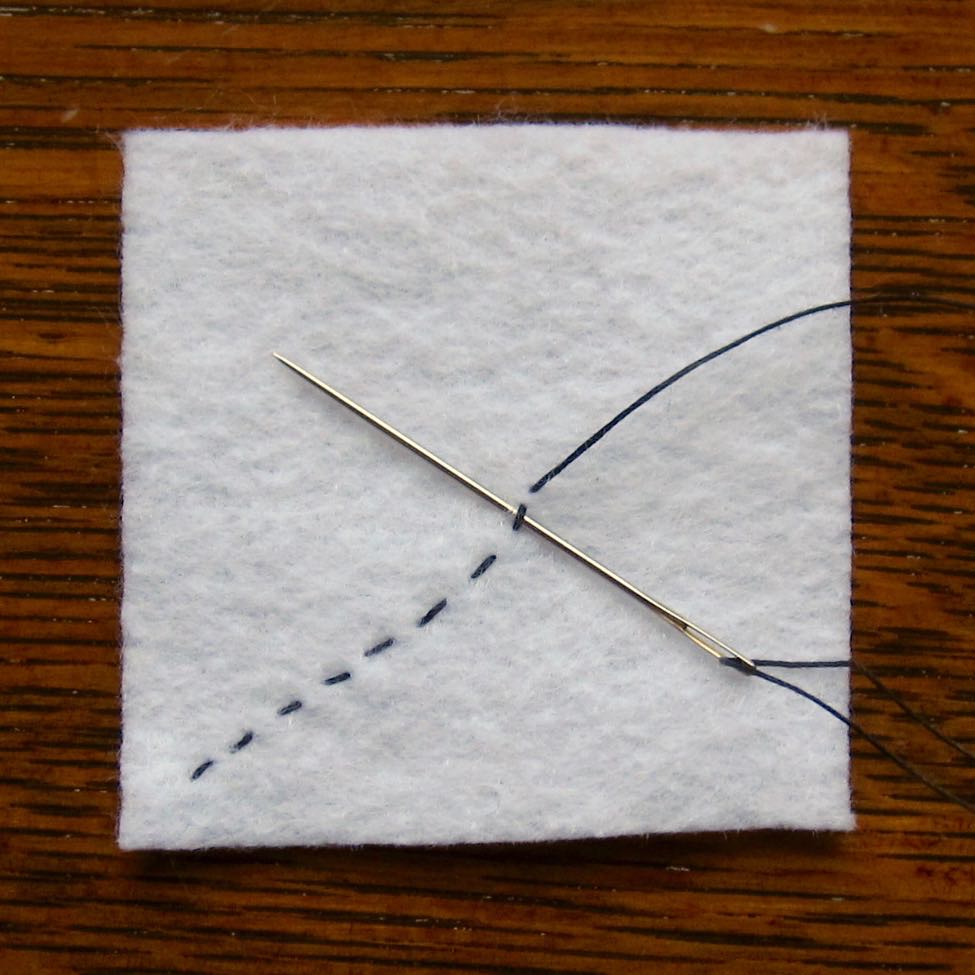
Running stitch is the dashed-line stitch, a simple up and down along a line. The picture below shows a running stitch that is longer than what you want to make for a secure hold. Stitches about 1/8″ (4mm) long are great; a little longer is fine too, but make sure to pull them tight.
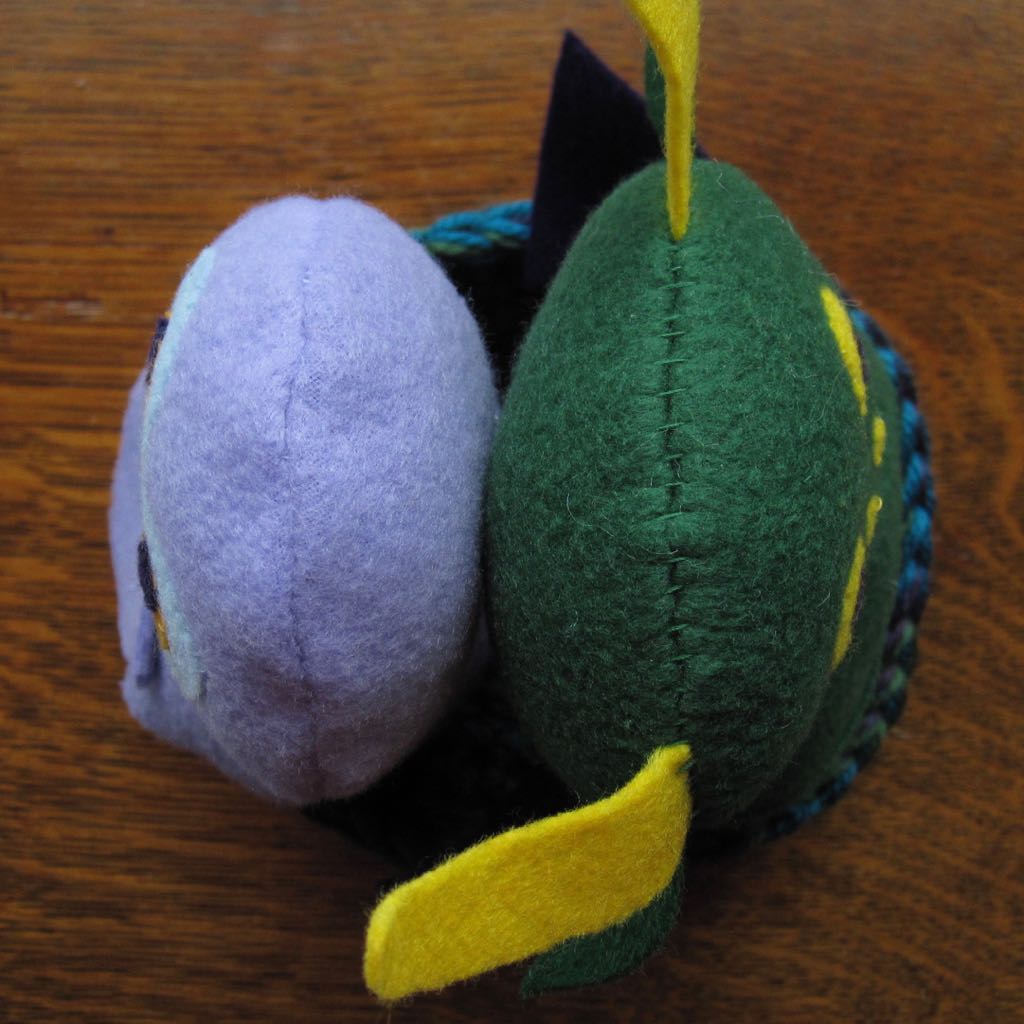
Incidentally, if you whipstitch the front and back together, there is too much give in the stitching and the stuffy will pull apart at the seams when you turn it right-side-out and stuff it. It’s not necessarily fatal, at least if you stitched sufficiently far in from the edge, but it is noticeable. You can see the difference in the dragon (my prototype; it also has a shorter pocket) versus the owl. The dragon was sewn up with whipstitch and the owl with running stitch.
If you know backstitch you can use that instead. It may be a little sturdier.
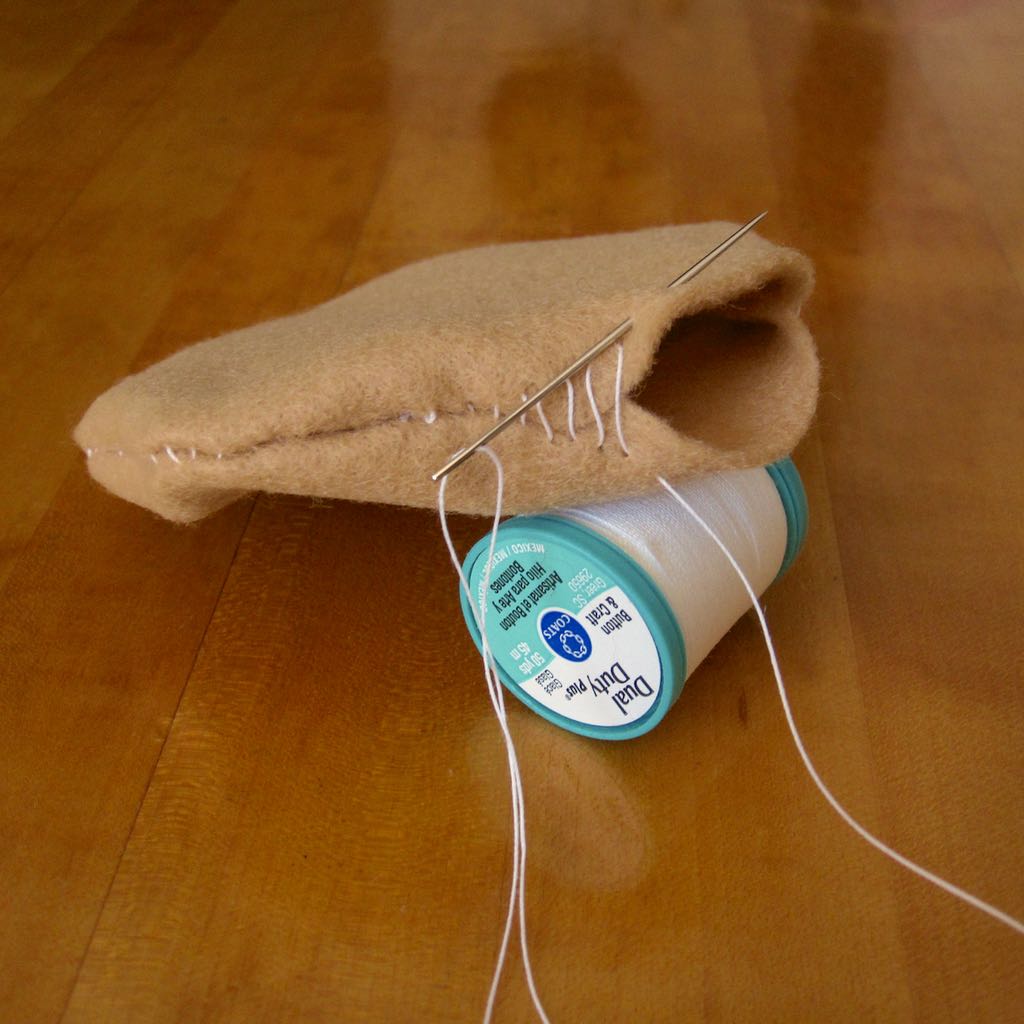
After you’ve stitched front to back, turn the stuffy right-side out and stuff it with fiberfill. Make sure to get the head fully stuffed before you put much stuffing in the body, so you can get at it.
Skill 5: Mattress stitch
Mattress stitch, also known as ladder stitch, is basically running stitch made from in between the two pieces of fabric, and it’s a wonderfully invisible, clean way to seal up the opening you left for stuffing. Start by bringing your needle out from the inside of the stuffy, at one end of your running stitch. You’ll take one straight stitch on each side of the opening in turn. One of the nice things about mattress stitch is you don’t have to tighten it as you go along – you shouldn’t wait till the end to tighten, and you may need to help the fabric go toward the inside as you tighten, but the work can stay loose near your needle, which makes it easier to see where you need to stitch.
You can see a lengthier ladder stitch tutorial on Squishy-Cute Designs.
Skill 6: Hiding the final thread end
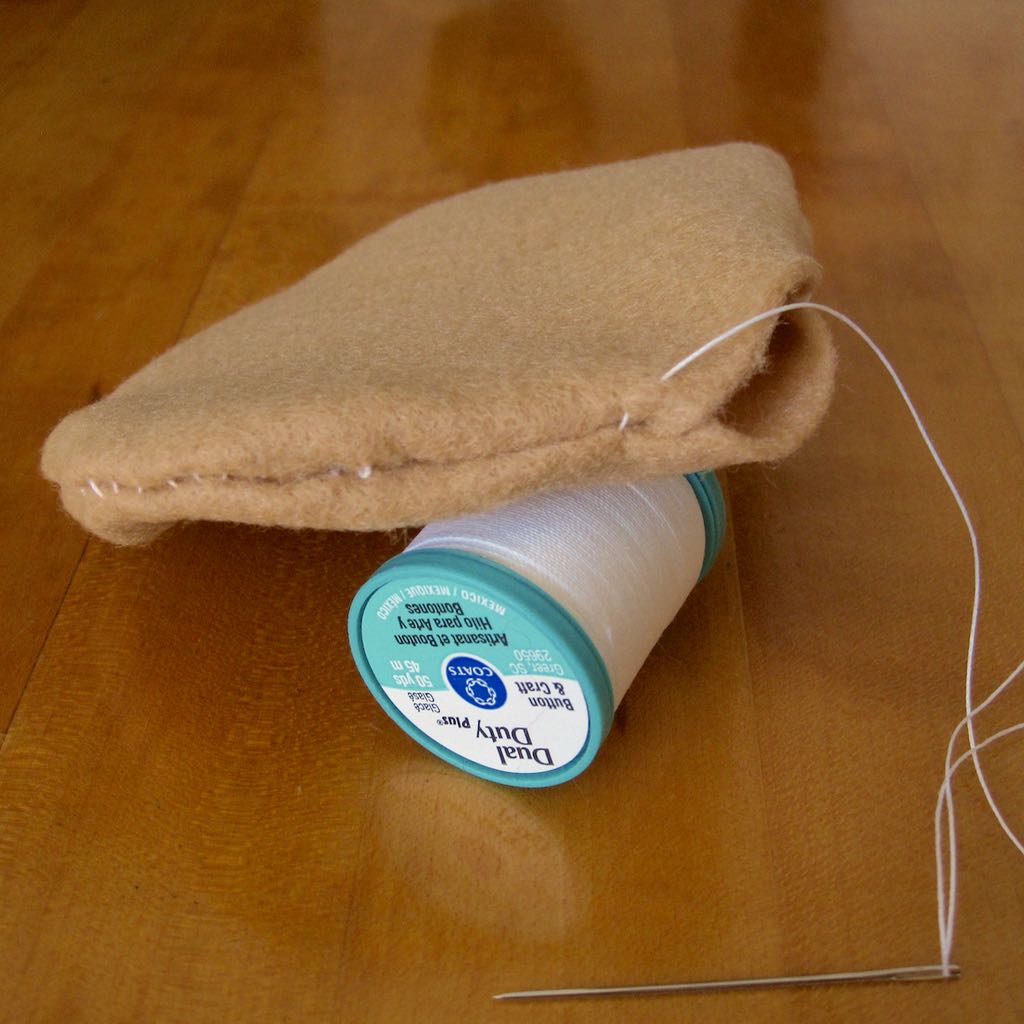
Tie another half hitch or two to tie off your final length of thread, and then insert your needle directly next to the knot. Come out of the stuffy an inch or so away, pull the thread tight, and clip it next to the surface. It will disappear inside and the amount of thread within the stuffy will keep it from wanting to emerge.
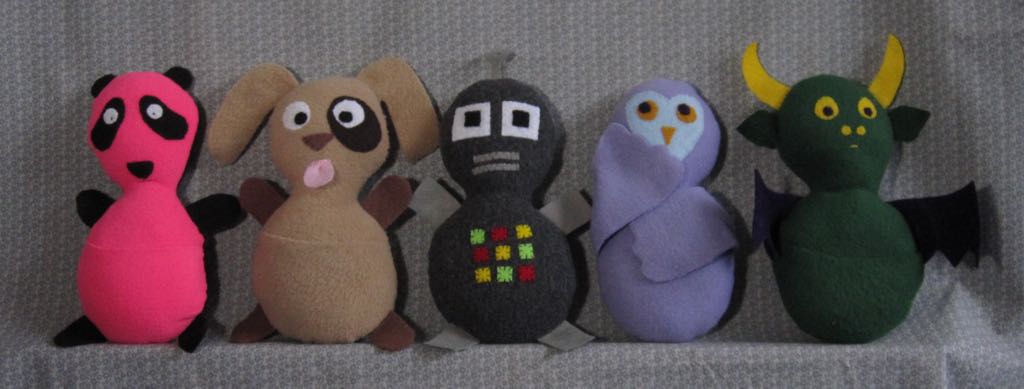
Finally, enjoy your finished stuffies!