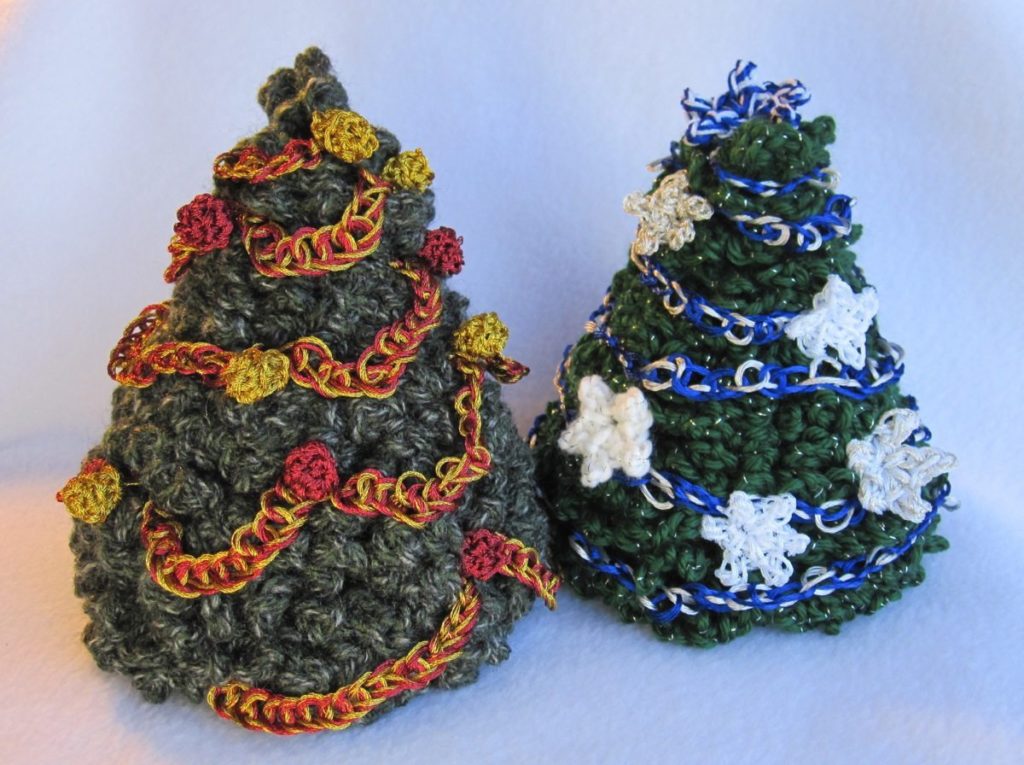
Hello! Now that Thanksgiving is over I feel open to Christmas decorating. Almost a month ago I wanted to just sit and crochet without a particular goal in mind, and ended up with this little tree, in sport weight yarn:
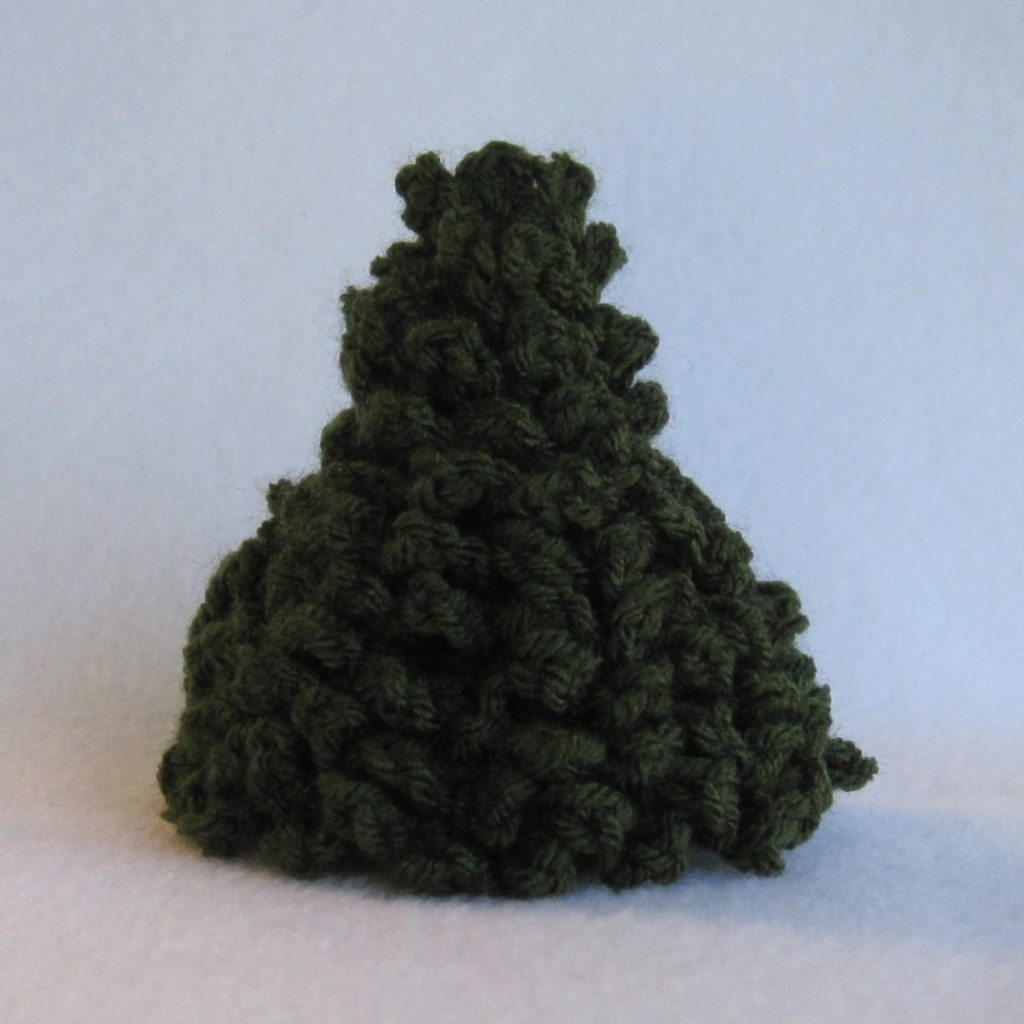
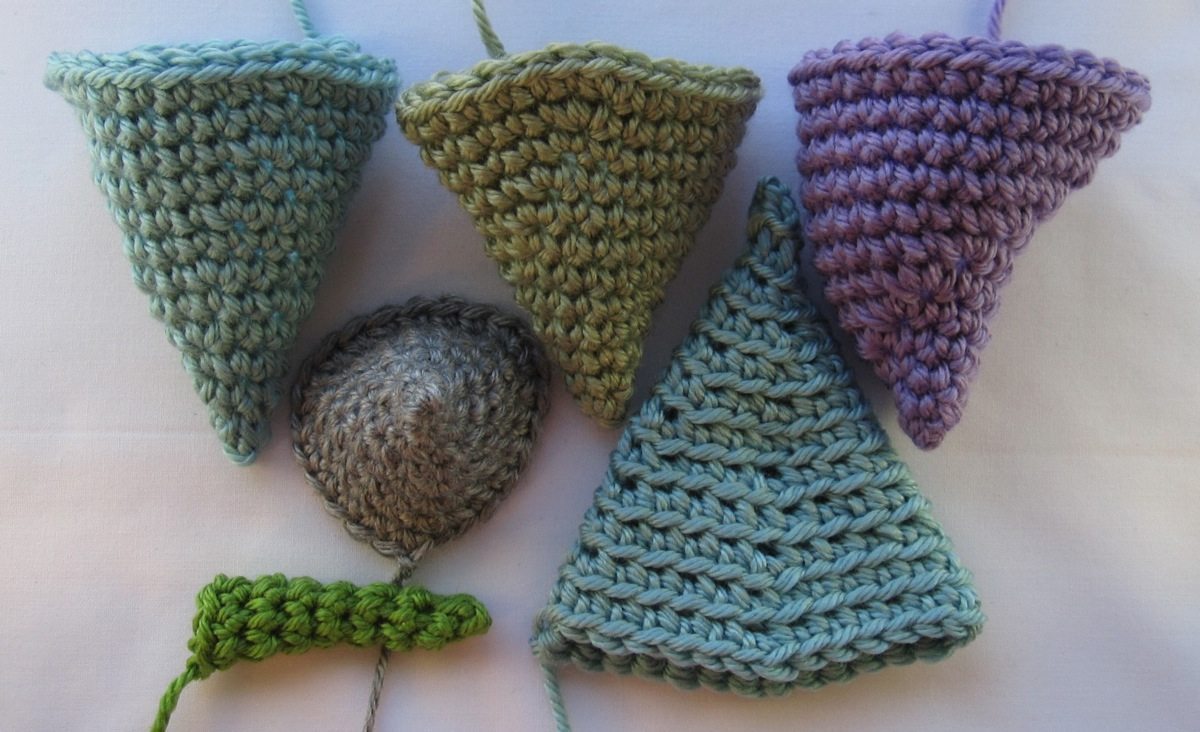
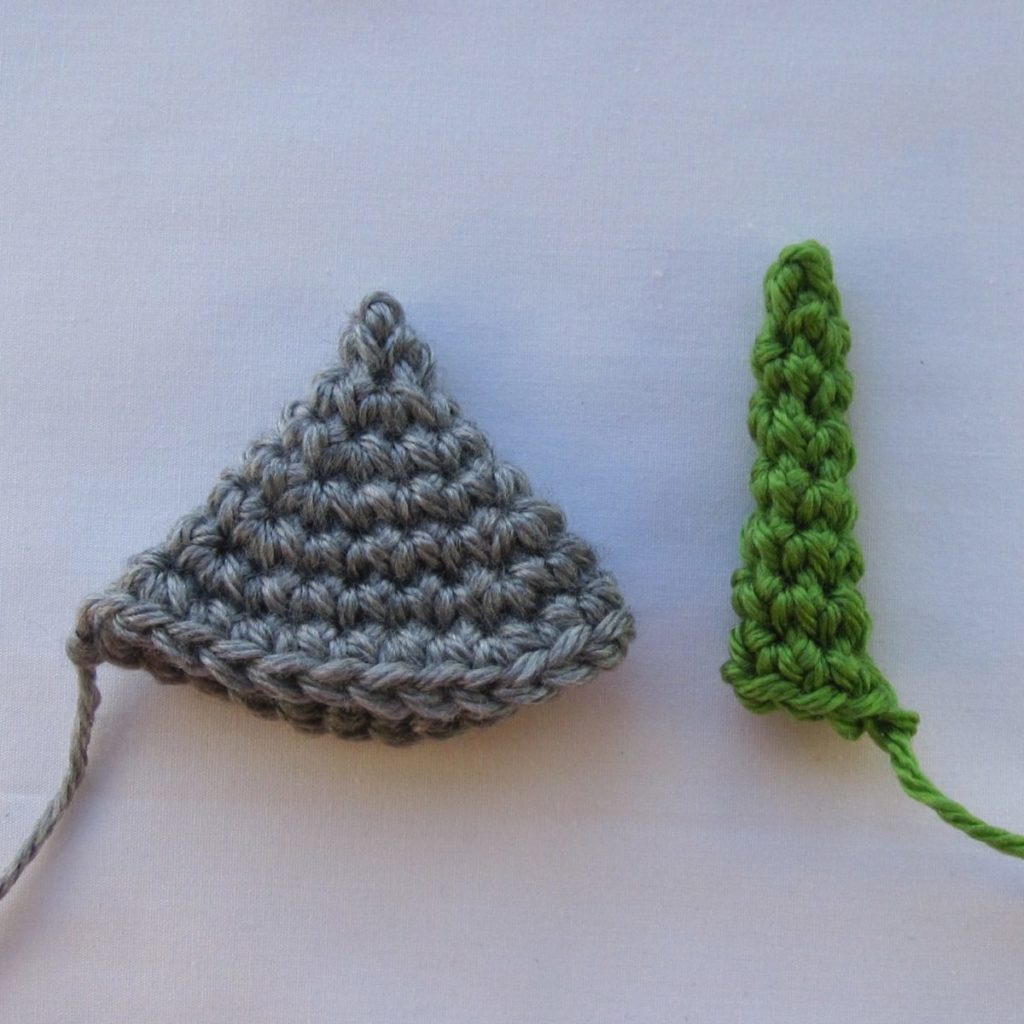
To make it I stitched a cone of sorts using back loops only, stuffed it and added a base, and then went back with a new length of yarn and single crocheted in each unused loop, with 4 chains in between each time. It’s slow, but not difficult.
I started writing a post about making such trees and decorating them, but it was ludicrously large even before photos, so I broke it up. I have for you a four-post series, two posts each today and tomorrow.
1. This post!
2. Making your own trees like the ones above (stitching a cone, closing the bottom, and adding branches).
3. Decorating the blue, silver, and white tree in the top picture (magic chain garland and stars).
4. Decorating the red and gold tree in the top picture (chain garland, ornament balls, and pine cones).
The decorations we’ll discuss are all made with embroidery floss, which is a little more challenging to work with than yarn. Part of this is the size, and good lighting helps a lot with that. The other part is that floss doesn’t give at all – yarn will stretch a little as you stitch with it, which helps you get your hooks in and out. To deal with that, try two things: make sure your loops get all the way up to the largest diameter part of the hook (especially important with steel hooks, which start tapering a lot farther from the end) so they aren’t too small, and turn your hook’s mouth downward when you pull the hook out of a loop. The downward direction has a little more space in most stitches (where for a chain, “down” means toward the previous chain). I used “satin” floss (rayon) for one tree and metallic floss for the other, and notes on working with those kinds of floss in particular are included with the ornament instructions. I have to say, though, that my advice for working with satin floss is DON’T. It is like trying to crochet with well-greased twine.
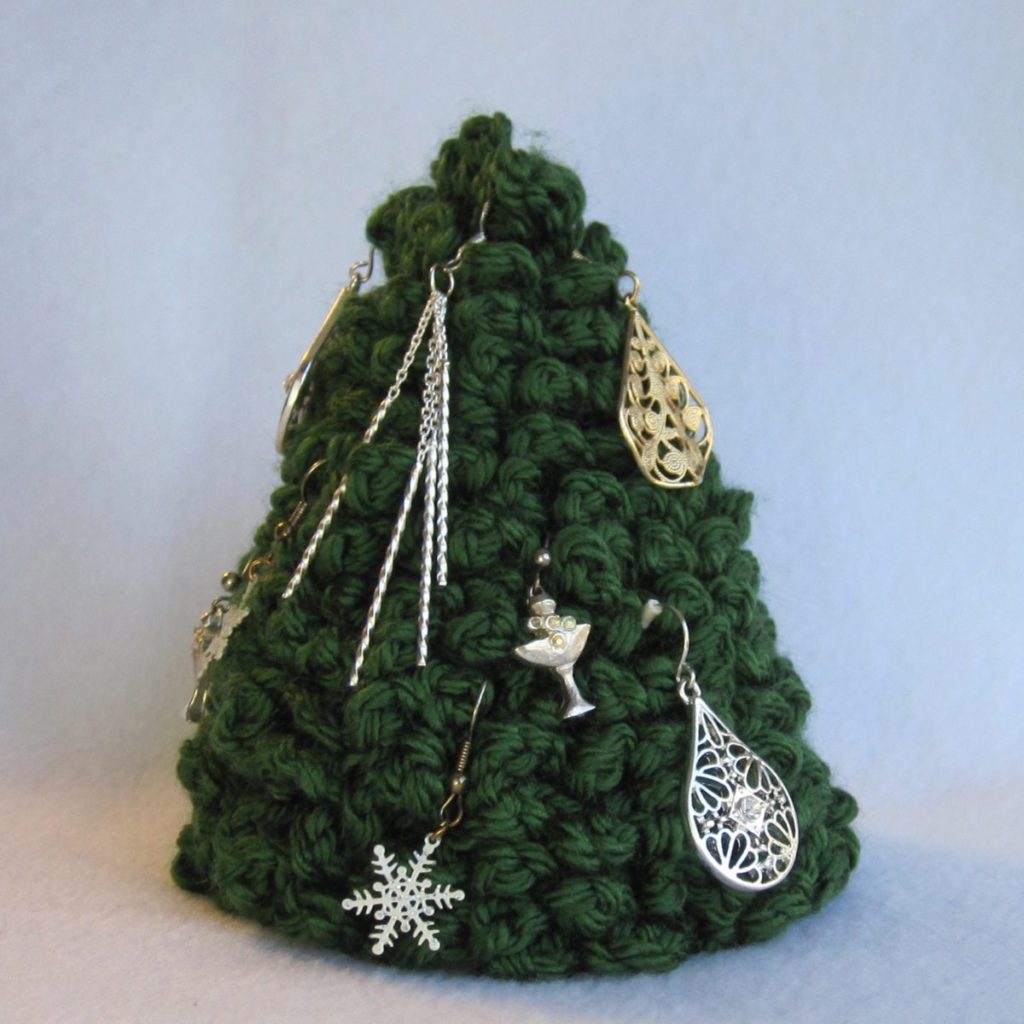
Of course miniature Christmas decorations are also available commercially. The tree above is decorated with earrings (the hook kind); insert them into the tree, as far out or in as you like. Crochet is well suited to making wreaths, as well, either on its own or around a plastic ring.
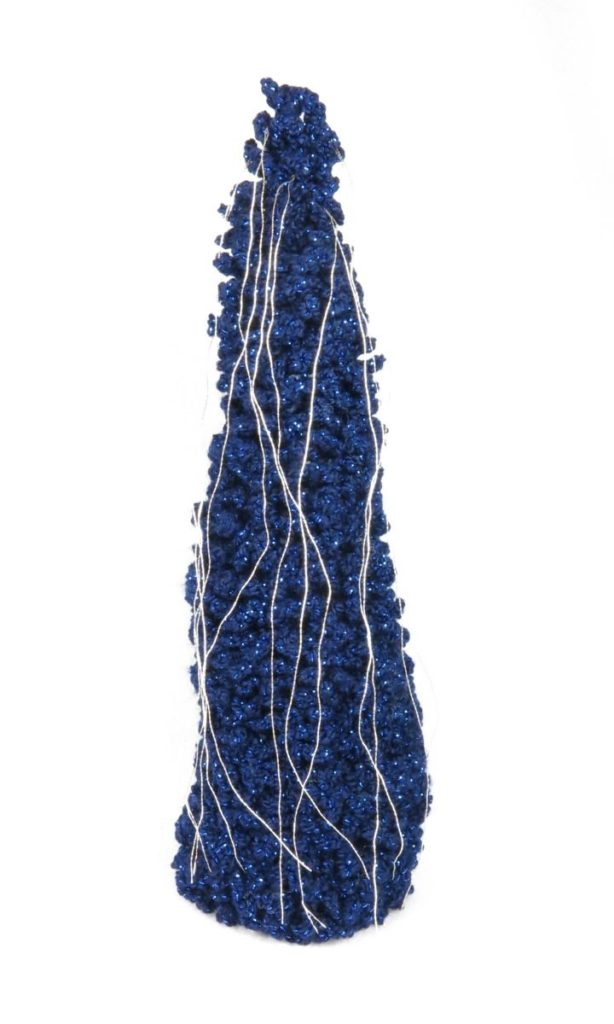
I can’t close without the piece I promised last time. This is fine yarn (Vanna’s Glamour “Sapphire”, weight class 2) worked with a D/3 hook (3.25mm). The branches took forever, but it’s so chic! I decided to go minimalist and simply use individual strands of metallic embroidery floss as long tinsel. I cut the strands to approximately the right length, erring on the side of “too long,” and wet them so they would lose the kinks from being wound on a cardboard bobbin (at least mostly). Then I separated the strands (almost forgetting my own advice to start by pulling off pairs, because separating a single strand from more than one other strand is difficult) and attached them to the branches, near the cone, with lark’s head knots.