On cones, shaping, and one-loop stitching

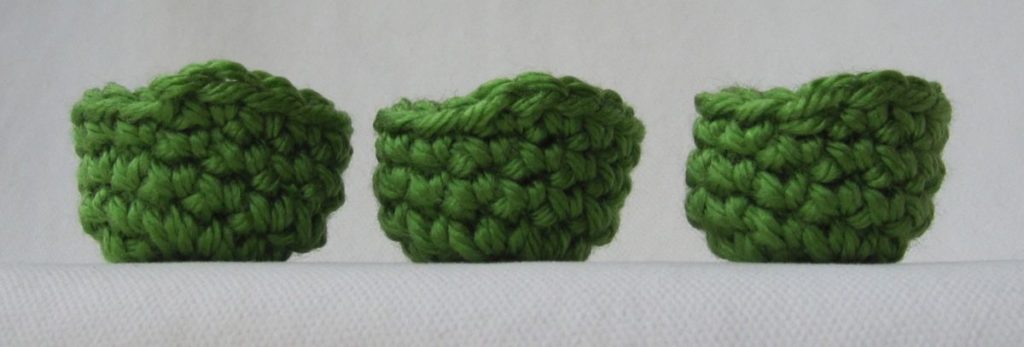
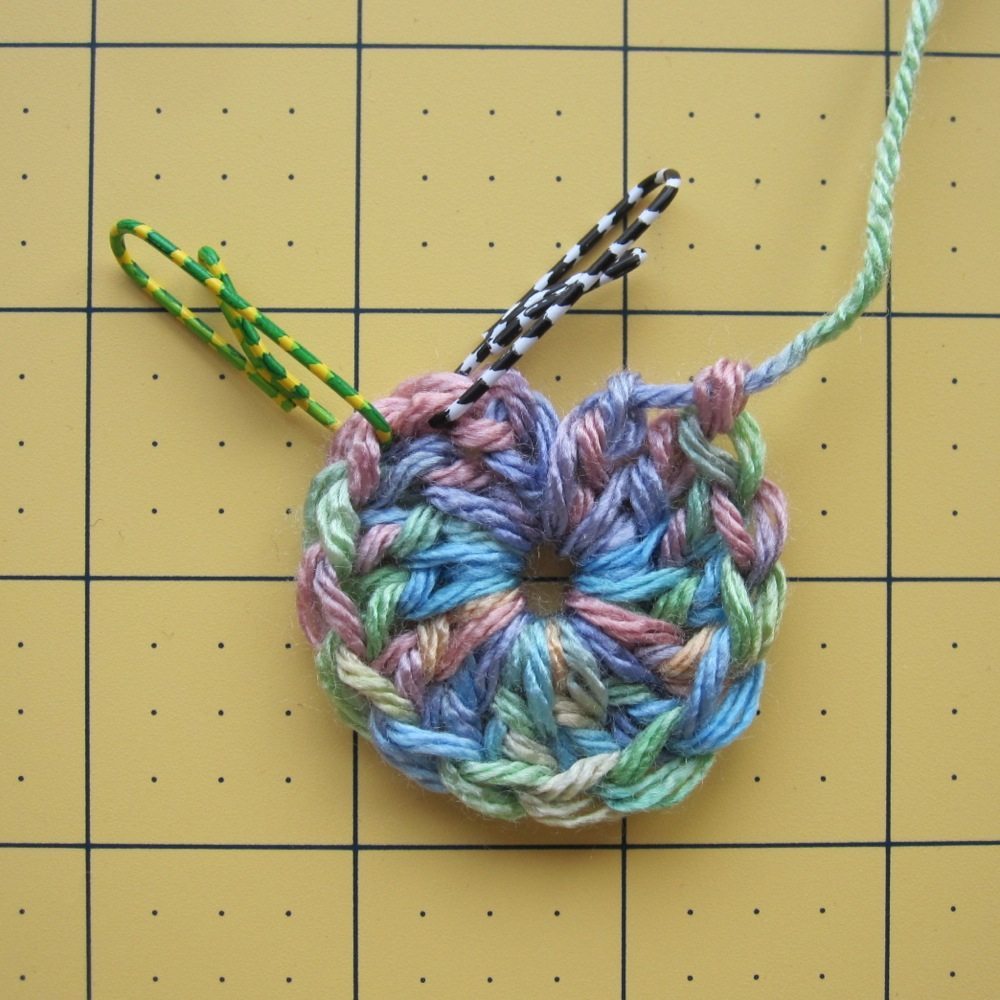
I quite enjoy these explorations of crochet geometry, and I hope you do too – at least the photos. This episode is about crocheting cones, with a teaser photo for my next post at the bottom.

cones on display

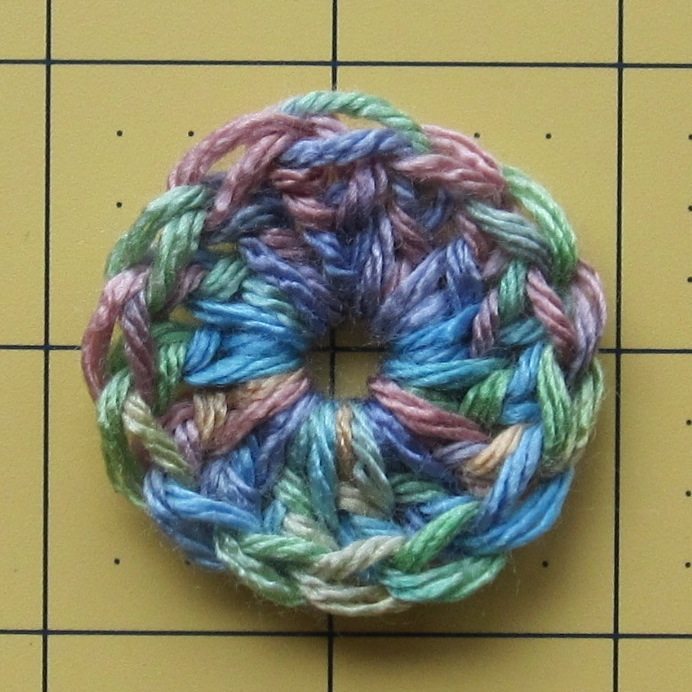
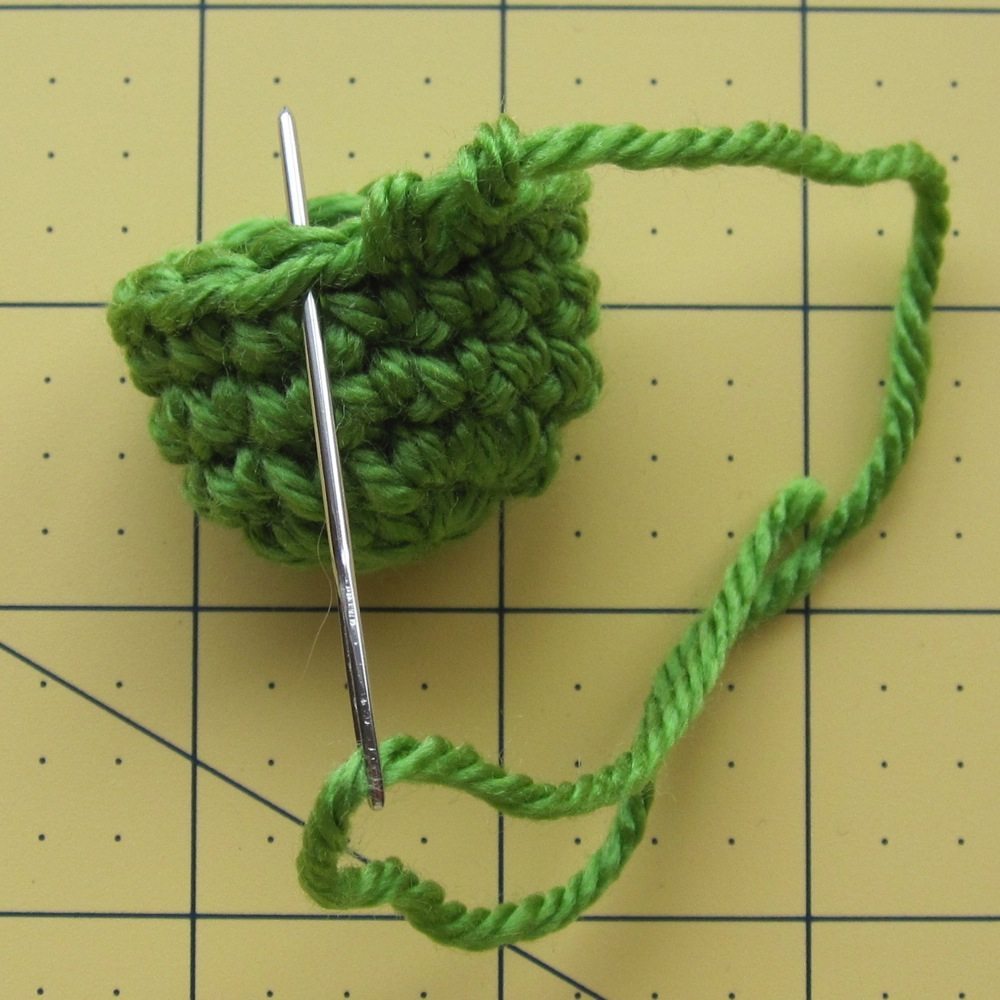
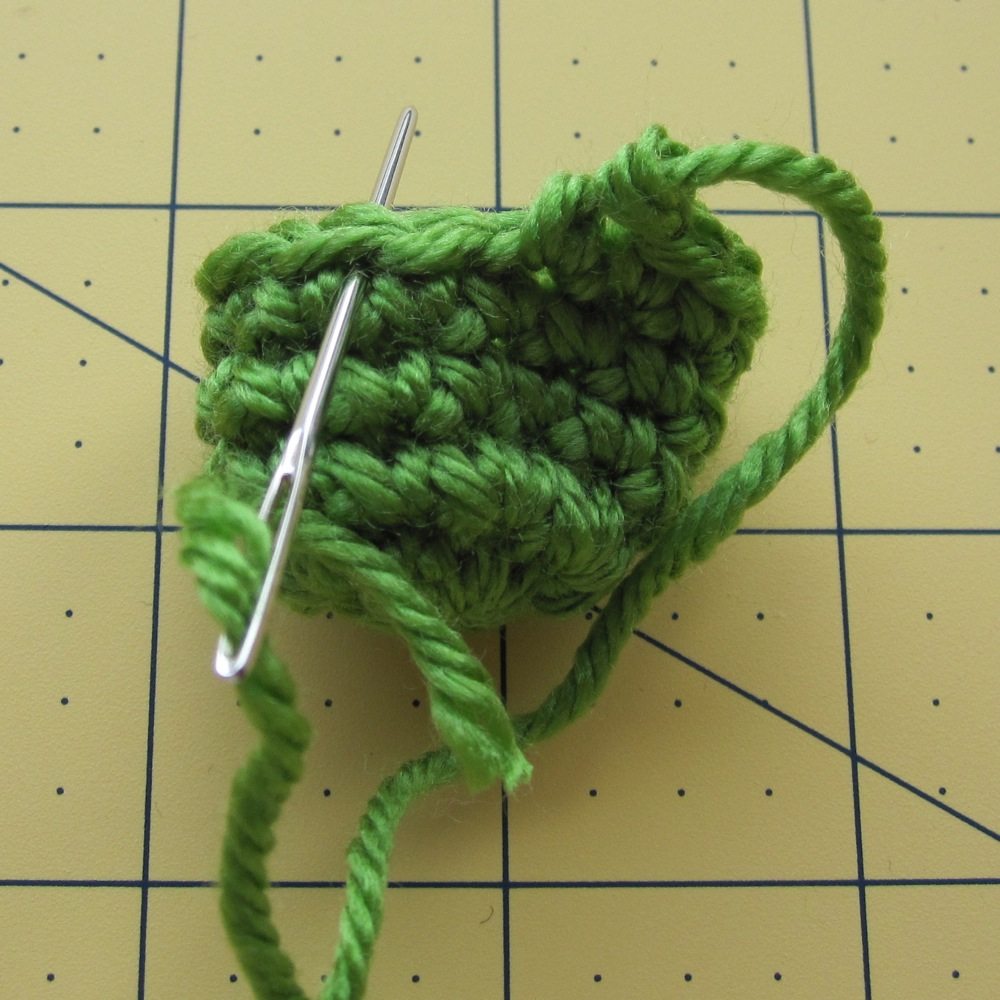
A cone is a basic shape and simple to crochet. The math of it is that the circumference and height of a cone have a linear relationship: for every cone there is a value x so that wherever you are on the cone, the circumference at that point is x times the height at that point. You can use trigonometry to work out stitch counts for cones of specific proportions (here’s a post sort of about that), but more simply it means you add the same number of stitches to each round. That is, at least, on average. You would get a cone by alternating adding 2 and 3 stitches to each round (effectively adding 2.5 per round), or adding 2 stitches to most rounds but only a single stitch to every fourth round (effectively adding 1.75 per round). The fact that increases and decreases in crochet don’t fully take effect until the round after they are made allows this to work smoothly.

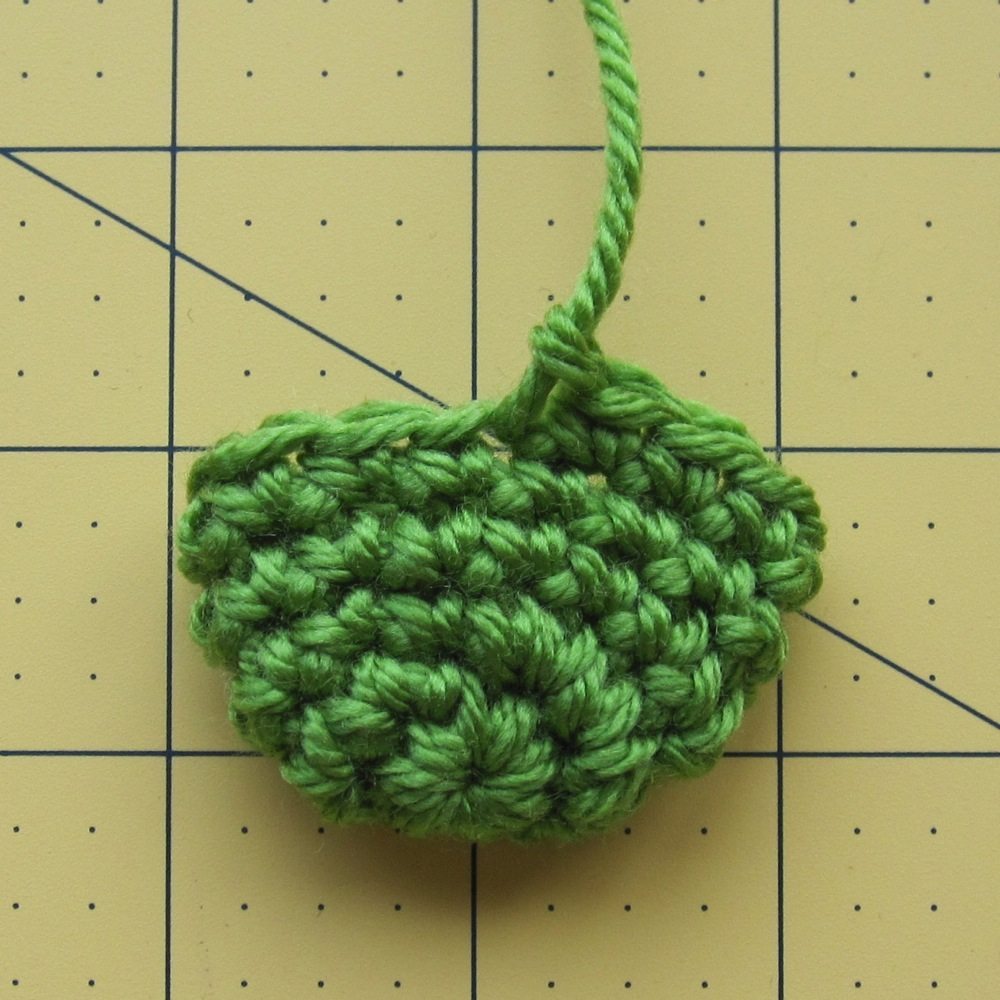
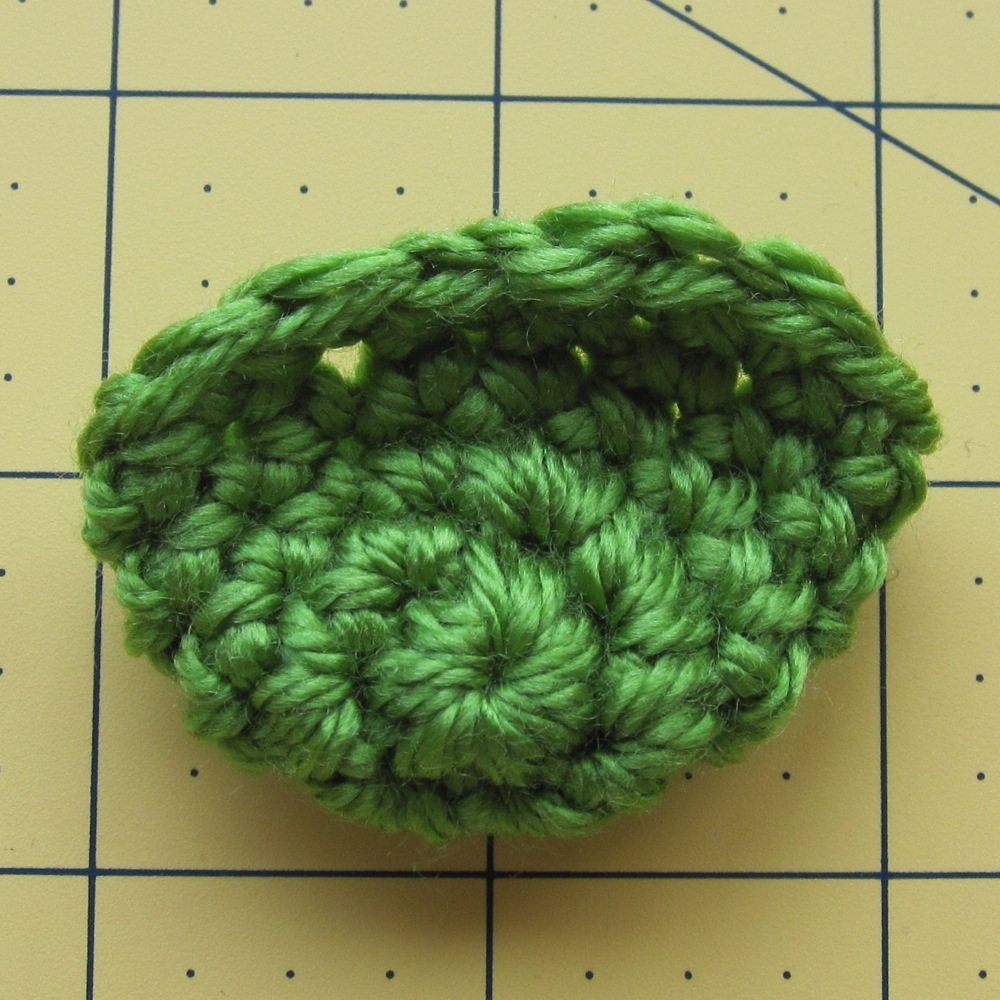
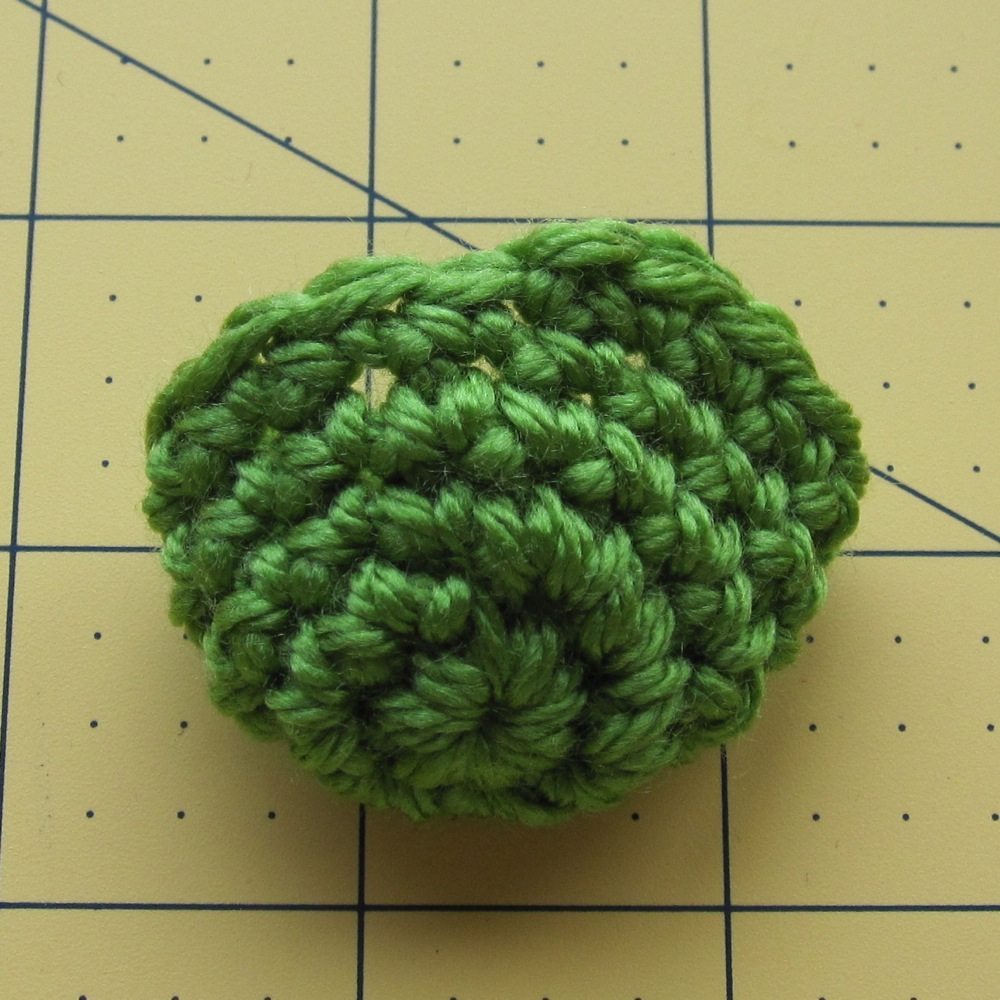
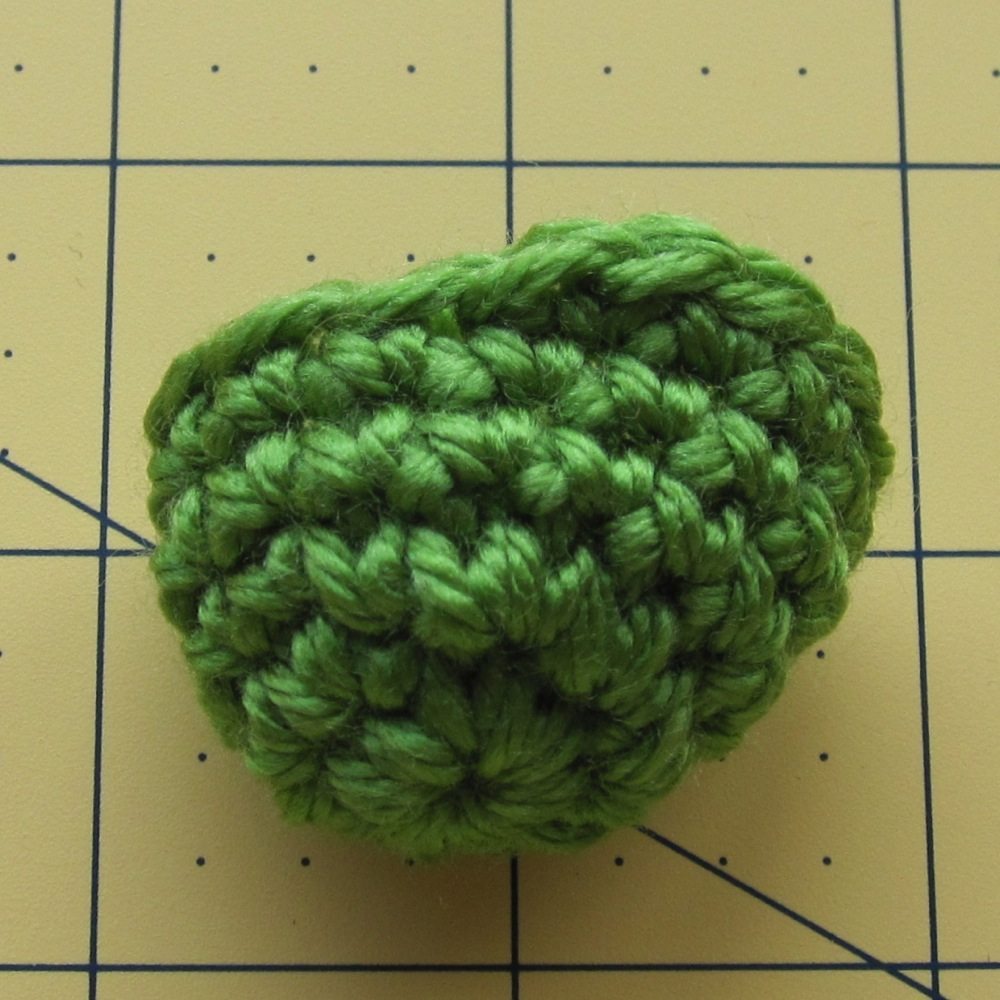
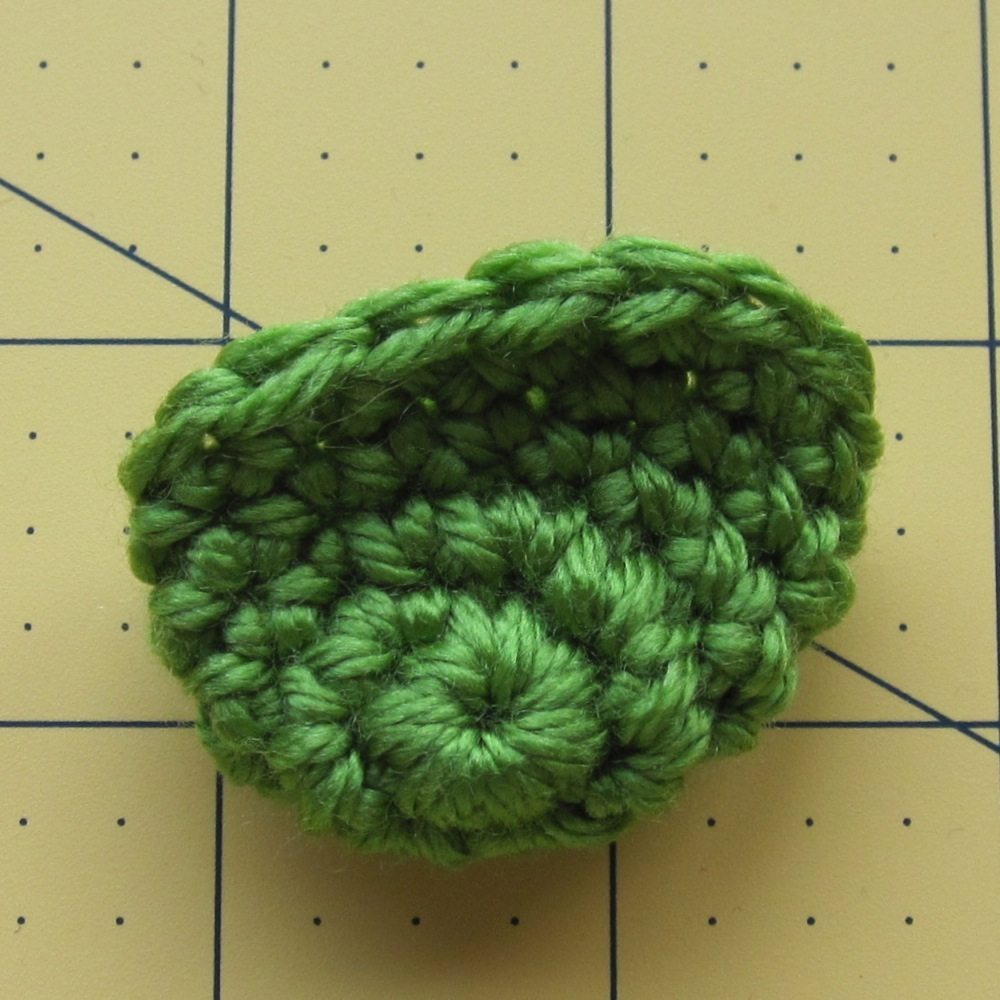
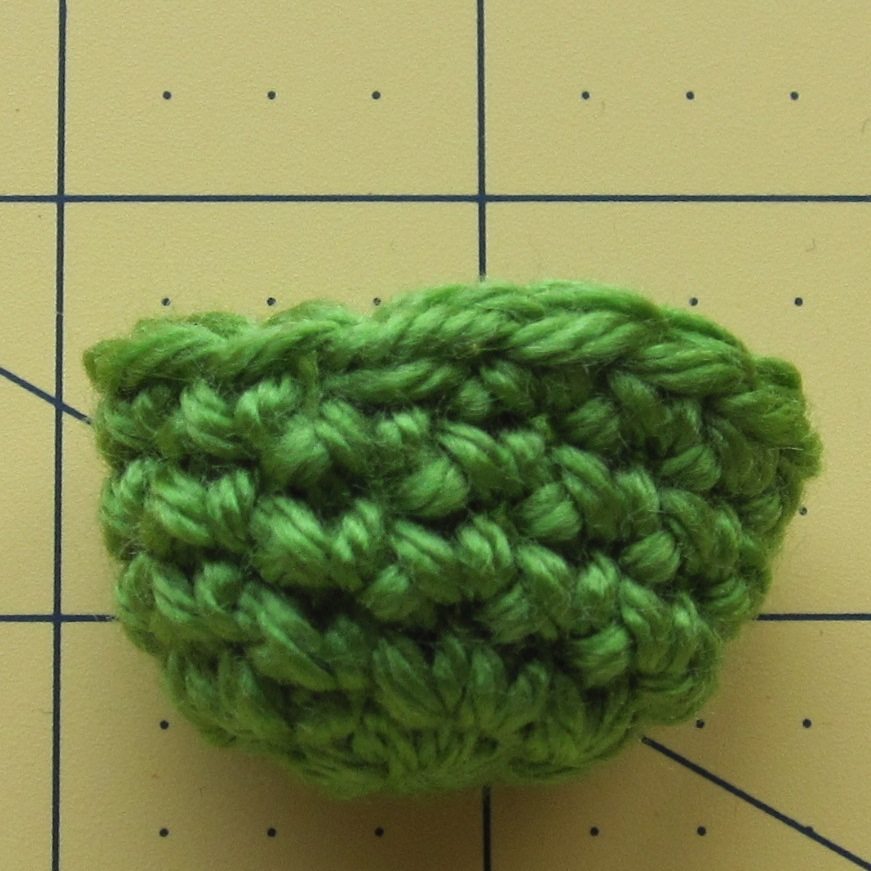
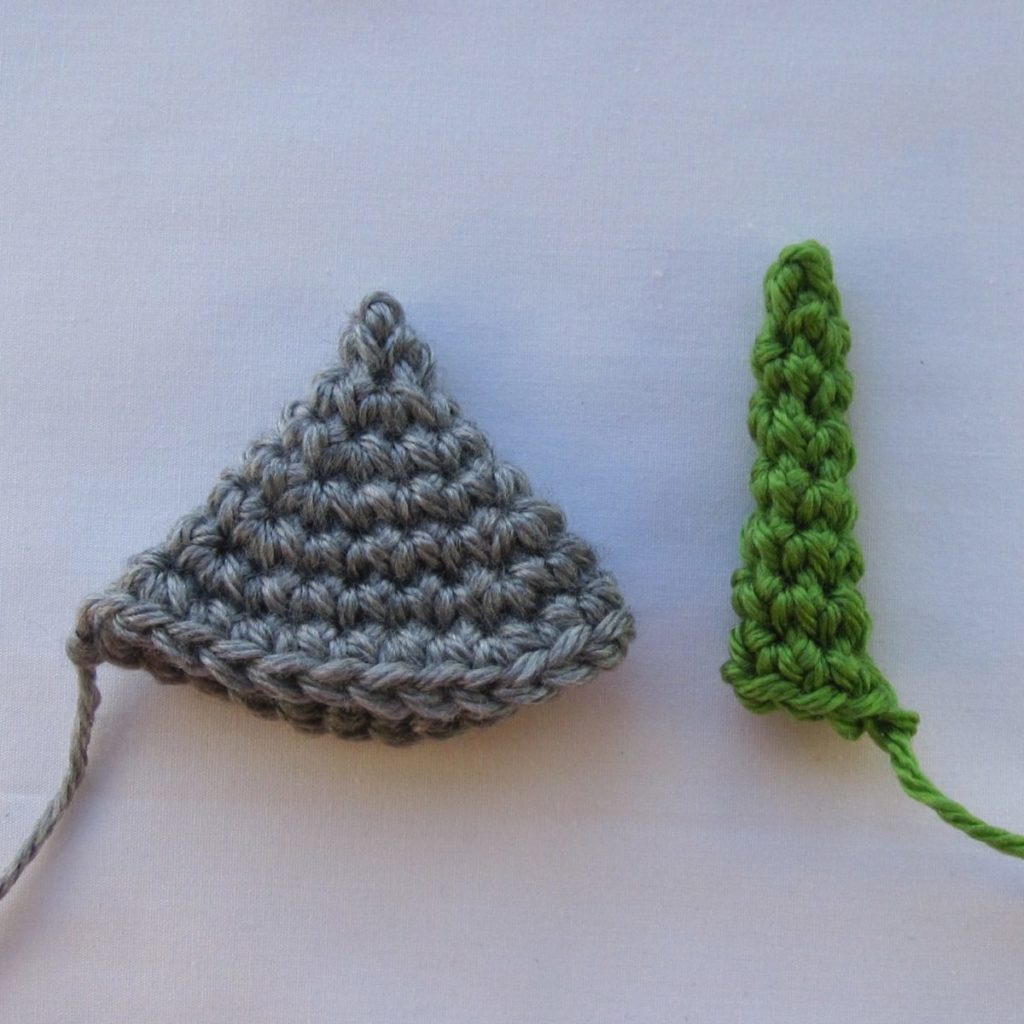
By the time you get to seven stitches per round you’re pancake flat, and six is flat enough that it tends to come out as rounded instead of conical. You can get a good wide cone starting with five stitches in a magic ring and adding four stitches per round – even three will come out as fairly wide. For a very narrow cone, adding just one – or even less – is called for. The following cones were made by starting with 3 stitches in a magic ring and adding 3 more each round (gray cone, left side), and by starting with 3 stitches in a magic ring and alternating between adding one stitch and adding no stitches (starting with 1; green cone, right side). They each proceed for 8 rounds, so the gray cone ends with 24 stitches around and the green one with 7.

gray and green cones

After the jump: placing increases, making a base, and stitching in back loops only. Continue reading On cones, shaping, and one-loop stitching

All about the needle join

SS/NJ comparison

The invisible join, which I call the needle join after Serendipity Crochet, is an alternative to slip stitching at the end of a round. I first encountered it on futuregirl’s blog; it’s fairly novel to a lot of crocheters, but it does seem to be a time-worn technique for finishing granny squares and similar items. What I want to add to the conversation is about using the needle join versus the slip stitch to smooth the edge of a crochet piece made in a spiral with single crochet. First let’s review how to close a round of double crochet with a needle join (or you can jump past).

Verbally: finish your last stitch, cut the yarn, and pull it through the stitch as usual. Thread it onto a needle and insert the needle into the first “real” stitch (not the turning chain) the way you would insert your hook to crochet into that stitch. Pull through and then insert the needle down through the top of the last stitch of the round. Tighten the teardrop to match the rest of the stitches (sometimes this requires pulling on parts of the yarn with your fingers) and secure the yarn as usual.

Visually:

choosing loops for join needle join in progress

Above left: top of turning chain and first “real” stitch marked; the latter (left-hand marker) is what you want to stitch into, as shown above right. Below left: back view of the second step of the needle join: stitching back into the last stitch made. Below right: the finished ring.

needle join back view joined ring

Now to compare this with slip stitch for single crochet made in a spiral. The main drawback of spiral crochet is the fact that the end of a round is a full stitch up from the beginning, so pieces with open edges have a significant height jog. Slip stitches are often used to mitigate it, and needle join suggested as an alternative. I have a tweak to the needle join option [spoiler: make a needle join in the second stitch of the last round.] – let’s look.

1. Slip stitch into next stitch (leftmost sample of top picture).

slip stitch 1 slip stitch 2 slip stitch 3

Pro: quick and easy.

Con: teardrop of stitch wants to roll to the front of the work; single strand emerging from top disrupts interlocked teardrop edge; can be problematic if you need a particular stitch count.

Best for: edges that will be invisible, such as those sewn onto another piece of crochet.

2. Needle join in next stitch (middle sample of top picture).

NJ in next st 1 NJ in next st 2 NJ in next st 3

Pro: cleaner than slip stitch.

Con: extra work; makes a steep ramp between the round ends; can be problematic if you need a particular stitch count.

Best for: not much, IMHO.

3. Needle join in the stitch after next (rightmost sample in top picture).

NJ in second st 1 NJ in second st 2

Only two pictures this time because the edge-on view is essentially identical to the previous needle join.

Pro: cleaner than slip stitch; makes a gentle slope between the levels of the round ends; doesn’t add to the stitch count.

Con: extra work.

Best for: exposed round ends, such as on a disk or cup. I believe this gives the smoothest possible edge to spiral crochet.