Fabric bowls

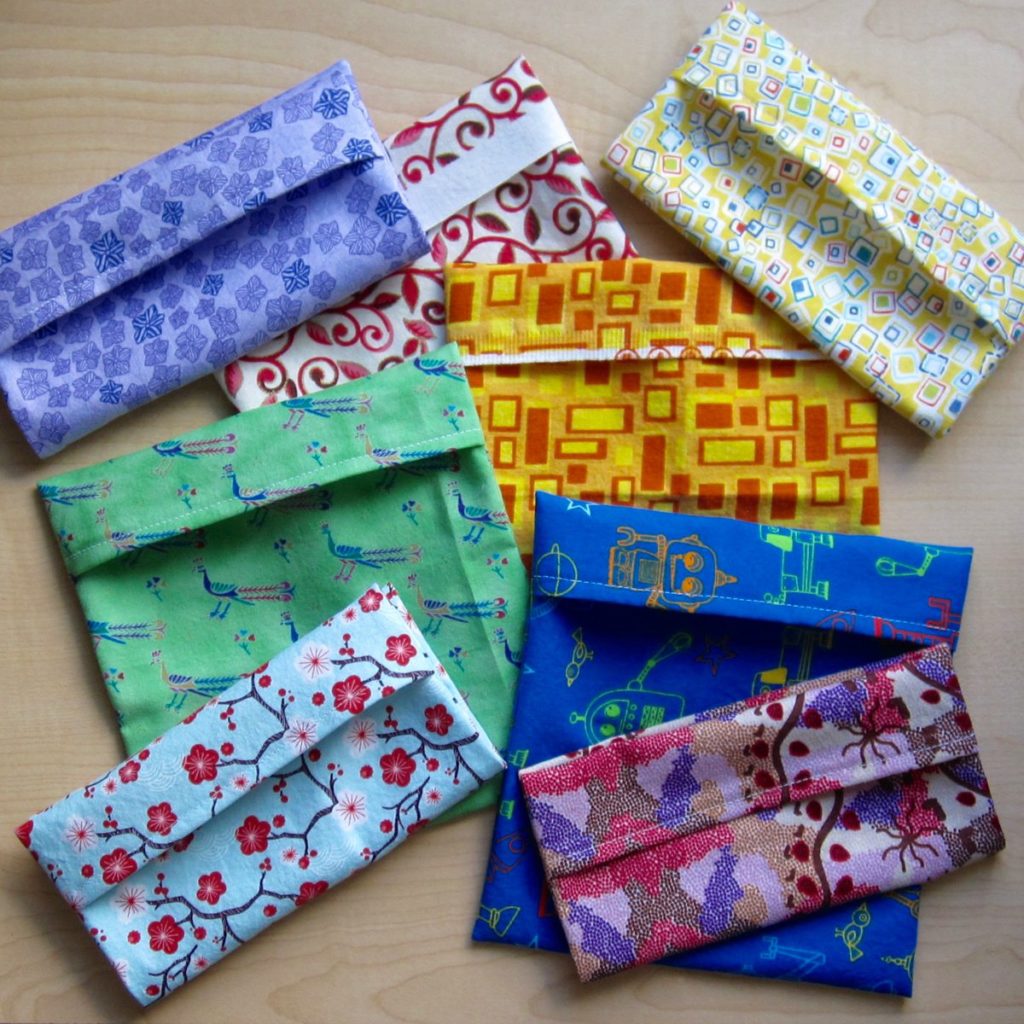
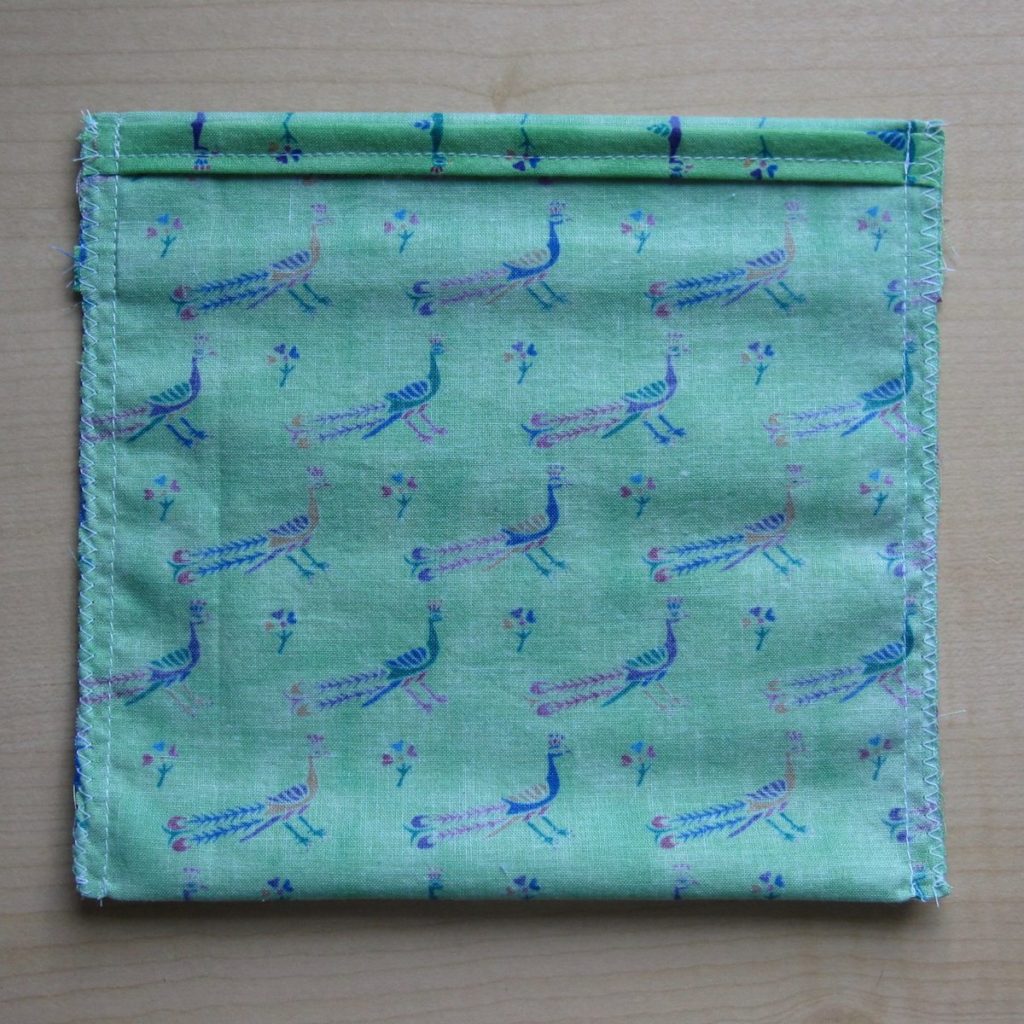
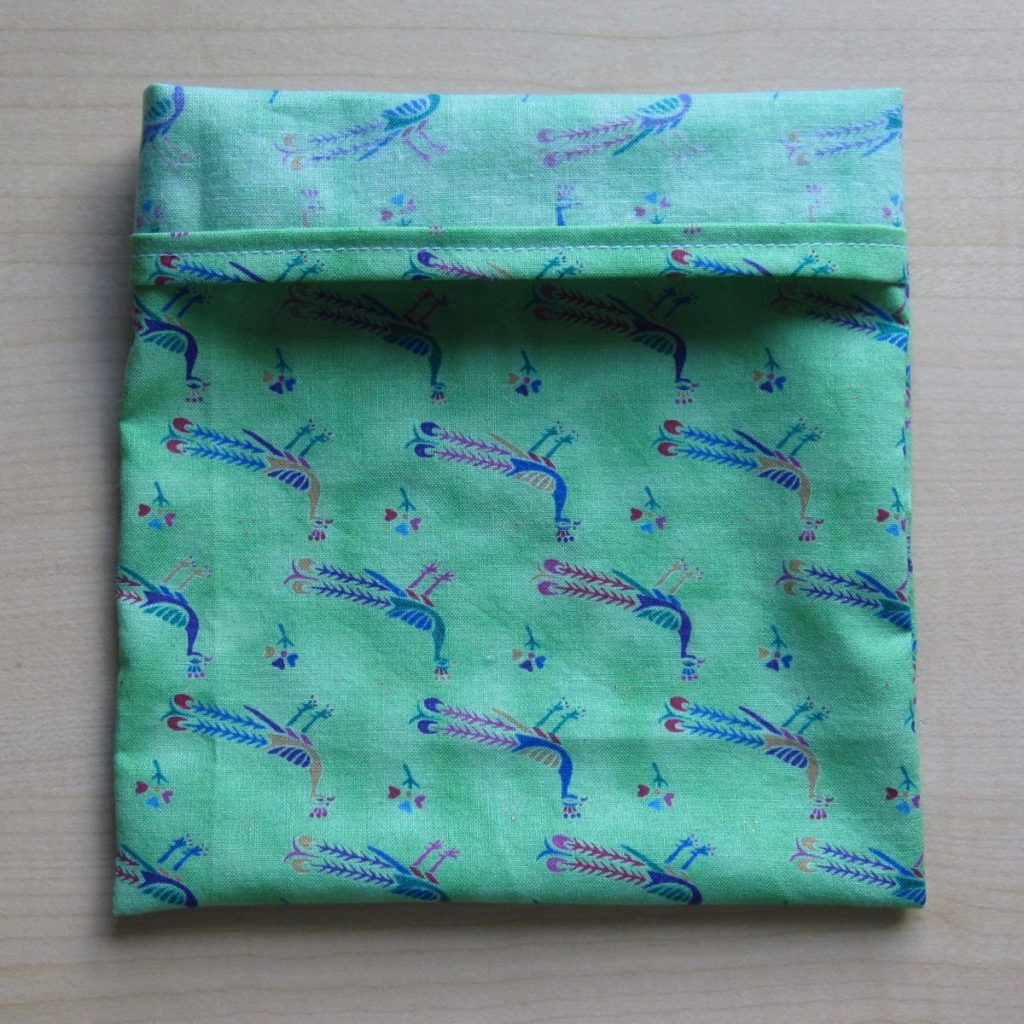
I wanted a corral for my little salad dressing containers for my lunches and thought I remembered coiled fabric bowls in my Scrap Users collection. That was not correct – there were bowls, but they required additional materials. I thought I could do without, though, and whipped up a little bowl. Now for the Sew-op sale coming up, I have a few more.

fabric bowls all together

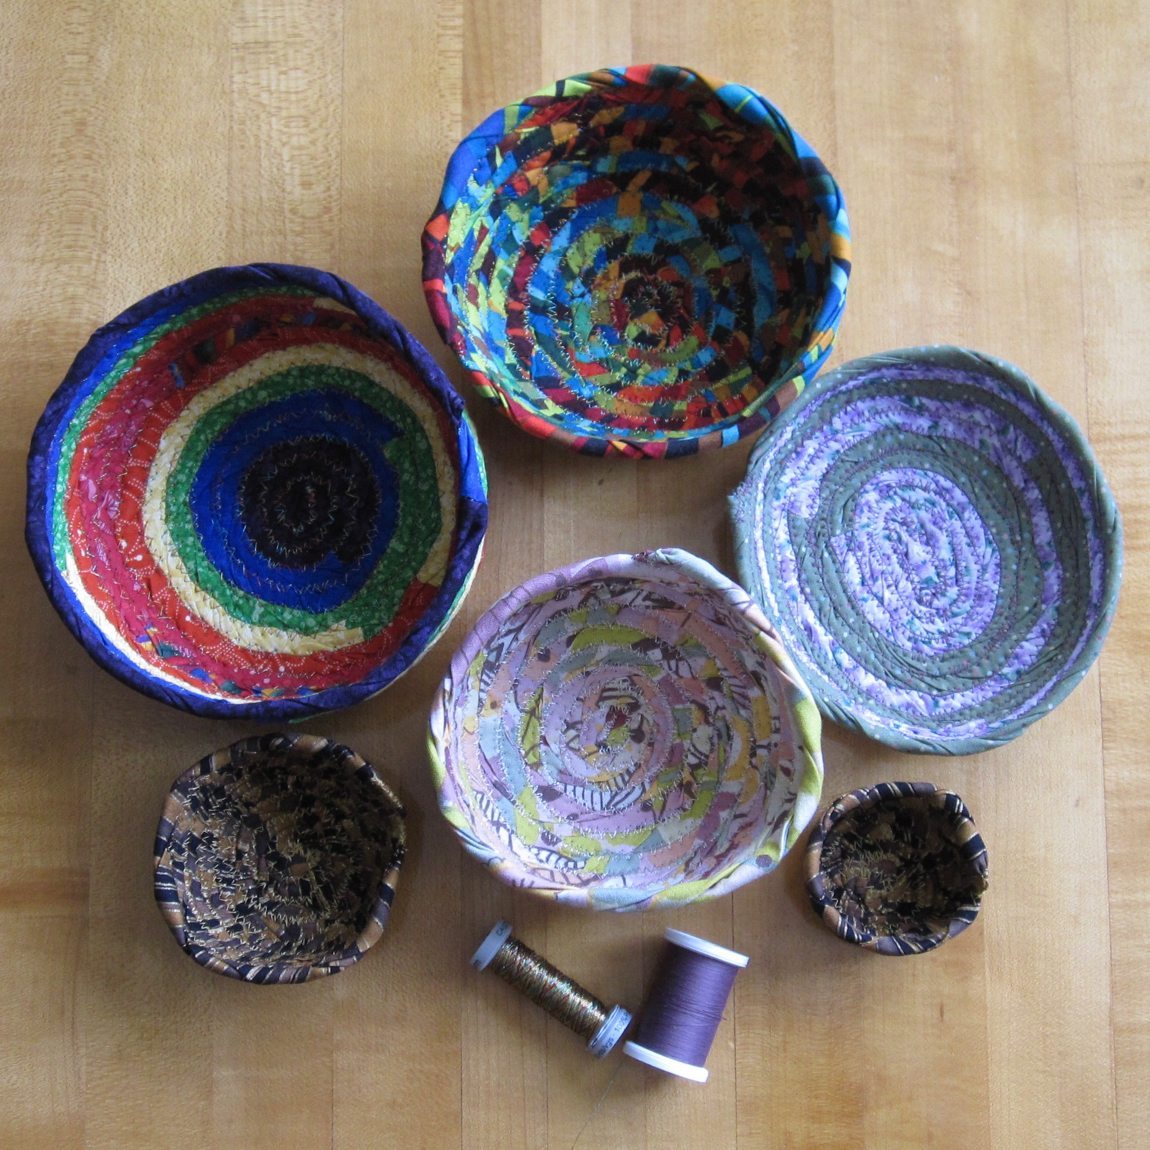
They’re easy to make: four-inch-wide strips of fabric, joined end to end with 1/4″ seams, seams pressed open and then raw edges of strips hidden in two steps. First, press the strip in half the long way, wrong sides together, and then fold the raw edges into the crease and press again. Twist the strip and coil it like a braided rug, sewing the rounds together with a wide zigzag.

prepped fabric strips for bowl-making beginning a fabric bowl

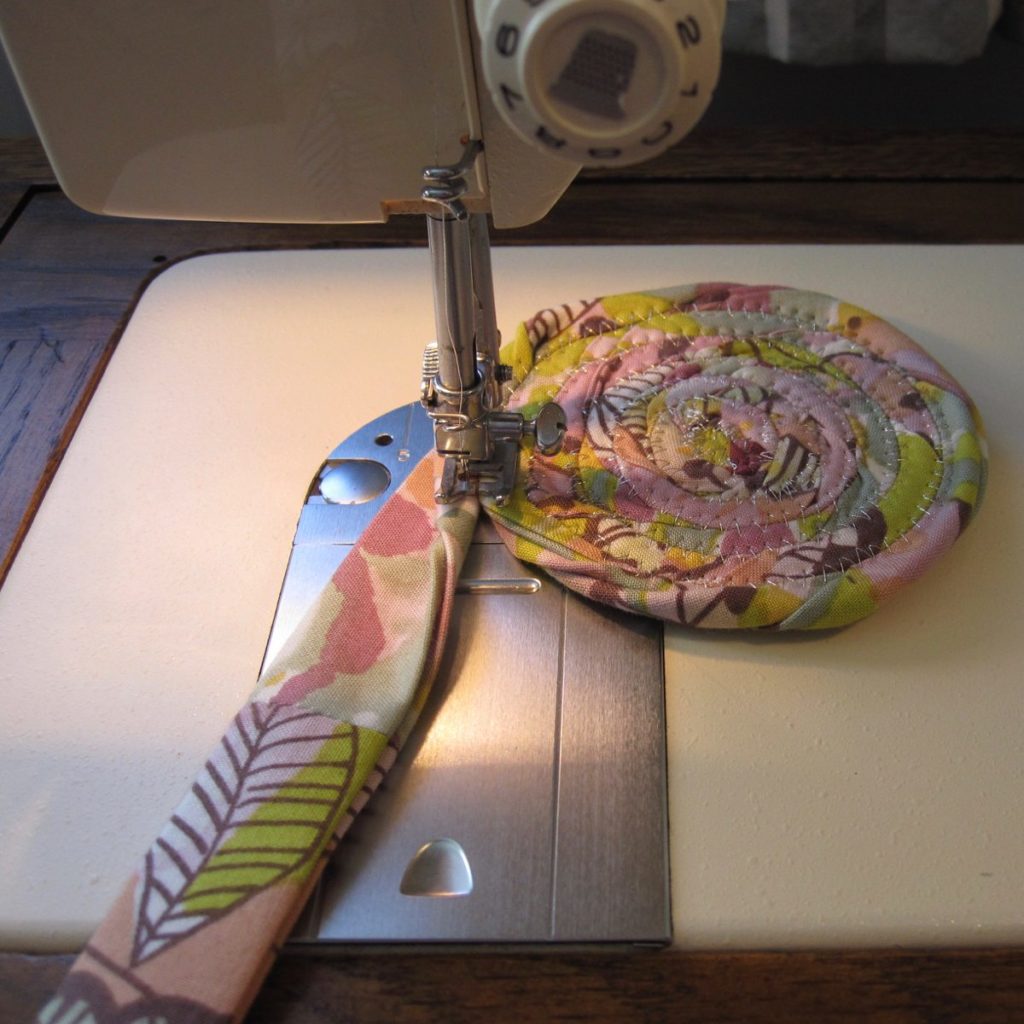
The direction of coiling shown above is easier, so that the main portion of the bowl is under the arm of the sewing machine. There’s more room to work that way for the next step.

When the bowl is nearly as big as you want, hold the flat of the bowl up at an angle to join additional rounds. Eventually the base of the bowl should be nearly vertical.

angling the base to make the sides of the bowl a fully shaped, though not complete, bowl

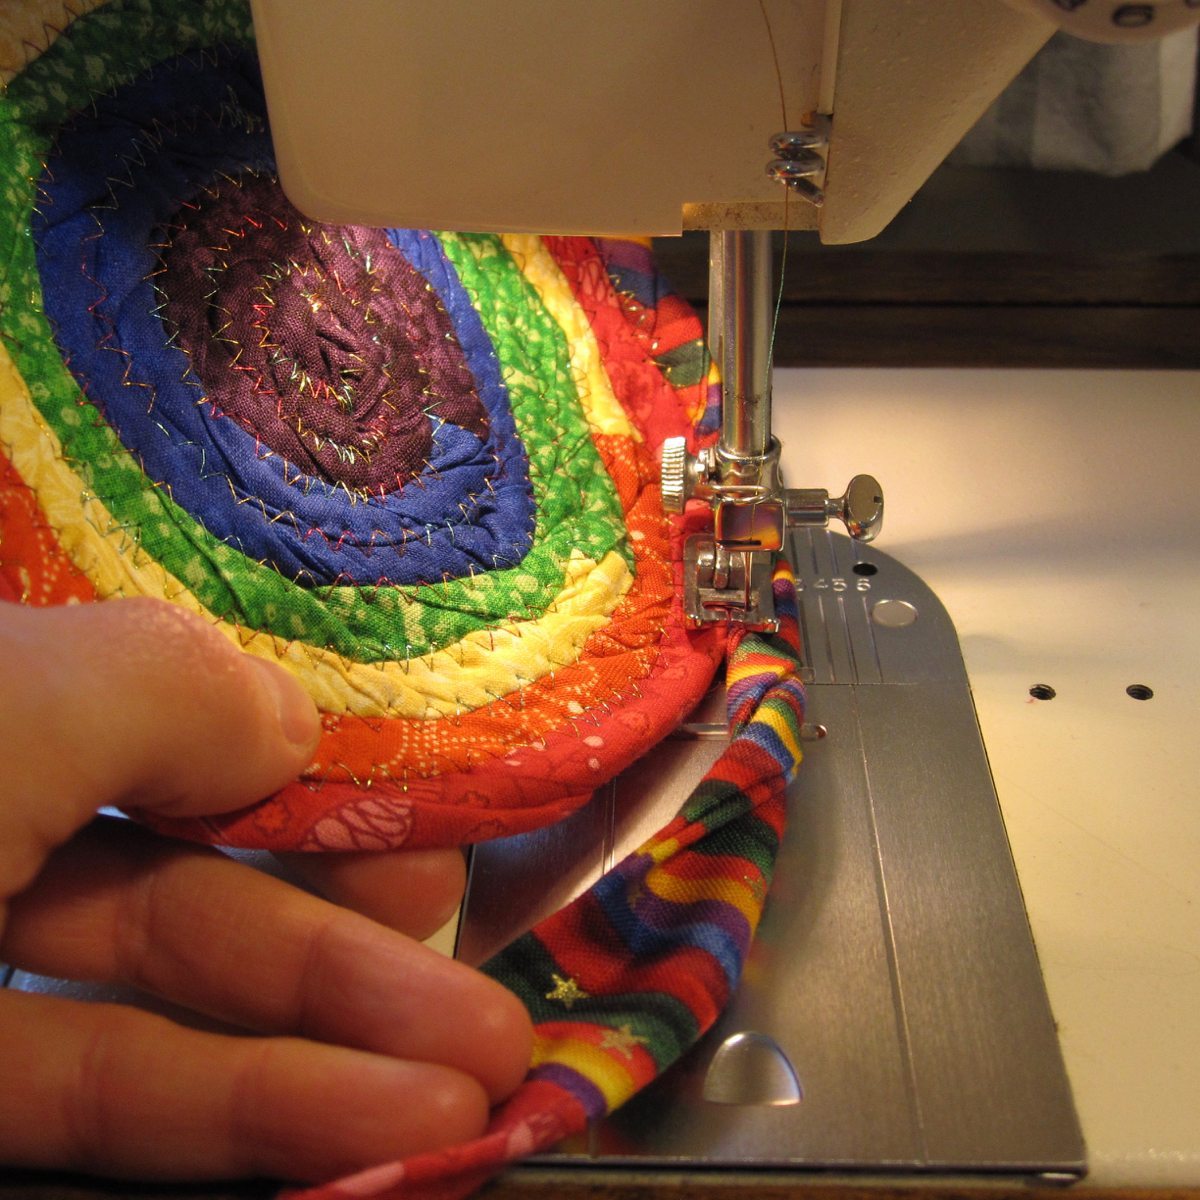
Once I got out to the end I turned around and sewed right back to the middle again, to make sure it was fully secure. There were skipped stitches and places where I was too off center to grab both strips, so going around a second time accounted for both of those.

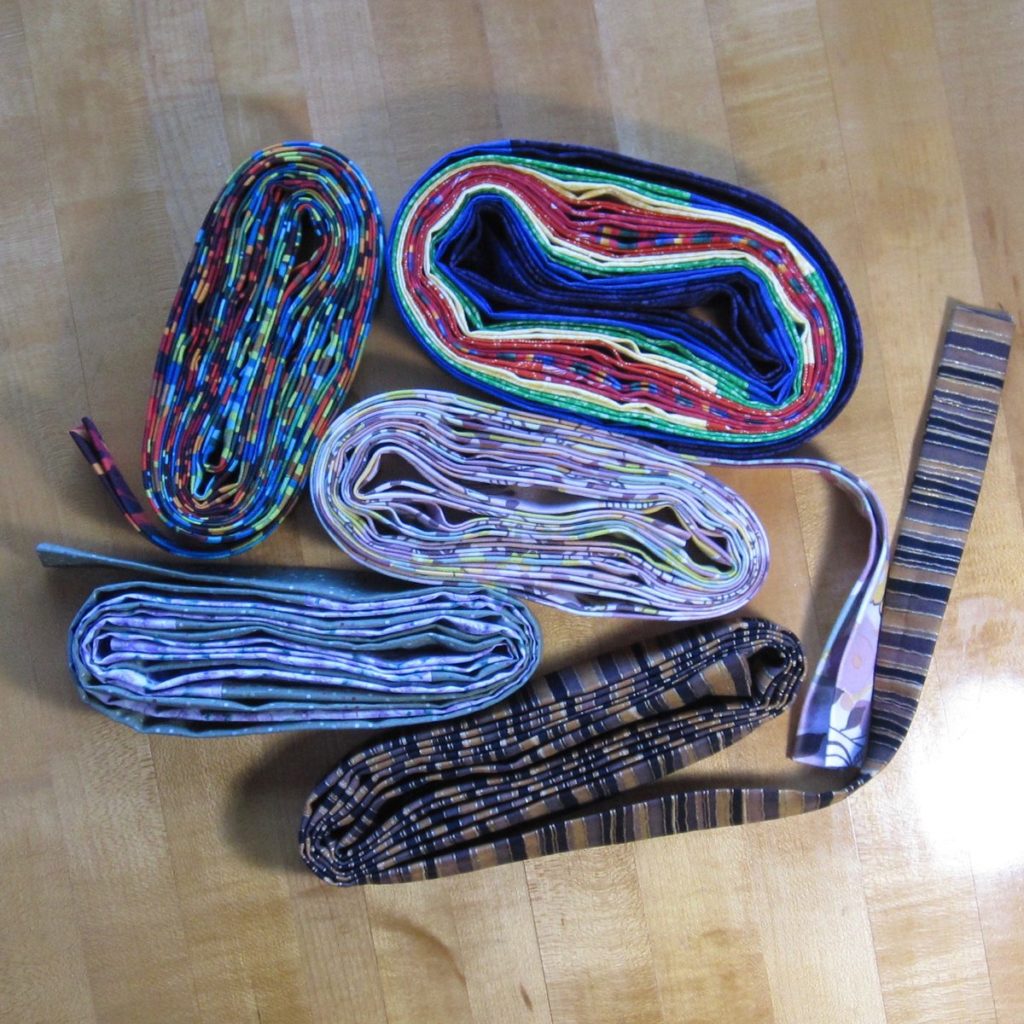
I don’t have a formula for determining strip length from desired bowl size, but I did record the lengths that went into these bowls.

three fabric bowls

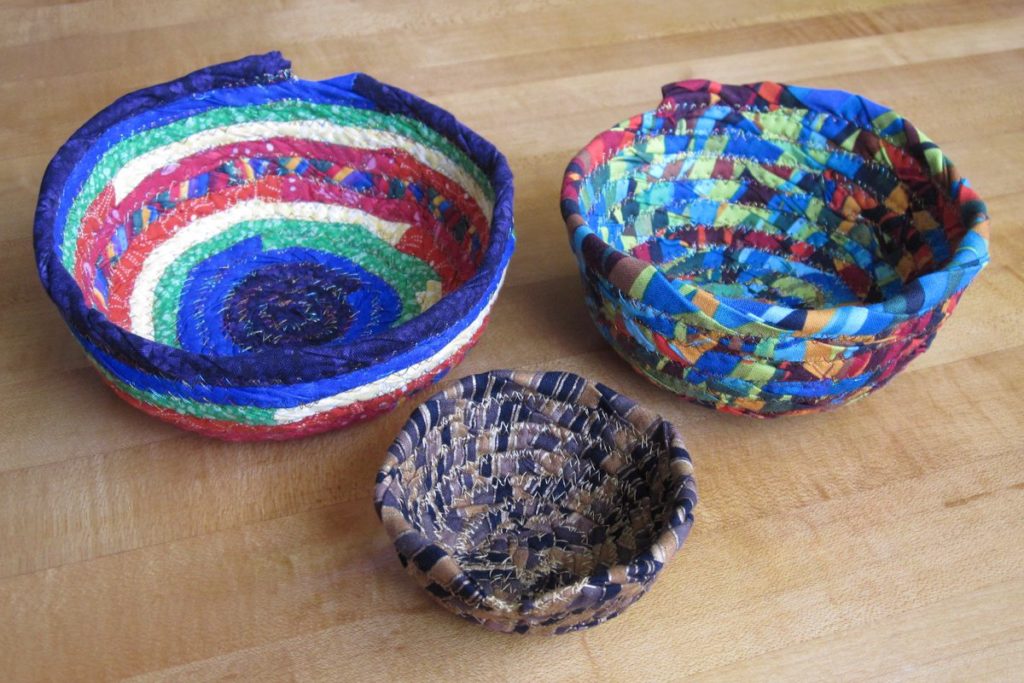
The rainbow bowl was the largest, coming from a 5 yard 4 inch strip. It’s also lopsided; like throwing pottery on a wheel, getting symmetry with these takes some practice. The bright stripey bowl was from a 3 yard 27 inch strip, and this brown striped bowl was from a 1.5 yard strip.

three fabric bowls

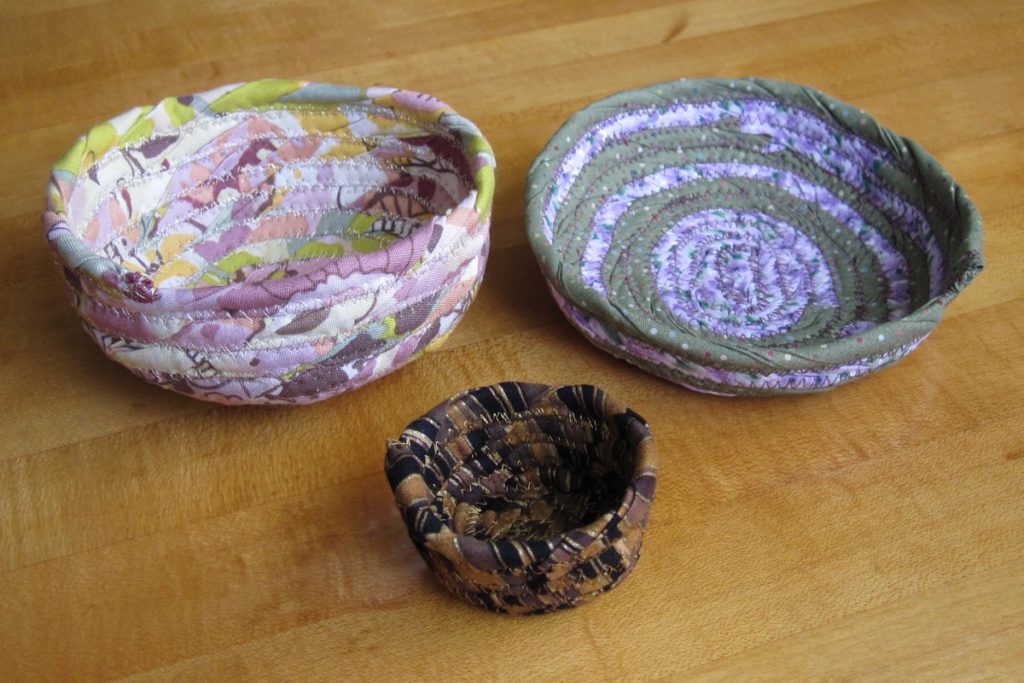
This brown striped bowl, on the other hand, was from a not quite 1 yard strip. The purple and green bowl was 3 yards 11 inches, and the pinkish floral was 3 yards 8 inches.

I also learned in my sewing that while Gutermann’s metallic thread isn’t bad at all – though it does have all the usual tangly problems – Sulky’s metallic is impossible. It gave me profoundly high tension without even putting the presser foot down and eventually I just gave up on it.

Baggies!

For a long time I took an apple in my lunch bag every work day. Recently I started branching out more, to fruit that I don’t want floating naked in the lunch bag – cherries, grapes, that sort of thing. There’s no room to add another rigid container, throwing out a plastic bag every day is wasteful, and washing plastic bags is a giant pain. The solution? Fabric! Throw them in the laundry every weekend and you’re set.

sewn "sandwich bags"

These bags are modeled after old fashioned (i.e., non-zippered) plastic sandwich bags and sized after the zip-top kind. You can’t turn them over and shake and expect their contents to stay put, but as a barrier between my clean grapes and my … also clean! lunch bag, they are more than sufficient.

I have made many such bags over the years and I don’t think I’ve every blogged the recipe, which is a shame because they are very simple.

Edit May 2018: After using these baggies for the better part of a year I made a second round with a slightly wider flap; I think that is better. Measurements below have been updated.

For each 6.5″ square bag cut a 7″ x 16.25″ rectangle of cotton fabric. Fold the short edges to the wrong side by 3/4″ and then tuck the raw edges under; sew to secure. You are hemming the opening of the bag.

sewn, inside-out bag viewed flat looking inside the sewn, inside-out bag

Fold one short edge to the right side by 1.75″ to form the flap. Bring the opposite short edge up on top of it, almost to the flap fold line. Sew the sides at 1/4″ and then zigzag the edges to prevent fraying.

Turn the finished bag right side out and push out the corners. Fold the flap over so only the right side of the fabric shows. Done!

bag partially turned right-side-out bag turned fully right-side-out

Baggie Modifications

two bags with the selvedge showing

If you cut the rectangle with one short edge on a selvedge, you don’t need to fold it down, and your rectangle only needs to be 15.5″ instead of 16.25″. You can choose whether to have the selvedge inside the flap or at the end of the flap – it’s an artistic decision.

To make bags of different sizes, here is the formula:

Short side of rectangle: (Finished width of bag) + 1/2″
Long side of rectangle: (Finished height of bag × 2) + (flap width) + 1.5″

If one of your short edges is pre-finished, you can reduce the long side by 3/4″ — the 1.5″ above is two 3/4″ hem allowances.

To be totally clear, for the bag in the construction photos the measurements were:
Short side of rectangle: 6.5″ + 1/2″ = 7″
Long side of rectangle: (6.5″ × 2) + 1.75″ + 1.5″ = 16.25″

There are a couple of things to consider when resizing the bag: you’ll likely want a wider flap for a larger bag but you can’t reduce the flap by as much when making a smaller bag – keep it above 1/2″ wide. Also remember, for a smaller bag especially, that the sewn-down flap makes the opening a little narrower than the body of the bag. I made a small bag like this for a little bamboo eating utensil and sometimes it’s a struggle to get it in and out, though it has plenty of room once it’s inside.

The only key piece of construction is to remember the flap is on the inside when you’re sewing. Enjoy!

Just a simple snow hat

One day last fall I decided to start a project I could just work on in the evenings. I thought a snow hat would be nice – something with a brim to keep my glasses dry. I was remembering some multicolored bulky yarn – white, silver, and blue – but when I went to look for it there was nothing. Instead I combined off-white, gray, and tweedy blue yarn for my own custom bulky yarn.

me in my crochet snow hat

Given the trueness of my purple shirt in that photo I have to imagine I really was that red-faced.

Simple Snow Hat Pattern

Worked with 3 strands of worsted-weight yarn held together and a K hook.

You may find my crochet pattern abbreviations and conventions useful.

1. Fsc 46.
2. Sc 14, sc BLO 18, sc 14.
3-4. Sc around (46).
5. 2sc, sc 4, 2sc, sc 35, 2sc, sc 4 (49).
6. Sc 7, 2sc, sc 11, 2sc, sc 11, 2sc, sc 11, 2sc, sc 5 (53).
7. Sc 2, 2sc, sc 7, 2sc, sc 36, 2sc, sc 5 (56).
8-10. Sc around (56).
11. Sc 17, dec, sc 17, dec, sc 16, dec (53).
12. Sc 5, dec, sc 12, dec, sc 11, dec, sc 11, dec, sc 6 (49).
13. *Sc 5, dec* around (42).
14. *Sc 2, dec, sc 2* around (35).
15. *Sc 3, dec* around (28).
16. *Sc, dec, sc* around (21).
17. *Sc, dec* around (14).
18. Dec around (7).

I might make this again with a change: make rounds 11-13 into four decrease rounds, two of 3 dec and two of 4 dec, and maybe also add another round to the “sc around” block that’s currently 8-10. It should make it a little deeper and less boxy.

I don’t think I recorded the brim, but it was to go across 3 times, starting in the unused front loops of hat round 2. I increased a few times in the middle so the brim would stick out and decreased on each end so it gets slightly narrower.

bottom view of crochet snow hat, showing brim

It’s not as warm as my beehive hat (the second one in that link), but with the mild winter we’ve had it’s seen a lot of use.