Barbershop Quartet Day crochet

This post is dedicated to the Champaign-Urbana Sweet Adelines chorus, Toast of Champaign.

Tomorrow is Barbershop Quartet Day, the 76th anniversary of a Tulsa songfest considered the beginning of the Barbershop Harmony Society. I’ve never celebrated, but it is nevertheless close to my heart because I grew up with barbershop music. My mother has been in a Sweet Adelines chorus (and sometimes quartets) throughout my life, and through her I heard many choruses and quartets, male and female. The latest Sweet Adeline Queens of Harmony are a young quartet called LoveNotes, but the big name when I was listening a lot was Ambiance. I believe I’ve seen them live; I know I saw Joker’s Wild and The Gas House Gang — I have the cassettes to prove it.

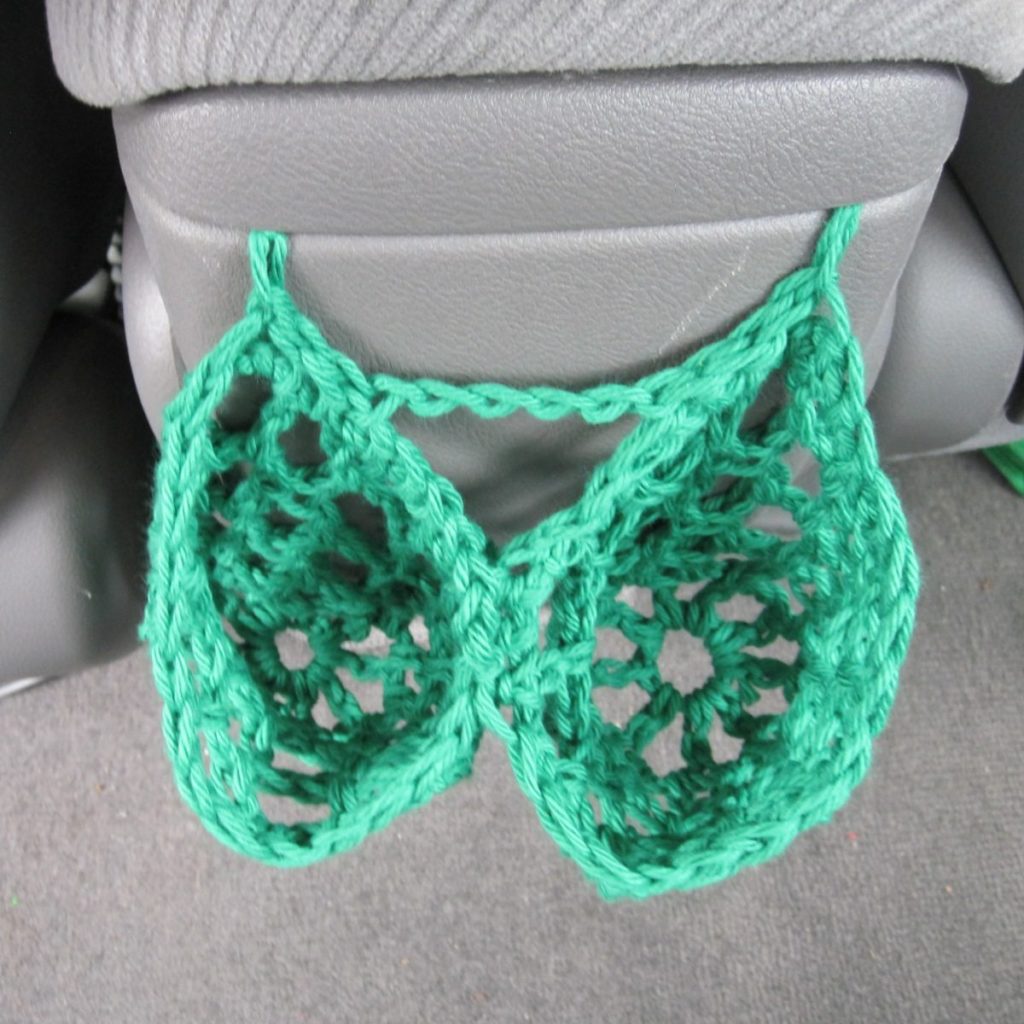
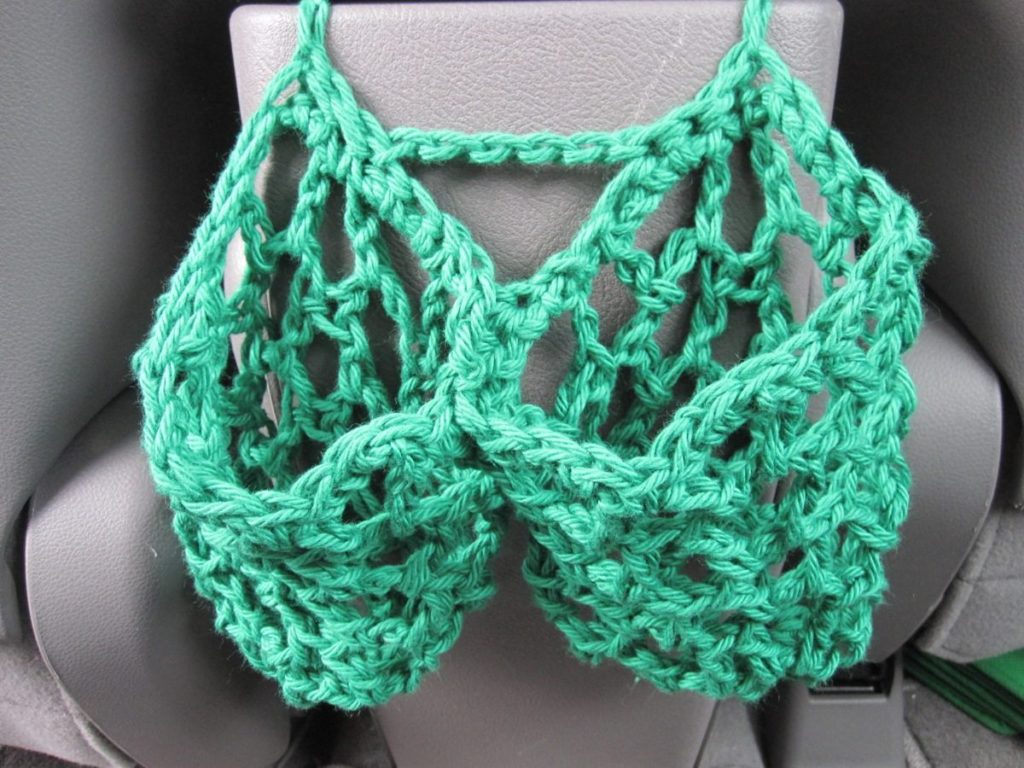
The latest music to hit my ears was from this gang:

Sluggos singing barbershop harmony
Be sure it’s true when you say “I love you;” it’s a sin to tell a lie…

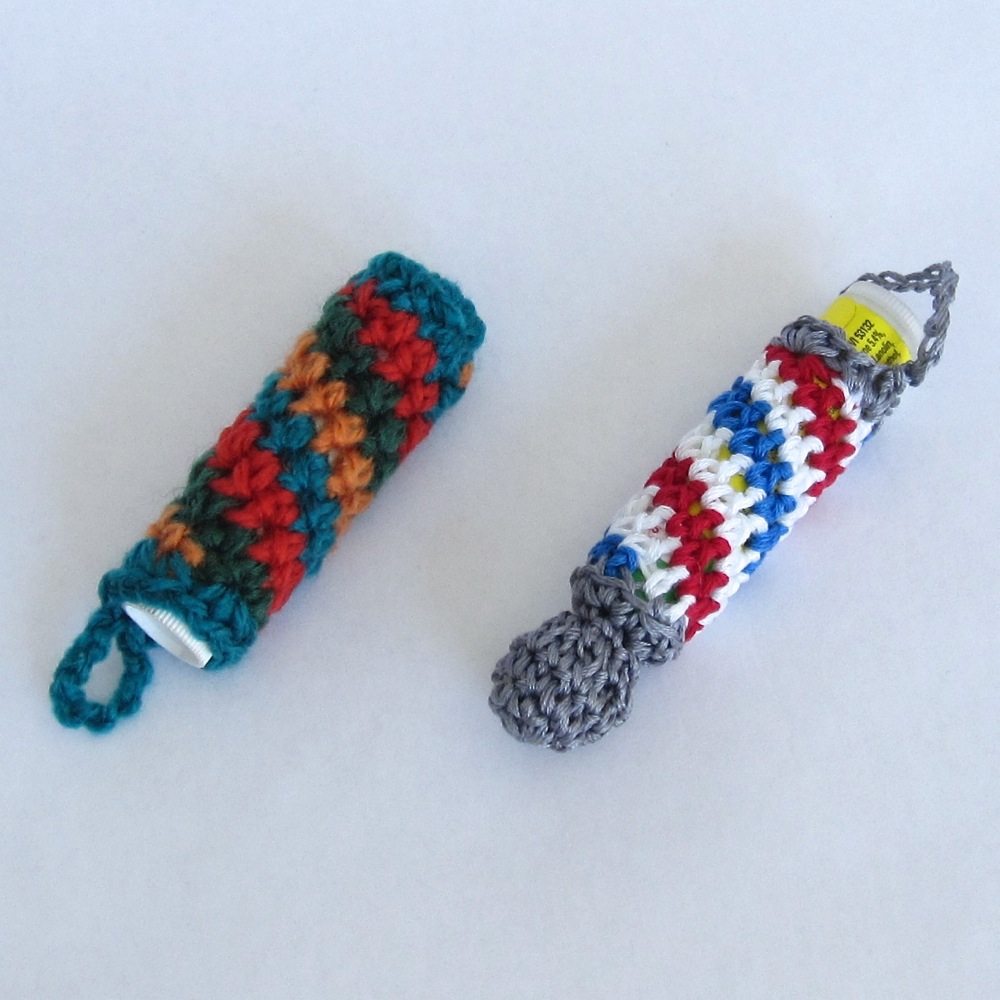
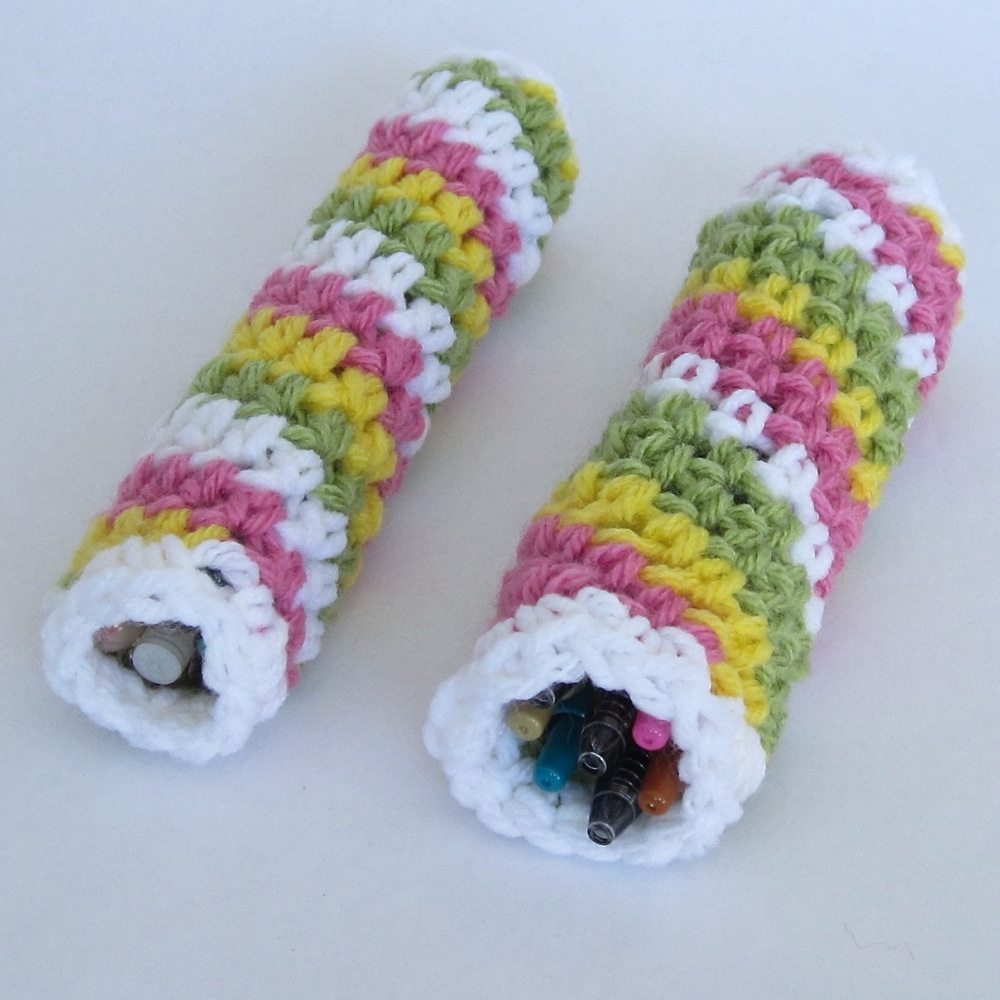
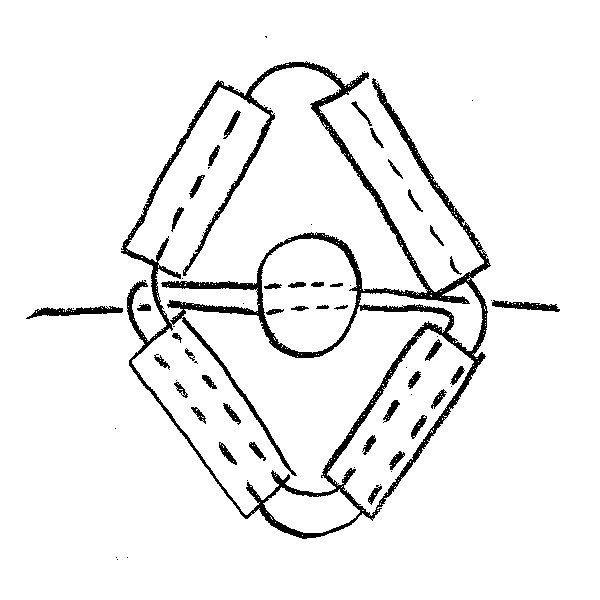
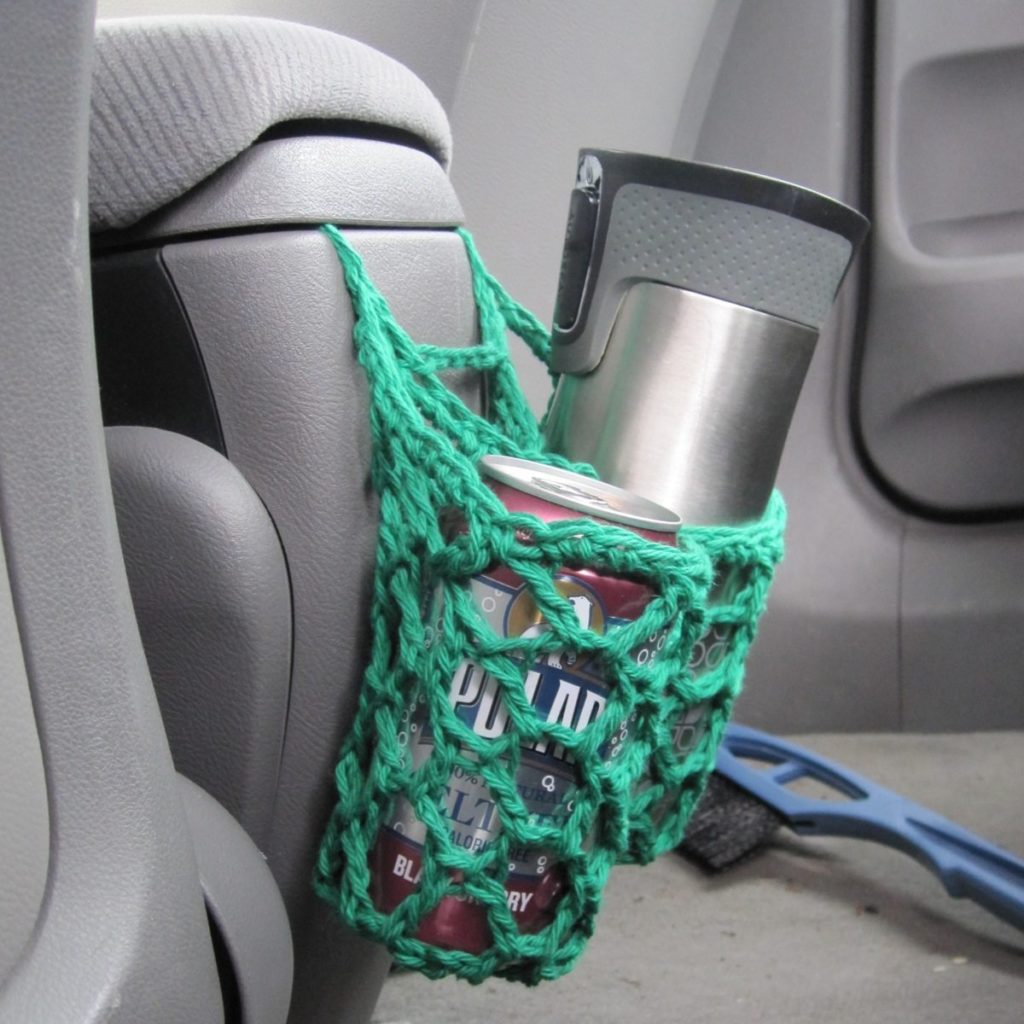
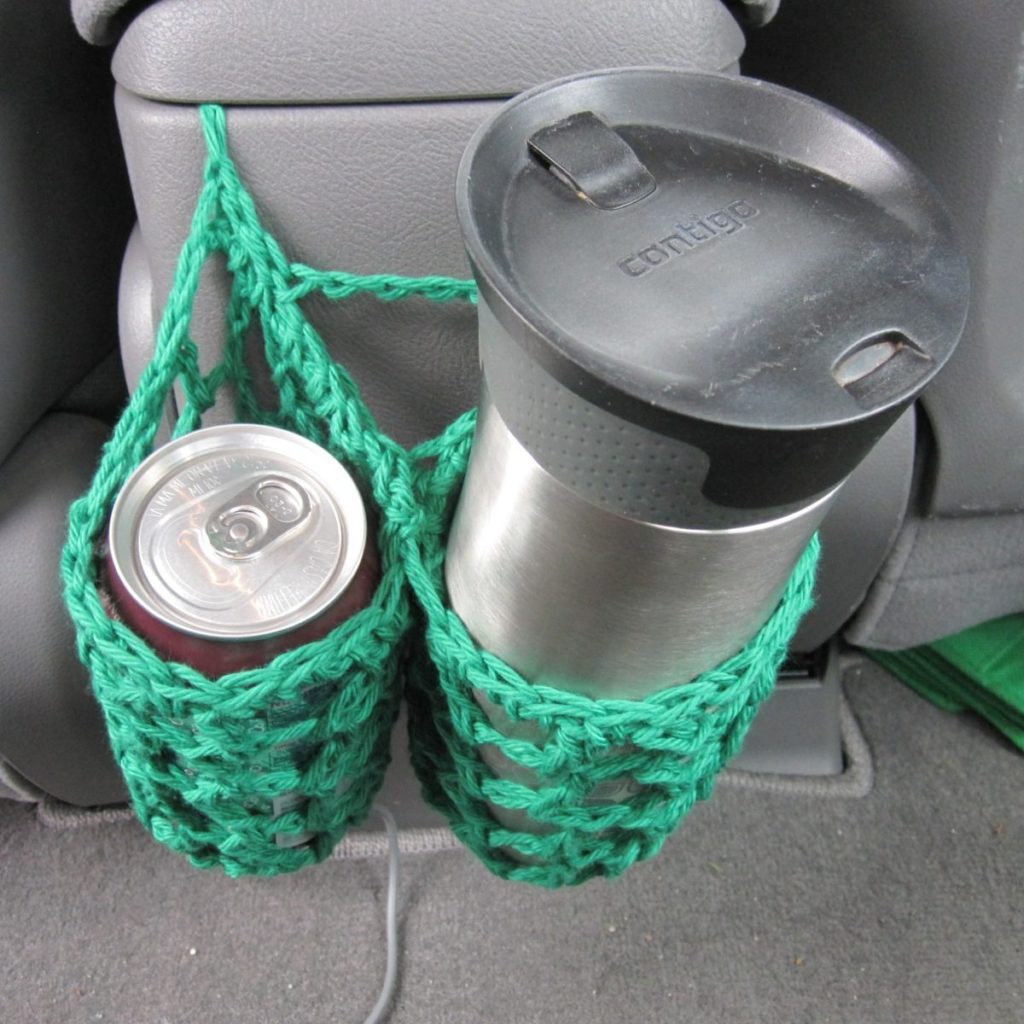
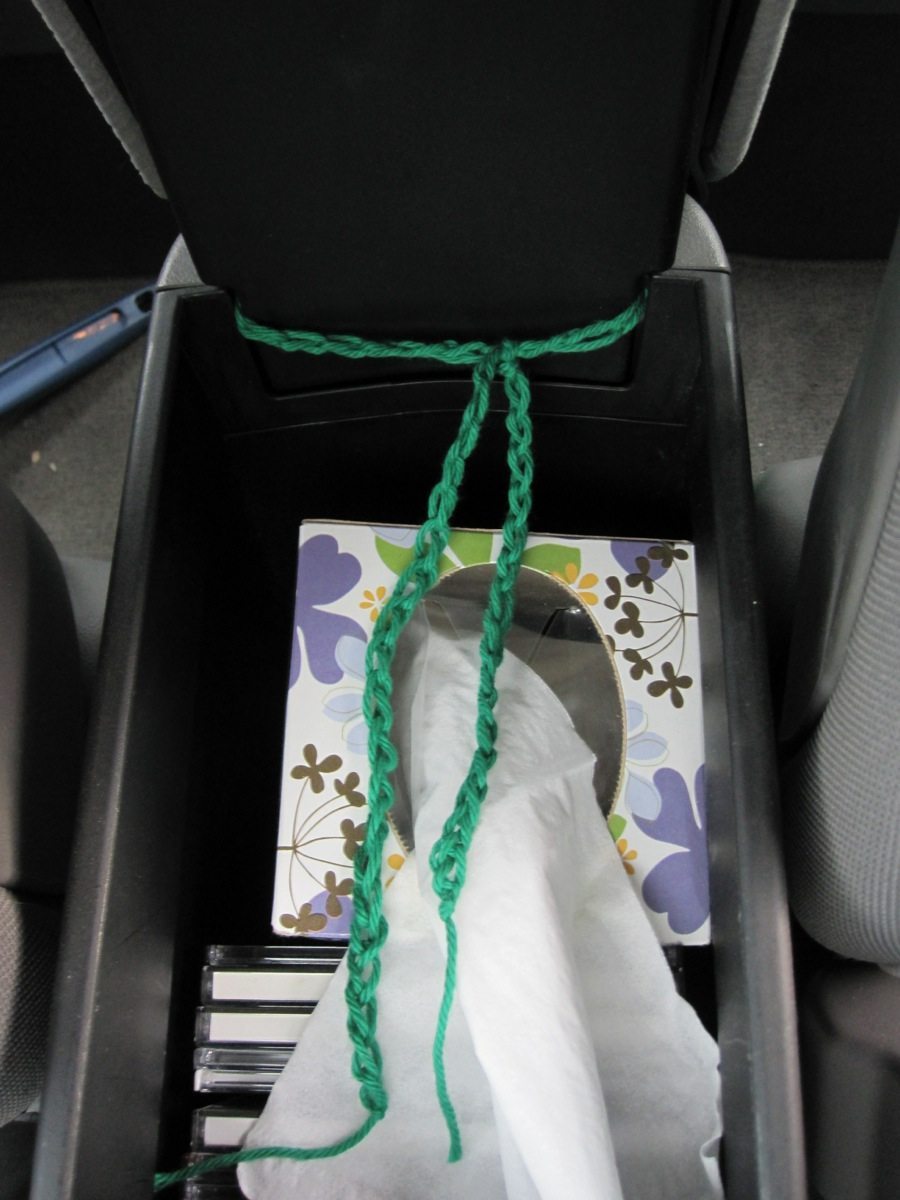
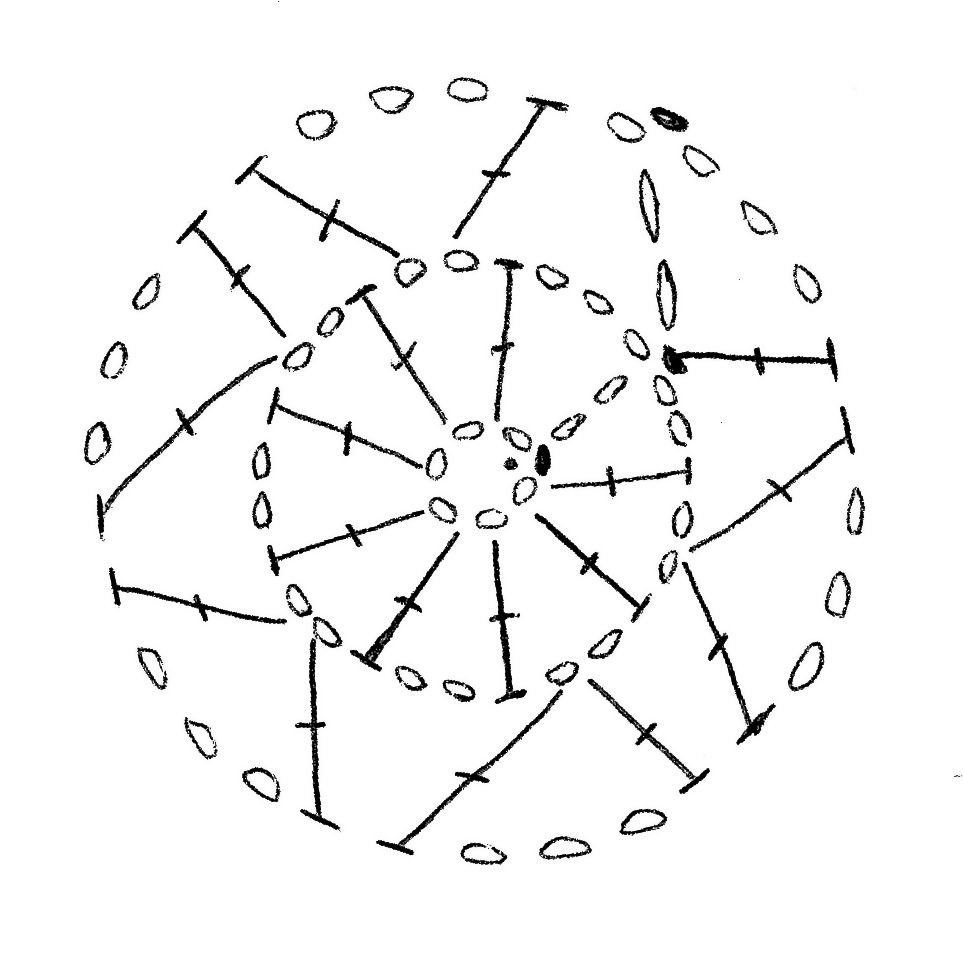
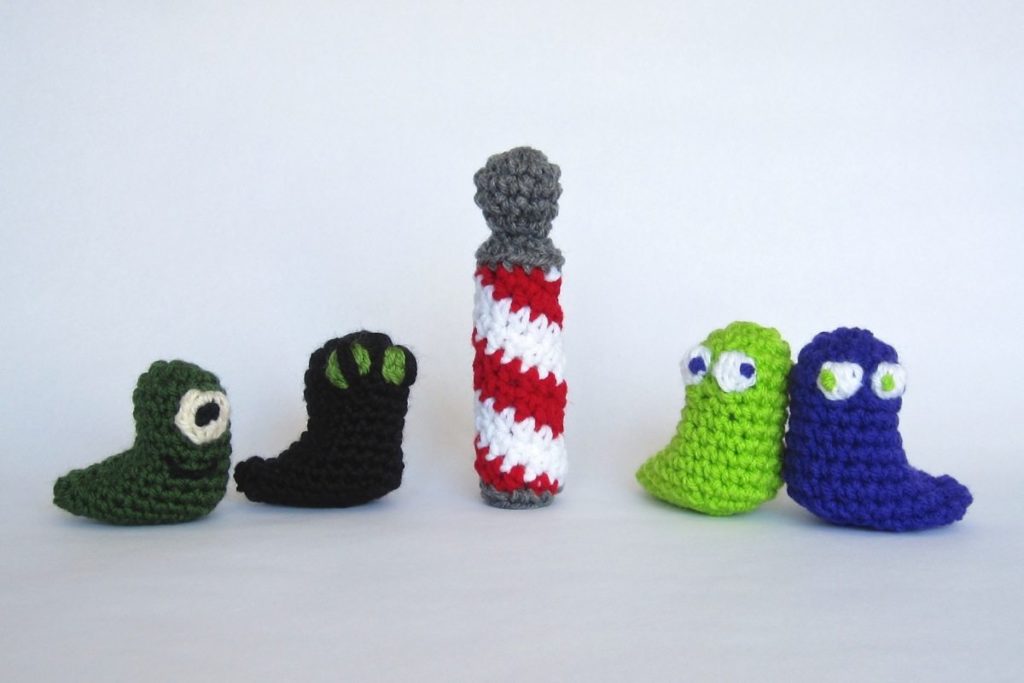
If you have your own quartet, only lacking a barber pole, a pattern is below, in time to make for any of your Barbershop Quartet Day celebrations. It may be made with stripes in up to four colors. The one above is two white and two red stripes, but it would also be traditional to have two white, one red, and one blue stripe, with the white stripes separating the red and blue. The store has a name your price pdf of this pattern that not only prints more nicely, but also includes a 6-stranded version so you can make cheerful candy sticks, and instructions to use either the 4 or 6 stranded version for a lip balm cozy, pen case, or reading glasses sleeve.

spiral lip balm cozies spiral pen cases

Continue reading Barbershop Quartet Day crochet

Beaded Bobby Pins

The last in the series of beading patterns from my distant past.

combs and bobby pins

For a while I had a haircut that looked good with bobby pins, and I started collecting interesting pins to wear. It didn’t take long to start coming up with my own. For each pin you need an 8-10″ length of 32-gauge wire (less if you are skilled at working with wire; they don’t take nearly that much, it’s just hard to manipulate much less), a bobby pin, and epoxy. Gorilla glue or similar should work in place of epoxy, although be careful not to use much since it expands as it sets.

For the 5-point star: 10 small seed beads.
Make a bend in the wire about 1.5″ in from the end. String a bead onto that bend and take both ends of the wire through a second bead. *String two beads onto the longer end and take the wire back through the first of the two* four times for a total of 5 points (see diagram below left). Twist wire ends together. Wire to bobby pin, trim ends, secure with epoxy.

star beading diagram diamond beading diagram

For the diamond: 4 bugle beads, 1 large rocaille.
String 4 bugles on wire and loop one end back through the farthest 2 bugles to form a closed diamond with the wire ends sticking out at opposite points. Pull taut and pass the wire ends through the rocaille from opposite directions (see diagram above right). Wire to bobby pin, trim ends, and secure with epoxy.

With the bobby pins in the photo are two beaded combs; at times my hair is a good length for those. I didn’t wrap the thread in the same way on each, but on both each bead is secured by two separate stitches.

Quick back seat cup holders

My car is comfortable, reliable, and pretty efficient, but it lacks certain creature comforts. I’d been meaning to fix one of those lacks: there are no cup holders for the back seat. The front center “armrest” is the top of a cubby, hinged on its back end, and I pictured something like macrame plant hangers but on a cord that would tie around the hinge. Last week we drove the 90 minutes to my mother-in-law’s place and on the way I made these:

cup holder from side cup holder head down

The pattern is easy to find in my notebook because my pen globbed up and then I got it on my hands and now, well, all the local pages are ink-stained.

Backseat Cupholders
I made these with a J/10 hook (6mm) and worsted weight cotton yarn.
Make two:

  1. Chain 6, sl st into ring.
  2. Ch 5 (counts as dc + ch-2), *dc into ring, ch 2* 8 times, sl st in 3rd turning ch to join (9 dc, 9 ch-2 spaces).
  3. Ch 3, dc in 2nd ch sp; ch 3, dc in same ch sp and next ch sp; ch 3, dc in same ch sp, sk 1 ch sp and dc in next; ch 3, dc in same ch sp, sk 1 ch sp and dc in next; ch 3, dc in same ch sp and next ch sp; ch 3, dc in same ch sp, dc in rnd-1 sl st; ch 3, dc in 3rd turning ch to join (12 dc, 6 ch-3 spaces). [This is much easier to follow in diagram form; see below.]
  4. Ch 3, *[dc, ch 3, dc] in next ch sp* 5 times, dc in next ch sp, ch 3, sl st in 3rd turning ch (12 dc, 6 ch-3 spaces).
  5. Repeat round 4.
  6. Repeat round 4.
  7. Ch 1, sc between each dc pair and 3 times in each ch-3 space (24 sc).

On first pocket, slip stitch or needle join in first sc of round to join and finish off yarn. On second pocket, use the yarn to join the cupholders together: place the first in front of the second so their outsides touch, and stitch into loops of round-6 stitches of both simultaneously. Sc 3, sl st, FO.

For the hanging cord, I did this:
Ch 30. Flatten cup holders so joined part is in the middle. Sl st into middle 4 stitches of back of right-hand cupholder (left if you crochet left handed), ch 5, sl st into middle 4 stitches of back of remaining cupholder. Ch 30, cut yarn and tie a knot. You’ll work outside to inside on the first pocket and inside to outside on the second. Ch-30 on each end was longer than needed, though, and even ch-20 should be adequate.

cup holder ties

Behold my first crochet diagram for public consumption, rounds 1-3 of the pattern:

cupholder diagram rounds 1-3

Dot = slip knot
Open oval = chain
Solid oval = slip stitch
Capped line with cross = double crochet

And a few more pictures.

cup holder empty cup holder flattened