Baggies!

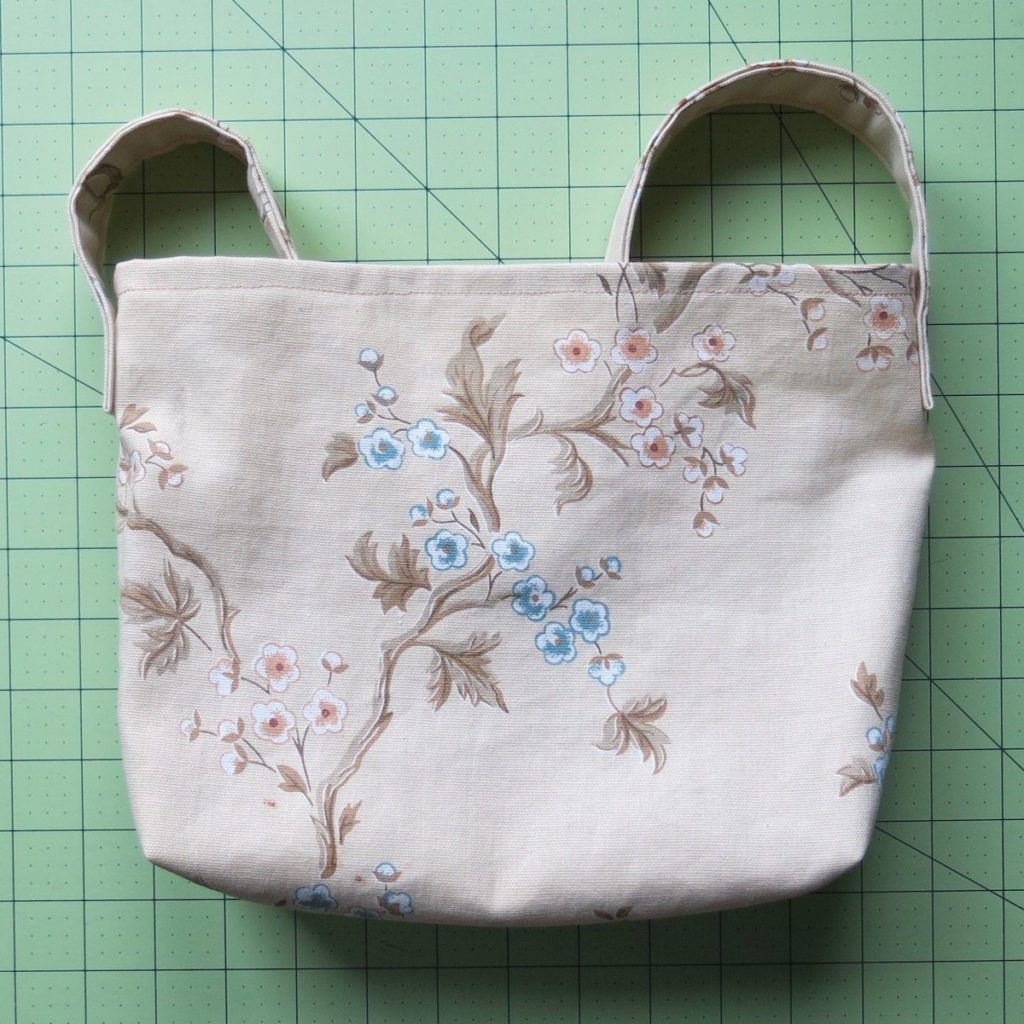
For a long time I took an apple in my lunch bag every work day. Recently I started branching out more, to fruit that I don’t want floating naked in the lunch bag – cherries, grapes, that sort of thing. There’s no room to add another rigid container, throwing out a plastic bag every day is wasteful, and washing plastic bags is a giant pain. The solution? Fabric! Throw them in the laundry every weekend and you’re set.

sewn "sandwich bags"

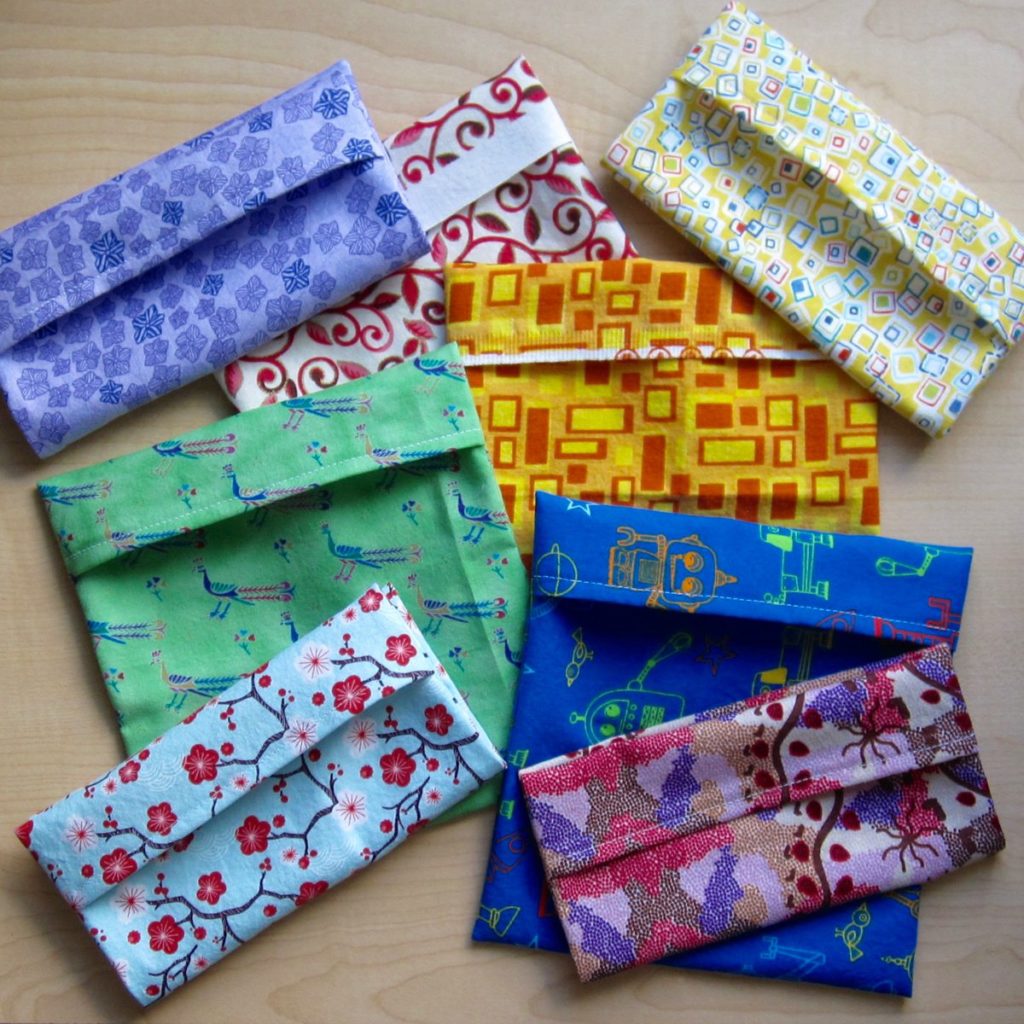
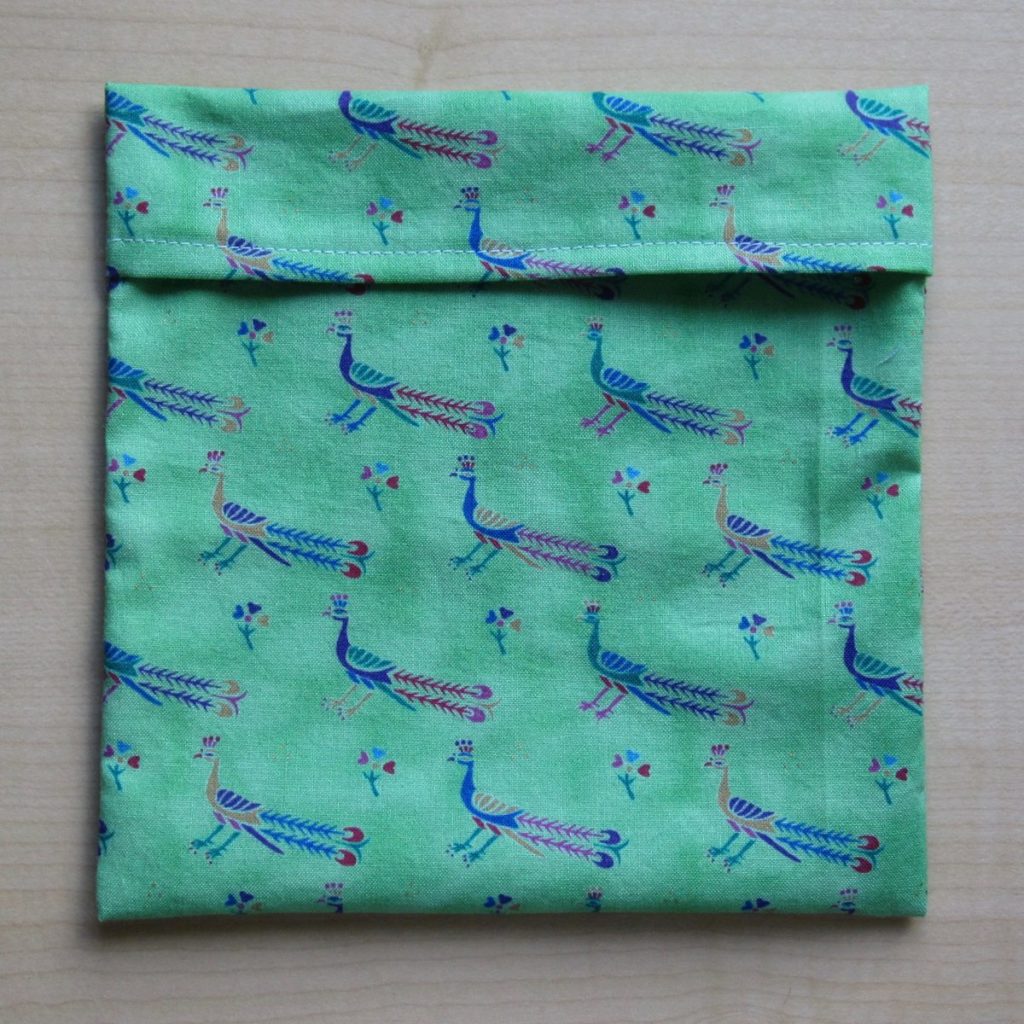
These bags are modeled after old fashioned (i.e., non-zippered) plastic sandwich bags and sized after the zip-top kind. You can’t turn them over and shake and expect their contents to stay put, but as a barrier between my clean grapes and my … also clean! lunch bag, they are more than sufficient.

I have made many such bags over the years and I don’t think I’ve every blogged the recipe, which is a shame because they are very simple.

Edit May 2018: After using these baggies for the better part of a year I made a second round with a slightly wider flap; I think that is better. Measurements below have been updated.

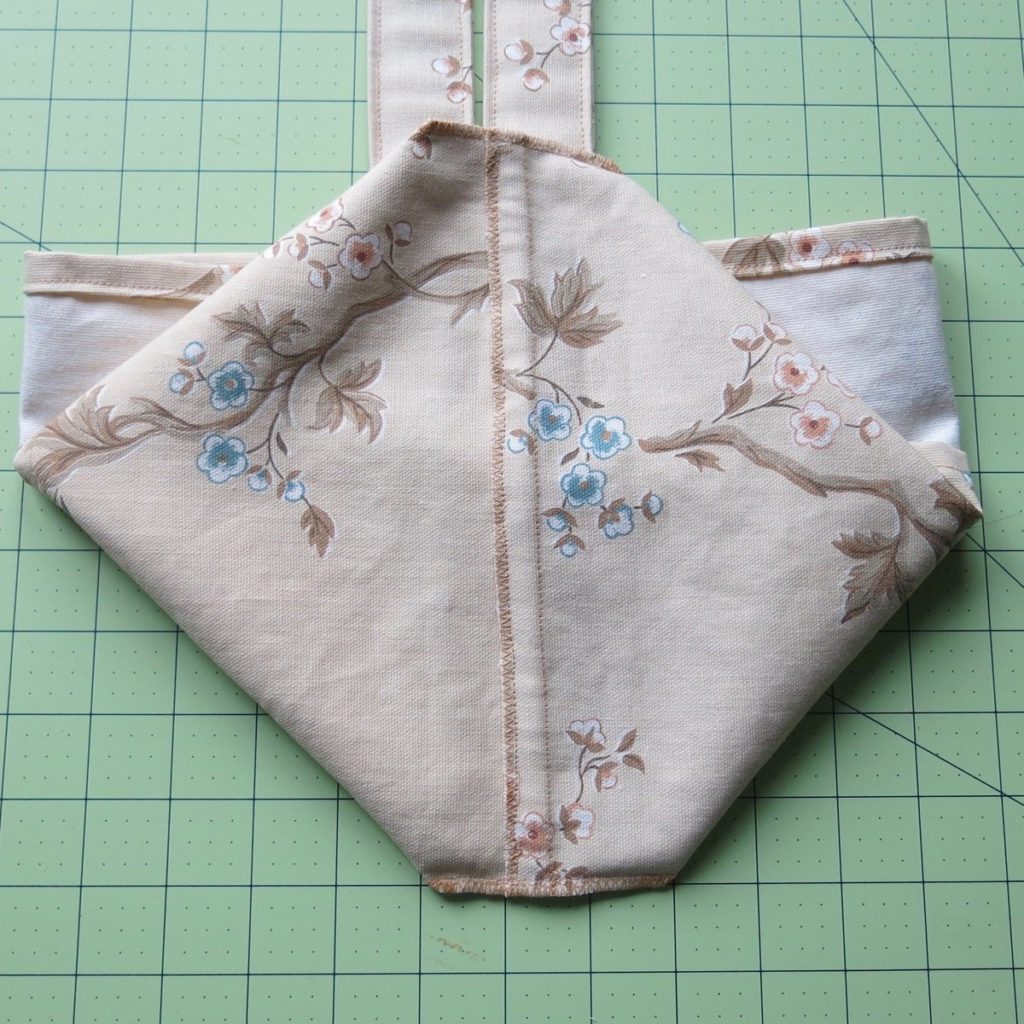
For each 6.5″ square bag cut a 7″ x 16.25″ rectangle of cotton fabric. Fold the short edges to the wrong side by 3/4″ and then tuck the raw edges under; sew to secure. You are hemming the opening of the bag.

sewn, inside-out bag viewed flat looking inside the sewn, inside-out bag

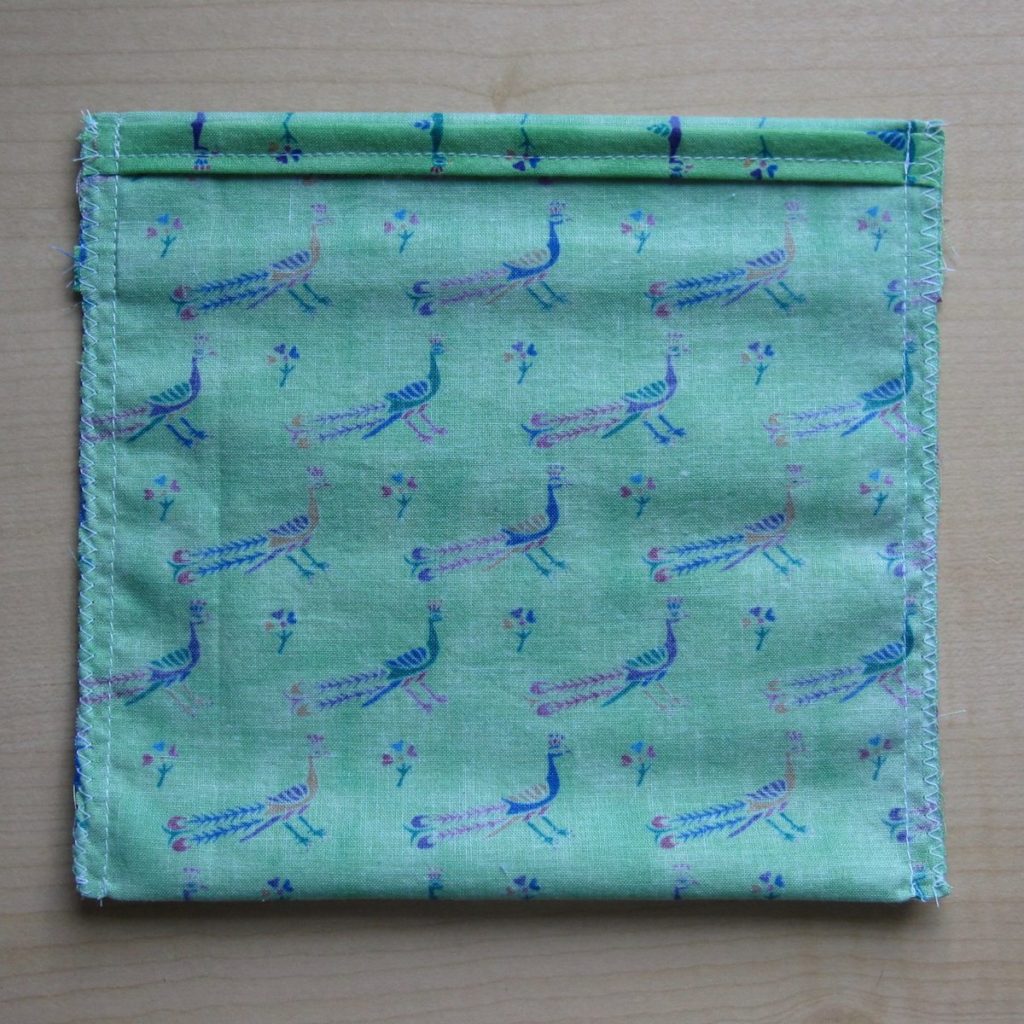
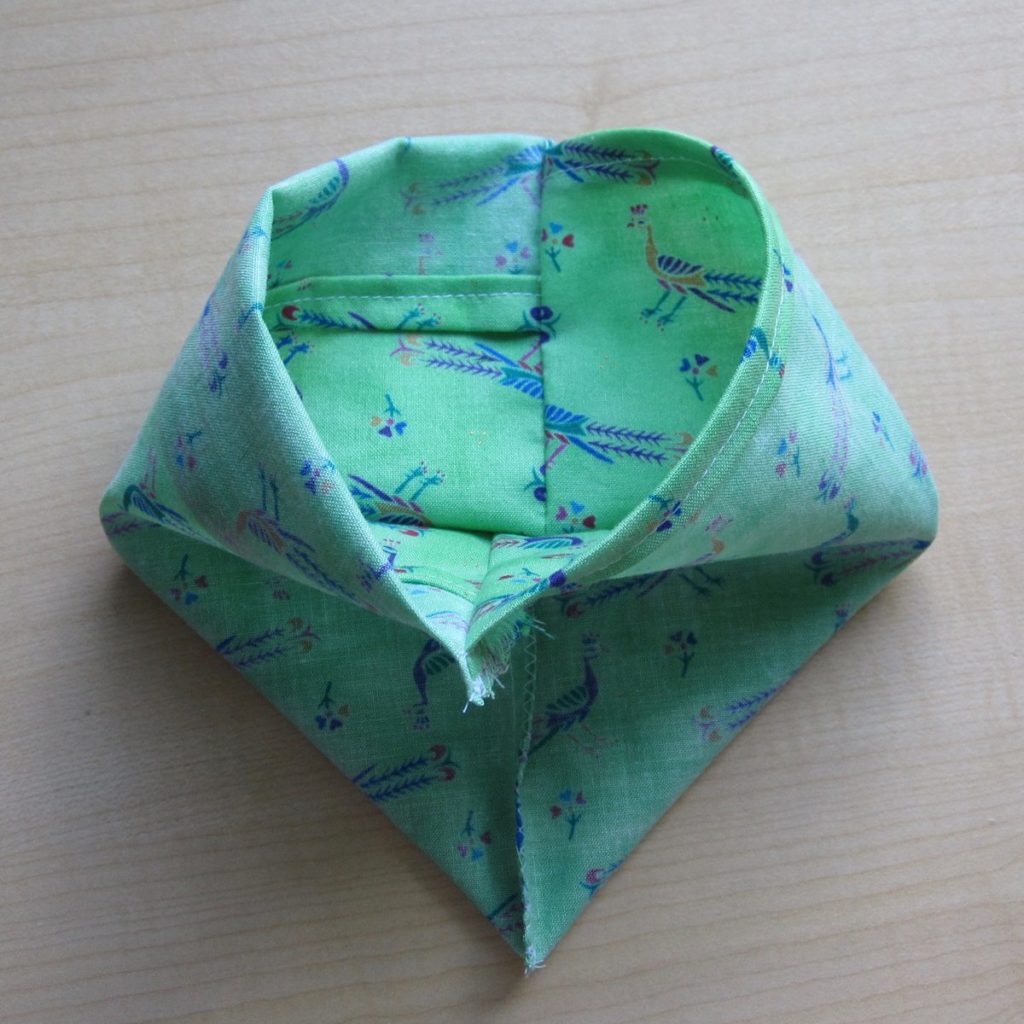
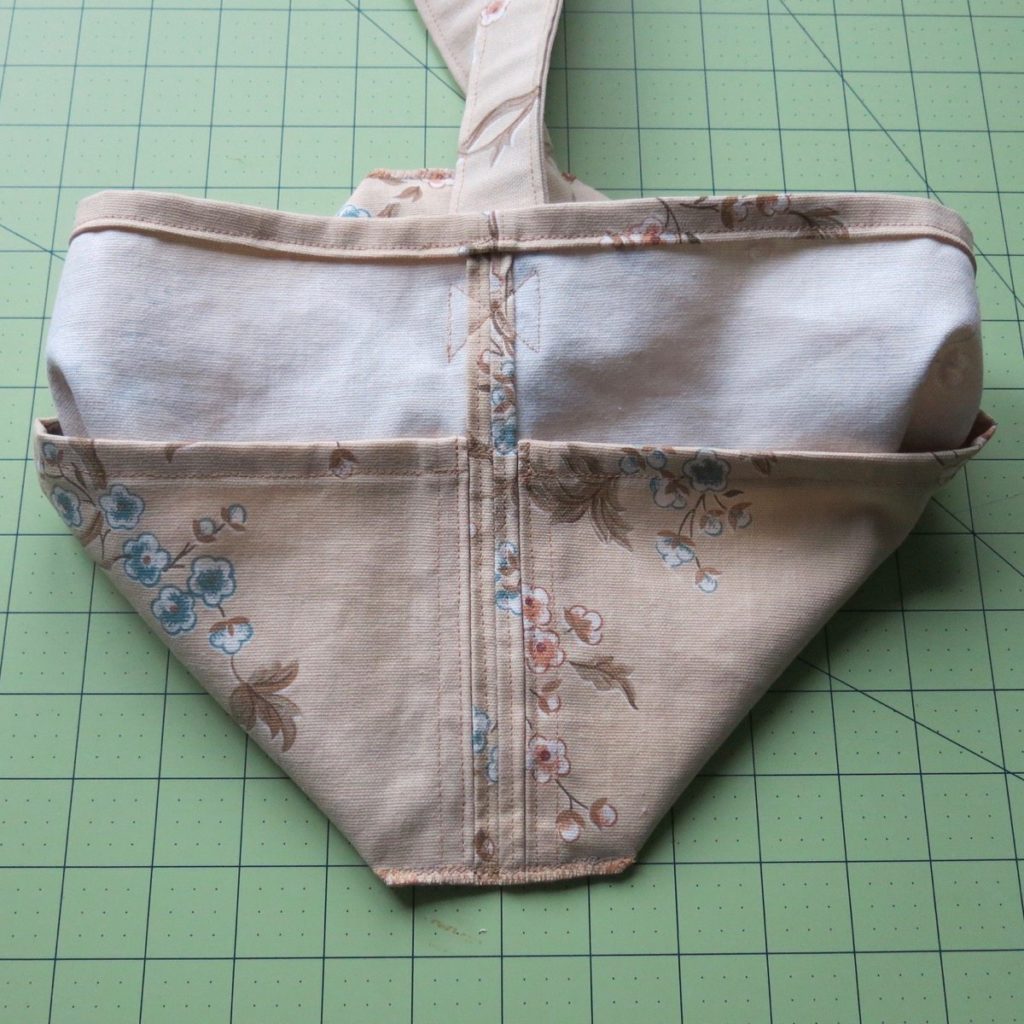
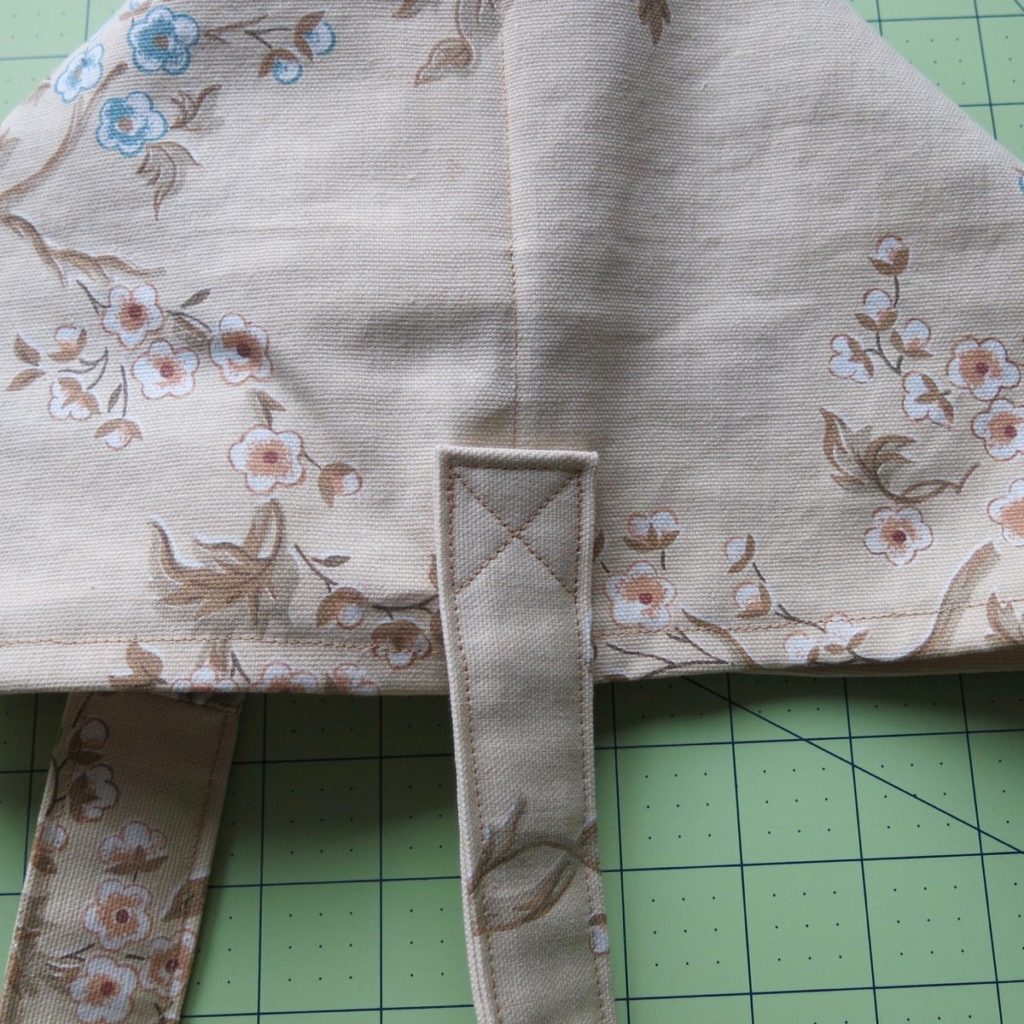
Fold one short edge to the right side by 1.75″ to form the flap. Bring the opposite short edge up on top of it, almost to the flap fold line. Sew the sides at 1/4″ and then zigzag the edges to prevent fraying.

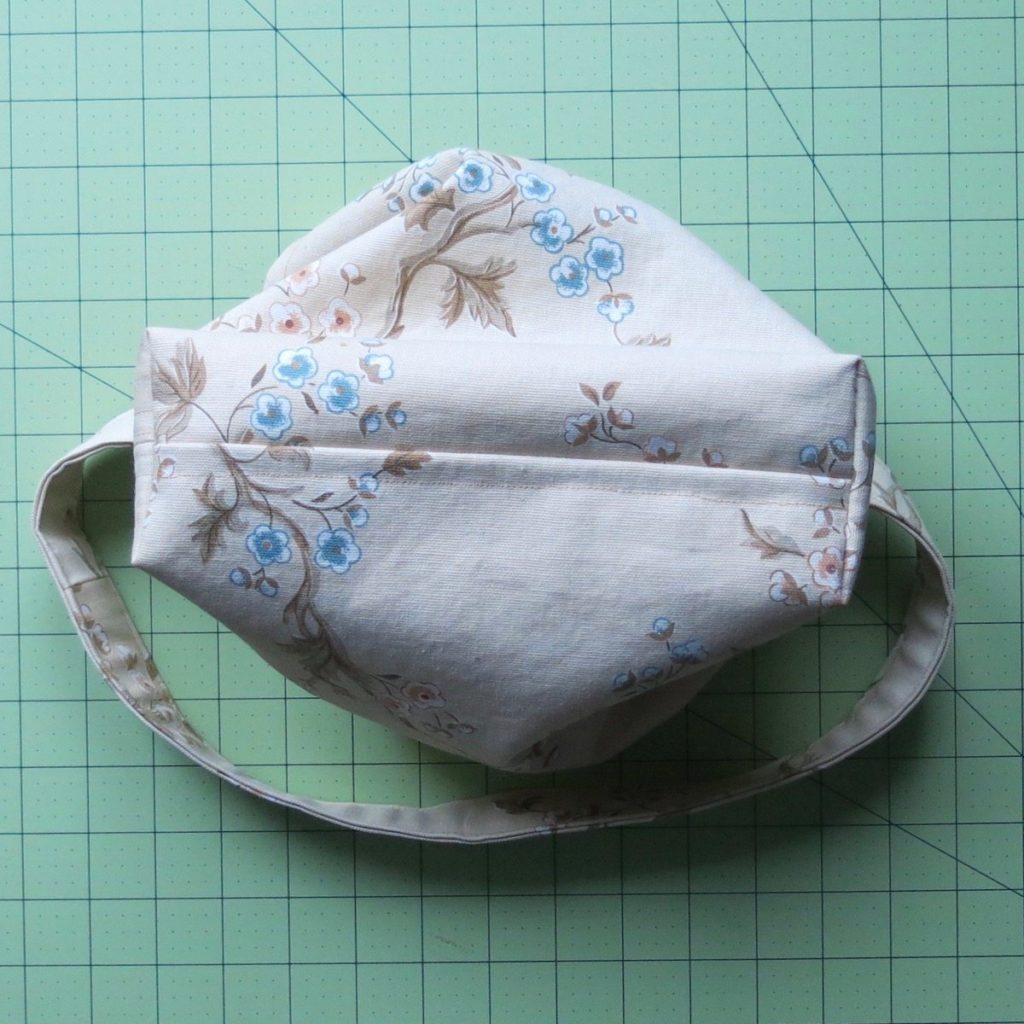
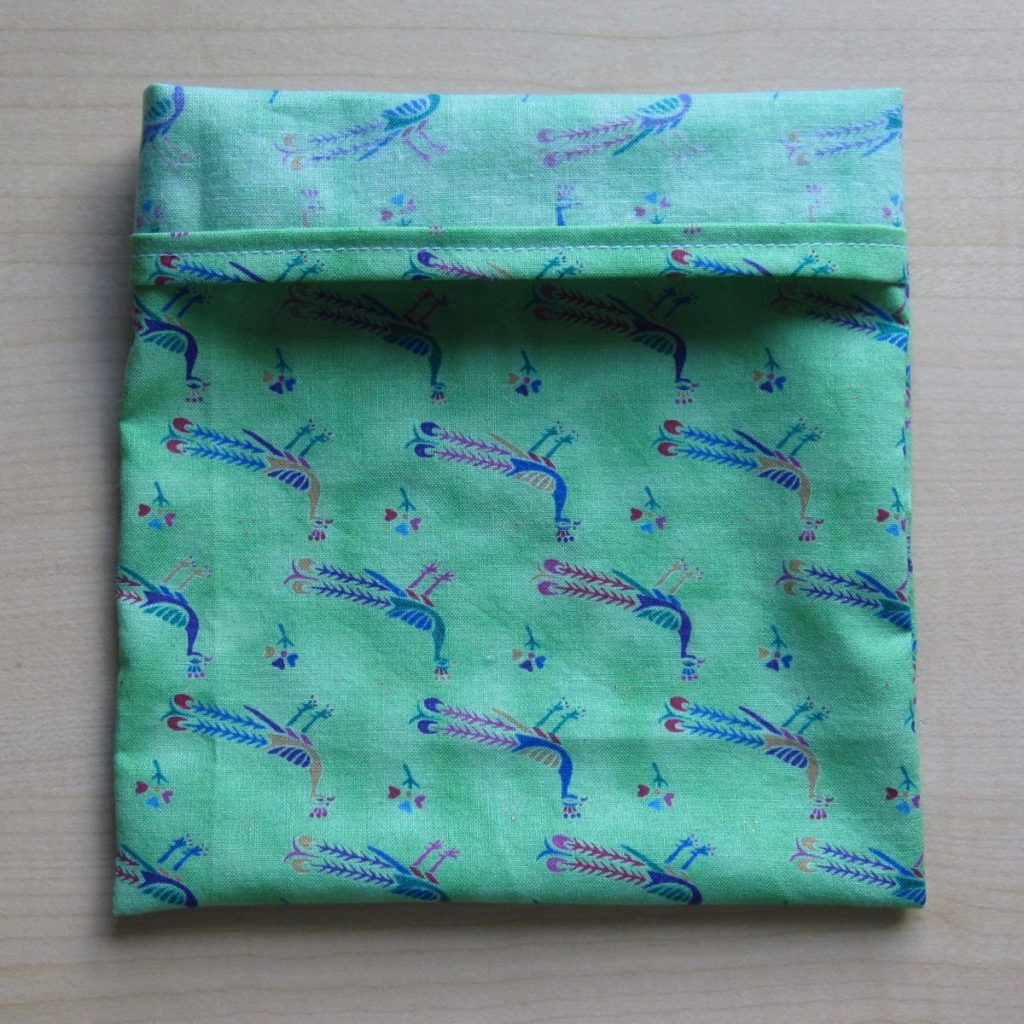
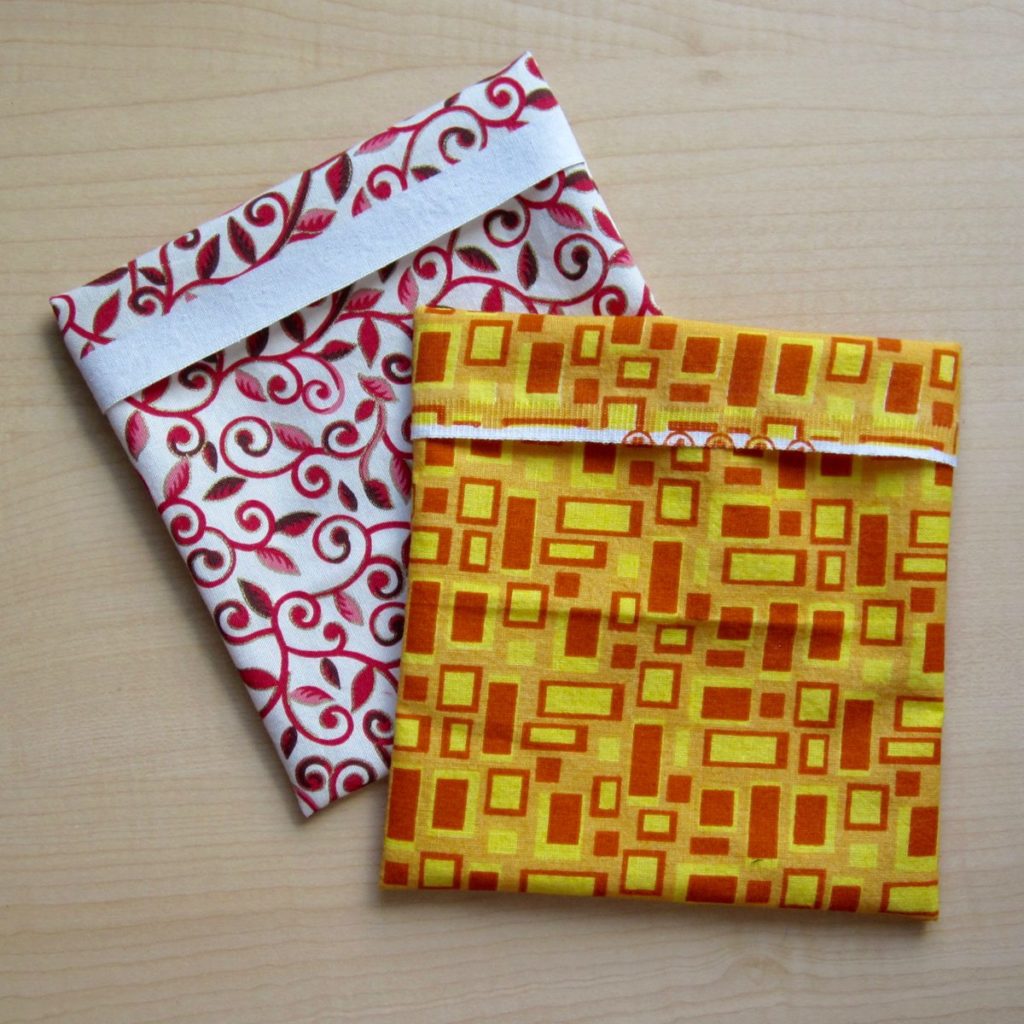
Turn the finished bag right side out and push out the corners. Fold the flap over so only the right side of the fabric shows. Done!

bag partially turned right-side-out bag turned fully right-side-out

Baggie Modifications

two bags with the selvedge showing

If you cut the rectangle with one short edge on a selvedge, you don’t need to fold it down, and your rectangle only needs to be 15.5″ instead of 16.25″. You can choose whether to have the selvedge inside the flap or at the end of the flap – it’s an artistic decision.

To make bags of different sizes, here is the formula:

Short side of rectangle: (Finished width of bag) + 1/2″
Long side of rectangle: (Finished height of bag × 2) + (flap width) + 1.5″

If one of your short edges is pre-finished, you can reduce the long side by 3/4″ — the 1.5″ above is two 3/4″ hem allowances.

To be totally clear, for the bag in the construction photos the measurements were:
Short side of rectangle: 6.5″ + 1/2″ = 7″
Long side of rectangle: (6.5″ × 2) + 1.75″ + 1.5″ = 16.25″

There are a couple of things to consider when resizing the bag: you’ll likely want a wider flap for a larger bag but you can’t reduce the flap by as much when making a smaller bag – keep it above 1/2″ wide. Also remember, for a smaller bag especially, that the sewn-down flap makes the opening a little narrower than the body of the bag. I made a small bag like this for a little bamboo eating utensil and sometimes it’s a struggle to get it in and out, though it has plenty of room once it’s inside.

The only key piece of construction is to remember the flap is on the inside when you’re sewing. Enjoy!

New Tote

Ever since downsizing my purse to a wristlet in July I’ve intended to sew a tote-style purse it would fit inside for when I need to carry a bit more – for travel or shopping, say. I finally got around to that on Friday.

view of tote bag outside

I have measurements and instructions should you want to make one like it (as well as for my own reference later). I’ve used it once so far and am quite pleased.

Mine is made from what feels like a very lightweight canvas-type fabric. It was a scrounge from the Sew-op so I don’t actually know what it is, but a lightweight home dec option would be fine. I didn’t line or interface it at all.

Outer piece: 11″ x 25″, short sides parallel to selvedge. Sew short sides together at 1/2″ to make a wide tube. Press seam allowance open and its raw edges under; stitch down. Press top edge down by 1/2″ twice to hem and stitch down.

Inner piece: 8″ x 24.5″, short sides parallel to selvedge. Zigzag short sides and fold last 1/2″ to wrong side; press and stitch down near zigzagged edge. Press top edge down by 1/2″ twice to hem and stitch down.

interior view of tote bag side seam
Place inner piece wrong sides together with outer piece, raw bottom edges aligned. At seam, folds of inner piece ends should abut folded edge of seam allowance of outer piece, as pictured. Stitch inner to outer at inner’s ends and halfway around tube. I sewed the latter seam all the way to the top of the bag instead of stopping at the top of the inner layer.

To make base of bag, flatten so seam is at one end and opposite attachment between inner and outer layers is at opposite end. Stitch all four layers together at 1/2″; no need to go all the way to the outside ends. Trim two layers (outer and inner on same side) to 1/4″ and zigzag raw edge of remaining two layers. Press all seam allowances to one side so zigzagged layers cover trimmed layers; stitch down close to zigzagged edge.

view of tote bag bottom from outside view of tote bag bottom from inside

Shape bag by darting base corners: reflatten bag so bottom corner is the point of a triangle and side seam aligns with bottom seam (second picture above has this configuration). Mark a 3″-long line from fold to fold perpendicular to and centered on base/side seam; it will be 1.5″ up the seam from where the base and side seams intersect. Stitch base and side together along that line and trim to less than 1/4″; zigzag raw edge.

My strap length was dictated by my fabric width; my strap piece was 3.5″ x 55.25″. That turned out to be exactly right to make a strap which allows me to clasp the bag with my elbow when it is on my shoulder. Anything 54″ to 58″ long should work just as well.

view of tote bag strap attachment point Anyway, construction: press long edges to wrong side by 1″. Open out at ends and sew into ring at 1/2″; press seam open and re-press 1″ folds. Turn so folded ends face each other and flatten into one long strip with a fold at each end. I put the seam from joining the ends 1/4 up from one fold so it would neither produce a lump to sew through when attaching the strap nor a potentially uncomfortable pressure spot on my shoulder (it is visible in the photo showing the bag’s outside bottom view). Press doubled strip and pin layers together; topstitch all the way around 1/8″ from edge (you will be sewing through 4 layers along the long sides and 6 in the center of each end).

Pin strap to bag so ends of strap are 2″ down from top of bag and straps are centered on sides of bag. Stitch a bow tie shape to join: down along topstitching, across and up at a 45-degree angle, repeat.

Crochet stitch sampler washrag

I’m teaching a crochet refresher class on Wednesday, and for it I designed a simple pattern that would allow us to practice the basic stitches without taking forever but while still making something. I thought I’d share the pattern in case you’re helping someone with crochet, or are just a fan of this type of pattern. It starts with a block made in the round so you don’t have to fiddle with a starting chain until you’re back in the rhythm a bit.

finished washrag sampler

Stitch Sampler Washrag Pattern

Use cotton worsted weight yarn and an H or larger hook (5mm).

washrag sampler square 1: rounds

Square 1: rounds (make 2)

1. Ch 6 and sl st to form a ring.
2. Ch 1. Sc 12 into ring; sl st to 1st sc made (12 sts).
3. Ch 2. Hdc in same st as sl st. *Hdc 3 in next st, hdc, hdc* three times. Hdc 3 in next st, hdc, sl st to 1st hdc made (20 sts).
4. Ch 3. Dc in next st. *Dc 5 in next st, dc in each of next 4 sts* three times. Dc 5 in next st, dc, dc, sl st to top of ch-3 (36 sts).
Cut yarn, leaving a nice long tail to sew with, and pull cut end through last stitch. Weave in the starting tail.

washrag sampler square 2: rows

Square 2: rows (make 2)

1. Ch 11. Starting in 2nd ch from hk, sc across (10 sts).
2. Ch 1, turn. Sc across (10 sts).
3. Ch 3, turn. Dc in next st. Ch 2 and sk 2 sts; dc in next 2 sts. Ch 2 and sk 2 sts; dc in last 2 sts (6 dc and 2 ch-2 sps).
4. Ch 1, turn. Sc in first 2 sts; sc 2 around ch. Sc in next 2 sts; sc 2 around ch. Sc in last 2 sts (10 sts).
5. Ch 1, turn. Sc across (10 sts).
6-8. Repeat rows 3-5.
Cut yarn, leaving a tail to sew with, and pull cut end through last stitch. Weave in the starting tail.

Sewing

Use the long tails to sew the squares together. To line them up, set each rows square with its last row/sewing tail at the top. Place a rounds square above each rows square with its tail off to the left. Match the near edges of the vertical pairs, placing the squares back to back with those edges up, and use the tail to whipstitch them together, stitch to stitch. Sew in the remaining tail afterward.

Next line up the two pairs so the squares make a checkerboard and the remaining sewing tails are on the edges to be joined. With each tail, stitch straight through one square edge to get to the outer end of the seam and whipstitch back to the center; secure the end. Before securing the second end you may wish to open out the full washrag and sew up any gap in the center.

Bordering

You can make a simple but sturdy border for the washrag with single crochet. Tie a slip knot and place it on your hook, and then insert your hook into a stitch on the edge of the washrag and make a slip stitch. Chain 1 and sc around; where you have stitches or leftover starting chain strands this will be straightforward, but on the sides of rows you’ll want 1 stitch per single crochet row and 2 per double crochet row. Just do it by eye. Stitch through the stitches or completely around the end stitch of the row as desired. Put 3 sc into the same stitch to turn a corner. I would make 2 rounds, and of course the second will be easier because there’s no figuring out where to put stitches. Don’t forget your 3 sc to turn corners!