Spring cleaning

Up here in northern New England, spring doesn’t really make its appearance until late April. That means I am not inspired to do spring cleaning until then, but hey, at least it happens eventually (← lying).

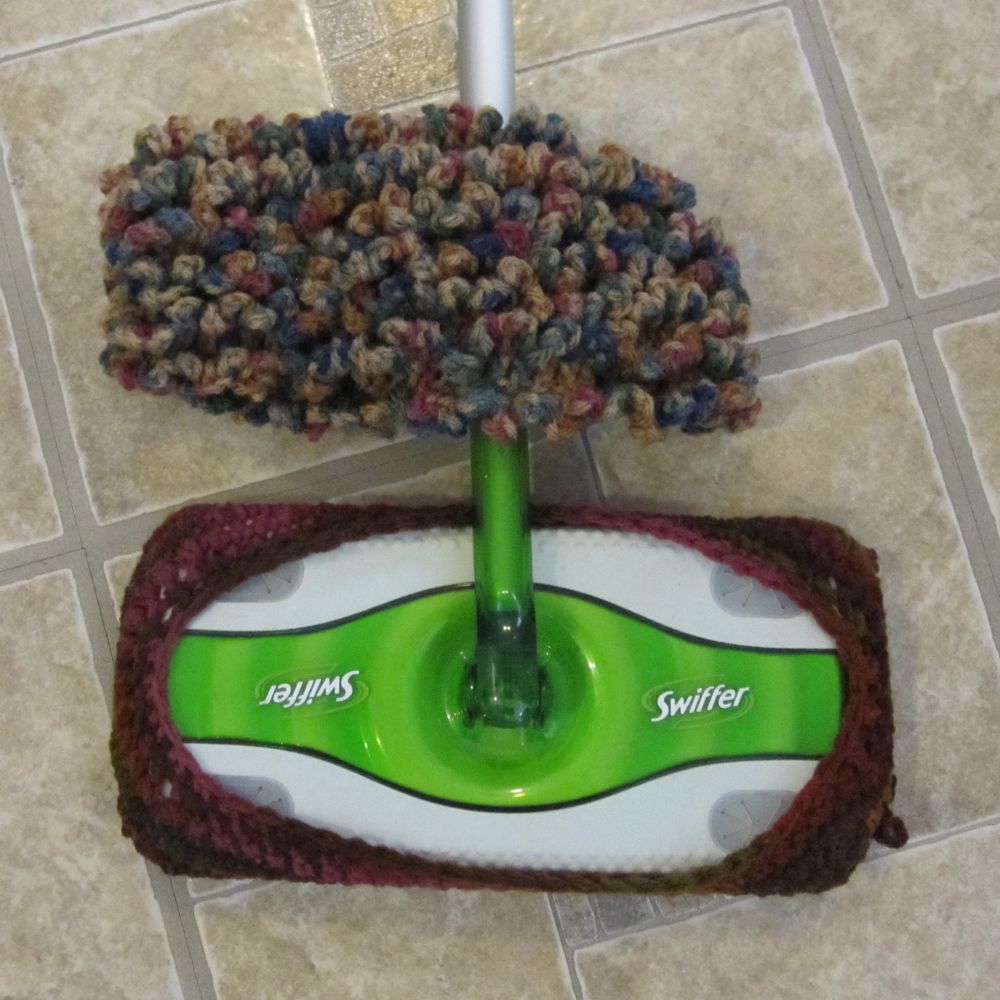
This year spring cleaning involved crochet. One of the earliest crochet patterns I downloaded was CRAFT magazine’s reversible Swiffer sock, by Linda Permann. I love the maneuverability of the Swiffer and its ability to get under furniture, but every time I throw out one of the covers I feel like I’m telling the Earth “today, I hate you a little.”

That’s overly dramatic, but I was happy to find a replacement. It cuts the maneuverability down a bit because of its thickness, but works surprisingly well for dusting.


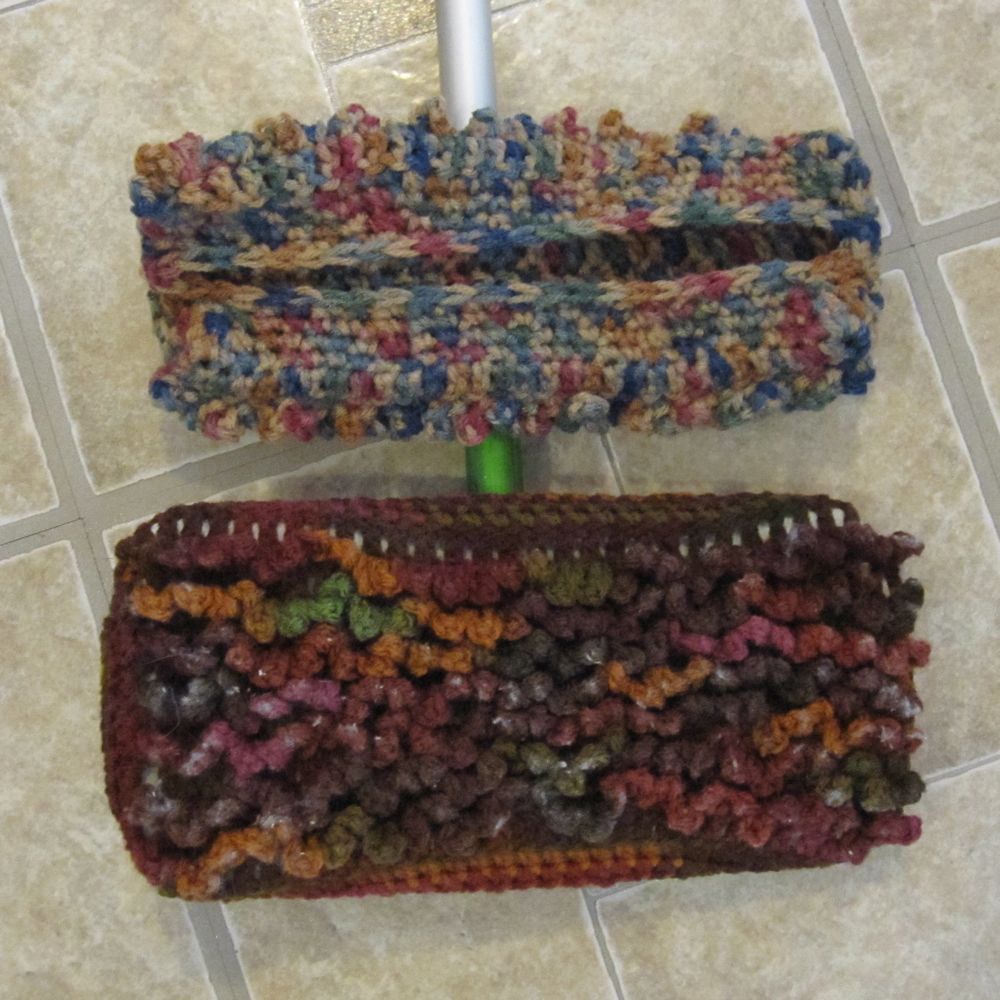
Say hello to my kitchen floor.

The darker one is my first effort. It fits, but is very snug. The Ravelry page for this pattern tells me newer Swiffers are larger than older one, though I think the problem is more likely the fact that I crochet tightly. You can see I’ve already used it; I’m pleased to report it works very well. Both yarns are Red Heart Scratchy Super Saver Special, and I’m pretty sure the bottom color is Cherry Cola. The skein bands are long gone and I have no memory of the top color name. Incidentally, I have no idea why acrylic yarns of the same brand and line vary so much in texture. I have Red Heart Super Saver that’s quite nice to the touch, and other acrylics like Red Heart’s TLC Essentials line also run the gamut.

The pattern is easy, although slip stitching the end of a chain in splitty yarn is obnoxious. It didn’t take much brain, so I was able to do it while on the phone or listening to talk radio.

For my second sock, I switched from an H to an I hook. I haven’t tried it on the Swiffer yet, but it can’t help but fit better.

Finally, while trying to get a picture of the Swiffer in situ (i.e., hanging on the landing of my basement stairs), I knocked over my broom for the last time. I have two brooms now, as I realized my older one had been used outside so much it was no longer very good for indoor use. While the old one has a braided yarn loop for a hanger, the new one had nothing, and its built-in hole wouldn’t go on my hook (at least not easily). Yet a third color of Super Saver came out of the bag.

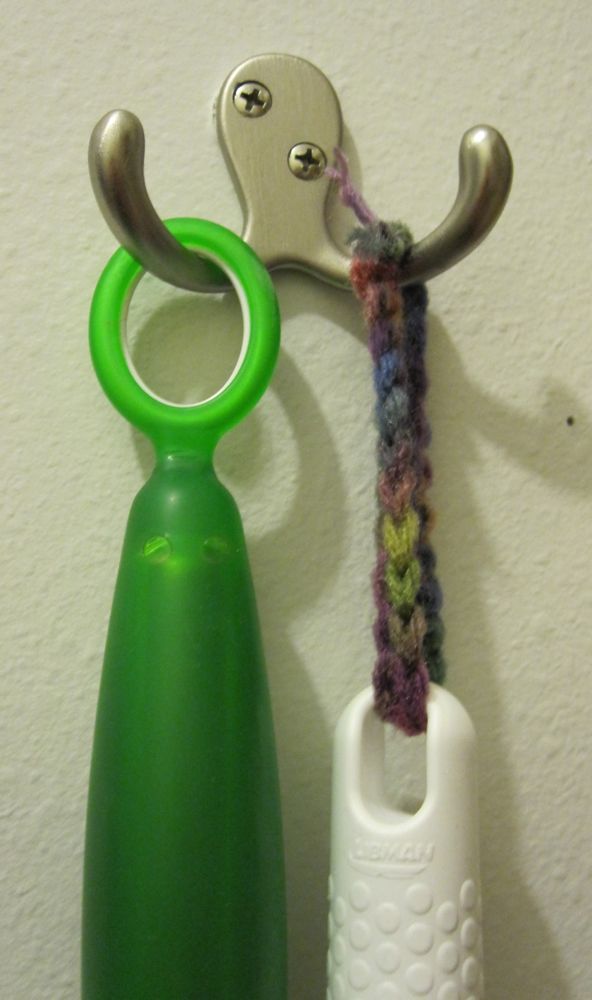
Instructions: ch 25. Pass ch through hole in broom handle and sl st in first ch to join. Sc around, including in sl st, and sl st in first sc; cut yarn, pull end through sl st, and tie ends of yarn together in a square knot. Trim.

Clearly, you don’t need to chain 25 stitches to get an adequately long loop. It looks like 15 would be ample.

Bonus Post: Iron Craft Challenge #17

I wanted to make Lion’s “Two Peas in a Pod” amigurumi (registration required to see pattern) as soon as I saw it, but when does someone who’s not planning a wedding or bridal shower have a reason to make an explicitly wedding-themed project? Well, as it turns out, when Iron Craft takes the British royal wedding as its inspiration and sets weddings as the theme of the week. Until I remembered this pattern I wasn’t going to participate, since I have a number of wedding gifts to make but they are either already in progress or items I can’t complete in a week.

I added some silver to the mix, in the form of a hatband and trim on the bridal veil. Crocheting with metallic floss gets a big thumbs down – the strands would either prefer to have nothing to do with each other, or they catch on each other. However, I am very happy with how it came out! (except perhaps for Mr. Pea’s mouth.)

peas in a pod

peas taking vows
Stumpy got his one-day license for this.

posed picture
Smile for the camera!

silly picture
You always need a silly picture.

I made them grinning and winking because I wanted joy. Long ago I cut a 50th anniversary announcement out of the paper – they had used a wedding picture for the announcement, and happiness shines out of it.

wedding photo 1951

I cut it out as a reminder that unless I feel the way they look, I shouldn’t walk down the aisle. Also, they’re just darn cute.

Manta ray finger puppet

manta ray finger puppet close up
Hi there!

An early crochet effort of mine was trimming Roman Sock’s manta ray pattern down into a finger puppet, because I lack the attention span to do the full project. I have six rows of the full-size version, waiting.

For those of you who wish to follow suit, I believe I used an F-hook, though gauge isn’t important, and acrylic worsted-weight yarn from Jo-Ann’s – nothing fancy.

Working from the original pattern (crochet abbreviations):
gray side has 2 rows of 3 sc for head, and 6 rows with sc inc on each end for wings.
base of tail is 3 sc wide, has a second row of 3 sc and then decreases by omitting turning ch; when you get to 1 sc, ch 7.
sl st from there down the tail and to the tip of the wing, and then from the base of the tail on the opposite side (omitting the ch-7 part) to the opposite wing.

In cream I left out the tail.

manta ray finger puppet pieces

After embroidering the eyes with black embroidery floss, I used pink embroidery floss to whipstitch the two halves together on the inside of the mouth, then wound the floss horizontally around those stitches (in place of Brie’s pink felt, which would never fit in a finger puppet). Then I slip stitched between the side of the mouth and the base of the tail on each side to finish connecting the halves.

manta puppet

manta puppet