My sister wrote to brainstorm remedies for a stale closet, and in that conversation I offered to make some muslin bags for baking soda, dry rice, or scented materials. They are simple but not boring so I wanted to share the instructions.

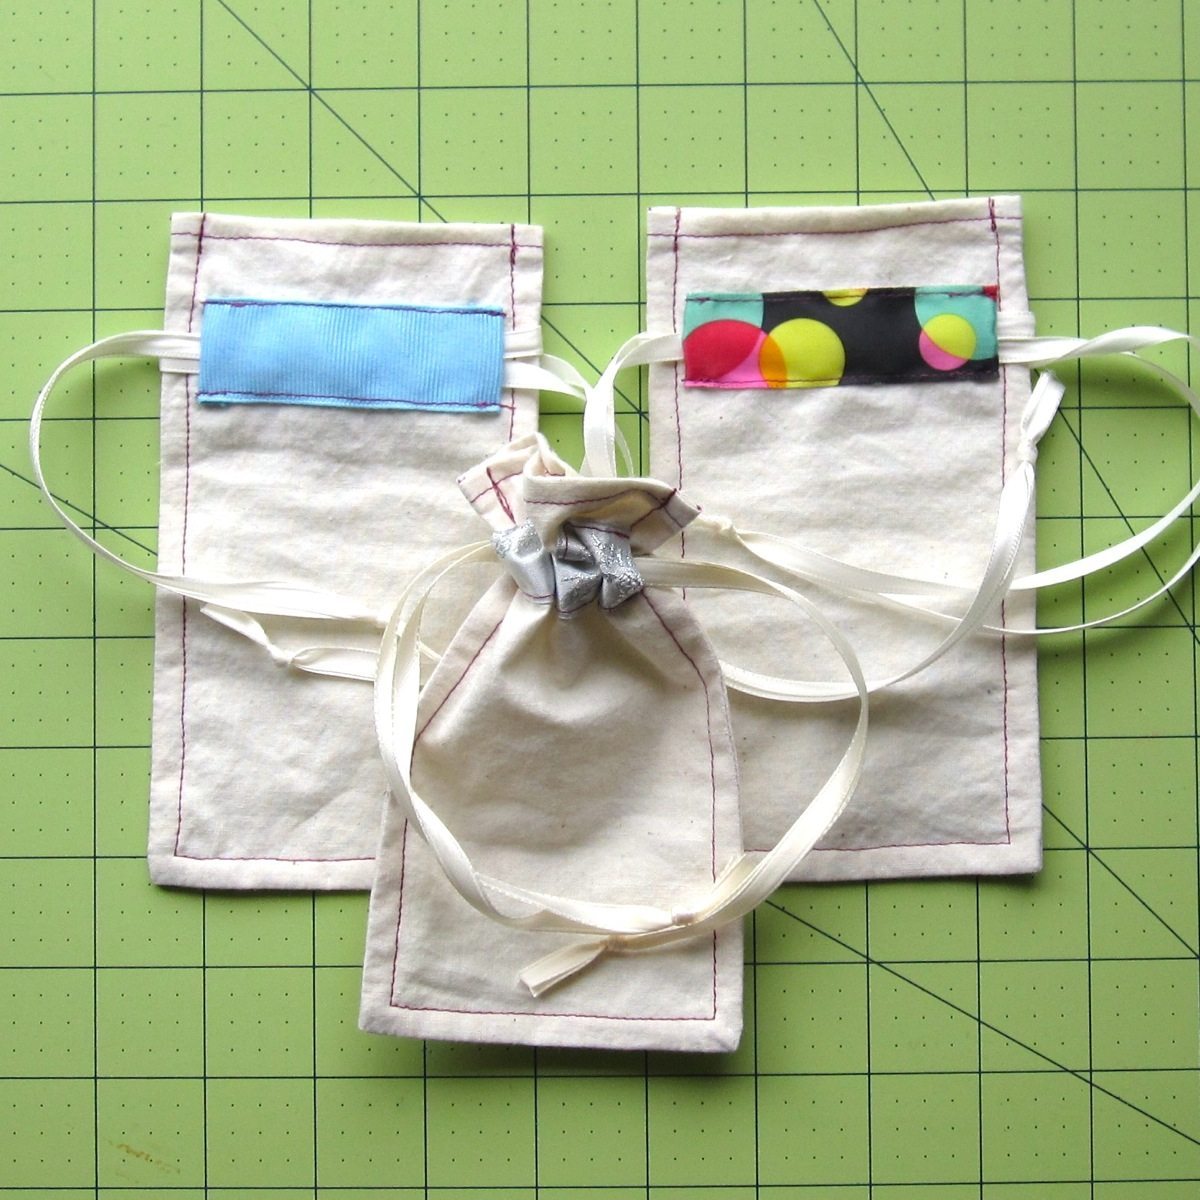
For each bag you’ll need two 4″x7″ pieces of muslin and two 4″ lengths of 3/4″ to 1″ wide ribbon. You’ll also need two matching lengths of narrower ribbon (1/4″ is appropriate) to form the drawstring. This is a matter of taste, but mine ranged from 16″ to 25″ long – the closed bag in the photo is the shortest drawstring.
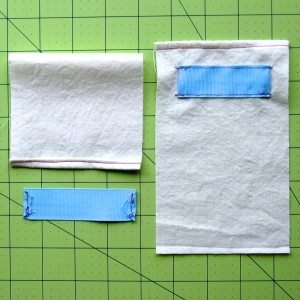
1. Prep the wide ribbons: Fold the ends to the wrong side by 1/4″ and tuck the corners under; sew to secure (doesn’t have to be pretty because it won’t show).
2. Prep the muslin: Fold the top edge to the wrong side by 1/4″ twice; sew to secure.
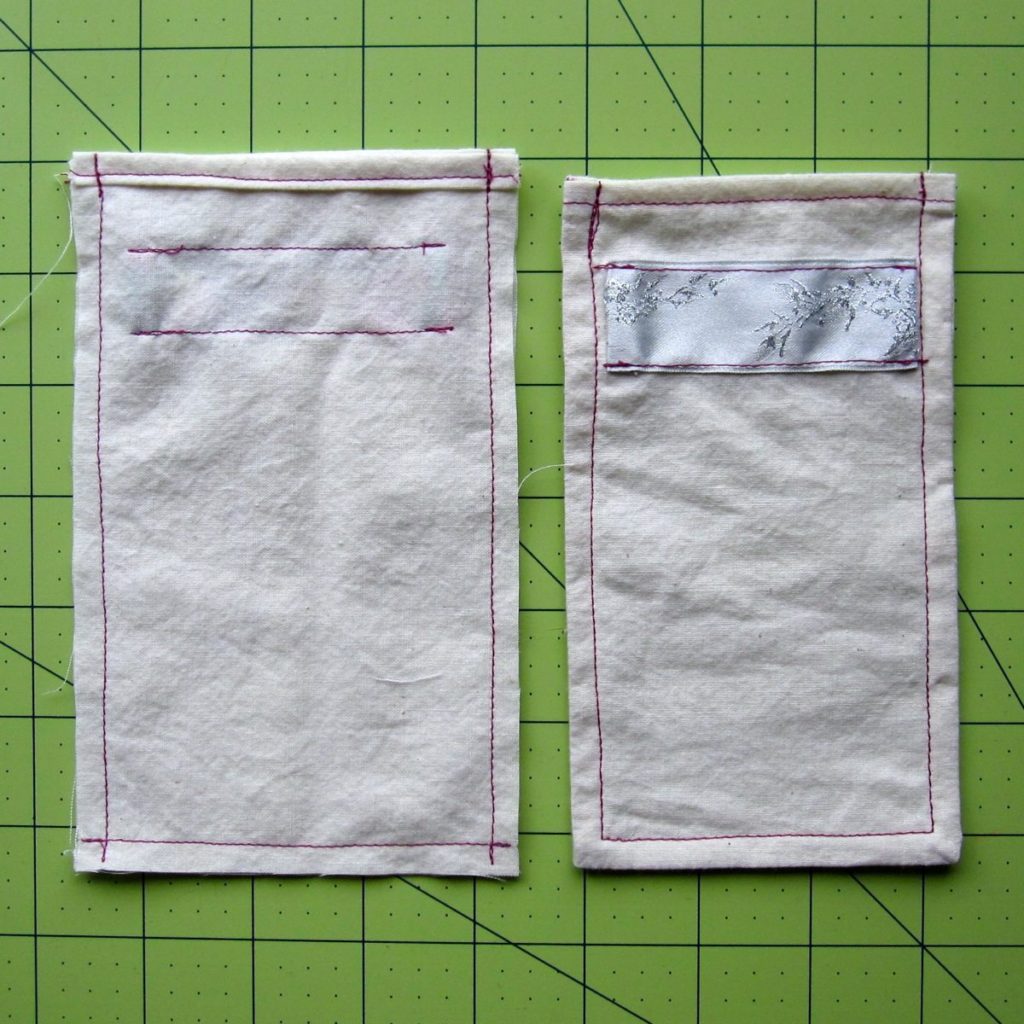
3. Attach the wide ribbons: Fold the ends of the ribbon in once more and place the ribbon on the right side of the muslin, 3/4″ down from the folded edge and centered horizontally – for me this put the ribbon ends just under 5/8″ in from the fabric edge. Sew along the ribbons’ long edges.
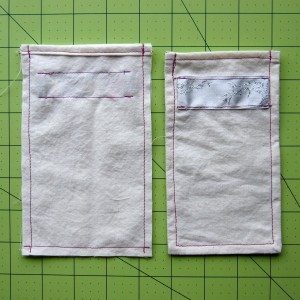
4. Attach the halves: Place the muslin right sides together and sew at 1/4″ along the three raw edges. Turn (I have some advice below).
5. Make an “inside-out French seam”: Sew again at 1/4″ along the sides and bottom of the bag. Be sure to avoid catching the ends of the wide ribbons in your stitching! This is for looks, but also to help prevent baking soda or other finer materials from sneaking out through the seam, between the two pieces of fabric.
6. Make the drawstring: Thread one narrow ribbon through both wide ribbons, so that its ends emerge on the same side of the bag; tie an overhand knot to join the ends. Thread the other narrow ribbon likewise, but so its ends emerge on the opposite side.
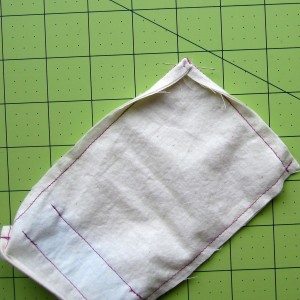
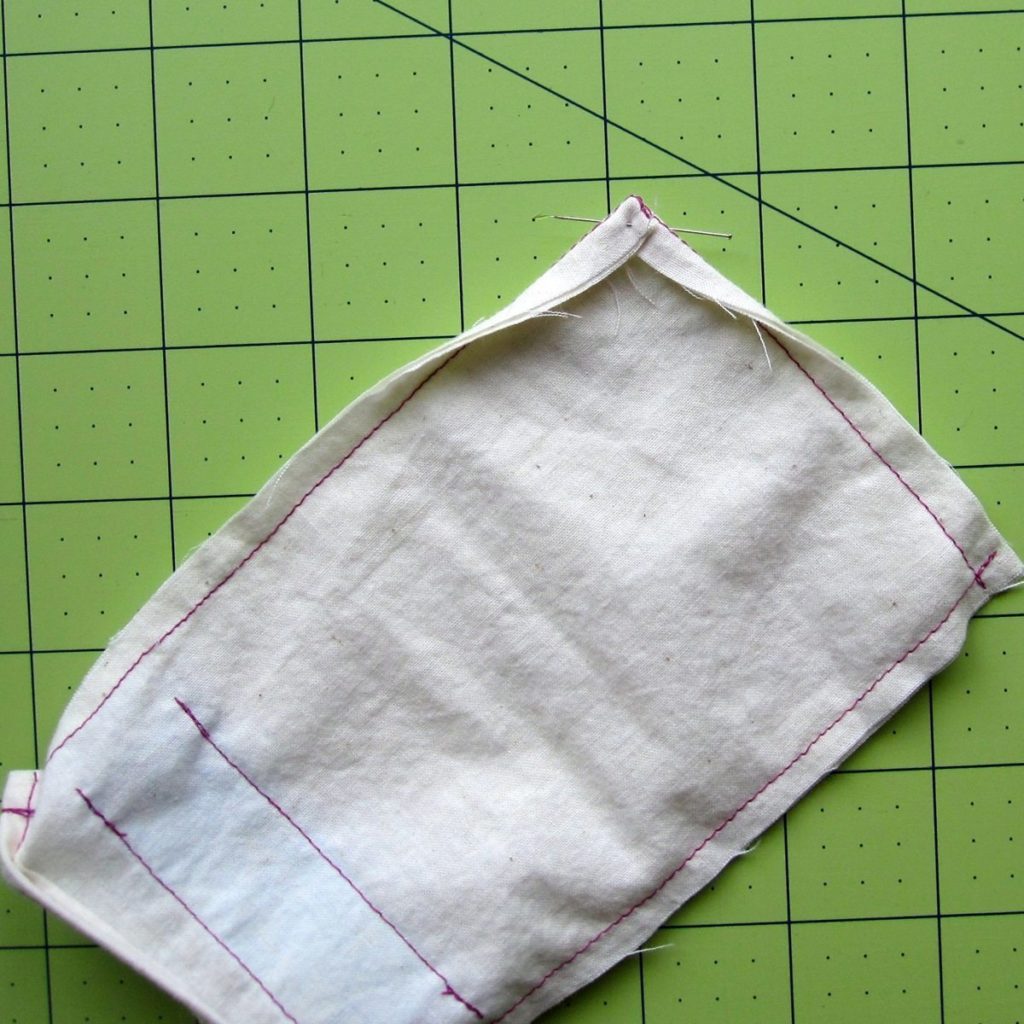
Advice on clean corners when you turn the bag at the end of step 4: I tend to clip my corners when I am going to turn boxy shapes, but I worried that it would defeat the purpose of the double seam a bit, so I used a method I read about ages ago.
Fold the seam allowances to the same side, as shown in the photo, and pinch them in place – finger up at the corner between the bag layers, thumb on the seam allowances (probably folding the top bag layer down to reach). Rotate the corner outward. If all goes well you should even find the extra bulk helps push the corner out cleanly without much effort from you.
Put a pin through the first corner while doing the second one, for safekeeping. I found this easiest to do when the bag was mostly turned, and I had just pulled the relevant corner up a bit.
For the record, my thoughts on stale closets are: baking soda before any scented things, to remove bad smells without also removing good ones; dry rice if moisture might be part of the problem; and then whatever scented things you might like, perhaps still mixed in with rice. The Upper Valley Co-op actually had rosebuds available in their bulk spices, which was pretty nifty, and after smelling a whole lot of jars I also picked out cinnamon chips (not the chocolate-chip-style things, but cinnamon bark in smaller pieces), whole cloves, lavender, and spearmint. I would also consider whole allspice, dried citrus peel (in wide strips, not little grinds), and maybe whole nutmeg broken apart with a hammer. If you wanted to go really simple, Yogi brand tea comes in some strongly-scented flavors — you could just hang some teabags up!