The magic chain stitch in embroidery is structured like the standard chain stitch, but the links alternate colors. To make it, you load your needle with the full number of strands of each of two colors, and then when catching the thread for each loop you catch only one color at a time. It has a high fanciness-to-difficulty ratio.
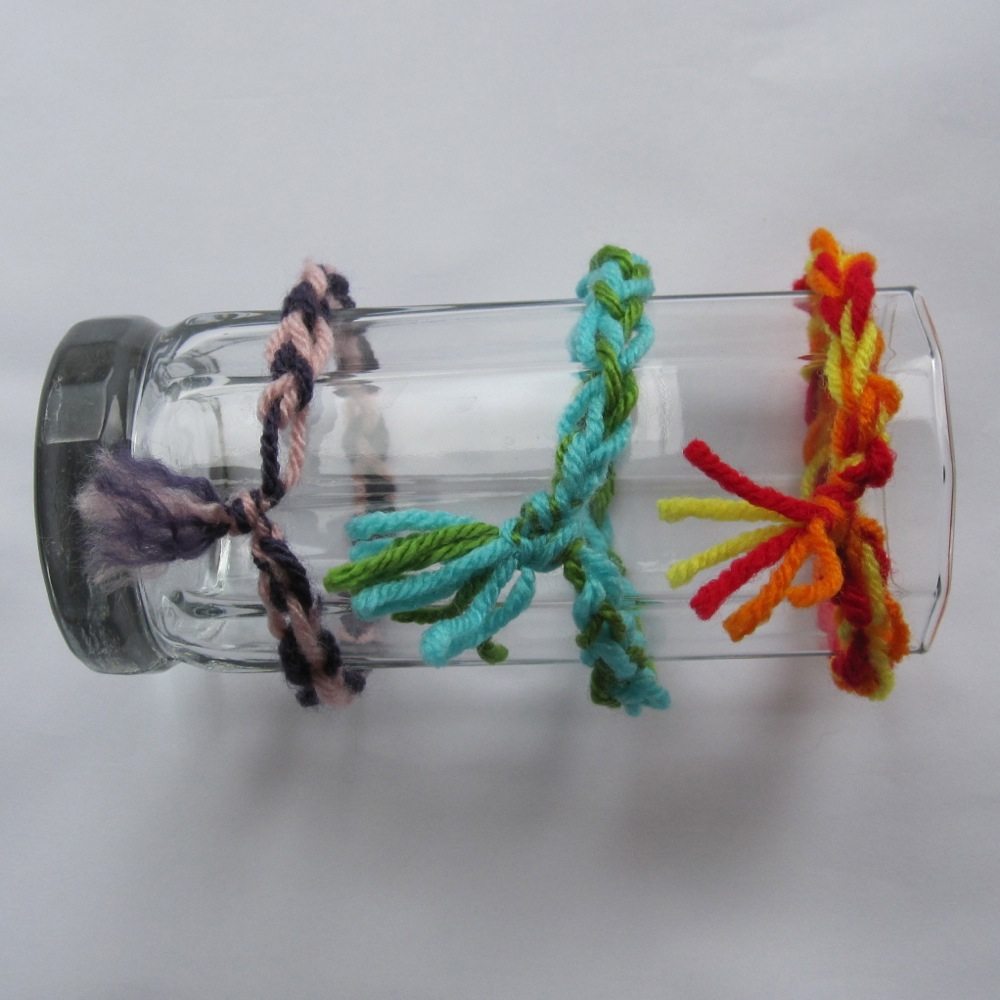
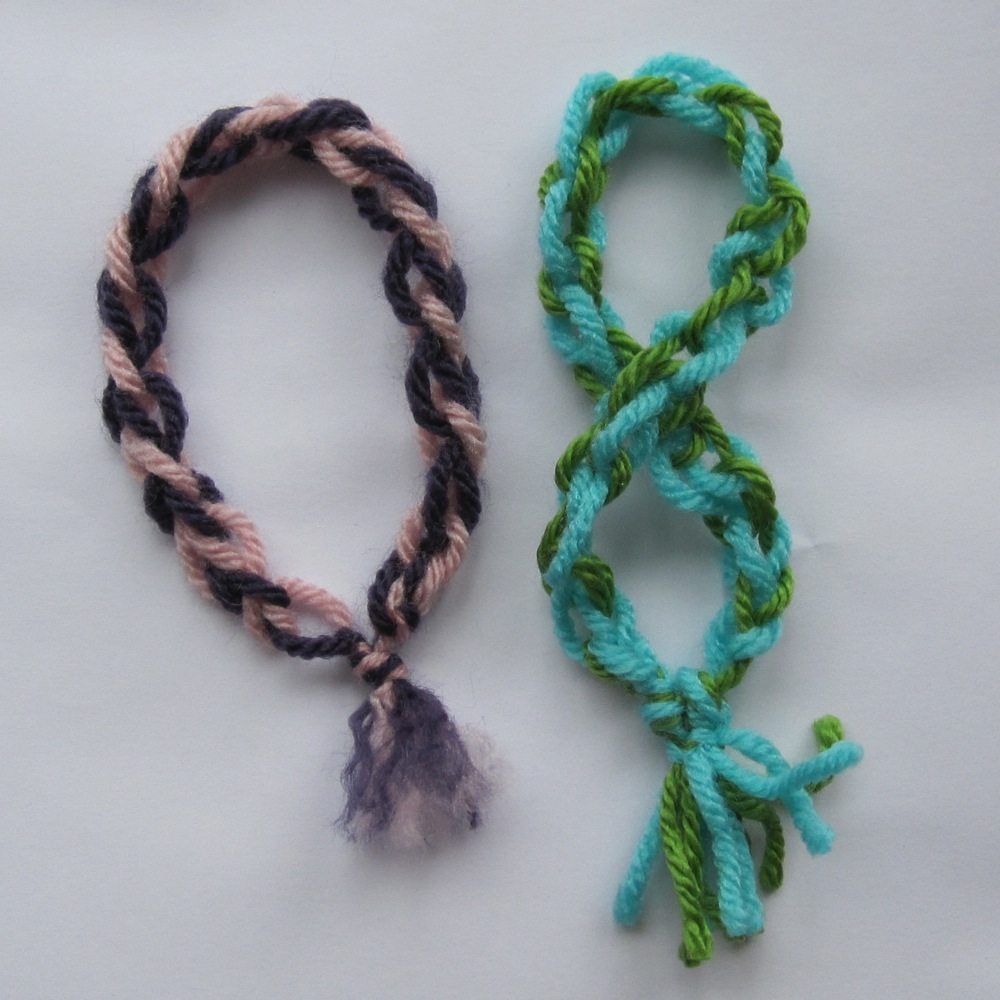
I’m sure I’m not the first to adapt the magic chain stitch to crochet chains. Make a slip knot with two strands, and then chain alternately with each color. It will probably end up looser than your usual chain; the samples below were both made with an H hook (5 mm). It looks pretty neat:
After chaining the last link, bring the opposite color through it and tie the strands together in an overhand knot (or just tie the beginning and end together all at once).
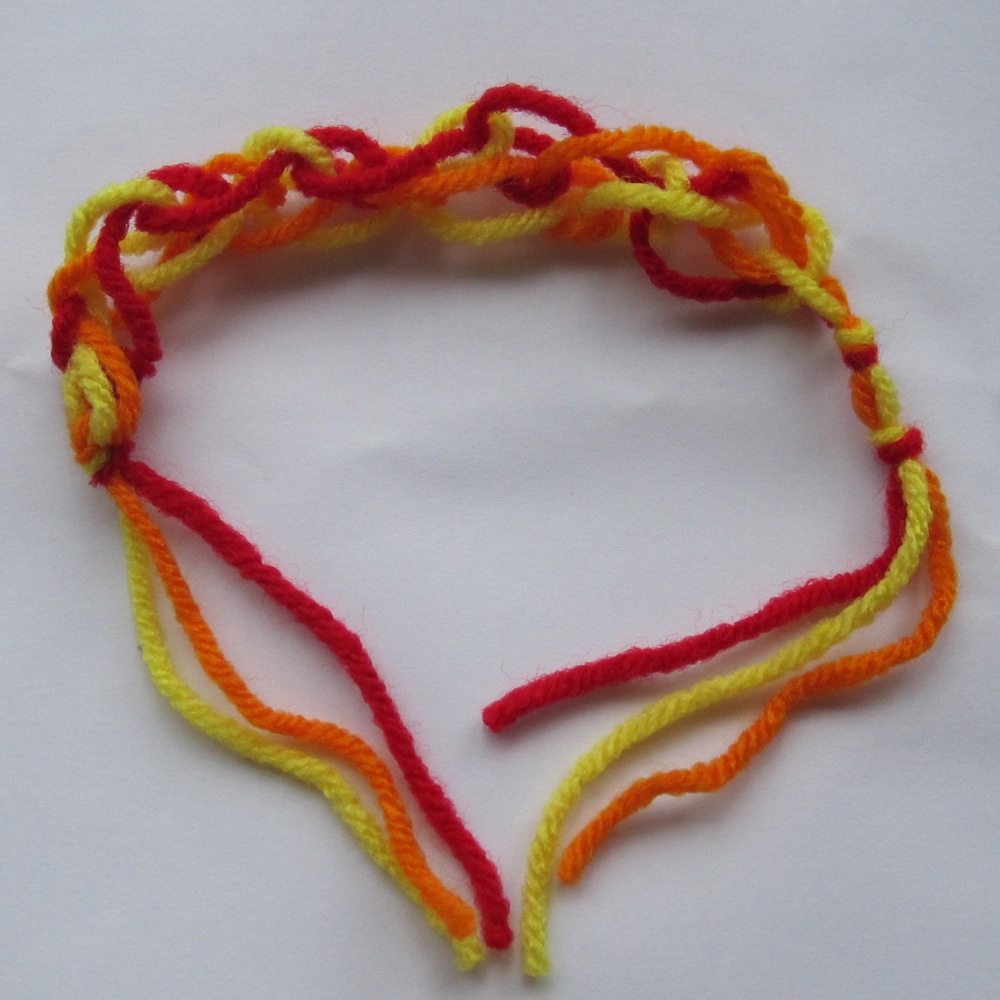
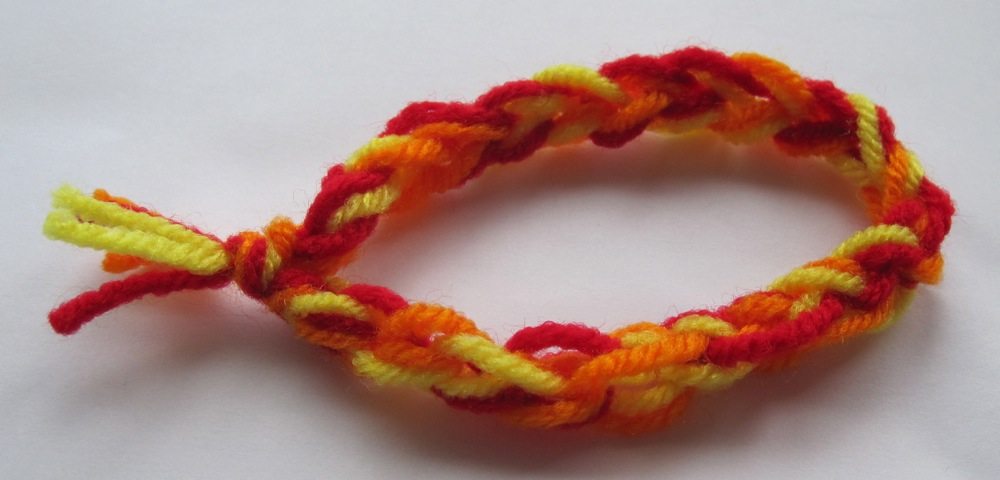
I tried it with three colors, rotating among them, but a loose strand stretching across two links was too messy. Instead, I bounced up to a K hook (6.5 mm) and used two strands at a time, rotating which was left out. That worked better, but I think I prefer the two color version.
You’ll notice I have three different-looking tassels. The red-orange-yellow one is just the yarn ends tied together. For the green-blue one, I cut two additional strands of each color and tied them on after tying the ends together, to fatten up the tassel. The pink-purple tassel was combed out with a large pin and then trimmed.
These would make great lanyards, or a summer project to introduce kids to crochet!
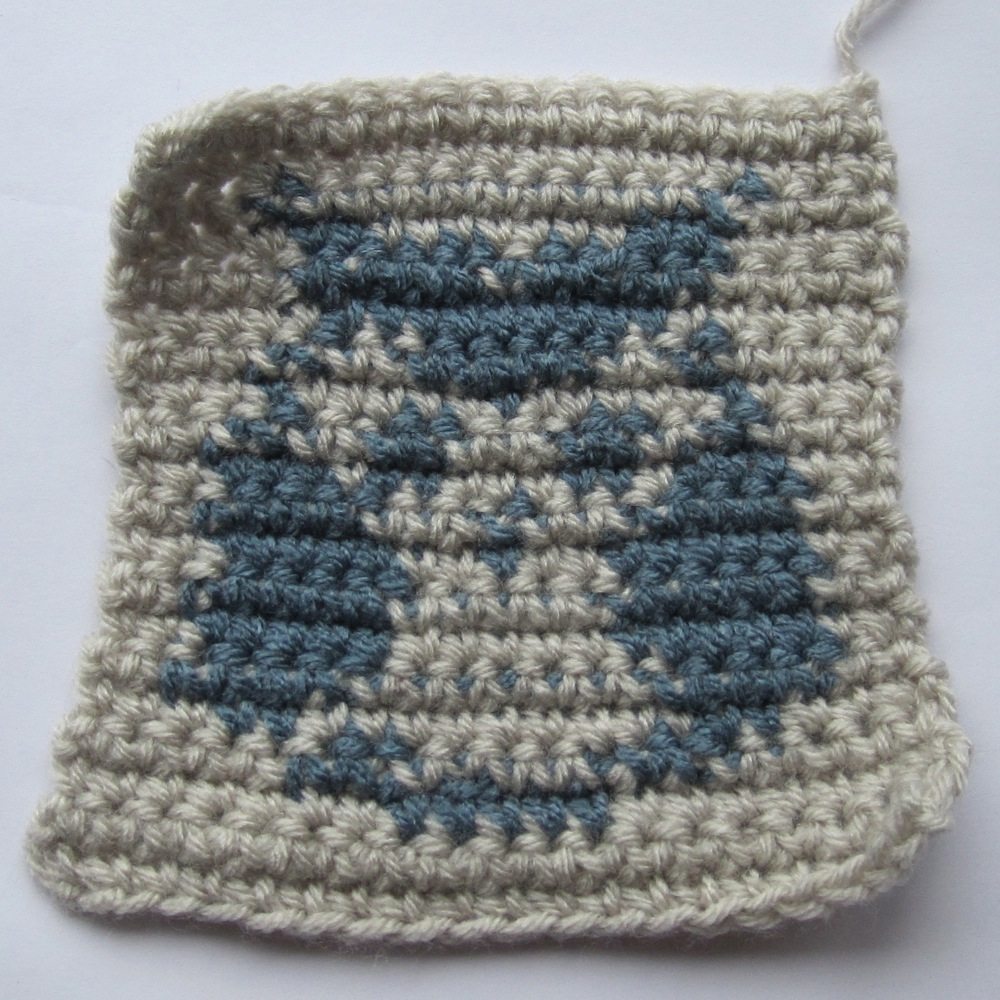
In part 2 of beginning crochet, I teach basic color work. I don’t do a lot of color work, and when I do it’s typically in a case where the unused color can hang out loose behind the work, so it’s based on less experience than pretty much the entire remainder of the course. I was practicing before the most recent iteration, and made the following from a cross-stitch pattern:
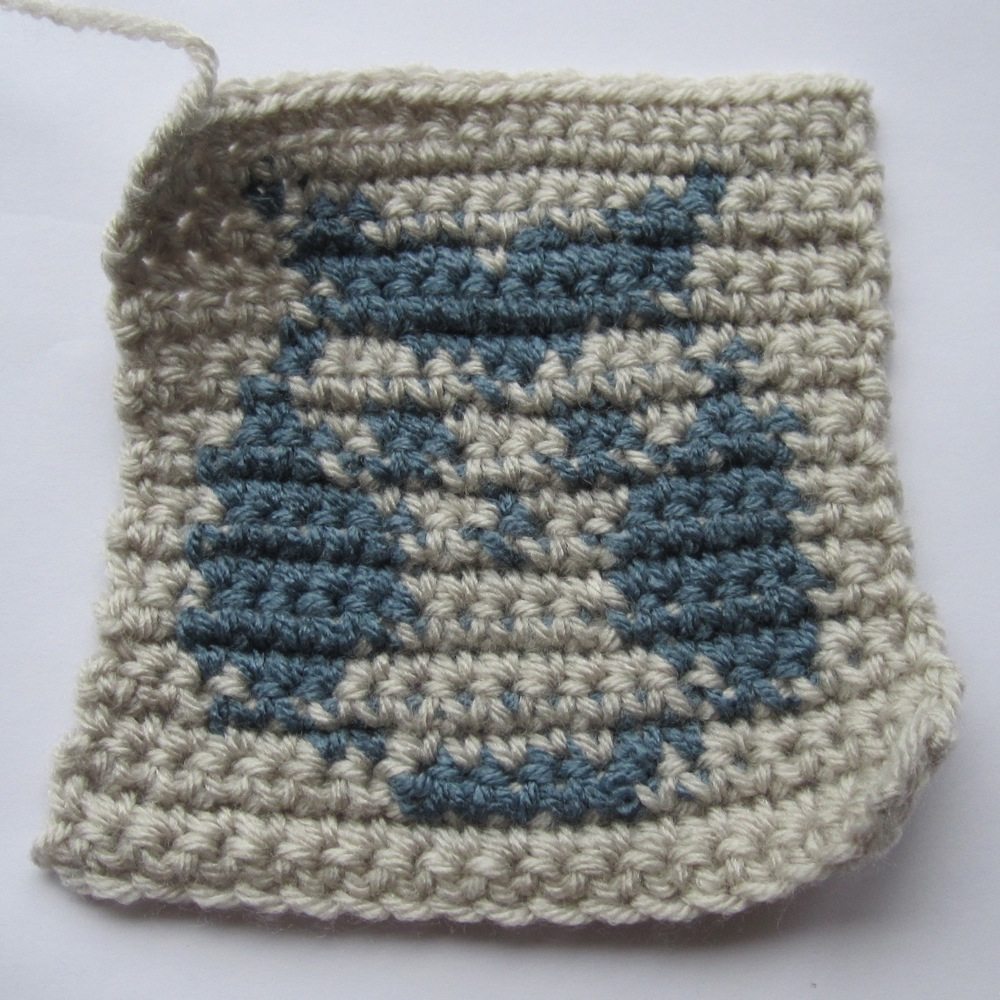
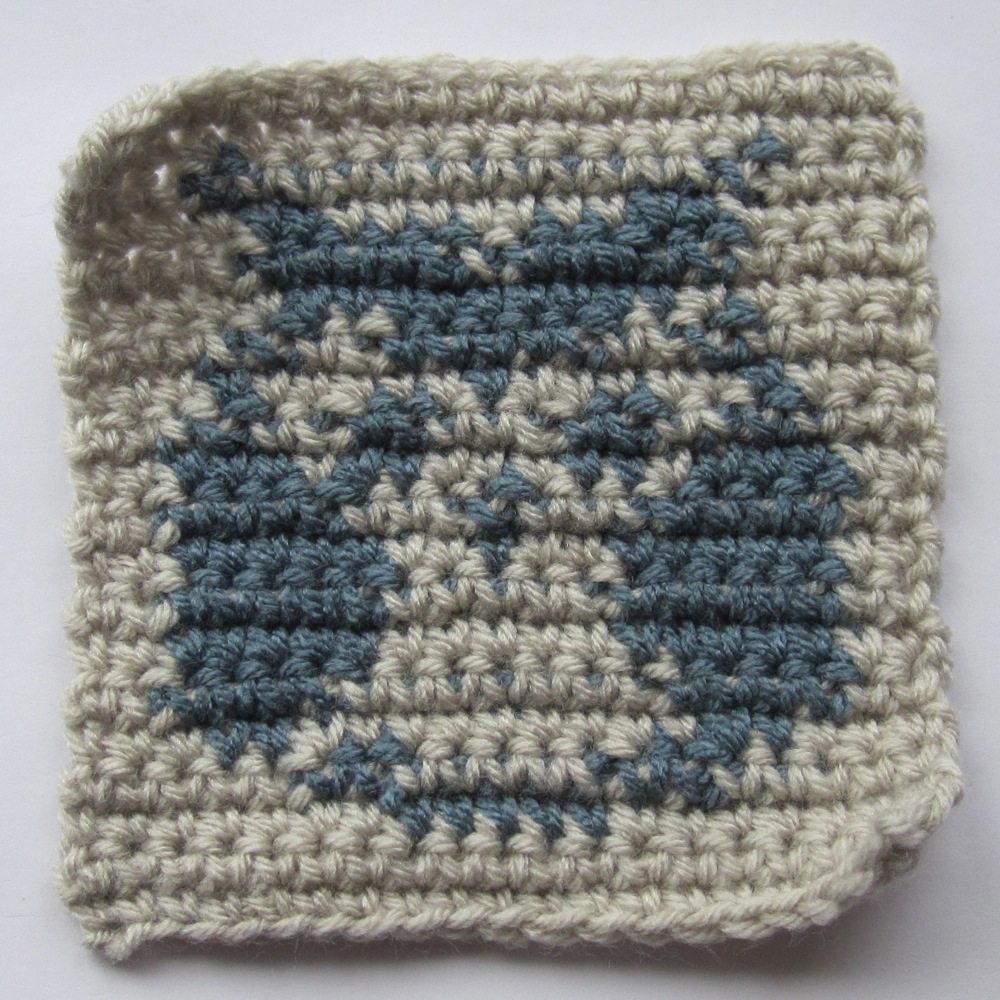
Holy tension problems, Batman! As a note, this was made with worsted-weight yarn and an H hook (5mm). I tried again, resisting with all my might the urge to tug the yarn down when I switched colors:
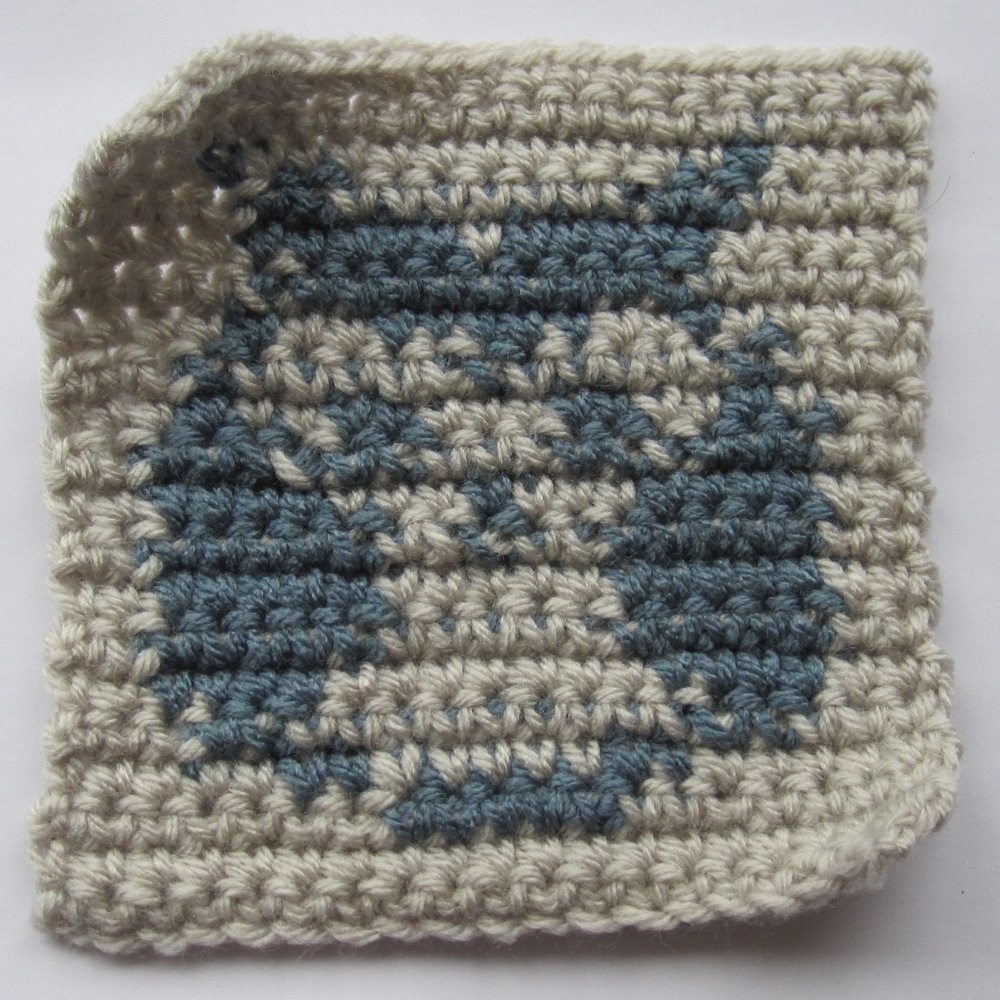
Immediately after I finished the piece some of the carried yarn was peeking out between the strands of the yarn in use, but I stretched the finished piece vertically and then horizontally and they all disappeared. Apparently for me the key is to hang loose.
So, then, that’s all about practice, but what can be done about the exploded mess that is the back side of the stitch? It seemed perhaps I’d found the reason that well over half the fancy color work I’d seen online was on pieces worked in the round.
There is either surprisingly little to be found online about colorwork, or I have not found the right search terms. I mostly got pages with what I have always seen as simply the correct way to change colors in crochet, presented as though it is a special technique.
However, Carol Ventura’s blog about tapestry crochet includes a tutorial category, and there I found a post about the mess wrong sides make. Her solution? Crochet in such a way that all the stitches’ fronts are on the same side of the work. She either switches hands between rows or works the “wrong side” rows with a backwards crochet technique.
The comments section of that post includes another tip: if you’re making something with a larger hook (J/6mm or K/6.5mm, say), it will look better if the carried colors are uniform, since they will show through a bit. That is, if there are stretches where you are carrying white inside yellow, you should carry white inside all the yellow stitches.
As a bonus, as someone who crochets with always at least two and often several more colors, she has a solution to the twisting-strands problem: don’t untwist, just make sure the twist is right up against the back of the work. You can see in the example in her post about this that it does not produce any bump or peek of color, at least when done right.
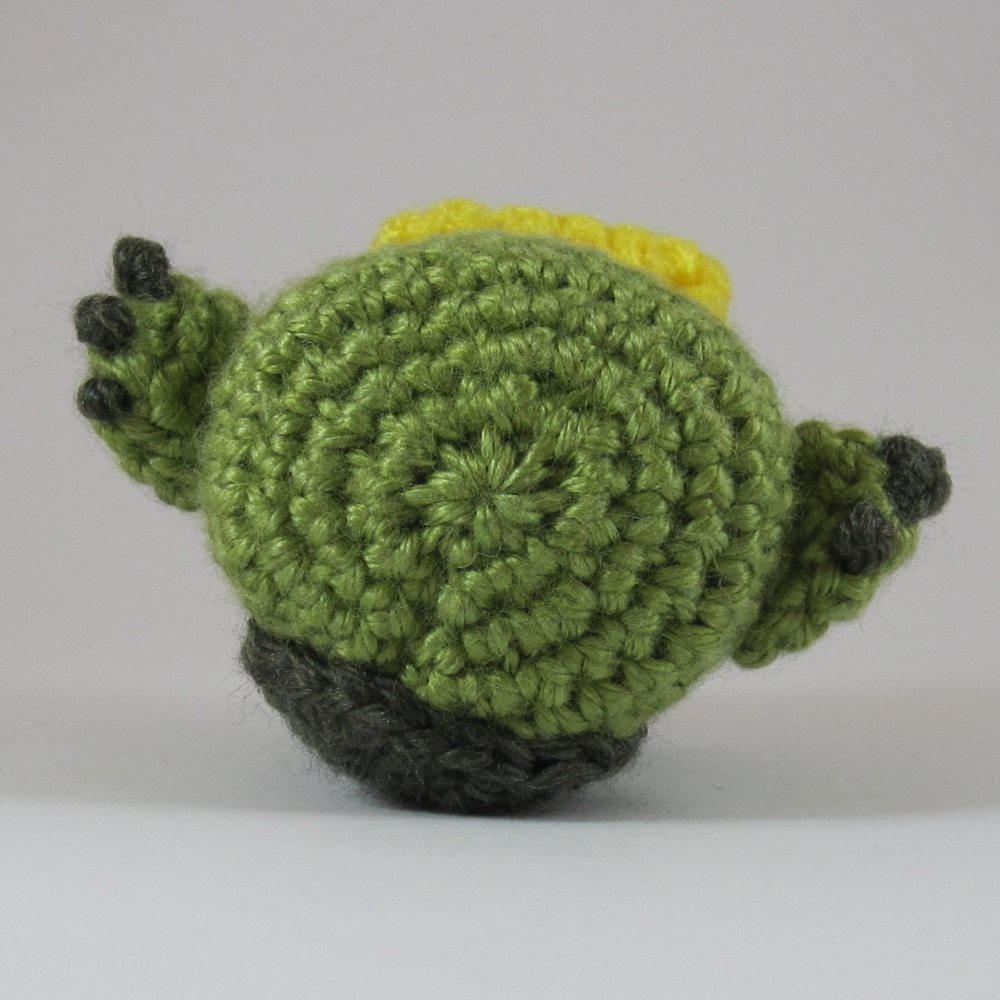
In my kappa post I talked about the photos in the amigurumi books I bought from Japan. This time I want to address the techniques used. The books I got all worked in proper rounds, not in a spiral, which is something I’ve never gotten the hang of but tried hard on with my kappa. He has a visible seam down his back, but it’s largely covered by his shell.
The rounds begin with what I would call the double magic ring, something I didn’t hear about until over a year and a half into my crochet life, despite making amigurumi from the earliest point I was able. This is the only starting method given in any of the three books. The double ring is just like the magic ring you might already be acquainted with, except you wind the yarn twice to start instead of once. When tightened, it has enough friction to hold without weaving in the end at all. Tightening has to be done carefully, though: pull the cut end of the yarn and see which loop of the ring tightens. Stop pulling as soon as you determine that, grab that loop, and use it to tighten the other loop. Finish the job by pulling on the end of the yarn. The books say to put the cut end through the second loop before tightening it, which would lock it in place, but even without that I have never had a double ring work open on me later.
Here’s a video!
My second ever, and the reason this post is so long after the kappa post.
To close, the recommendation is a running stitch through the front loops of the last round. I was astonished to see how well this worked — there were fifteen stitches in the final round of the kappa, and he closed up neat as a pin. There is a certain ripple to his bottom end from the opening being gathered substantially, but even with that he looks nicer than a lot of my other amis which were closed after decreasing to only six or seven stitches.
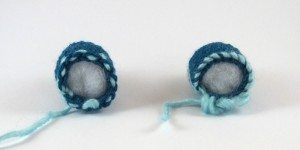
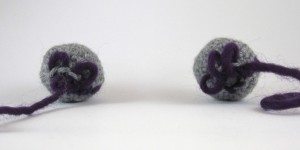
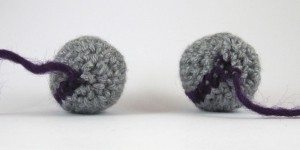
Now, I went to look at June Gilbank’s blog post on amigurumi closure comparisons, because she recommends a different method: drawstring, yes, but after whipstitching outward through the front loop of each stitch in the final round. I decided to do my own comparison, on pieces with larger and smaller final rounds.
Here’s the result. The contrasting stitch is just to secure the contrasting yarn for the drawstring, so you can see how it was stitched. The running stitch (Japanese books) is on the left, and the outward whipstitch (perfect finish) is on the right. In the first picture I left some of the stitching loose so you can see how it goes. The second picture is tightened but not finished off, and the third is finished off.
Large opening (18 stitches in final round):
Small opening (7 stitches in final round):
As you can see, I couldn’t even get the 18-stitch opening completely closed with the whipstitch technique – it has more friction due to the looped shape. Whipstitching lets the final round blend in better in the 7-stitch opening, but the score is close. I’m a running stitch convert – though I’ll admit part of the reason is that I’ve had trouble remembering which direction to whipstitch for the perfect finish!