Fabric bowls

I wanted a corral for my little salad dressing containers for my lunches and thought I remembered coiled fabric bowls in my Scrap Users collection. That was not correct – there were bowls, but they required additional materials. I thought I could do without, though, and whipped up a little bowl. Now for the Sew-op sale coming up, I have a few more.

fabric bowls all together

They’re easy to make: four-inch-wide strips of fabric, joined end to end with 1/4″ seams, seams pressed open and then raw edges of strips hidden in two steps. First, press the strip in half the long way, wrong sides together, and then fold the raw edges into the crease and press again. Twist the strip and coil it like a braided rug, sewing the rounds together with a wide zigzag.
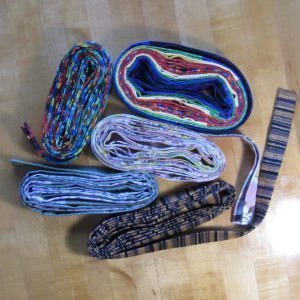
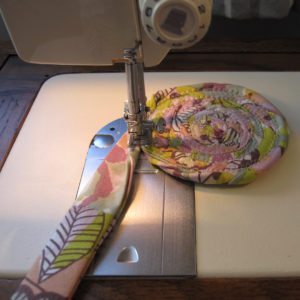
prepped fabric strips for bowl-making beginning a fabric bowl

The direction of coiling shown above is easier, so that the main portion of the bowl is under the arm of the sewing machine. There’s more room to work that way for the next step.

When the bowl is nearly as big as you want, hold the flat of the bowl up at an angle to join additional rounds. Eventually the base of the bowl should be nearly vertical.
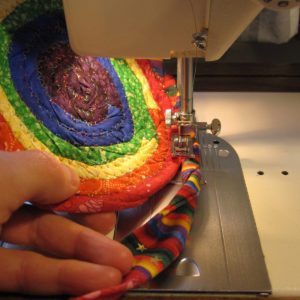
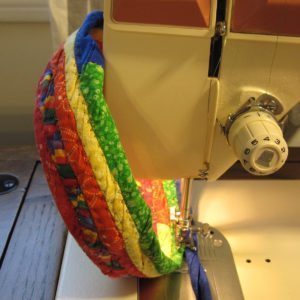
angling the base to make the sides of the bowl a fully shaped, though not complete, bowl

Once I got out to the end I turned around and sewed right back to the middle again, to make sure it was fully secure. There were skipped stitches and places where I was too off center to grab both strips, so going around a second time accounted for both of those.

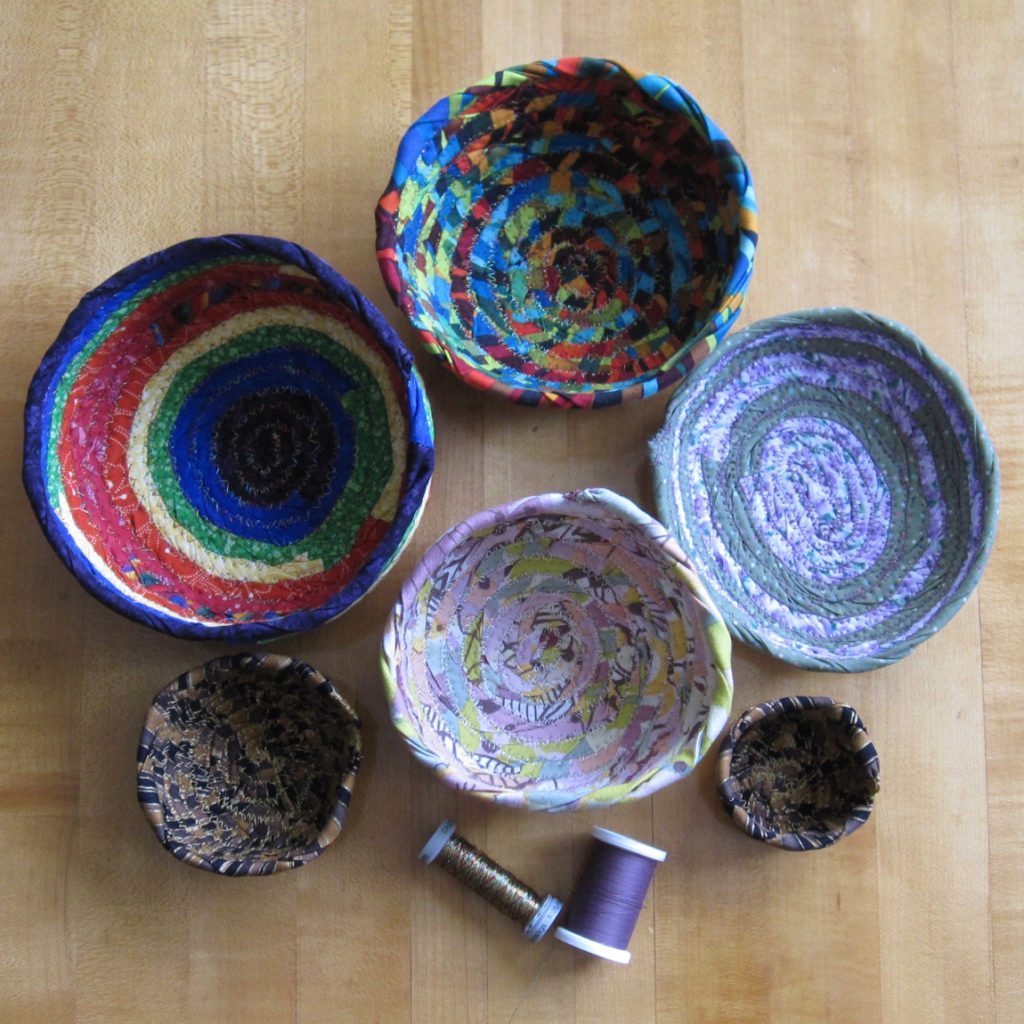
I don’t have a formula for determining strip length from desired bowl size, but I did record the lengths that went into these bowls.

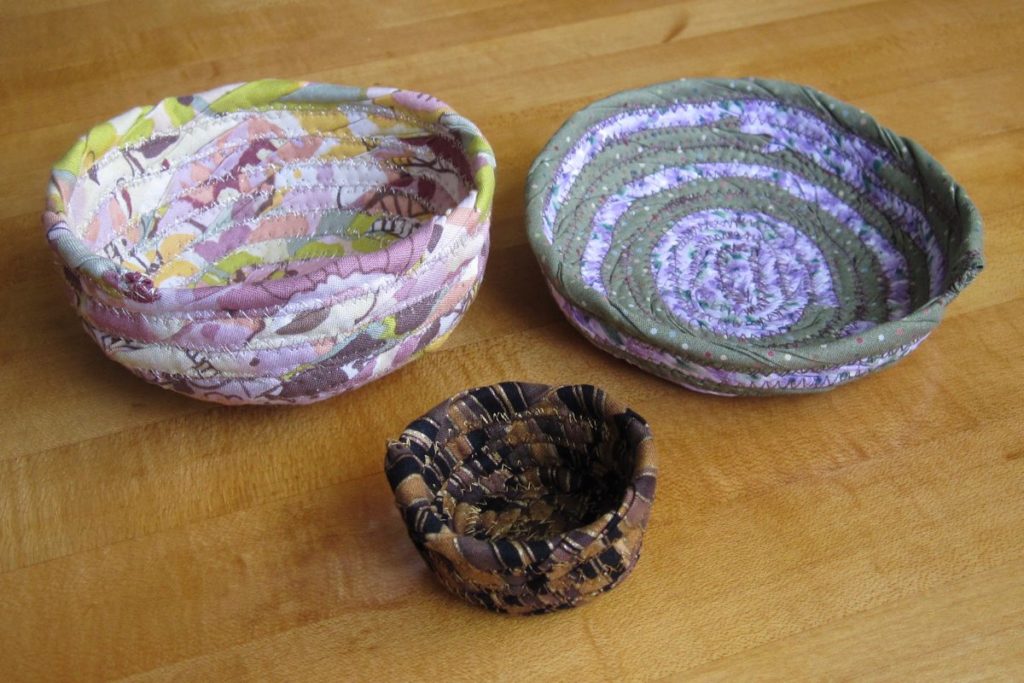
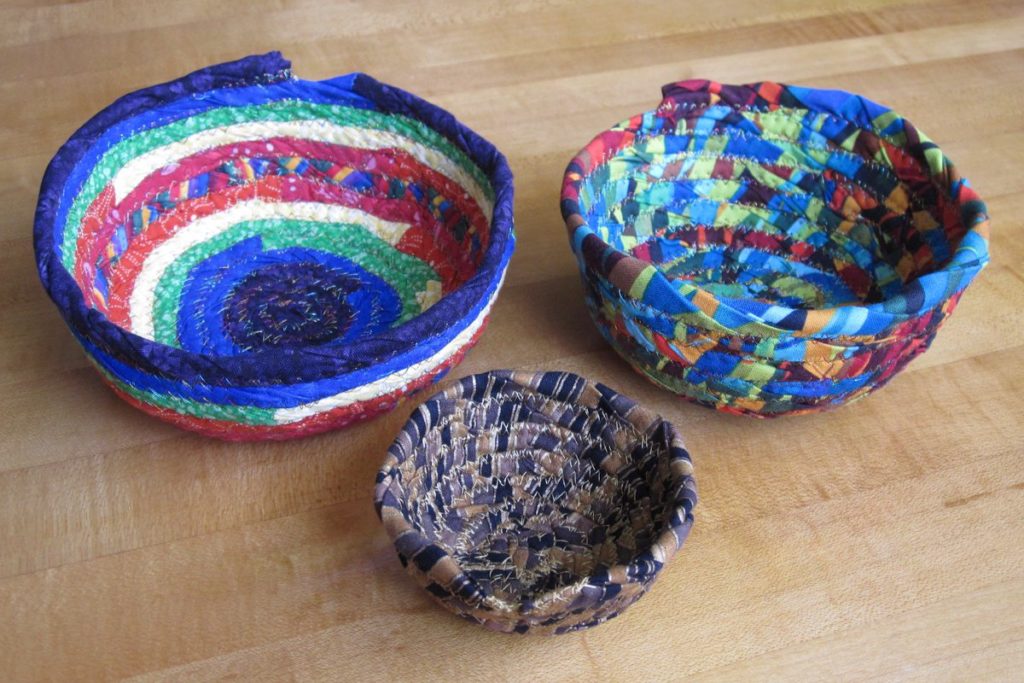
three fabric bowls

The rainbow bowl was the largest, coming from a 5 yard 4 inch strip. It’s also lopsided; like throwing pottery on a wheel, getting symmetry with these takes some practice. The bright stripey bowl was from a 3 yard 27 inch strip, and this brown striped bowl was from a 1.5 yard strip.

three fabric bowls

This brown striped bowl, on the other hand, was from a not quite 1 yard strip. The purple and green bowl was 3 yards 11 inches, and the pinkish floral was 3 yards 8 inches.

I also learned in my sewing that while Gutermann’s metallic thread isn’t bad at all – though it does have all the usual tangly problems – Sulky’s metallic is impossible. It gave me profoundly high tension without even putting the presser foot down and eventually I just gave up on it.
A tote for my Brother

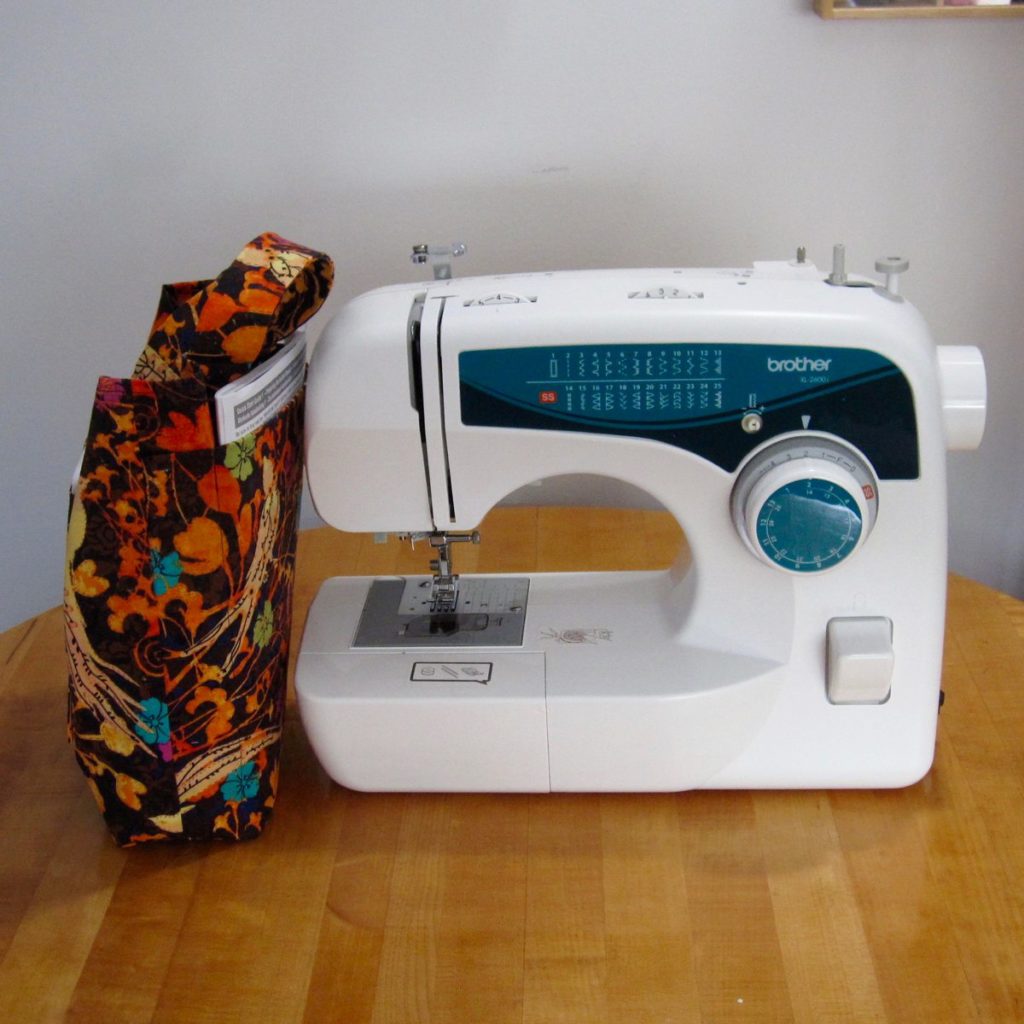
Five or so years ago I bought an inexpensive Brother sewing machine to be my backup/portable machine. It’s made a little superfluous by my later acquisition of the Morse, and a club I’m part of is looking at turning some of our shelving into “cubbies” for individual members. Having learned there would be interest in a shared sewing machine there I’ve decided to use my cubby – whenever it exists – to house the Brother.

Brother sewing machine with tote bag

A sewing machine never travels alone, of course, and so a tote was in order for the manual, foot pedal, and bobbins. I also wanted to have some way to track use, for maintenance purposes, and a small sewing kit included to start people off.

contents of bag's outer pockets contents of main pocket of bag

The main tote bag has two outer pockets, sized to hold the manual + quick start guide and a small notebook for record-keeping. You’ve seen that small notebook before, of course, though it has the addition of a “sewing machine log” banner across the cover.

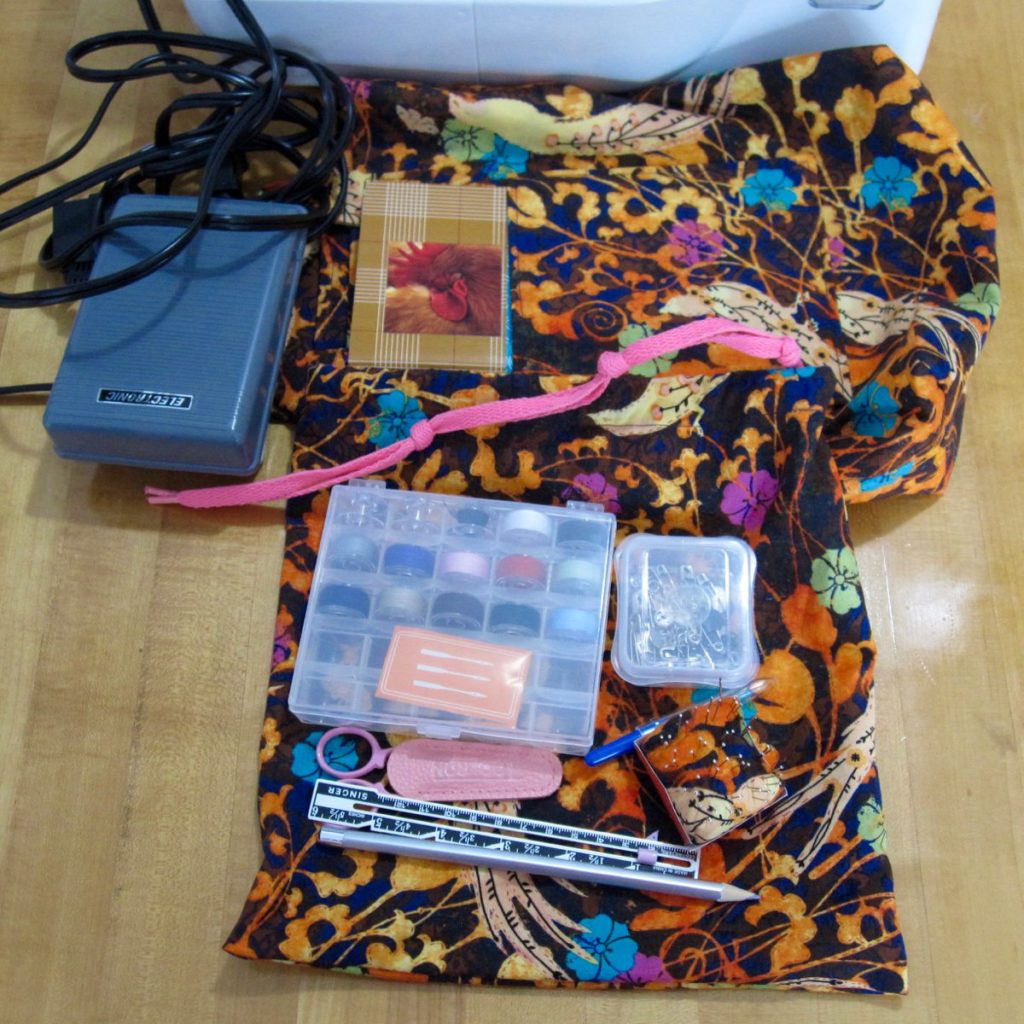
Inside the main tote are a drawstring bag and the foot pedal/power cord for the machine. The hot pink shoelace drawstring was in my stash; I believe my mother tied a gift for me with it at some point.

contents of inner drawstring bag

The drawstring bag is the sewing kit. The bobbin box was left over from a large project I am now realizing I never blogged, but it originally held pre-filled black and white bobbins. I half-filled it with a different set of pre-filled bobbins plus the three that came with the Brother. It also seemed like a good place for the Brother’s spare needles. The small plastic box originally held pins, from the same older project, and now has safety pins and a few snaps and hooks and eyes. The pincushion has one hand-sewing needle and a bunch of pins that came with the seam gauge and silver marking pencil. And, of course, you can’t have a sewing kit without scissors and a seam ripper.

I used this machine as a backup once when my machine had to go to the hospital in the middle of a project, but other than that it’s hardly been used. I’m looking forward to it being enjoyed instead of sitting on my shelf!

Independence Day crafting

Thank goodness for federal holidays! I jealously guard the ones I can for me-time, which means crafting time. Memorial Day was taken up with travel which means July 4th was the first time since President’s Day that I had a day I could preserve for just crafting – no chores, no errands, no outside obligations. Not coincidentally it was also the first time since President’s Day that I spent a whole afternoon in my sewing room; in fact, I spent a long afternoon plus the second half of the morning. It was glorious.

So let me show you what I made! There was some time spent on projects that didn’t get finished, of course, but I was very pleased with the completions.

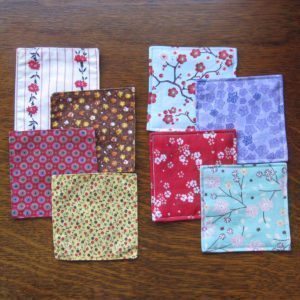
old and new fabric coasters

On the left, my old sewing room coasters, thin and blah. On the right, my new sewing room coasters, one layer thicker and more visually appealing. I had cut them out and done the first round of sewing previously, so finishing them was a sort of warm-up.

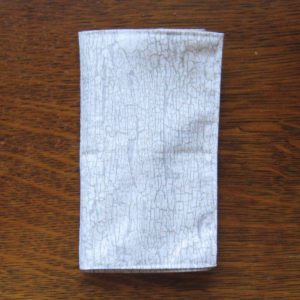
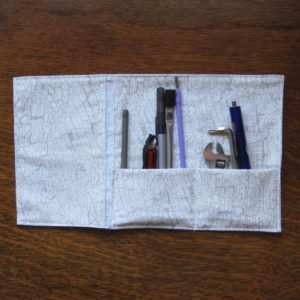
tool roll, rolled up tool roll opened out

A roll for tools, similar to a knitting needle roll: one short divided pocket. Limitations of fabric meant the pocket couldn’t extend the whole way across, but that’s all right. The flap helps keep things together. I may decide to add a snap or other closure but we’ll see how it works out like this.

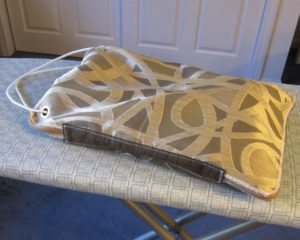
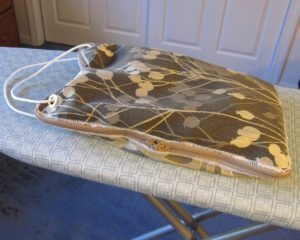
tool bag from side, with front side up tool bag from side with backside up

What the tool roll goes inside, the main event: a sewing machine repair travel tool bag. In this I can stash the basics for transport to the Sew-op or a friend’s house; any problems that require more than what fits in such a bag will be call for the machine to come home with me.

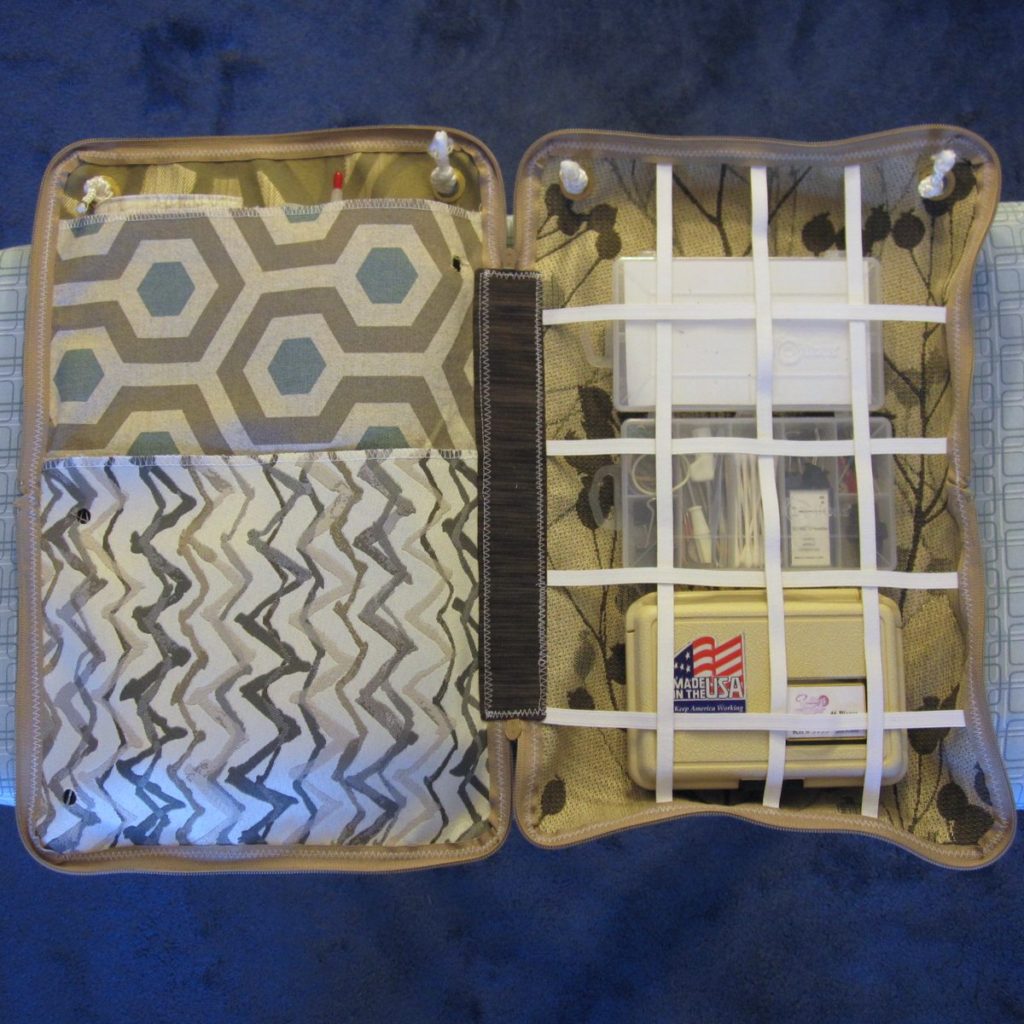
tool bag open and filled with tools

I am pleased with the bag and very pleased with myself that I dialed back my original plans, which would have involved many more pockets, individual elastic compartments for the three boxes, and in general a lot of complexity that may not have been so likely to come out well.

Except for the dark fabric making the “spine” of the bag the fabrics were all upholstery samples donated to the Sew-op. I bought the zippers – plus coordinating thread, but I decided to match the white serging they all shared instead. The rope was in our basement and the elastic was in my stash, as were all the materials for the previously-listed projects. A good haul for a day off.