Recent Winterwear

Early this fall I decided to downsize my yarn stash by taking the fuzzy wooly yarn and stitching it up into assorted winter accessories: cowls, scarves, hats, and headbands. I’ve used it all up! Here are a few of the items I made.

I love to make hats bottom-up. You can judge size more easily, and the work gets quicker as you go along. The hat pictured below, shown both ways out, was made with two strands held together and probably a K/6.5mm hook.

front post double crochet had, posts out front post double crochet hat, ribs out

I started with hdc worked in rows, each stitch made into the back loop of the previous row’s stitch (the one that makes hdc’s faux teardrop on the back). That gives a sort of ribbing. After slip-stitching that together I used fpdc, starting with the round that was on the sides of the ring of ribbing. That gives the interior the horizontal ribbing you can see in the second picture above. It’s possible it would be warmer worn that direction since the fpdc posts would be compressed together more, but I prefer the look of the post “cables.”

The first image below is of a scarf I made using simplified star stitch, which combined with the yarn choice gives it a cobblestone-y look. I used similar yarns as for the hat, but an N/9mm hook.

cobblestone crochet scarf (simplified star stitch) crochet mobius wrap

Finally we have a piece that was supposed to be for me despite its wool content. I made a Mobius strip using knotted stitch, out of four skeins of variegated, almost metallic yarn. I wanted it to be an upper-torso wrap that would wind over each shoulder and under each arm, crossing in front and passing smoothly across my back in two horizontal lines, but there were two problems: A) that really needed to have a full turn inserted when closing the strip into a loop, not a Mobius half-turn, and B) it was way too big around. It hung like a double bandolier. Since I can’t wear it as a scarf, hanging around my neck, it’s getting donated. Too bad because it’s far lovelier in person than in the photo – it was impressive how the skeins, each a different colorway, played so well together. Someone who can wear wool will have to love it instead.

PS As of today everything in the site is listed in the pattern and tutorial directory!

Easy Belt-Looping

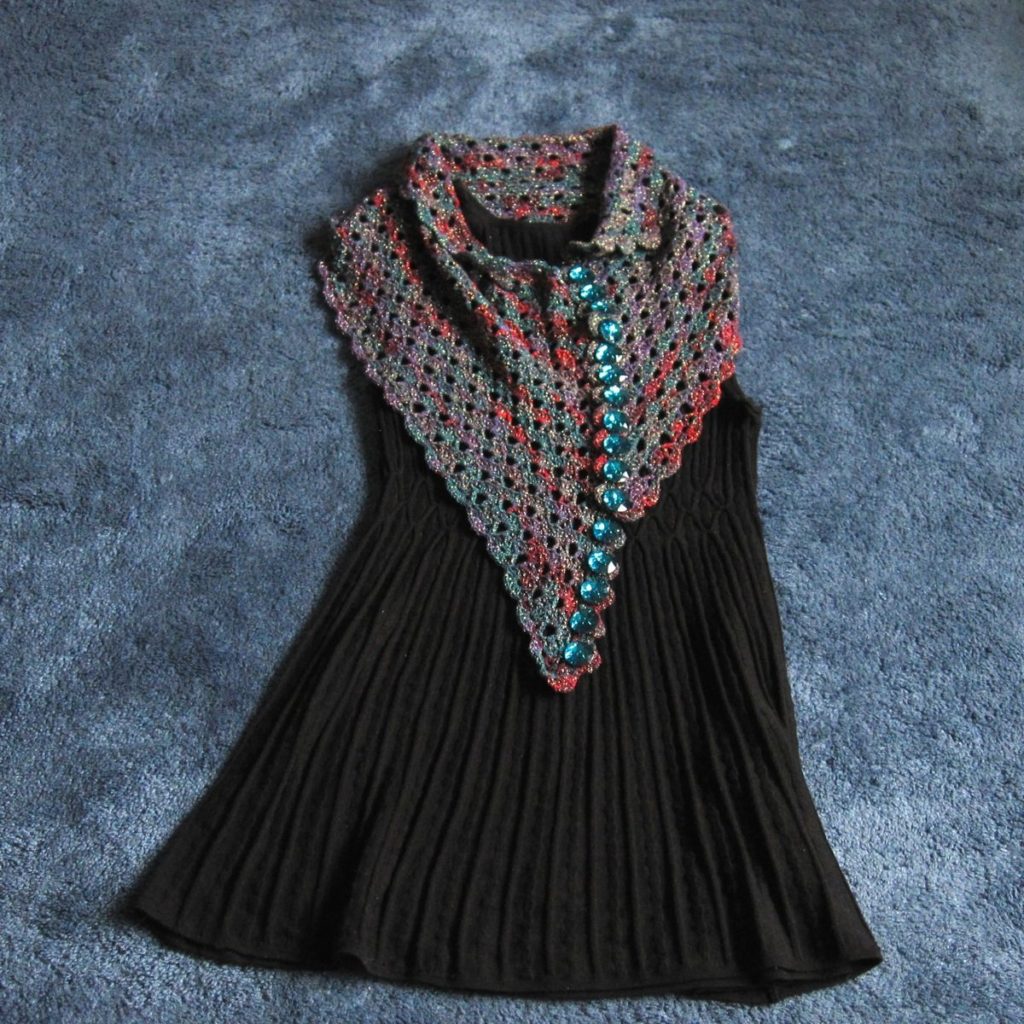
My sister wanted me to retrofit some pants with belt loops, which meant constructing the belt loops from scratch. Always efficiency-minded (hahaHAHAHAHAHA), I tried to determine how to create them in as few steps as possible. What made sense was a long strip to be cut apart into individual belt loops.

I used my entire piece of fabric, selvedge to selvedge, and only cut the belt loop strip off after a few steps (none of my fabrics were much bigger than half a yard, though). This was nearly enough for two pairs of pants (it was 58″ including the selvedges and I needed a usable 60″), and would have been more than enough had I not been on the “lots” end of typical belt loop numbers per pair. Four inches per belt loop is more than enough, even counting a wide unusable selvedge.

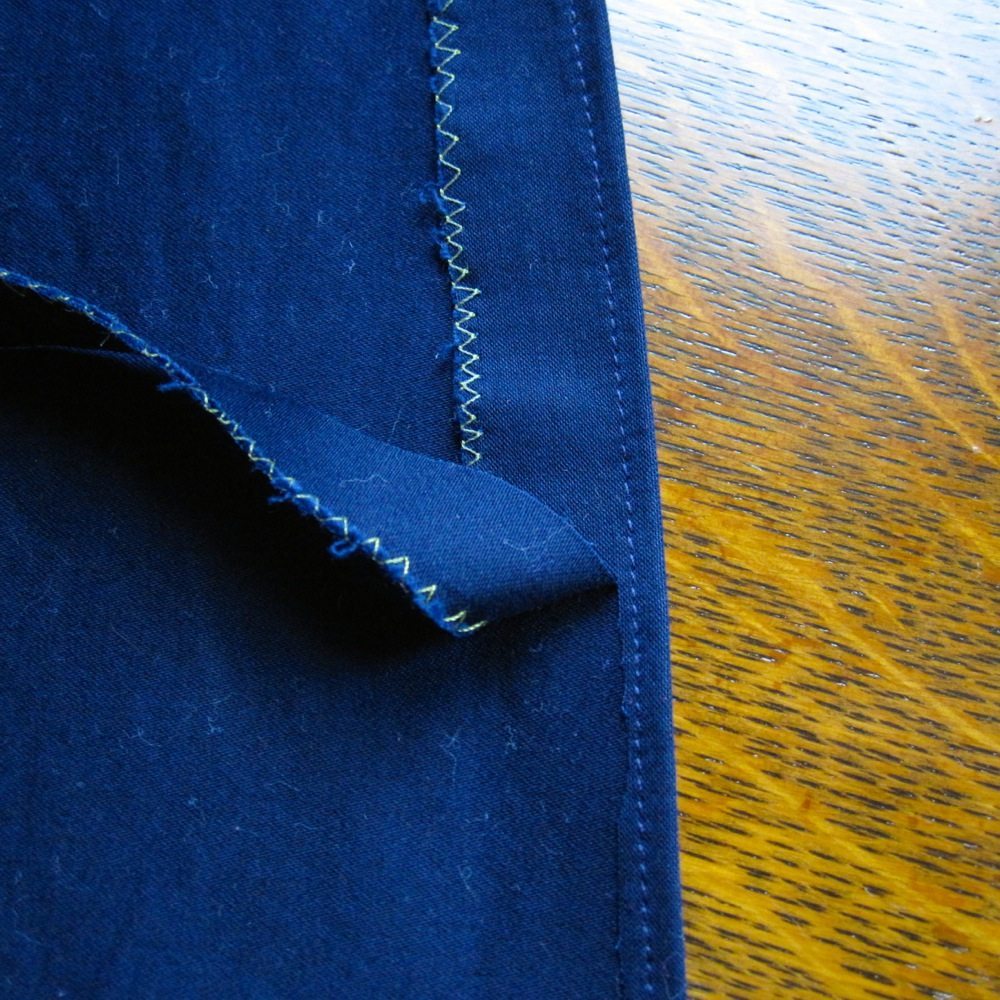
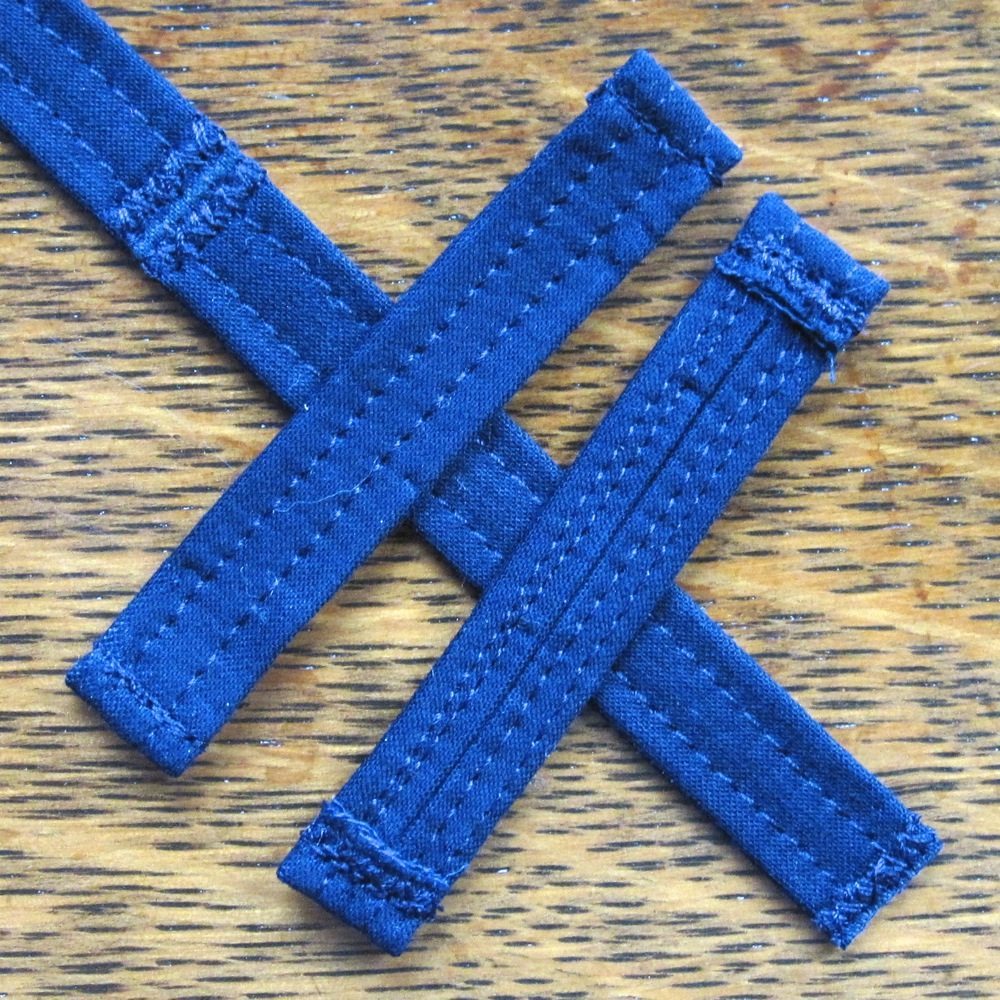
Fold the edge of the fabric to the wrong side, if there is one, and press. I just folded over about an inch and eyeballed the straightness. Pin and stitch an eighth of an inch away from the fold. Trim off the folded-over fabric close to the stitching.

belt loops, step 1 belt loops, step 2

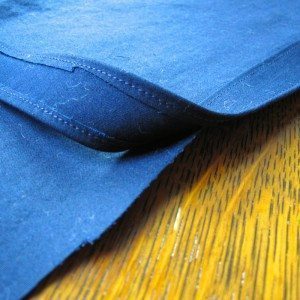
Fold your new finished edge to the wrong side of the fabric by exactly an inch. Press, pin, and stitch as before, trimming the bulk of the fabric away this time so you have an inch-wide strip with two finished edges.

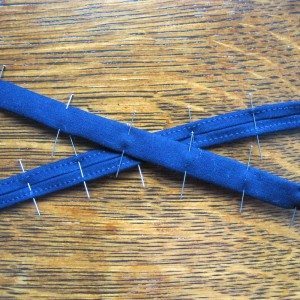
Now fold both finished edges to the wrong side of the fabric so they meet in (approximately) the center. This step requires lots of pins, and I like to pin from the smooth side so that I can capture both folds in one swoop. Press well, and stitch twice down the strip, 1/8″ or a bit more away from each outside edge. I did this by centering the strip under my presser foot and stitching with the needle to one side. There’s your strip of belt loops!

belt loops, step 3 belt loops, step 4

There are basically two ways belt loops are applied to pants. Dress pants typically have the bottom end sewn into the waistband seam; they may go downward from there before folding up to reach the top of the waistband with a finished end, which is topstitched on. Jeans typically have belt loops that are finished and topstitched at both ends. I did a little of both, though I didn’t tuck the ends of the belt loops into the waistband seam so I don’t think I benefited from it looks-wise.

For the jeans version you want to add 3/4″ to the desired finished length of your belt loop to determine how long to cut them. Make chalk marks that far apart down your strip and make a medium-width tight zigzag on either side of each mark (well, not outside the outermost marks). Cut on the marks and you have your loops. Now fold each end down by a generous 1/4″ (the allowance is 3/8″ because you will lose a little to the u-turn since these are thick) and baste to hold. Pin the belt loops in your desired locations and topstitch with a tight narrow zigzag along your basting at each end. My sewing machine doesn’t give me any measurement/units for zigzag, but I used the same width for topstitch that I use for the sides of buttonholes, and for the zigzagging previous to cutting, I used a zigzag between the widths I use for sides and ends of buttonholes. Hope that helps. For both I set stitch length to 1.5mm.

For the dress pants version you have two measurements to add. If your desired finished length is more than the width of your waistband (and if it’s not I recommend the jeans style), you have to add the difference. For example, if your waistband was 1.5″ and your desired belt loop length was 2″ you would need to add a half inch at this step, coming to 2.5″. Then you need either 3/8″ for the top turn-down or 3/4″ if you are going to tuck the bottom end into the waistband seam. For our example that would bring the total to either 2 7/8″ or 3 1/4″. Fold down and baste one end of each belt loop as for the jeans. For the less-tidy version, butt the other end against the waistband seam in the desired location, right sides together with the loop extending down the pant leg. Zigzag in place, fold the folded end up to the top of the waistband, and topstitch in place. For the more tidy version, pop open the stitching of the waistband in the vicinity of the loop, tuck it in by 3/8″, re-stitch the waistband, and then fold the loop up as before.

(Incidentally I chose my desired finished length by measuring some jeans belt loops. You can measure the widest belt you would ever want to wear with the pants and then add, say, 3/4 inch for the “nice” version or 1 1/4 inch for the jeans version.)

Multiplicity

I’ve developed a taste for shawls and scarves to just wear around in the winter, not necessarily with a coat. I’ve also realized I like them better than jewelry to add interest to a plain dress, on the rare occasions that I wear a dress. Somehow I learned about Make My Day Creative’s Multiplicity Buttoned Shawl, a free crochet pattern for a trapezoidal fan stitch shawl that buttons along the non-parallel edges. She called it Multiplicity because there are a lot of options for draping and buttoning it. I thought it would be a nice pattern to make a blingy version of, though that thought was probably helped by the fact that wool-free laceweight yarn is not common, and the kind I found that wouldn’t break the bank, by Premier, came in a self-striping sock version and a metallic-accented lace version. None of the sock colorways thrilled me, so Gypsy Bling it was. I found some buttons to match (though not until the shawl was stitched); they are much larger than the recommended 12mm. Button cameos by me and my avocado tree.

Gypsy Bling Wool-Free Lace yarn by Premier my shiny, shiny buttons

I’ve apparently never written here about my electric toothbrush sander, made from June Gilbank’s tutorial. I used it to take the little molding nub off the sides of the buttons, and it worked terrifically.

Anyway, I have postponed the final images long enough. The shawl itself:

Multiplicity shawl, buttoned straight Multiplicity shawl, buttoned asymmetrically

A few more notes: I ended up with one fewer starting shell and one fewer row-pair than the original pattern; the latter was actually great because it meant I needed 16 of my four-to-a-card buttons instead of 17. I do wish I had a bit more length – my shoulders are broader than average and my options for ways to wear this are somewhat restricted.

I had a hell of a time rewinding the yarn for use. It did not particularly want to unwind from the outside, but I couldn’t get it to pull from the inside. So I went back to the outside, but the first skein sort of exploded, and even with my loving husband’s help, getting it untangled took hours of work and split it into four pieces. I was smarter about the second skein and worked from the outside entirely, but even so it took an hour and a half to get it usable.

Finally, although synthetic fibers don’t really block, I did sort of block it. I machine washed it in a fine mesh bag, laid it out longways over my collapsible wooden drying rack, and clipped clothespins all around it. Every shell on the ends, and every four or five shells on the sides, with a second pin crosswise to the first for weight along the sides and a few extra pins clipped onto existing pins on the ends. It looked hilarious but worked pretty well. Should have gotten a photo!