Shrugging it up

Over the summer I sewed a lot. Clothing items, from commercial patterns – each of those somewhat rare for me (aside from boxer shorts). Specifically, I made myself a collection of lightweight shrugs and jackets to keep in my desk drawer for when I’m just a little cool at work. Once the weather got cool enough that a heavier cardigan was part of my all-day outfit, I brought the jackets home for a wash and a fashion show. Then it rained every single weekend until winter, so here we are.

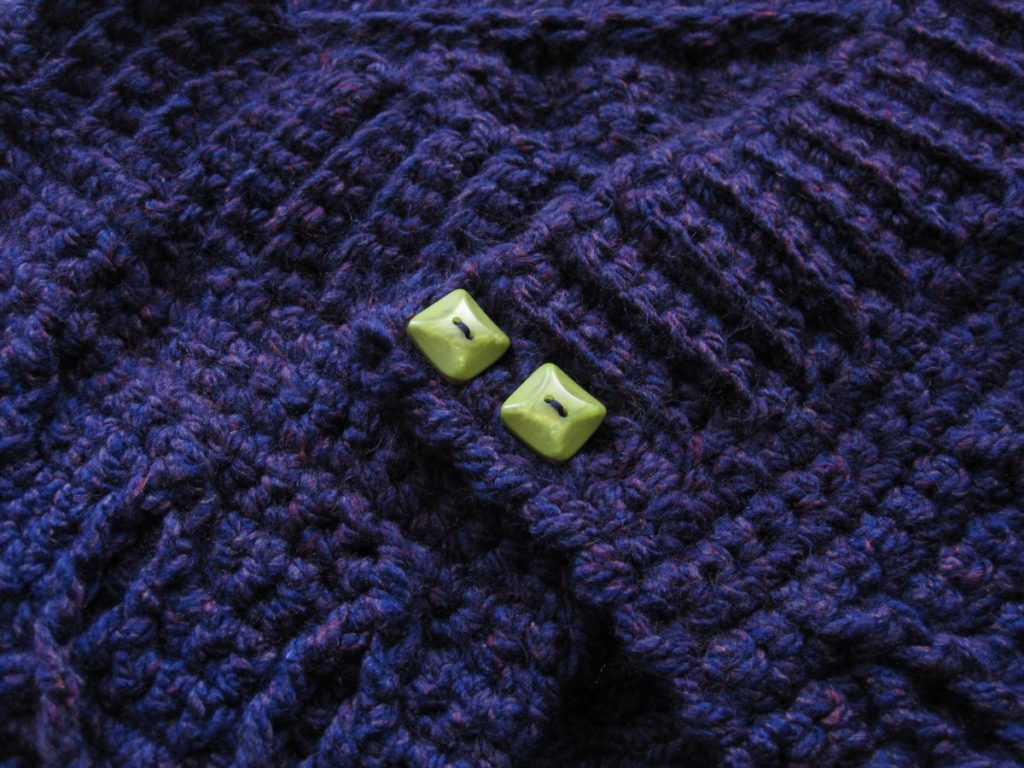
The first one I made may seem familiar – or not, since it was five and a half years ago that I blogged a photo of some lovely embroidered fabric, matching thread, and tiny matching buttons, with the announced intention of making myself a summer hat with them (and that was more than two years after I posted that photo on Facebook, before I ever had this blog!). I did give an update on the project, but that was still four and a half years ago. In June I came back to it, made another muslin, and realized the probability of getting something worth the very large amount of effort remaining was exceedingly low. I have a wide-brimmed straw hat, and while it’s a bit of a sail when the wind picks up, it’s probable that any other hat that shades me as much as I’d like would also have that problem. Anyway, without further ado:

yellow coverup-style jacket

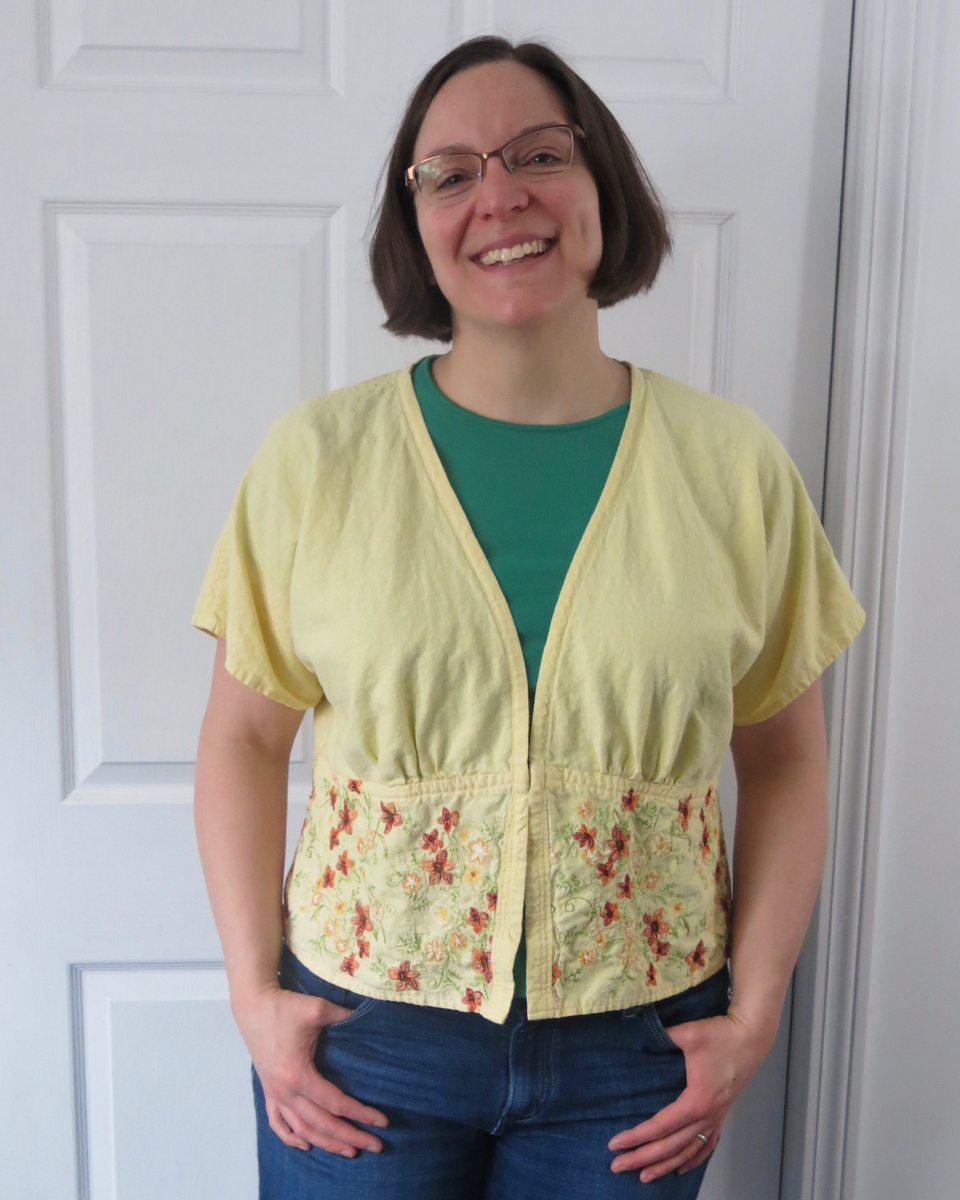
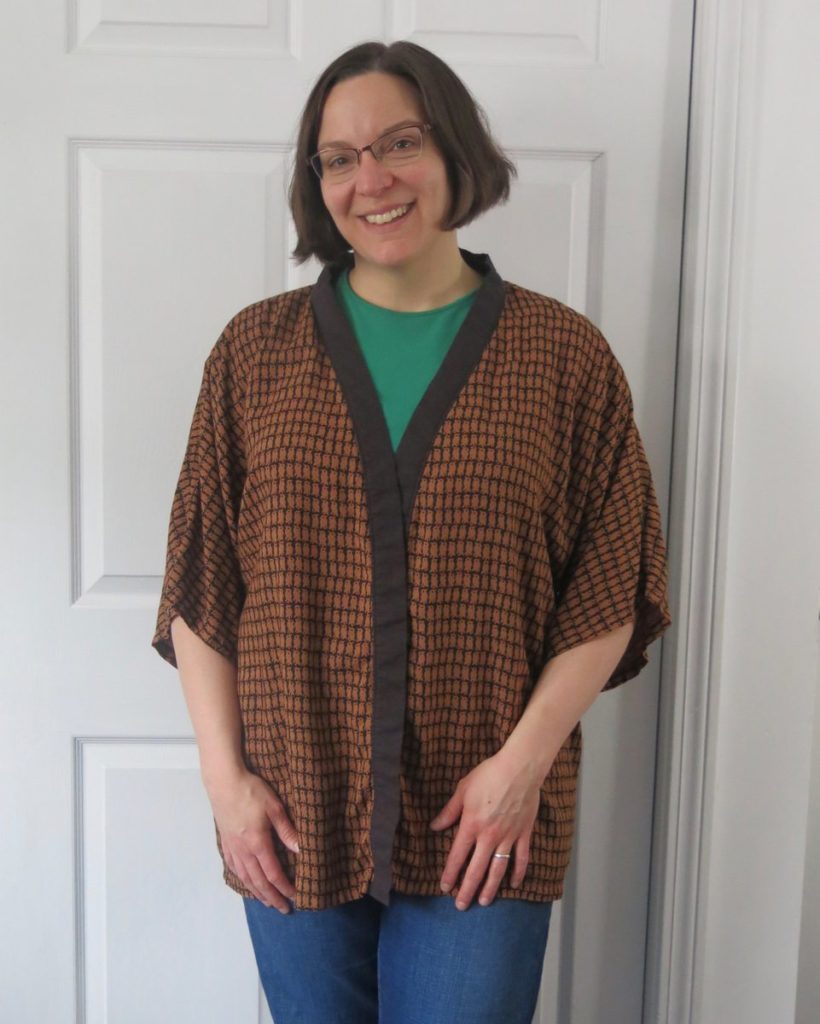
The pattern was for a swimsuit cover-up (Simplicity 4192); I changed the front tie to a hidden hook and eye. It’s not terribly “me”, to be honest, and after the photo it went into a bag for donation, but no matter.

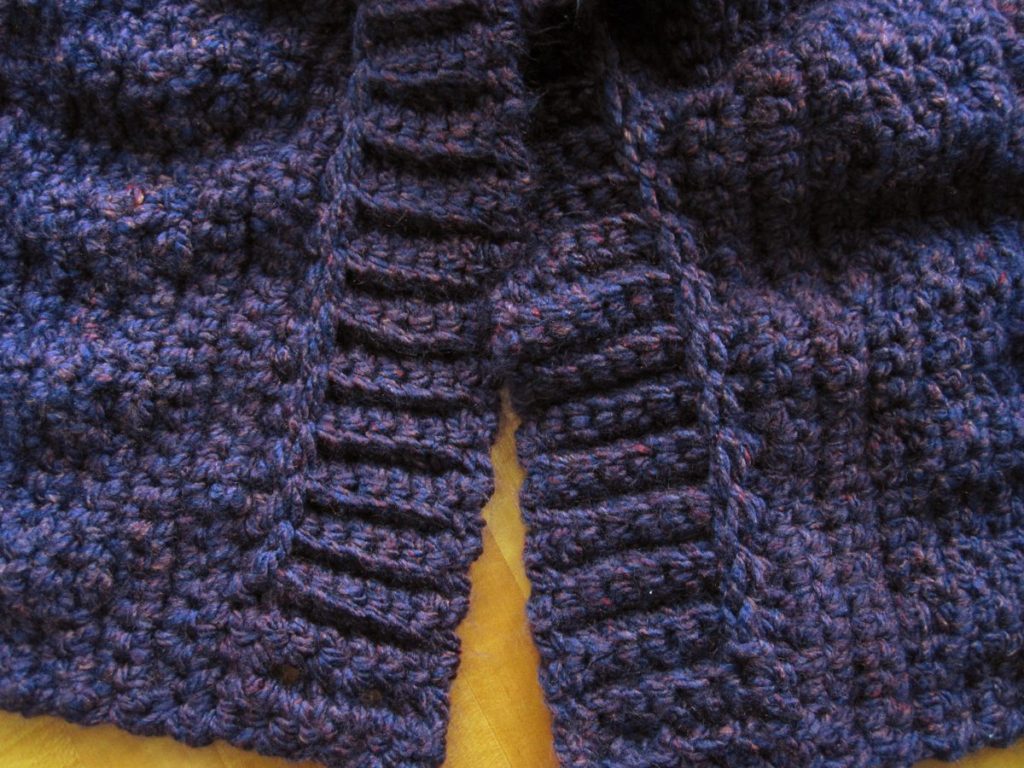
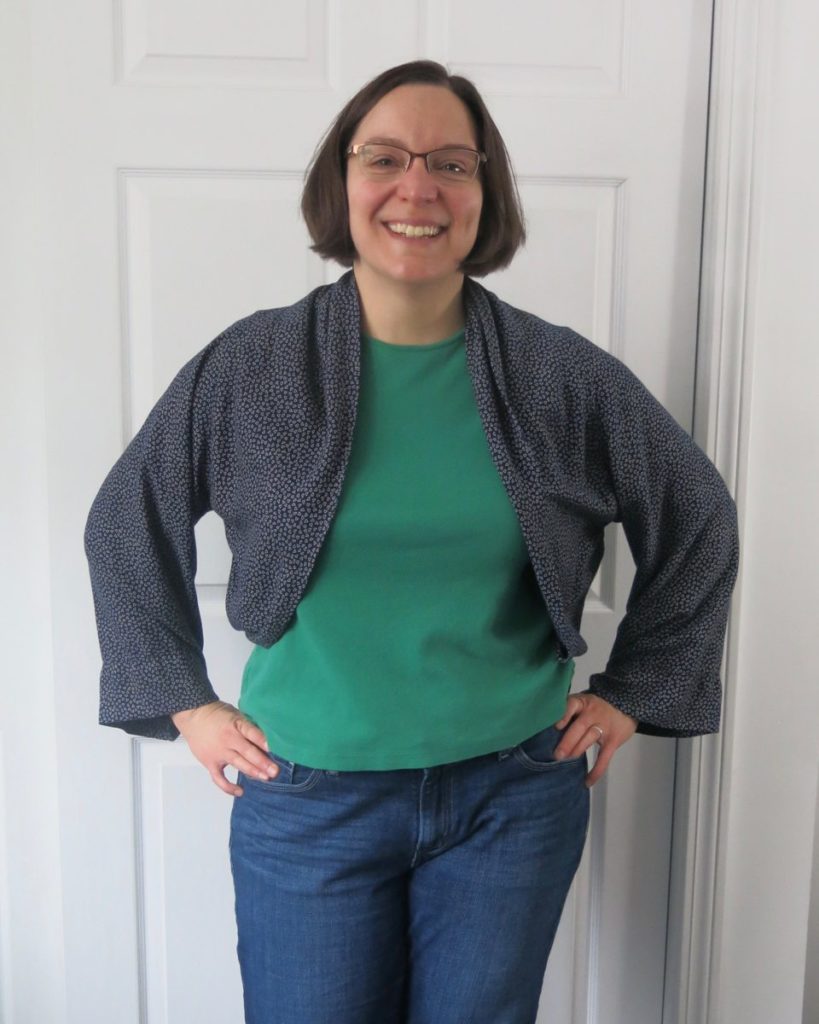
The second one, this and the first both sewn in July, has given me a good bit of use: a shrug out of very lightweight navy fabric I picked up at the Sew-op. There was a ton of that fabric and I had first made a shrug of the simplest type: essentially a tube with a lengthwise slit down the middle for your shoulders. That was pretty sloppy-looking on, though; I think that sort of shrug is better made of stretchy fabric so it can be smaller around. This second one was assembled from multiple pieces of fabric and has much more shape.

navy shrug-style jacket

Third – I was cooking! – was also made from Sew-op fabric. Unfortunately the fabric had many flaws, tiny pinholes to big tears, and I didn’t notice all of them before cutting out, but I adore it and its funny little birds. Believe it or not, this jacket was out of the same pattern as the navy shrug (Butterick 5529). I made it in August.

black and brown bird fabric jacket

I have yet a third Sew-op fabric to make into a jacket, from a third pattern, but the jacket’s structure and the limited amount of fabric will require me making a muslin to adjust the pattern ahead of time. That would merit a separate post even if I had already made it. Later!

ZOMG Granny Squares

I’m part of a movie club that meets weekly for a B-movie, a contest, and a photo. A few times a year we have a bigger event, for a holiday or just because. We’ve started dressing up for these events, sometimes with artfully combined thrift store finds but sometimes with our own creations. I was on a mission to use up yarn – and what can one do with an assortment of single skeins of colorful acrylic? – so I looked through Ravelry for retro crochet patterns and found the most glorious of all:

Me wearing granny square shortalls at the Main Street Museum

I wore it to the annual Movie Night anniversary celebration this week. One person described it as like yarn-bombing a person. Three others tried it on at the end of the night and described it as both comfortable and comforting. I would call it a big success – especially since I avoided buying any materials (there are three different white yarns in it) and it didn’t take nearly as long as I expected. It did come out bigger than I calculated or intended, but not as big as I feared before trying it on. And if I ever need a clown costume, I just have to find the right accessories!

Cozy cables

I have a lovely new cabled shoulder wrap. This is a pattern I attempted last spring, but unraveled because of major sizing problems and dissatisfaction with the yarn I was using. It worked better this time around.

photo of me wearing the finished cabled wrap

The cable pattern is just beautiful. It looked questionable at various points along the way but always worked itself out in subsequent rows. Following my notes from last time, I used a J hook (6mm) and made the XL size with the S/M ribbing width. I might have been able to make the L, because under its considerable weight it wanted to slouch off my shoulders. I made two fixes to that.

photo of finished wrap from back photo of cabled wrap, close up

One was to make the ends meet at 90 degrees instead of head on, by placing the buttons parallel to the base of the ribbing instead of parallel to the front edge. That wasn’t enough, so I also slip-stitched from rib to rib on the inside, near the base of the ribbing, to reduce the stretch. That worked perfectly and also made the ribbing stand like an evil Disney queen’s collar, which was a pleasant side effect.

photo of cable wrap buttons close-up photo of slip stitch size adjustment

My buttons were marked 1″ and are chunky. I may need to reinforce the buttonholes to keep them from wanting to slip out, but they work pretty well. I like that they look like fancy dice.

Red and purple are hard to photograph…