A stylized pine tree is basically a cone, with something passing for branches around the outside. I wrote about cones earlier this week and more information can be found there, but the important recap is: To make a cone in single crochet, start with a 4 or 5 stitches in a magic ring (you can even go as low as 3, but be careful to work right-side-out as early as possible, because a tight turn with back-loop-only fabric can create big gaps in the stitching), and single crochet in a spiral. Work in back loops only and add the same number of stitches to each round (on average, at least). Try to shift them around so the increases aren’t all on top of each other.
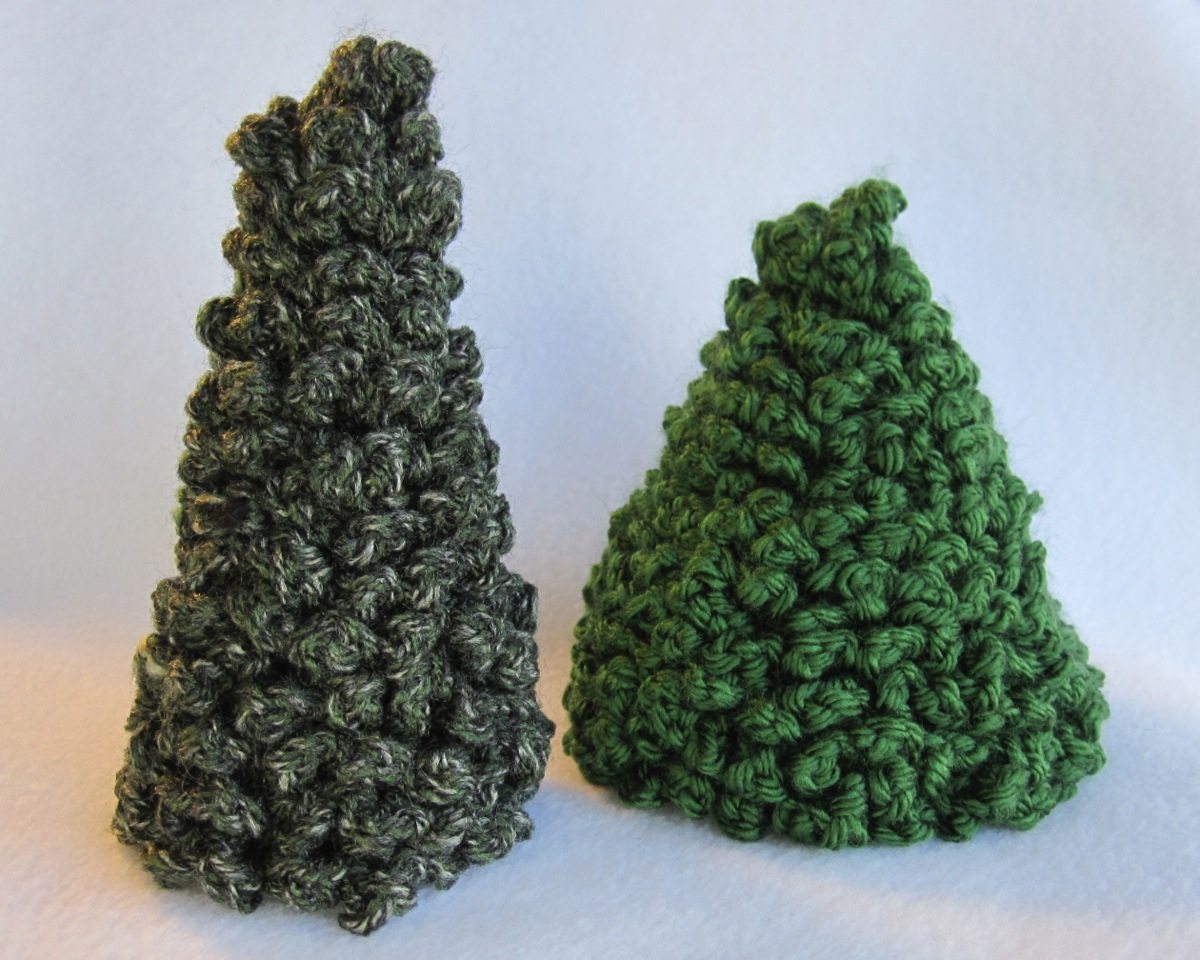
The narrower tree below was made by starting with 4 stitches and increasing by 1 stitch per round usually, but by 2 stitches every fourth round or so, for a total of 14 rounds. The wider tree started with 5 stitches in a magic ring, and then 2 or 3 stitches were added each round, alternately. It has only 13 full rounds. Both trees, however, also have a partial round for straightness. Spiral crochet loses ground with each round, so by the time you get to 14 rounds you’re well behind where you began, and adding some stitches can be necessary to get the tree to stand up straight. Do that by eye; start with about a third of the stitches around, but be prepared to add or subtract stitches a few times. It doesn’t need to be perfect, though, partially because not all trees are totally straight and partially because back-loop-only fabric can be molded to shape enough to accommodate small imperfections.
Cone bases (also discussed earlier this week): Start with 7 sc in a magic ring and add 7 to each round: 2sc around, then *2sc, sc* around, then *2sc, sc 2* around, continuing or stopping short as needed to make a disk of the right diameter to fill the space in the bottom of the cone. If correct diameter and matching number of stitches are in conflict, favor correct diameter.
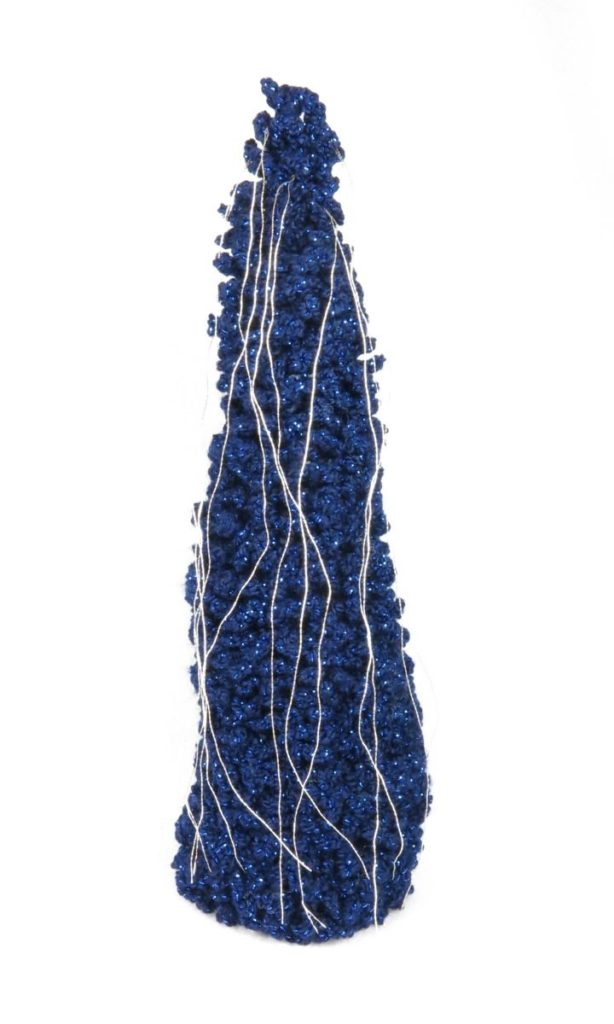
Stuffing: You don’t want to overstuff, because back-loop-only fabric can stretch out and expose the stuffing through holes. However, stuff enough to make sure the tree has body. This is more important the taller your tree is relative to its diameter. The tall, thin blue tree in the previous post was originally understuffed, and after I put the branches on, the tip of it didn’t want to stay upright. I had to wedge more stuffing in through the fabric, which was kind of laborious.
Attaching the base: Essentially, sc around, making each stitch through the back loop of a cone stitch and both loops of a base stitch. I have found that often the base has fewer stitches around than the cone opening, though, and so some cone stitches will either have to be skipped or crocheted to the same base stitch as the previous cone stitch was. I have found that skipping stitches can tuck the bottom of the cone inward a bit, whereas crocheting two cone stitches to the same base stitch preserves the slant of the sides.
Branches: Starting with a new length of yarn, place slip knot on hook. Insert hook into unused loop of cone stitch closest to magic ring (point of cone), so your hook points down the tree (insert from point toward base). [If you crochet left-handed, point your hook the same direction, but begin at the base of the tree/opening of the cone instead of the tip.] Slip stitch to join yarn. Chain 4 and sc in same st as sl st. *Ch 4, sc in next lp* all the way around and around your tree. I like to replace the last sc with a sl st for smoothness. Nicely, if you accidentally skip a loop or double up, or are one chain short or long, it will just add to the natural look of the tree.
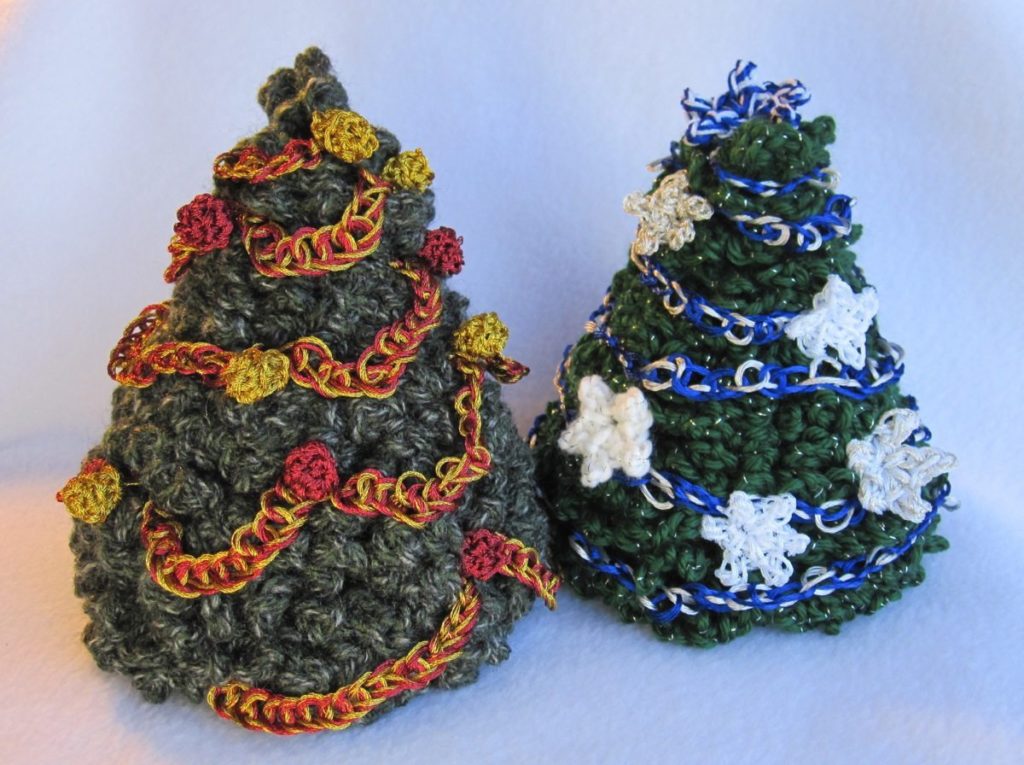
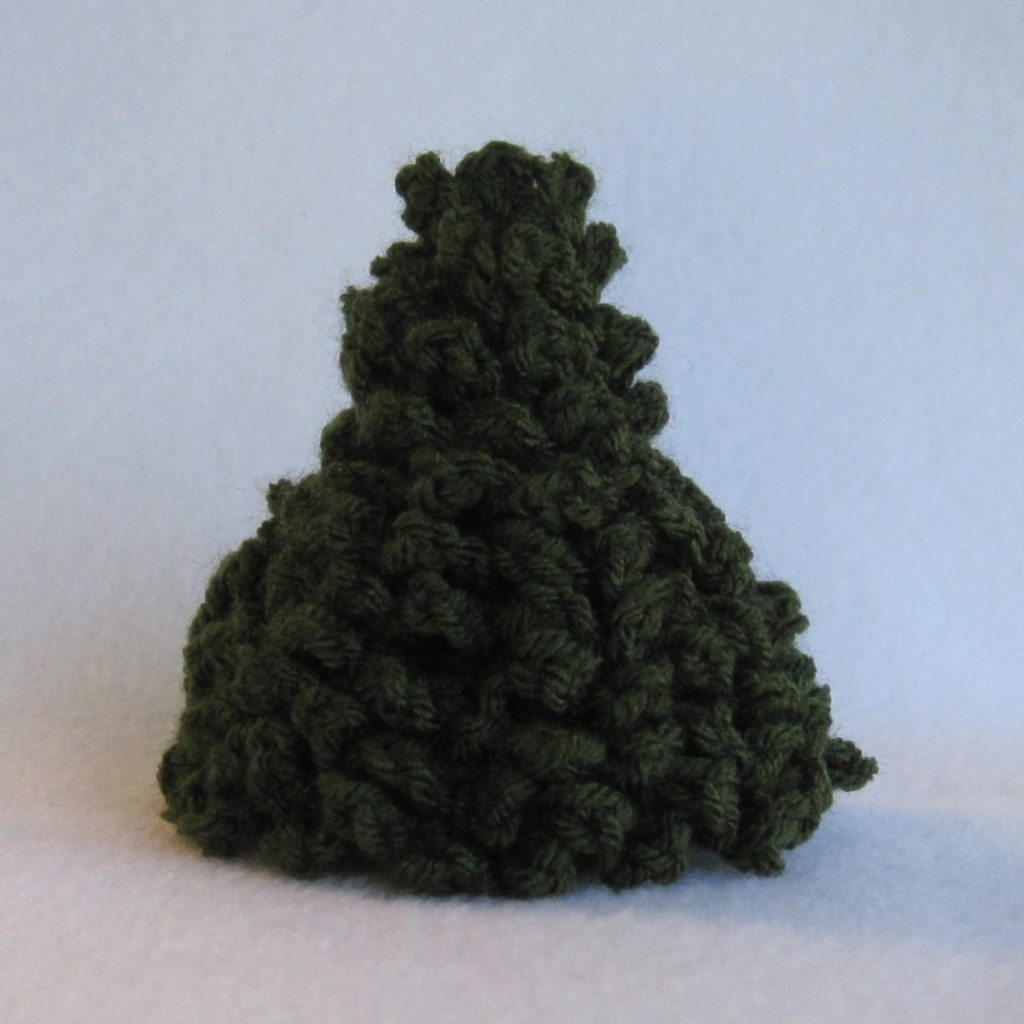
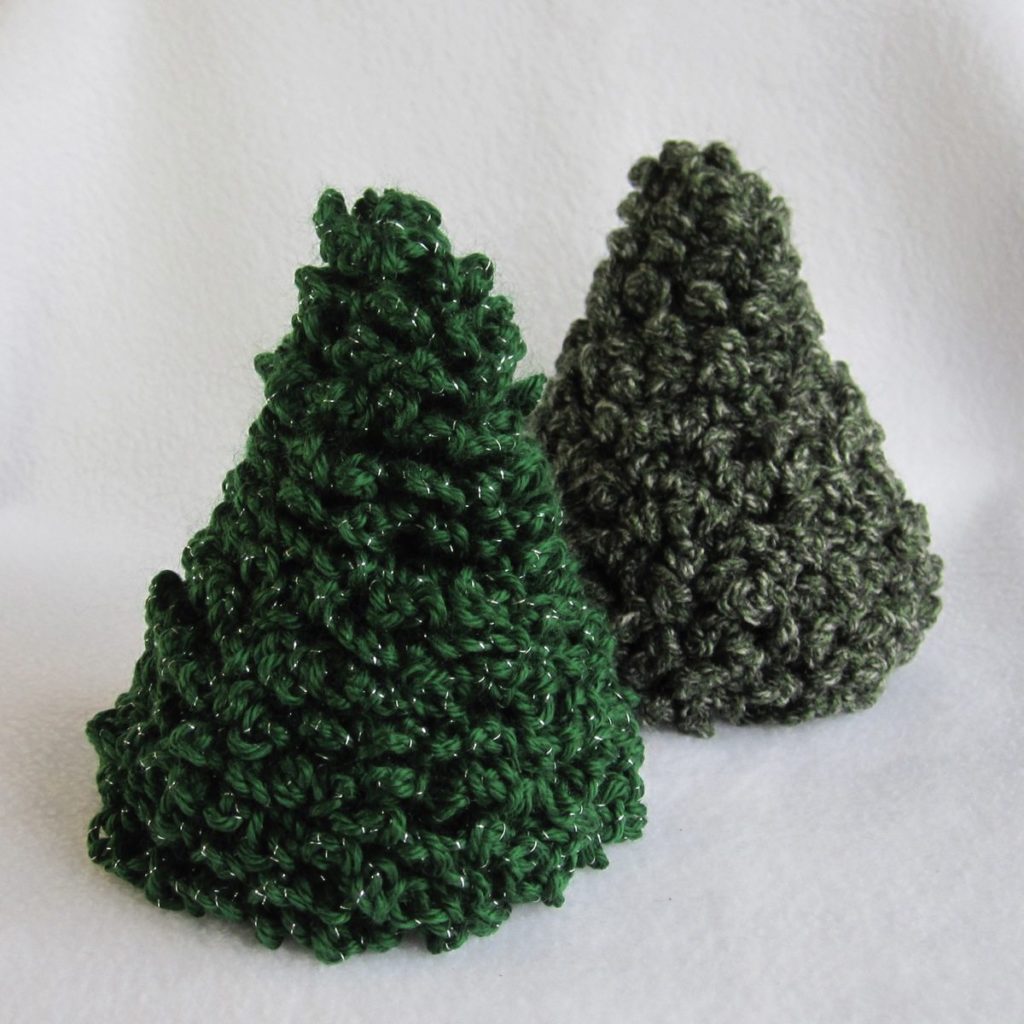
Designing your own: If you want to make a less straight-sided tree, keep in mind that whatever shaping you give the cone will be muted by the branches, so exaggerate it. The trees in the top photo are from my Tabletop Tree pattern; you would not guess they’d have the natural shape they do from the “unbranched” form. Those trees also illustrate something about design: the tree with the sparkly branches is made on a base of yarn that is thicker than the sparkly yarn, and the non-sparkly tree is the same yarn all the way through. The sparkly yarn was also very twisty, which I think contributed, but you can see how much smoother and more solid the non-sparkly tree is, whereas the sparkly one is rougher and shaggier.
If you’d like a different tree, here’s a hollow one made bottom-up with loop stitch, and here’s a stylized one made from three triangles stitched flat.
❄ Blue, silver, and white decorations ❄ Red and gold decorations ❄