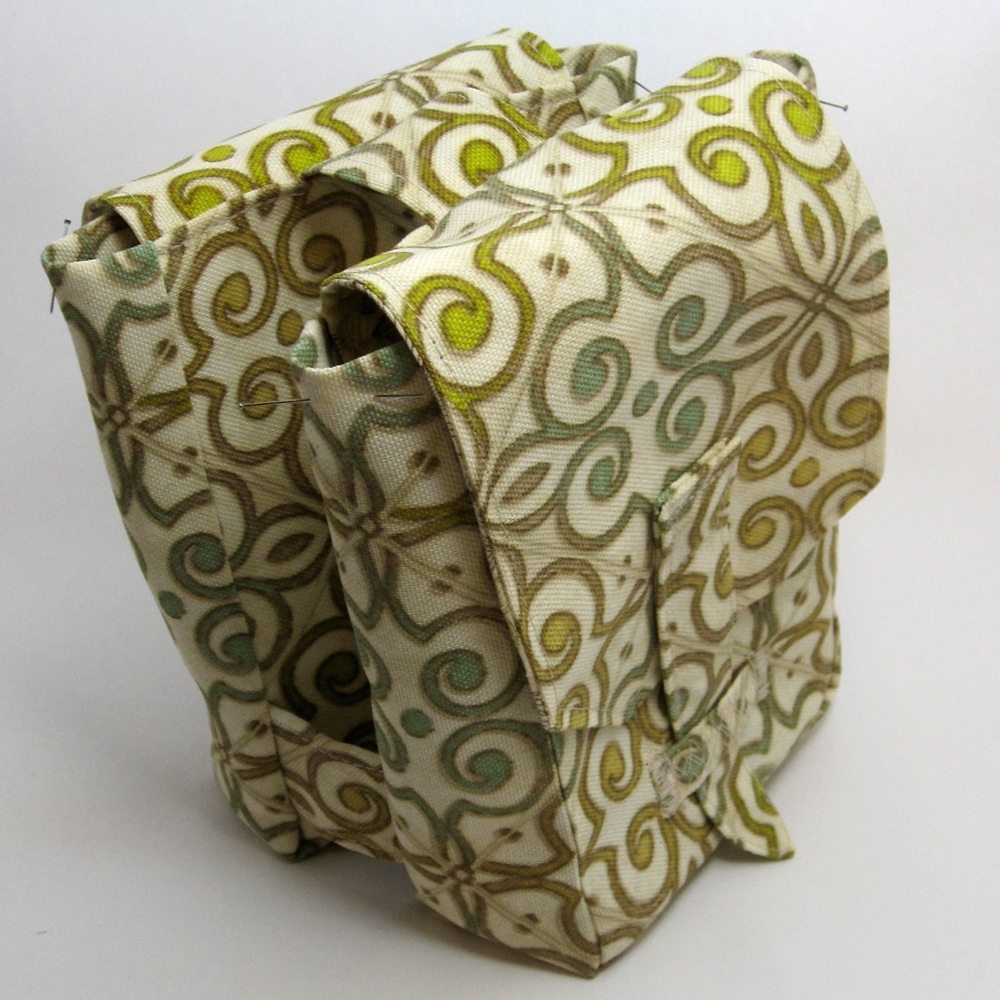
I am really excited to show you today’s project, now that a flat tire and wet weather have gotten out of the way of my photos. Look what I made for my bicycle!
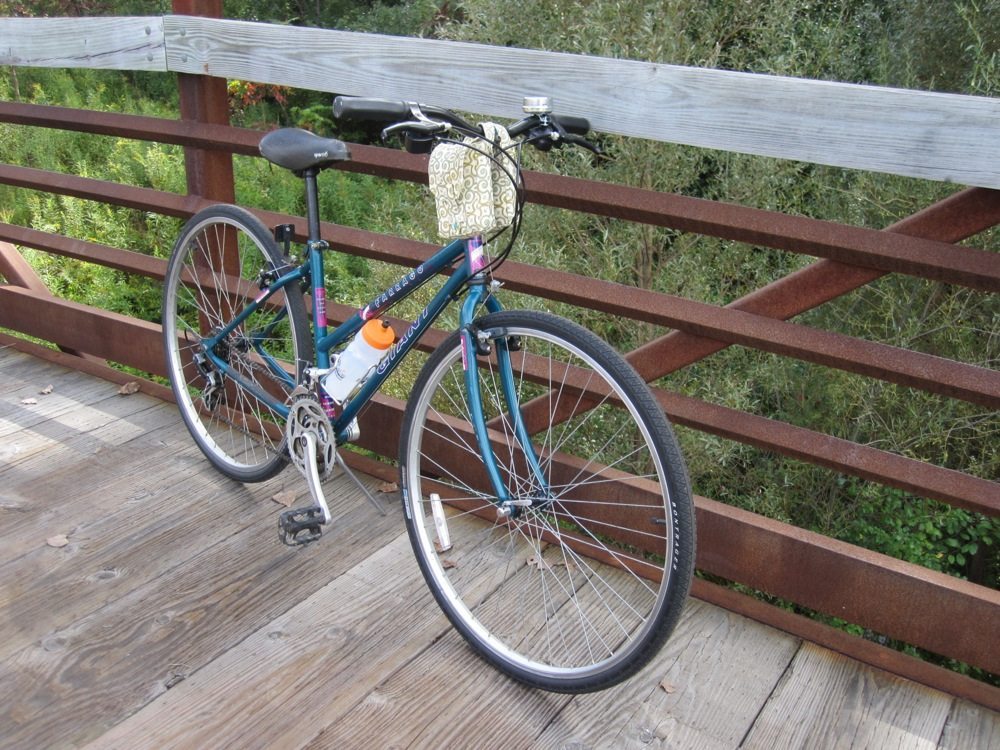
I’m a little obsessed. I only ride on bike paths, and so far, in fact, on only one path that begins really close to where I live, so I didn’t really need carrying capacity – I can put my keys and phone in my jeans pockets and it’s not too uncomfortable – except that I neeeeeeeeeeeded something. Those looping gearshift and brake cables disqualify a basket, I think, not that it stopped me from mentally designing one crocheted from nylon mason’s twine. I also have extensive notes on a seatpost bag, that hangs from the back of the seat and secures to the seatpost to keep it from swinging around, but I couldn’t get the logistics of assembly to work out, so it’s tabled indefinitely.
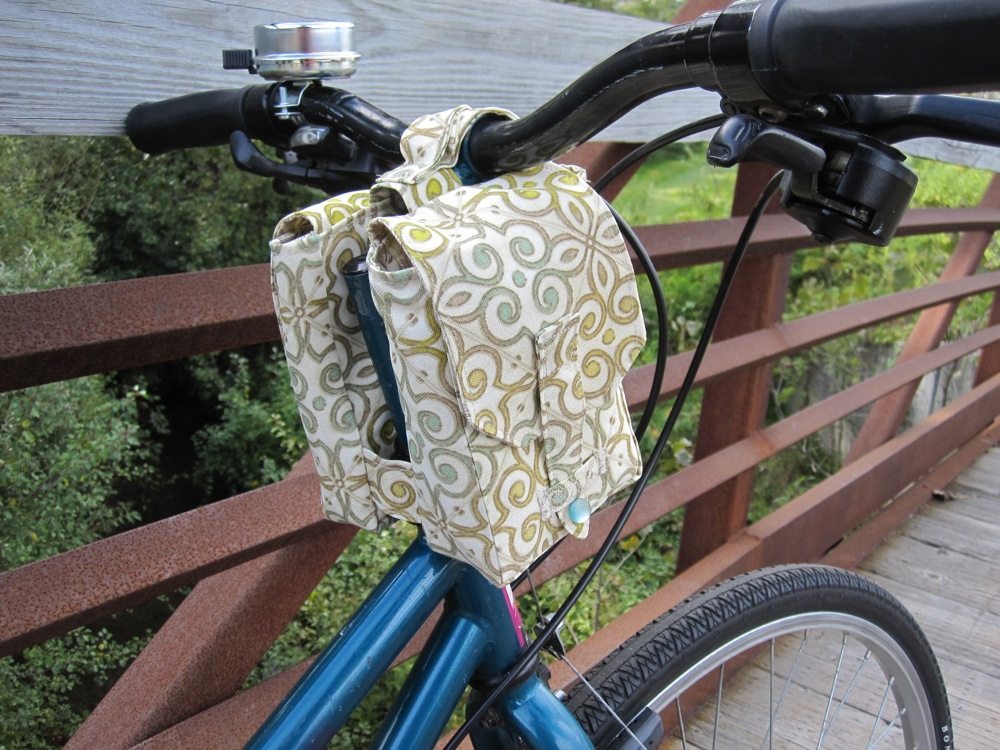
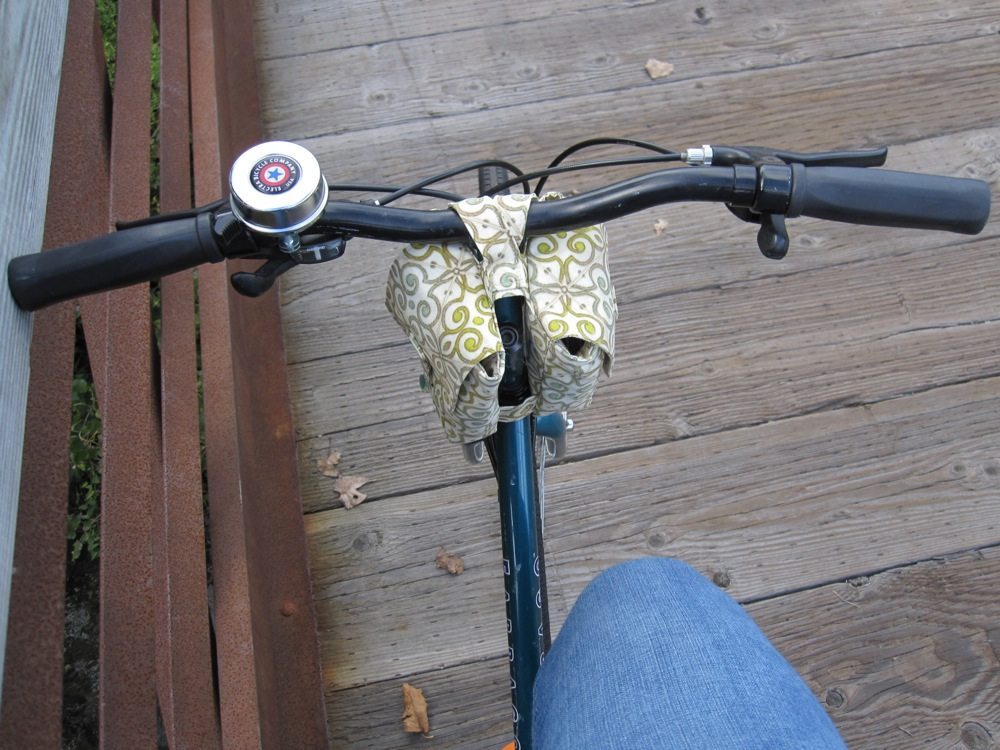
Meanwhile I went riding and noticed I had a decent amount of space behind the handlebars. Certainly enough for keys and a phone. It’s a little time consuming and a little awkward to sew, but should you want to make your own, here’s how.
[and incidentally, I have decided to try to balance the inconvenience of scrolling past something you’re not interested in with the annoyance of clicking through to read something you are interested in by cutting long tutorial/pattern posts so the pattern itself is past the cut. Other posts will remain in one piece.]
Mini saddlebags for bicycle handlebars
Materials:
I made this with remnants; a 14″ wide remnant of heavy fabric was more than enough. I used quilting cotton to line it, which needs even less fabric. The fabric I used for the outside was stiff enough to hold its shape well, and I probably didn’t need to interface the back; if you want to use lighter fabric such as more quilting cotton you’ll want to interface the entire exterior of the bag fairly heavily.
→ fronts, backs, and flaps of bags:
2 5″x7″ pieces interfacing
6 5″x7″ pieces outer fabric
6 5″x7″ pieces lining fabric
→ sides of bags:
2 3″x17″ pieces outer fabric
2 3″x17″ pieces lining fabric
→ joining tabs:
2 2.5″x5″ pieces outer fabric
→ handlebar strap:
2 large snaps (size 4; could be replaced with two 3/4″-1″ squares of velcro instead)
1 2″x20″ piece outer fabric (or 2 2″x10.5″ pieces sewed together with a half inch seam allowance) *
→ closure: **
1 4″x1.5″ piece outer fabric
2 2″x10″ pieces outer fabric
2 beads or small buttons
* This may need to be adjusted for your bike. It need not be cut until after the rest of the sewing is finished, so you can hold the bags in place and run a tape measure from the top joining tab, over the handlebars, to one of the snaps in back. My measurement for that is 5″; you need a piece that is 2″ by four times this measurement (e.g., if you need 6 inches make this 2″x24″). Be aware that the straps can be tightened by moving the snap, but not loosened.
** This is a faux buckle system. It could be replaced with a real buckle, a button on the bag with a buttonhole or loop on the flap, velcro, a charm or button to weigh the flap down, or anything else you dream up. I wouldn’t suggest omitting it entirely, though, because the flaps will blow up and back while you are riding.
Assembly:
Some of this is do as I say, not as I do, because I realized late in the game that I had done some things the hard way. Some of the photos won’t quite match because of that. Also, regarding photos, I have tried to keep them to a minimum while still giving enough to make all the steps clear – click to enlarge. If the photos for a given step aren’t enough, hopefully photos showing a later stage of assembly will clarify. And as a last note, if the photos for assembly look a little unreal, it’s because I took them in an inadequately-lit photo tent and tweaked them in iPhoto.
→ To prepare joining tabs:
Fold each 2.5″x5″ piece of outer fabric in half, forming a square, and fold the raw edges in to meet the inside of the fold. Press well and topstitch close to each folded edge.
→ To prepare closure:
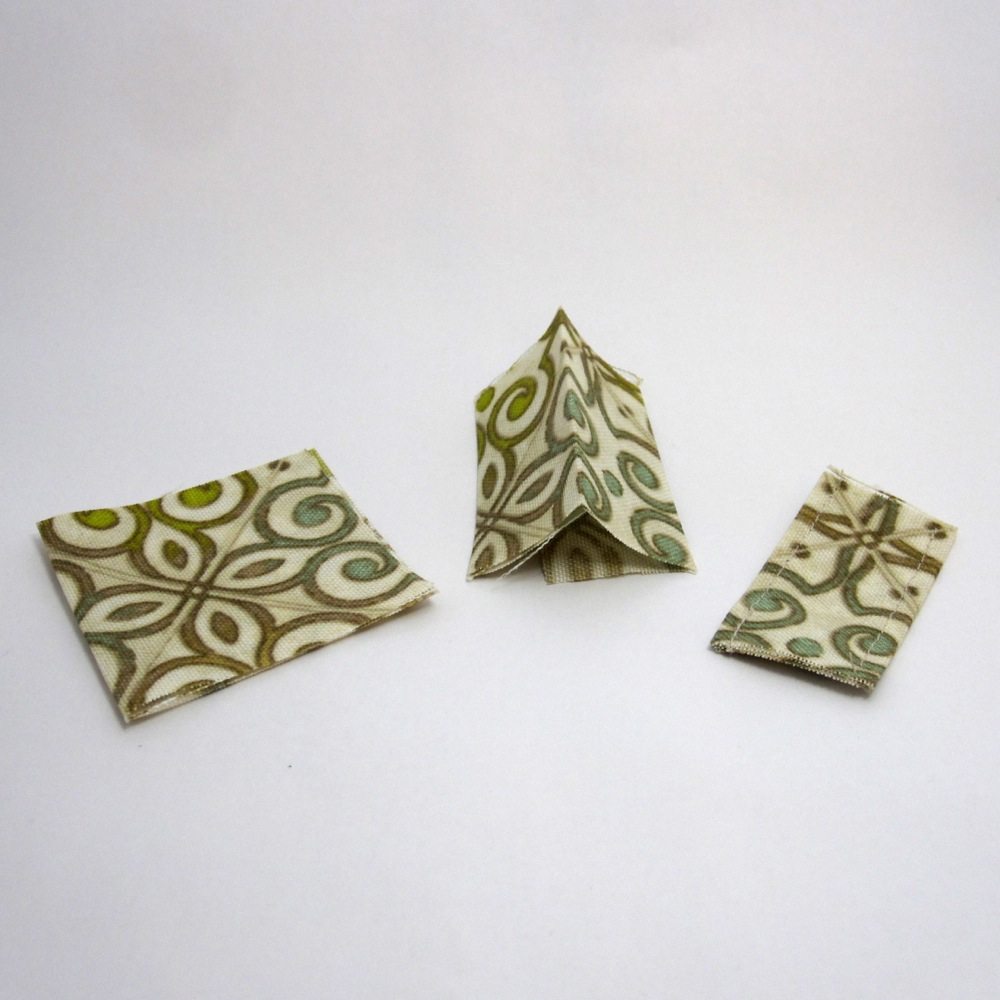
“Buckle”: Fold 4″x1.5″ strip in thirds, forming a 1/2″ wide strip, and press. I zigzagged down its length several times to secure the edges; if you are using a non-fraying material you might get away with less sewing. Trim off ends and cut into two 1.75″ lengths.
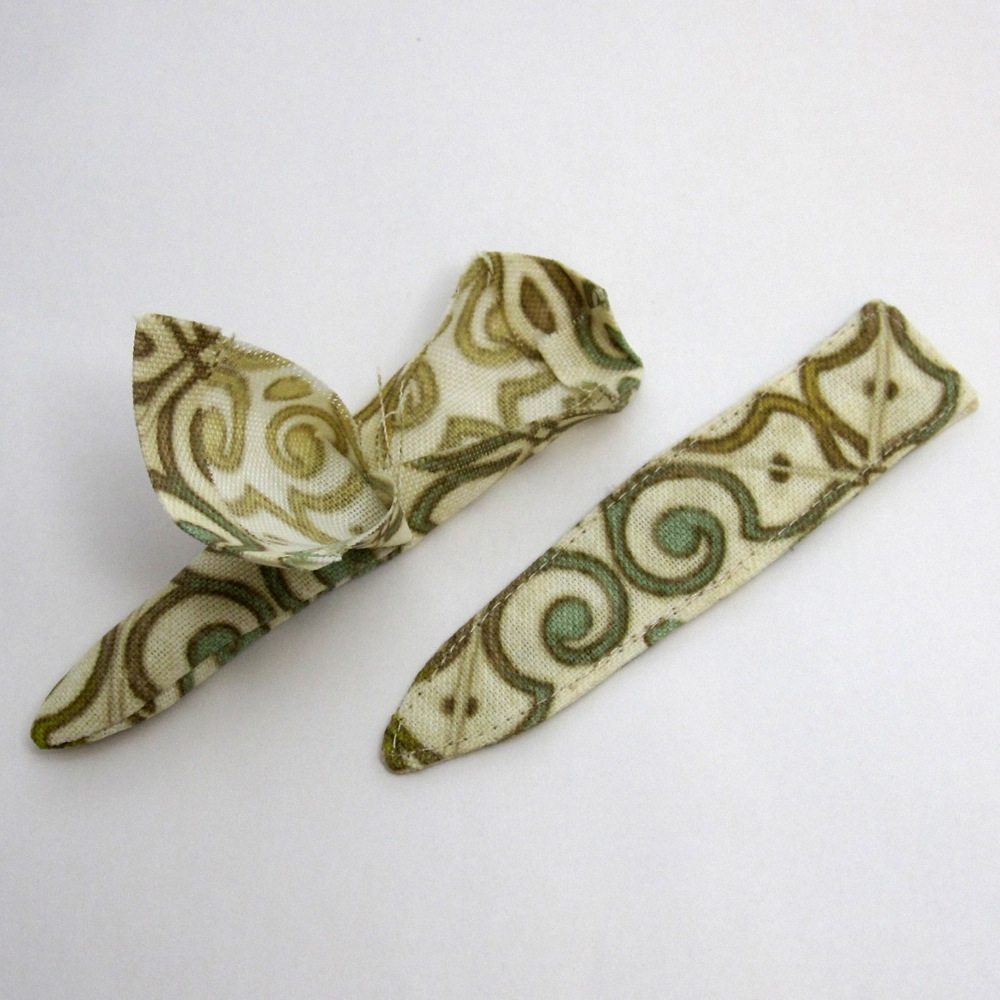
“Belt”: Fold 2″x10″ strips in half, right sides facing, to form 2″x5″ strips. Stitch along long edges from the fold to about 2″ away, 1/2″ away from each raw edge. Mark at fold 3/8″ in from each seam line (7/8″ from raw edge; marks should be 1/4″ apart), and mark on seam lines 3/4″ up from fold. Stitch again, tapering strip by stitching directly from each seam line mark to corresponding mark on fold. Trim, turn, work the tip out as well as you can, and press.
At unfinished end of strip, press short edges down 1/2″. Open up and, one corner at a time, fold each corner in diagonally to make triangle with 1″ legs (non-fold sides). Fold top 1/2″ down again and press. Keeping the top folded down, fold the sides in from the corner of the top fold to the end of your stitching from the previous step, and press well. Pin in place and do the same pressing to the other side of the strip. Pin together and topstitch all the way around, close to the edge.
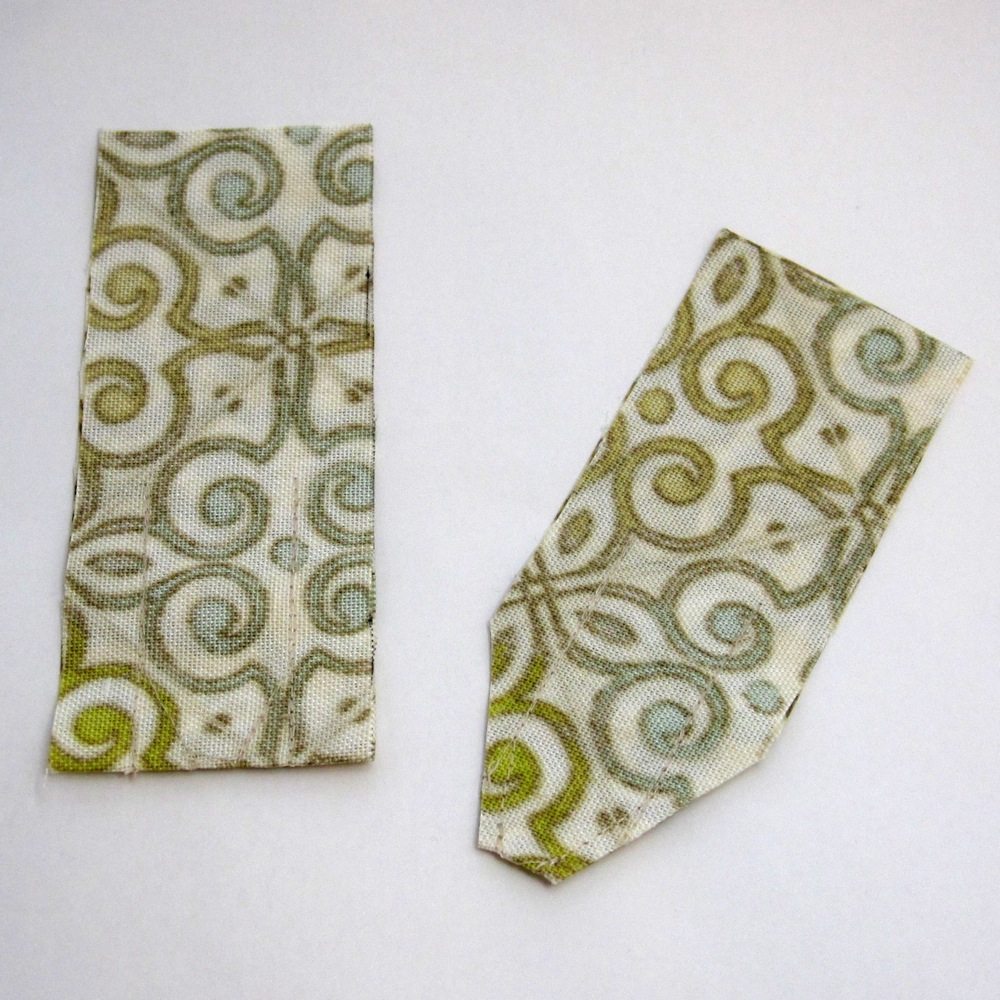
→ To prepare flaps:
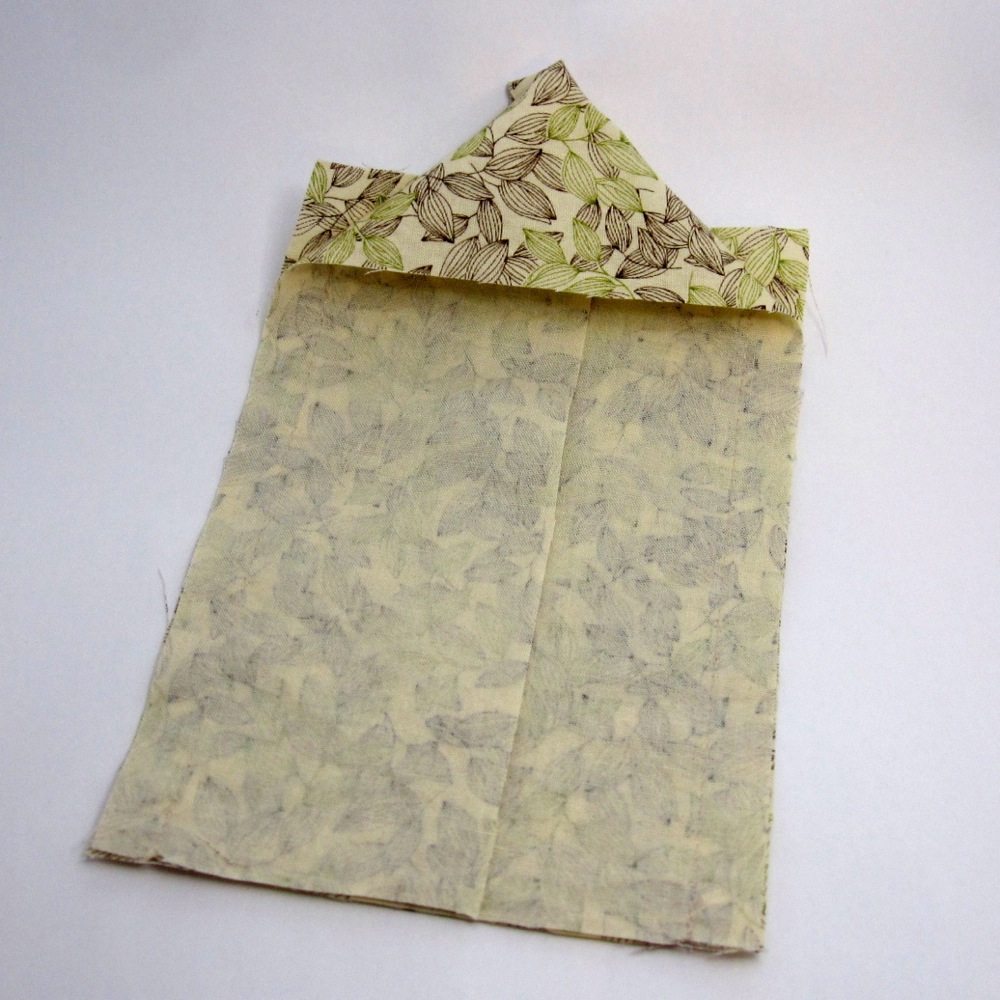
For each flap, pin a 5″x7″ piece of each fabric together, right sides facing, and sew around both long edges and one short with a 1/2″ seam allowance. At the two stitched corners, mark 1.5″ in from each raw edge on the seam. Sew again but “cut the corner” by stitching directly between adjacent marks. Trim corners, turn, press, and topstitch close to seam.
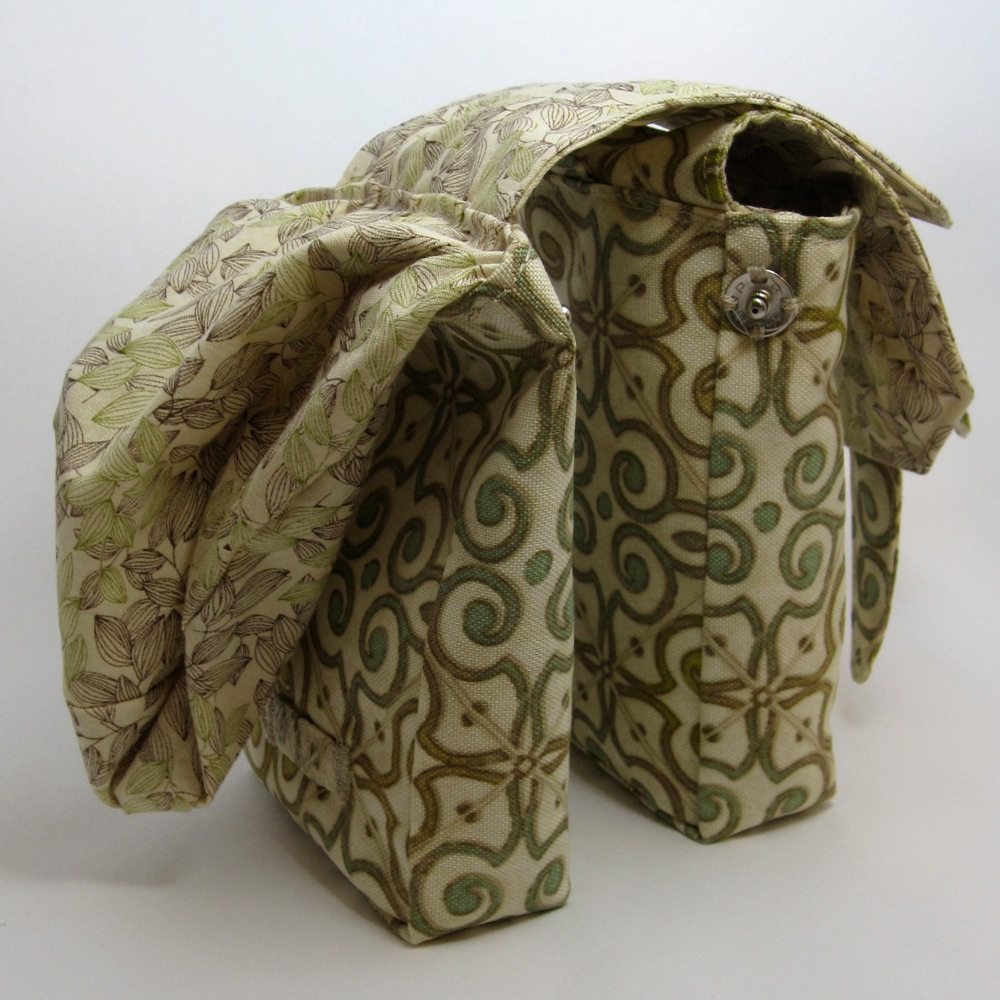
Attach the square end of one “belt” to each flap, centered between the long edges and with the flat end of the belt 2″ up from the sewn short edge of the flap (mine turned out to be a quite scant 2″). Topstitch around in a square near the square end of the “belt.” I realized after my first ride that the flaps undid themselves in the wind and added buttons to give them extra security. Those can be added at any time from here out, to the front bottom of each “belt” (the front is the side you can see for its entire length). For placement look at the pictures above of the finished bags on my bike.
Measure 5.5″ up from the stitched end of the flap toward the raw edge and mark with pins parallel to the raw edge.
→ To prepare outer layer of each bag:
If using fusible interfacing, iron each piece on to the inside of a matching piece of outer fabric; this will be the back of each bag. If using non-fusible, sew together flat, 3/8″ from edge.
On remaining pieces of outer fabric (you should have used two already for flaps and two for backs), attach your two “buckles.” Pin each flat against the fabric, centered between the long edges and parallel to the short edge. The short edge should be 1.25″ away from the closer side of the “buckle.” Sewing near each end; I made a dense zigzag, to cover the raw edges. See second set of bag assembly photos, below.
→ To assemble bags:
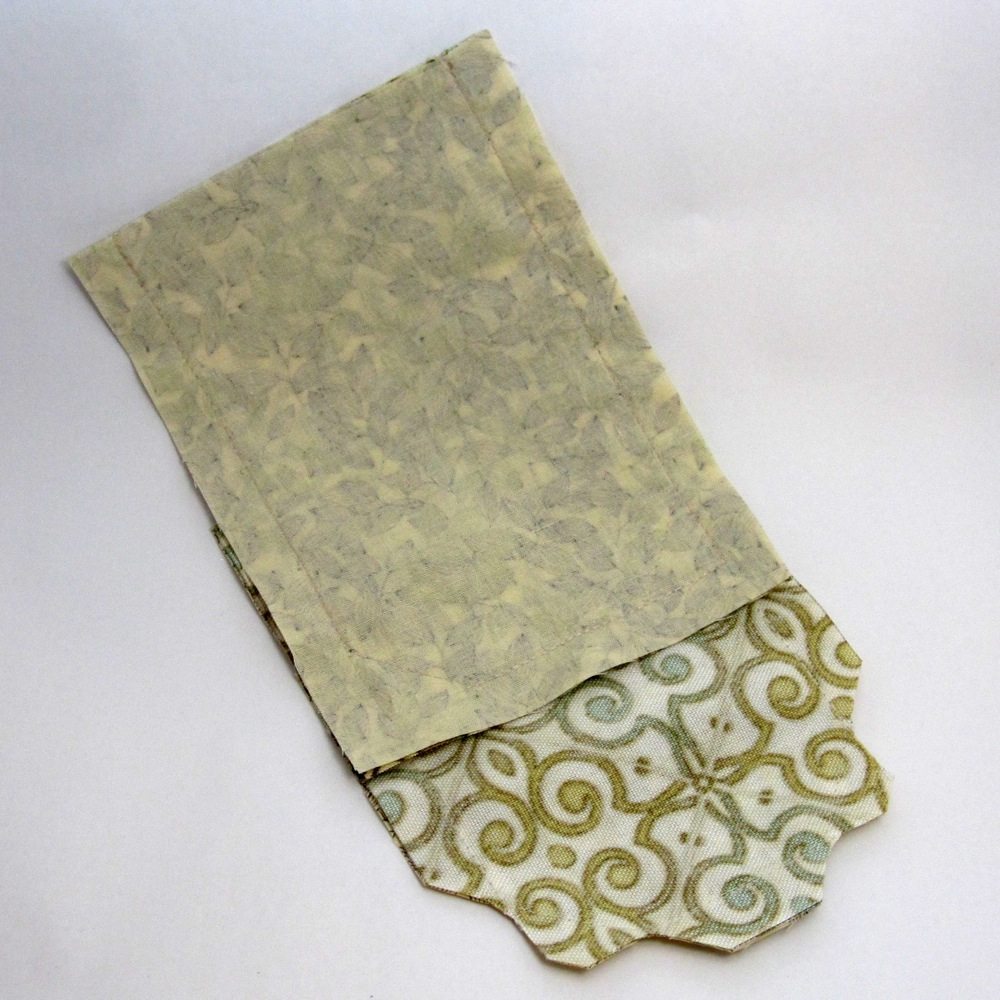
This is hard to describe verbally, so refer to the photos for clarification. With one 3″x17″ piece of lining and one 5″x7″, pin the long edges of the 5″x7″ to the same long edge of the 3″x17″, so the ends of the 3″x17″ meet the same short edge of the 5″x7″, and the long strip forms a U shape. Stitch at 1/2″, stopping 1/2″ away from the short edge of the 5″x7″ that is in the base of the U. Clip the U seam allowance perpendicularly to the raw edge right at the end of your stitching. Line the base of the U up with the enclosed short edge of the 5″x7″, pin, and sew at 1/2″. Repeat with a second 5″x7″ piece and the other raw edge of the long strip, and then repeat the whole thing with the remaining three pieces of lining fabric.
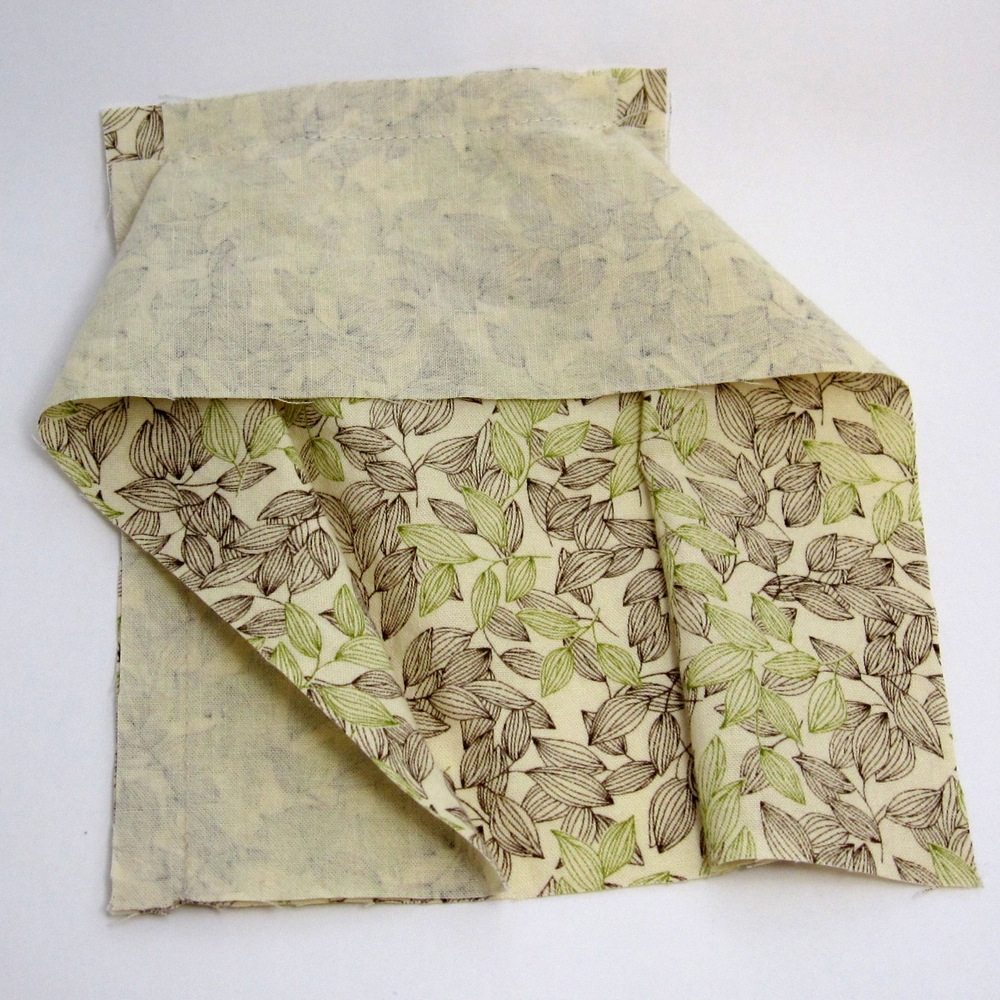
[Note that my lining was a little too large to fit without a bit of gathering; stitching at 5/8″ instead of 1/2″ on two of the long edges, diagonally opposite from each other in the bag, would have fixed that without warping the shape noticeably.]
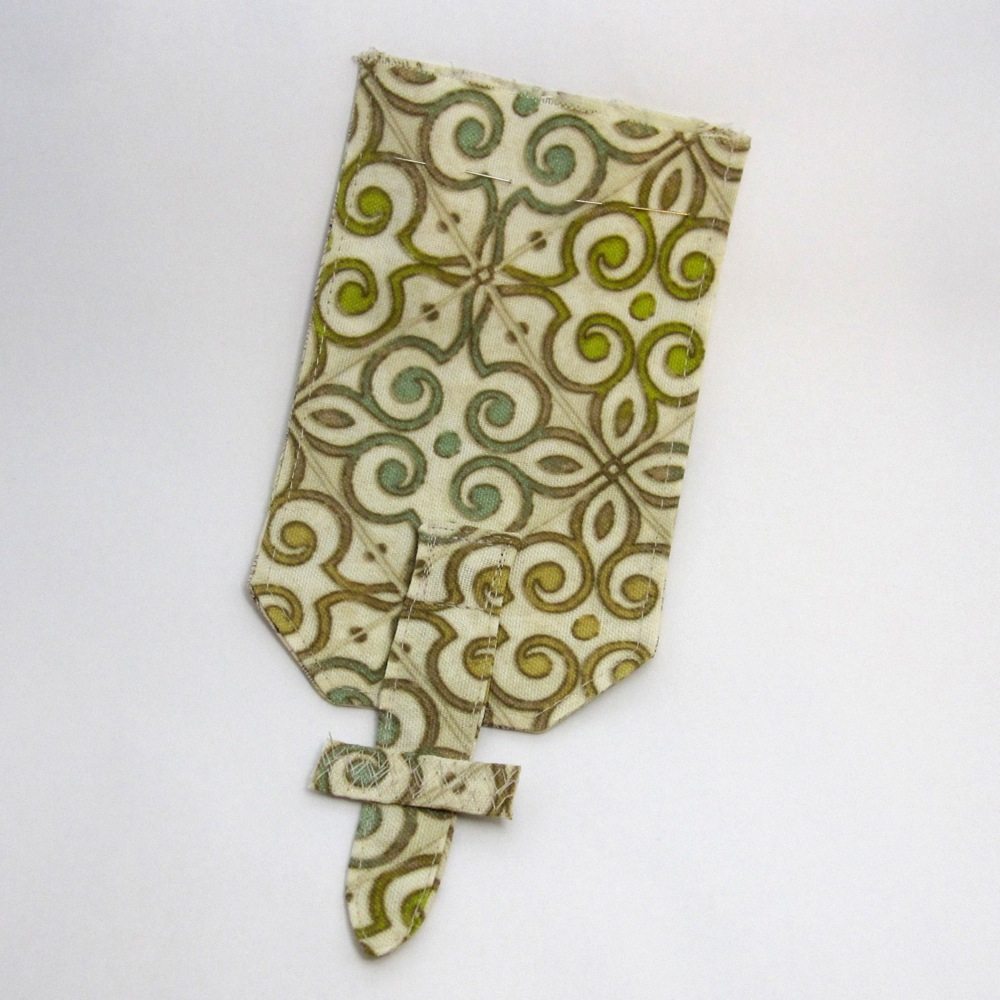
The outer layer uses the same method but slightly different order. Begin with the 5″x7″ pieces that are the fronts of the bag, and attach them so the “buckles” are close to the bottom – the short edge sewn to the U.
The backs will incorporate one of the joining tabs, which must be attached to opposite sides as you look at the bags both from the back. The easiest way to ensure you do not accidentally join the same sides is to sew one long side, opposite on each bag, to the bag side prior to the rest of the steps.
Pin one joining tab to the unsewn long edge of one back piece, raw edges together, bottom of tab 1″ up from bottom of back. Sew at 3/8″. Finish assembling bag as for lining and turn right-side-out. [You may want to reinforce the corners before turning by stitching diagonally across them.]
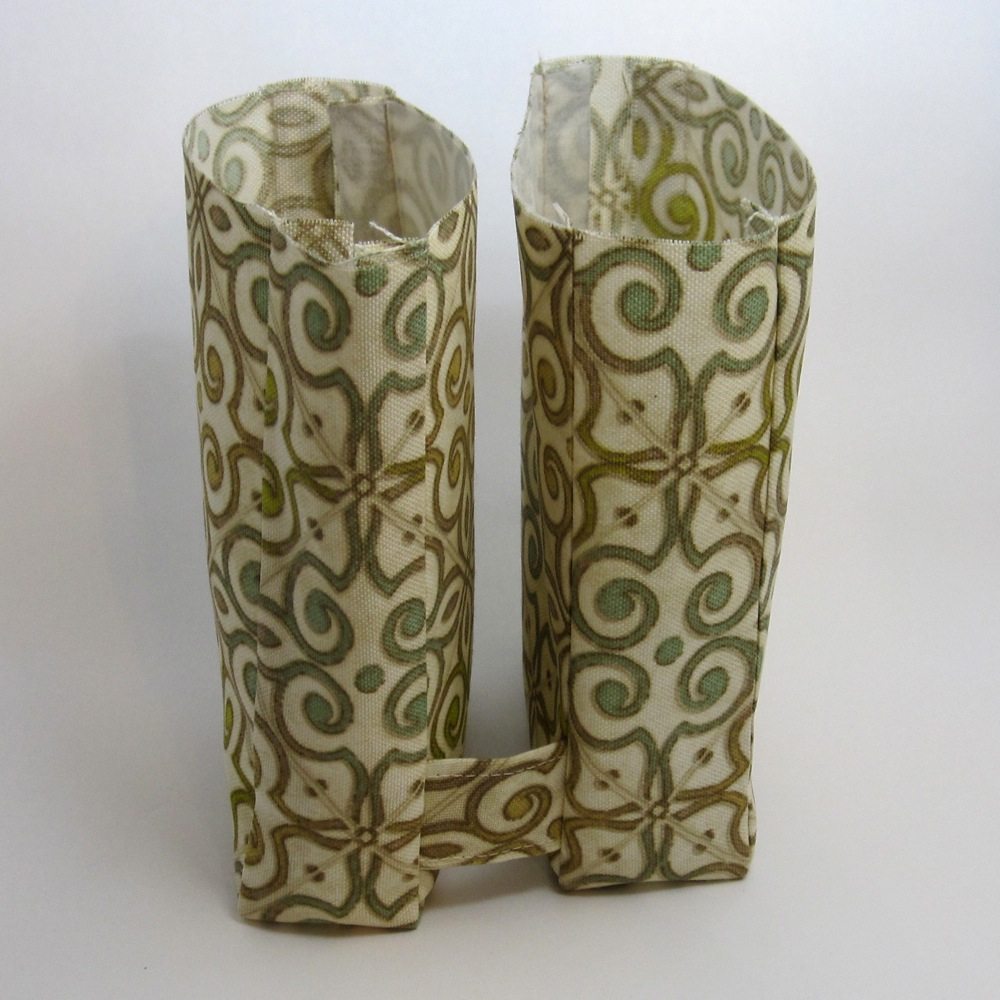
Pin other end of joining tab to remaining back piece in the same way, making sure same side of tab faces back piece as before. Sew at 3/8″. Roll up assembled bag, tuck inside unfinished bag, and finish bag as for lining. Reinforce corners as desired, turn right-side-out, and poke out corners.
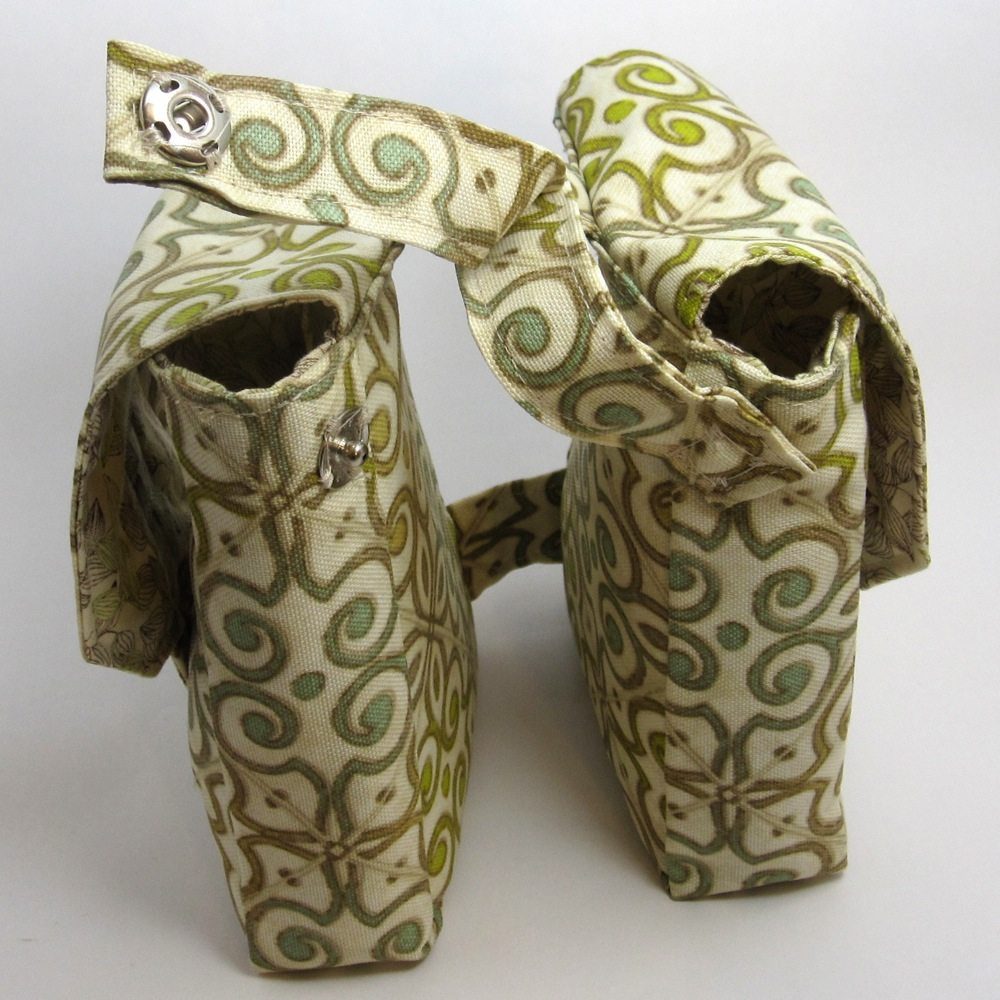
Sew half of each snap to the narrow side of each bag opposite to the joining tab. Attach it 1″ down from the raw edge (edge to top of snap) and just inside the seam between the side and back of the bag.
→ Adding flaps and lining:
On each outer and lining pouch, press the top down 1/2″, wrong sides together. For the outer fabric this will be to the inside, and for the lining fabric, to the outside.
Mark the remaining joining tab 1/2″ in from each end with pins parallel to the raw edge.
On one outer bag, center the joining tab on the back of the bag, one marking pin lined up with the folded top of the bag and the other sticking out above the bag. Topstitch close to the folded edge of the bag. Center one flap on the back of the same bag, marking pins lined up with the folded top of the bag and “belt” to the outside of the bag. Topstitch close to the folded edge of the bag. Repeat with the remaining outer bag and flap, making sure same side of tab faces bag each time.
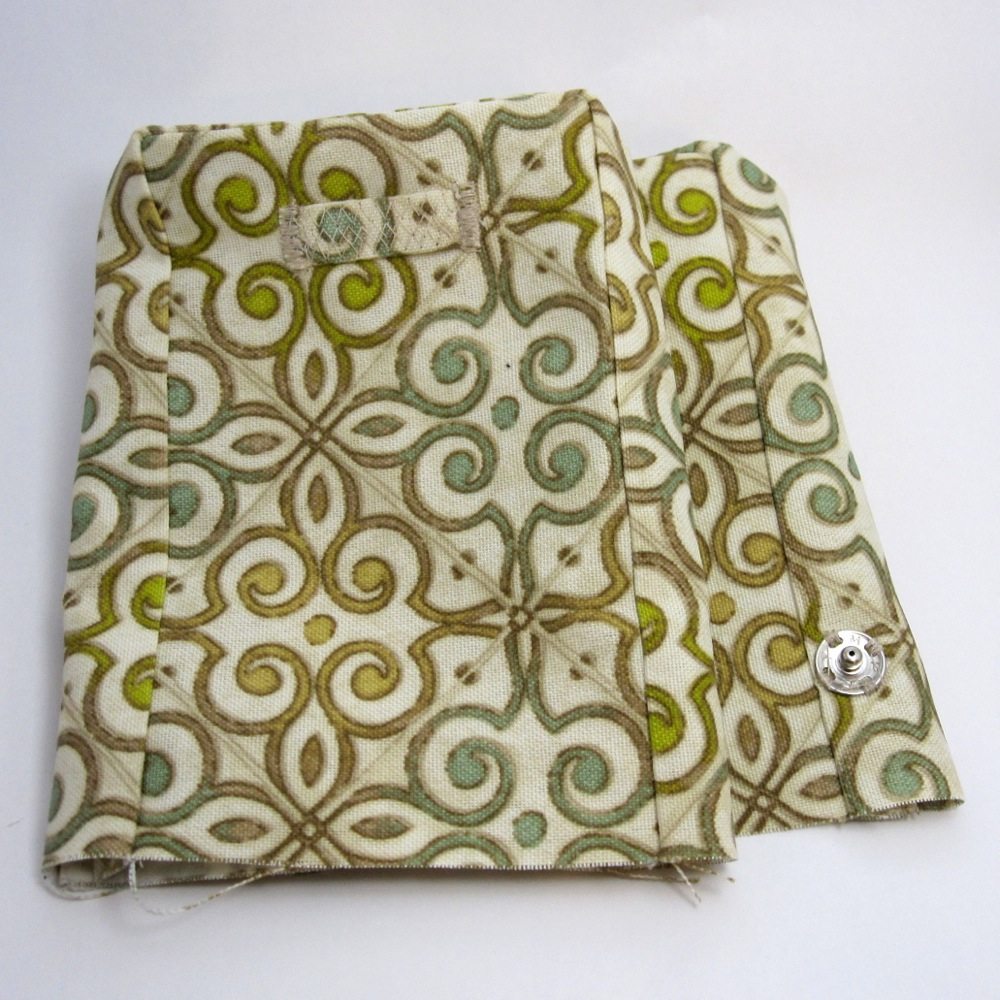
Insert lining into one bag, matching seams and folded top edge. Pin as needed to even out extra fabric (note: there will be more extra when under the machine than in your hands). Topstitch close to fold; there’s a lot going on here and I found the easiest way to do it was to stitch in two rounds, each including both short edges and one long edge. Repeat with remaining bag.
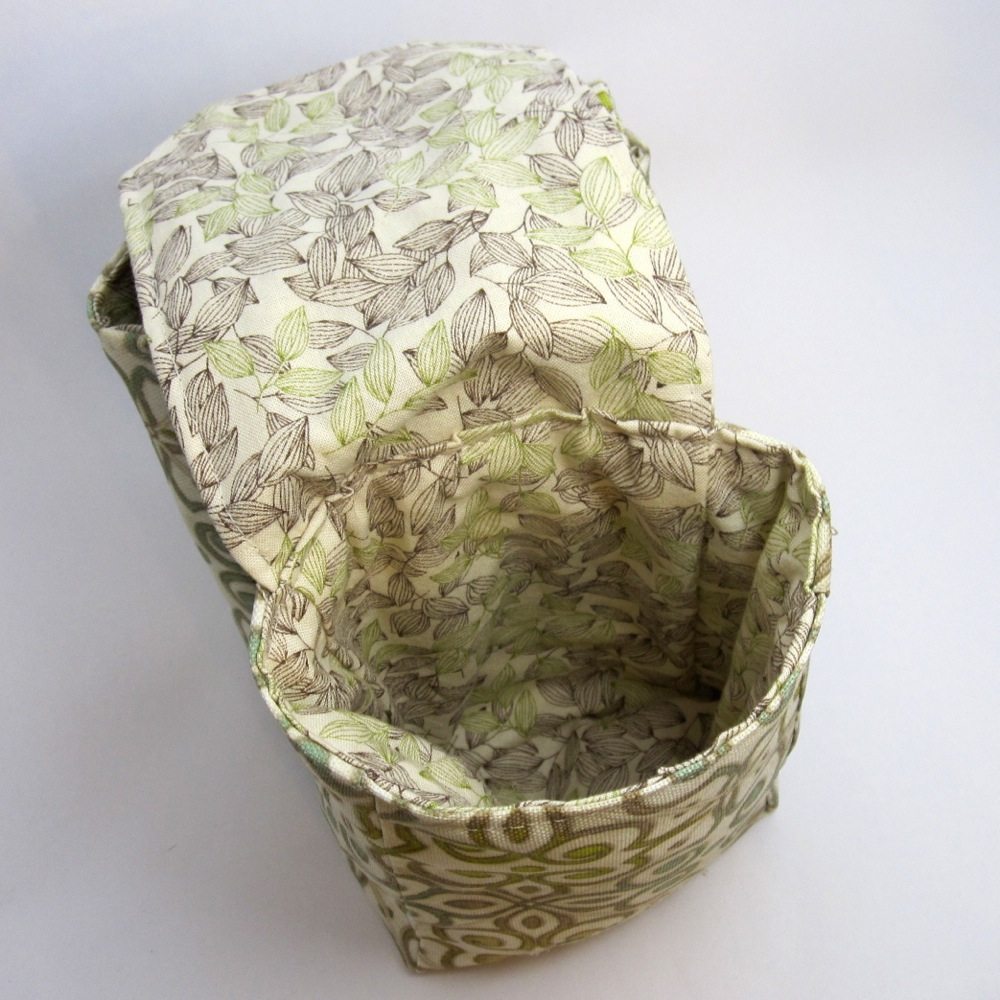
The second photo shows one reason to attach the buckles and snaps only to the outer layer: the lining pulls out for removal of accumulated crud.
→ Attaching strap:
Once you have determined the needed length and cut your piece, press long edges in by 1/2″ to make a 1″ wide strip. Fold in half to make a 1″x10″ strip (in the original measurements) and fold the ends in toward the fold to make a 1″x5″ (or really, a little longer) strip. Press well and open middle fold; topstitch all the way around to secure. Attach remaining half of snaps to each end, facing the same direction when the strip is folded (so one will be on the side showing the raw edges and one on the other side).
Fold in half again and pin to the top joining tab, centered, so the snaps face downward and away from the other joining tab (toward the matching snap halves). Topstitch in a square to join as you did for the “belts.”

Snap the whole shebang onto your bike and you’re ready to go!
Those bags are hot.com! The button color is perfect too:)
Hey, thanks! Especially for helping me pick the buttons. 😉
No prob.
Wow. Cleverness comes in pairs.
I should have known that!
I see what you did there. 😉
If I wanted to make one bag twice the size of these how would I do it?
Also for handlebars? I would double the size of the front, back, and flap pieces (cutting half as many of them), make the side pieces twice as wide but more than twice as long (not doing the arithmetic here this morning, but add at least 2 inches to the length – you can trim them down once you see how much goes around). You can keep the closure the same, though with a wider bag you might decide 2 closing “buckles” works better, spaced outward from the center.
Skip the joining tabs, and replace the one long handlebar strap with 2 straps each 2″ by 10″. Prep those similarly to the handlebar strap, except you only need to finish one end. Then I would insert the unfinished end into the top of the bag the same way the top joining tab is in the 2-bag version, but spaced apart from the center (I’d have to see what the bag looked like against the bike handlebars, but I’m guessing about 1/3 and 2/3 of the way across would be good). The snaps would then join the straps to the back of the bag.
Hope that helps, just a rough idea of how I would go about it!