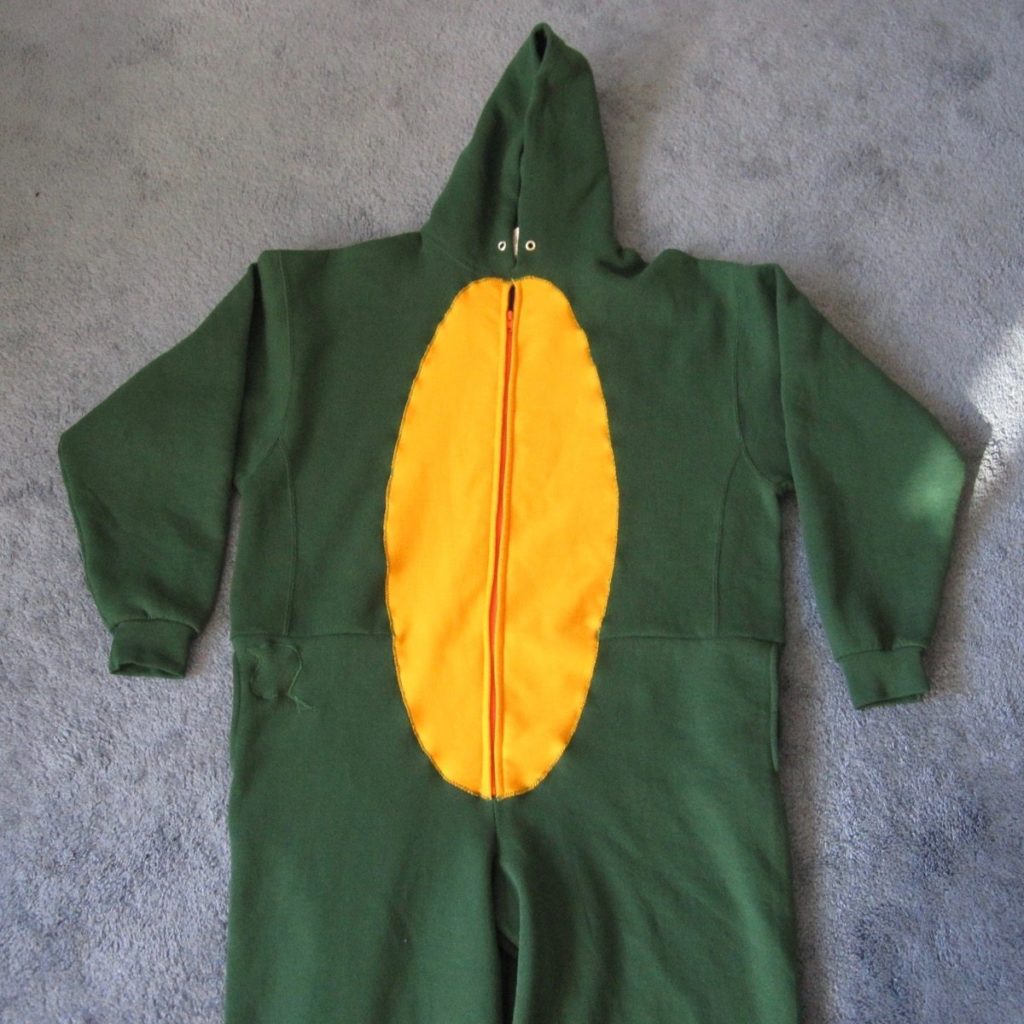
My husband and I were dragons for Halloween!
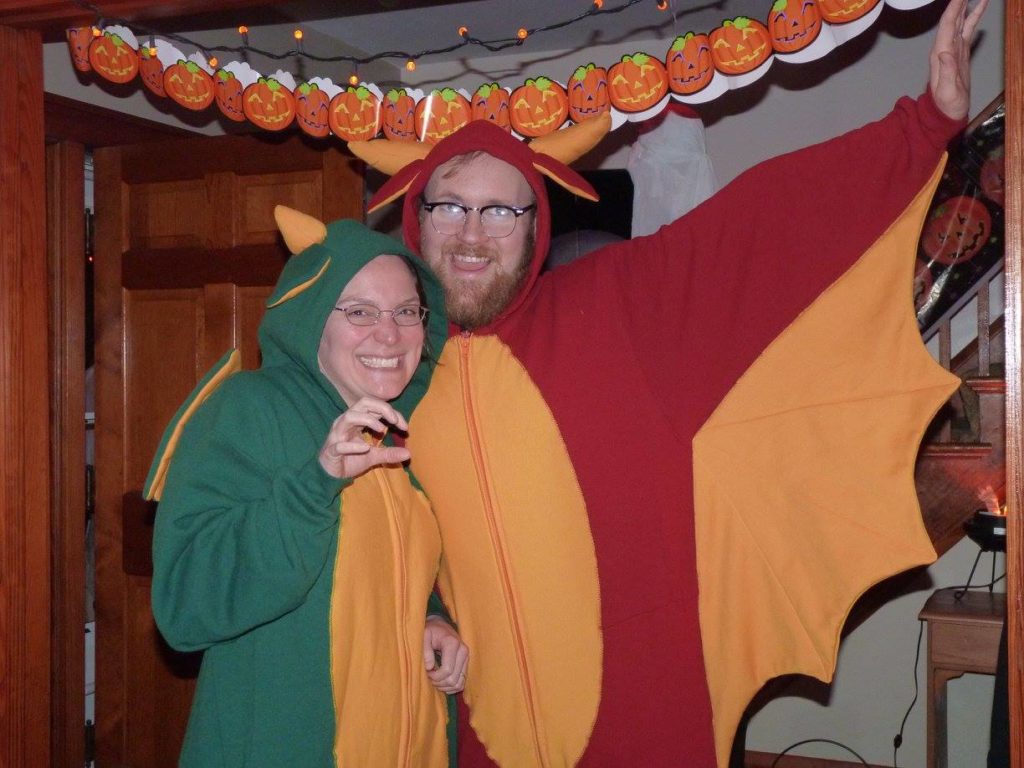
Thanks to my mother-in-law for the only photos I have of us wearing them! At that party my sister-in-law made a Christmas request, so I’ve actually made three of these now. The costumes started life as three sweat suits, three separating zippers (22-26″ depending on recipient’s height), a couple of yards of gold sweatshirt fleece, and a little batting and stuffing.
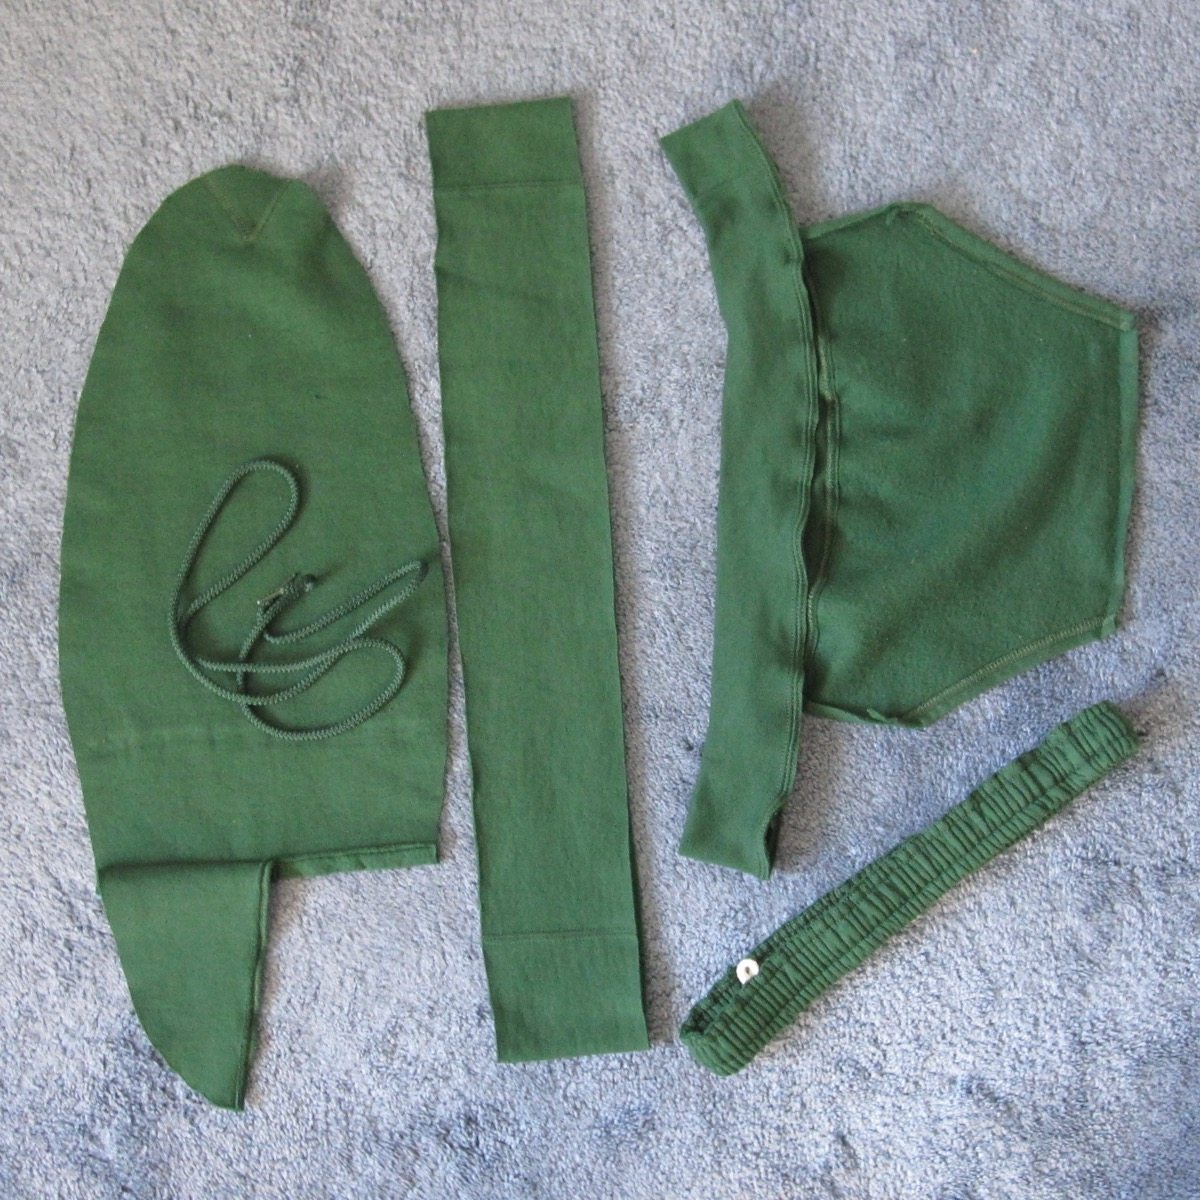
I’m not going to give really specific directions, just a general procedure, but hopefully enough to be helpful if you want to make a similar costume for yourself. Start by pulling out the hood’s drawstring, picking the stitching out to remove the front pocket, cutting off both waistbands right at their edges, and trimming about 4″ off the bottom of the shirt. Pictured above is the removed material from one suit (plus the oval where the belly goes, minus a bit of that oval that I’d cut out for who knows what).
Size and height considerations: I used XL sweats for my 5’11” husband and my 5’6″ self; they were probably a size or two up from what we would get if we were going to just wear the sweats as sweats. For my long-backed hubby I ended up stitching the top and bottom together at only 1/4″ to allow a bit of extra torso length; my short-waisted self could probably have lost another three inches at the waist and been fine. I used S sweats for my 5’1″ sister-in-law (she could probably wear XS but might choose S anyway), and 4″ off the waist was perfect.
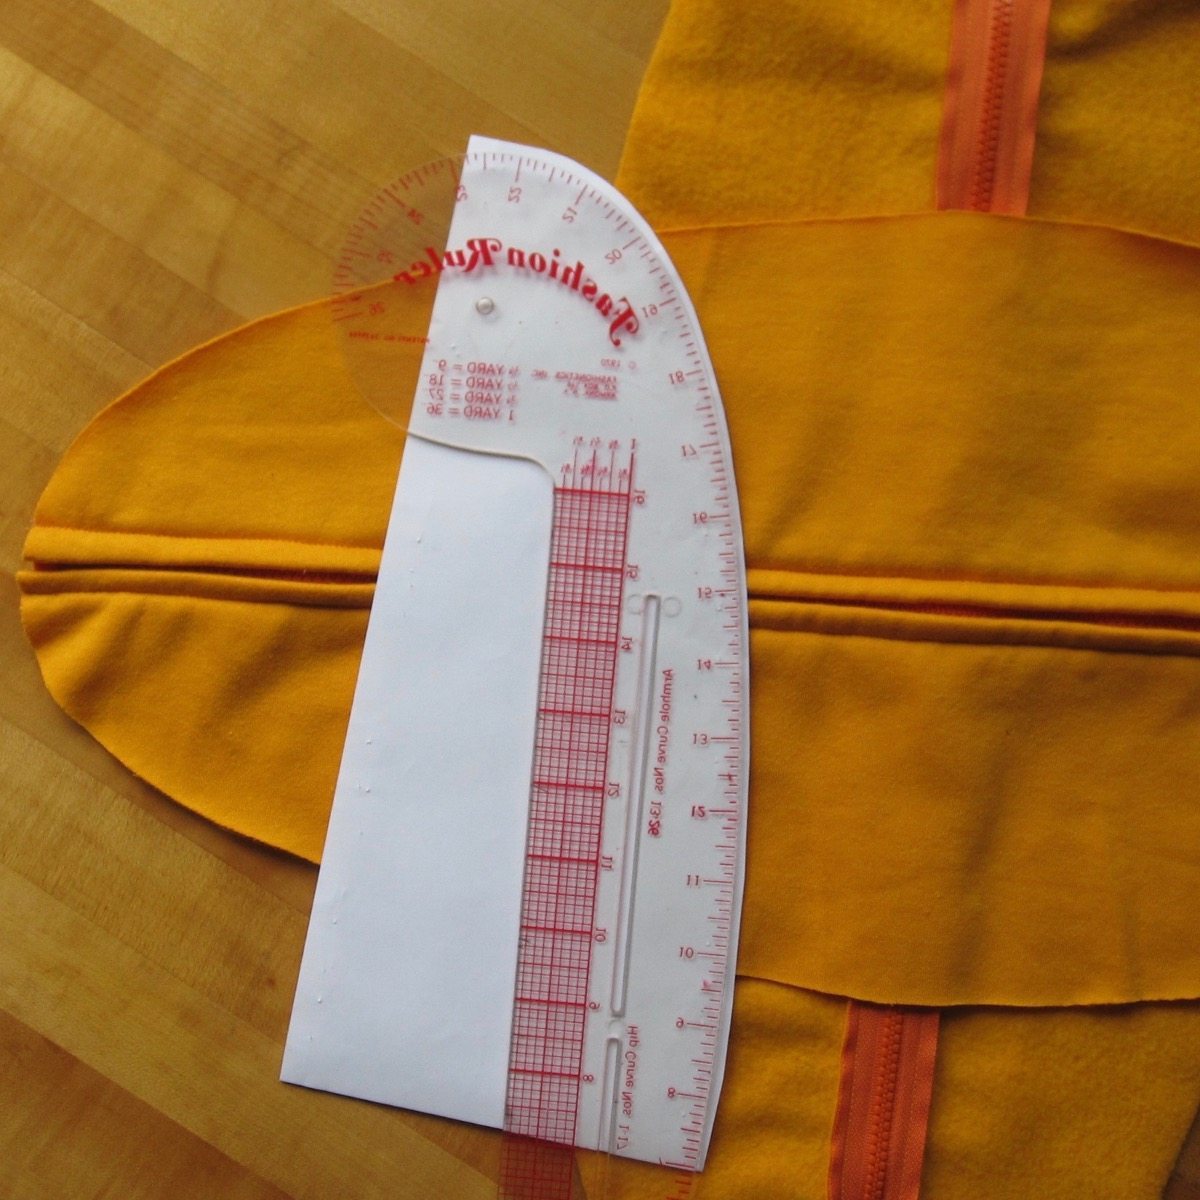
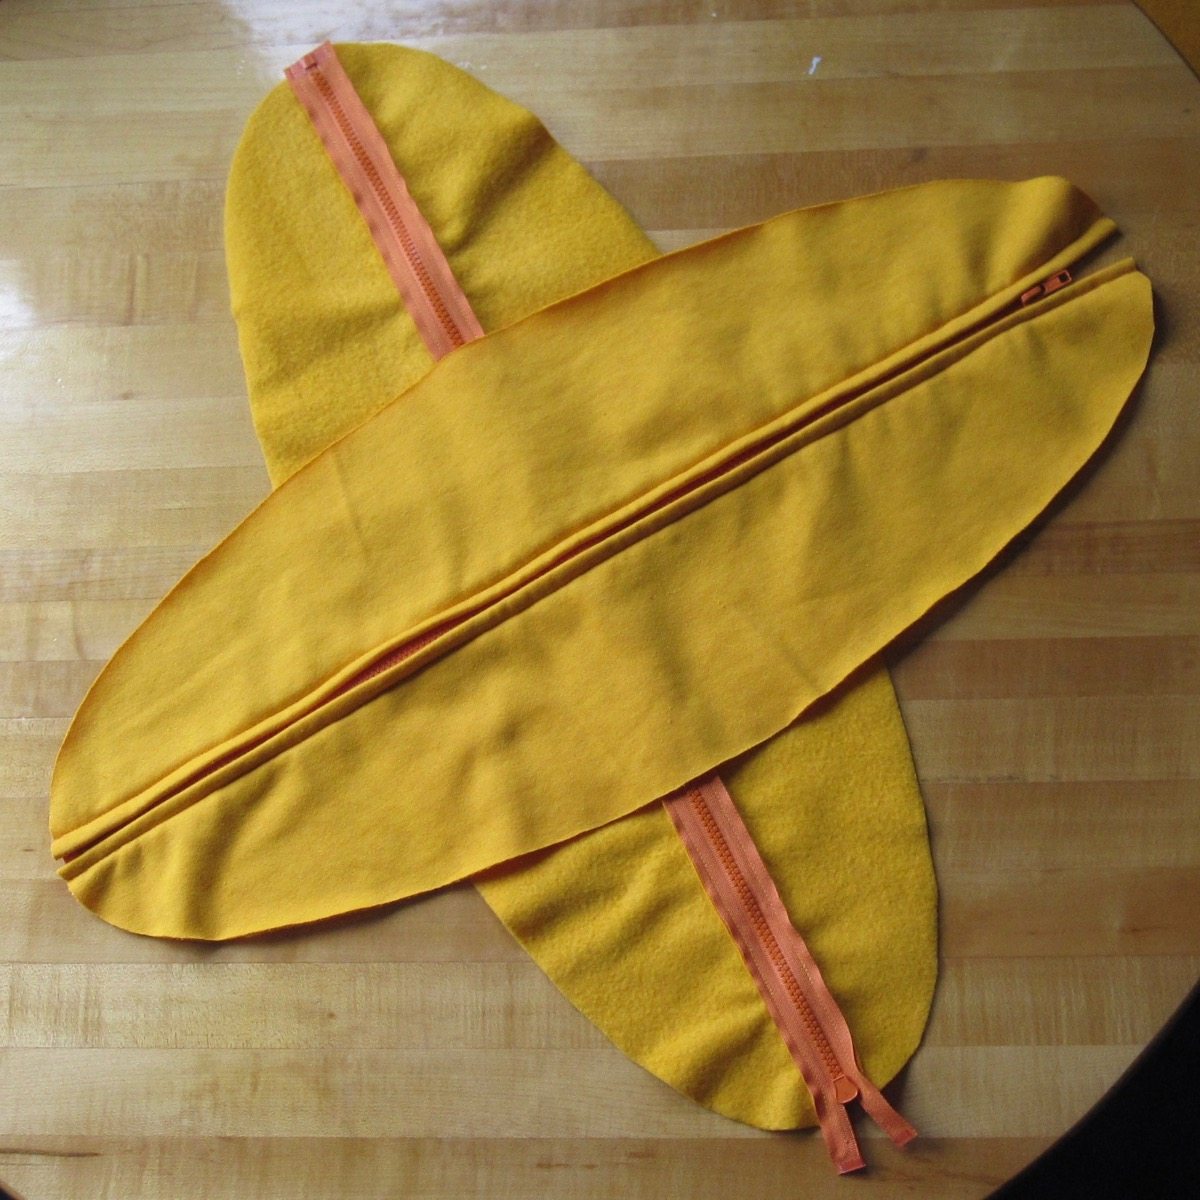
Make and install the belly: Sew the shirt and pants together across the front, center side to center side. Using the dimensions of that area as a guide, cut out two tall, thin half-ovals of your contrast fleece, including a half-inch seam allowance down the center. Baste them together and install a centered zipper between them, with any excess zipper at the top. Topstitch oval to front of body all around with zigzag; fold ends of zipper tape under at top to hide them. Carefully trim body fabric out from under belly fabric, keeping it whole for accessory creation.
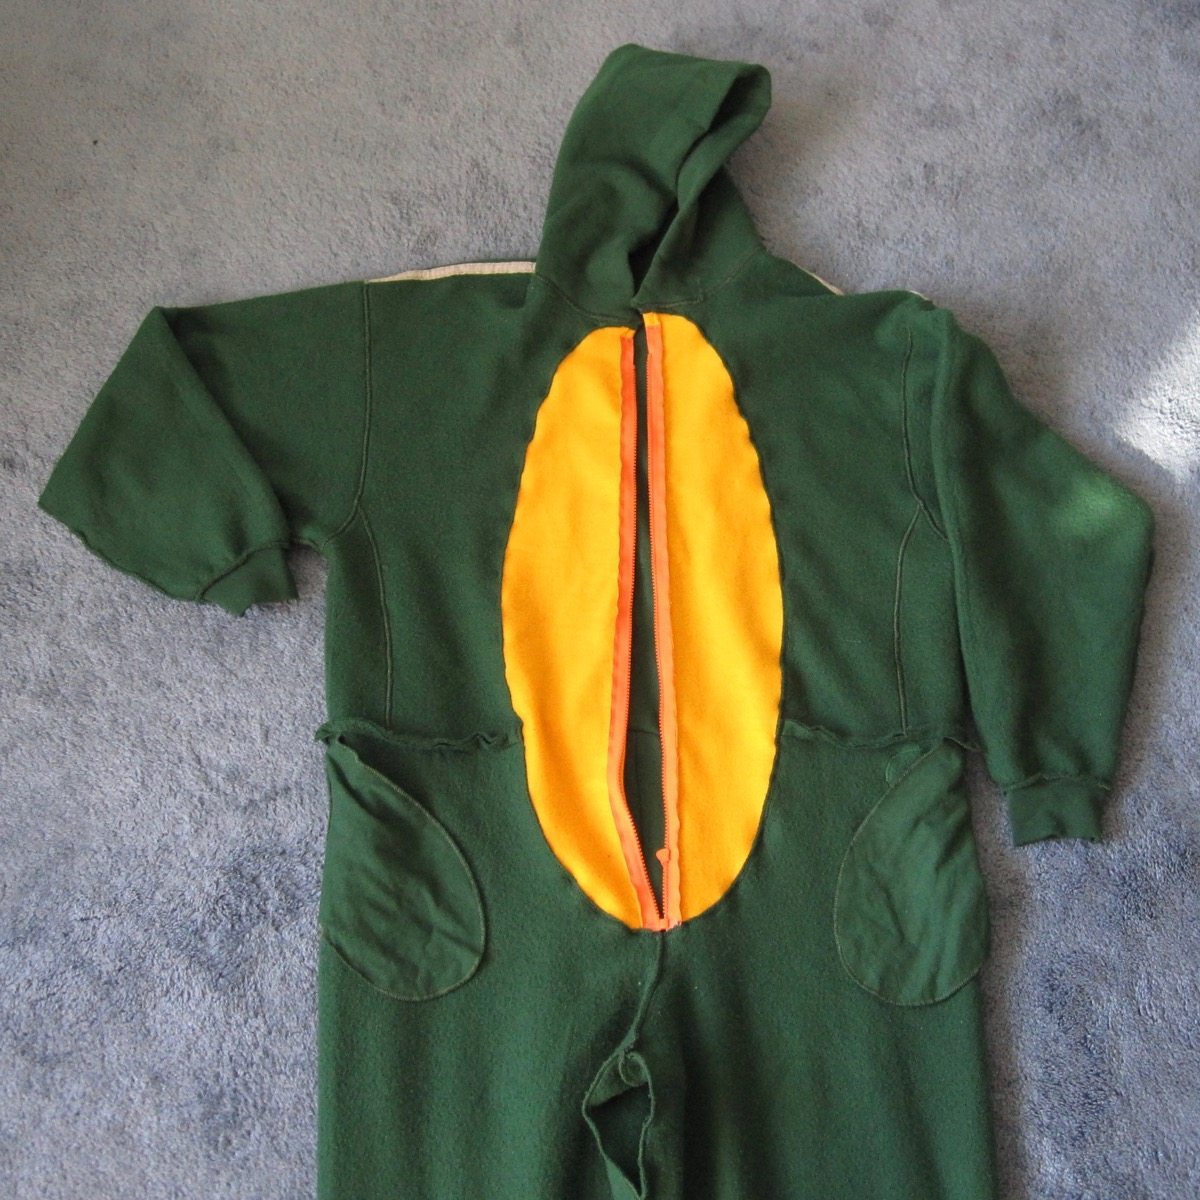
Sew shirt to pants across back, using unzipped belly for access.
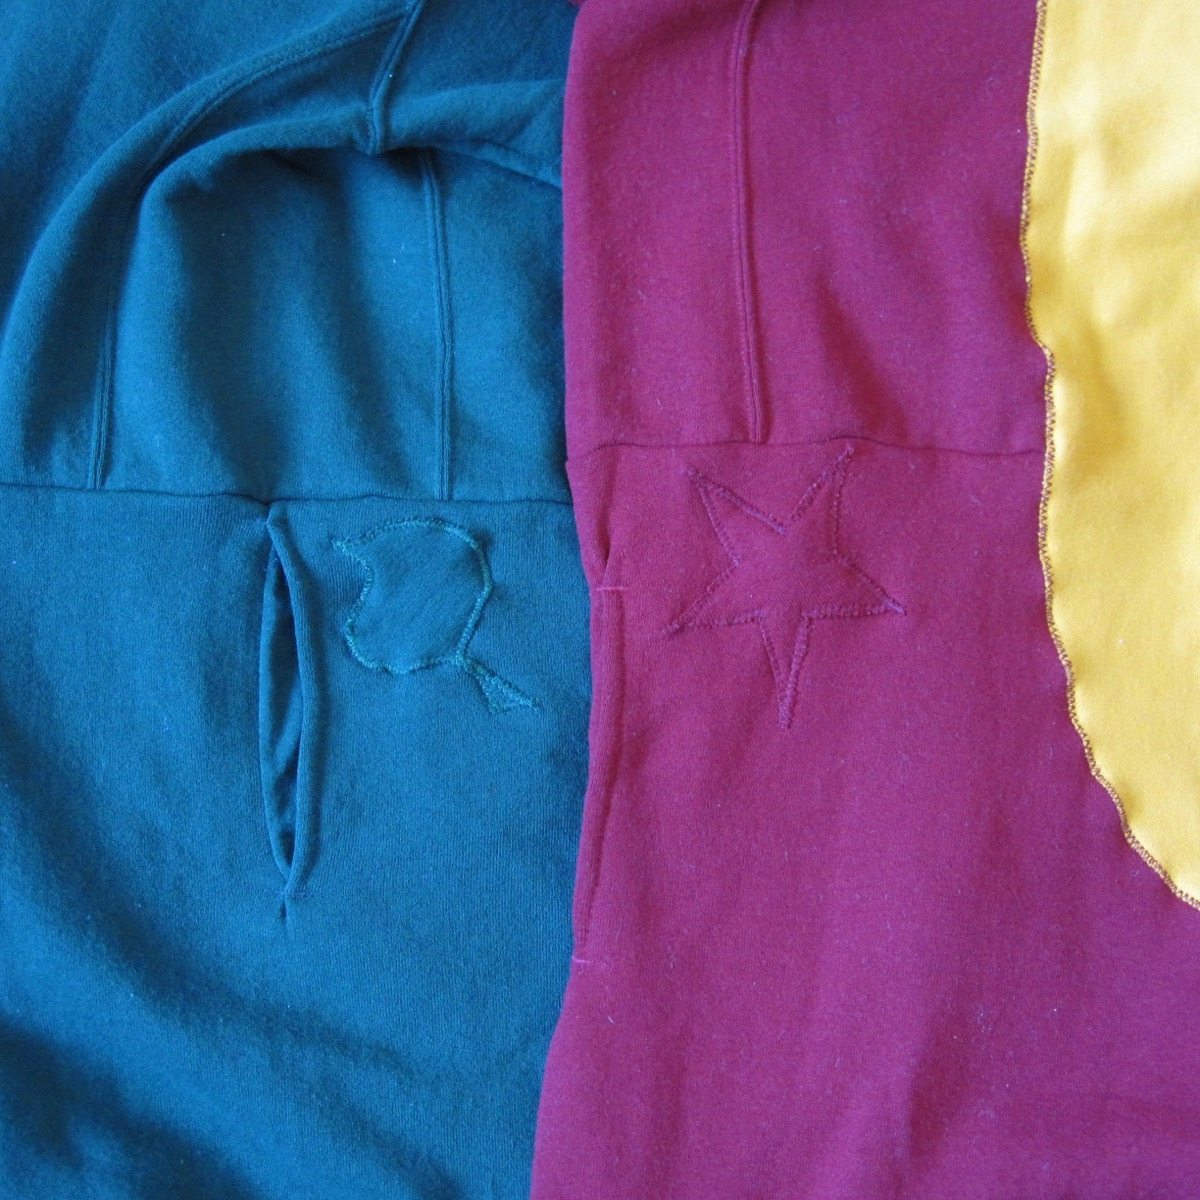
If your sweats are like ours you’ll need to applique a shape over the logo – for us, covering the logo was the easiest way to lose it without losing the pockets. This is a good time to do that but I recommend cutting out all your accessories before cutting out the shape, so you don’t run out of fabric. I used a leaf, a star, and a musical note.
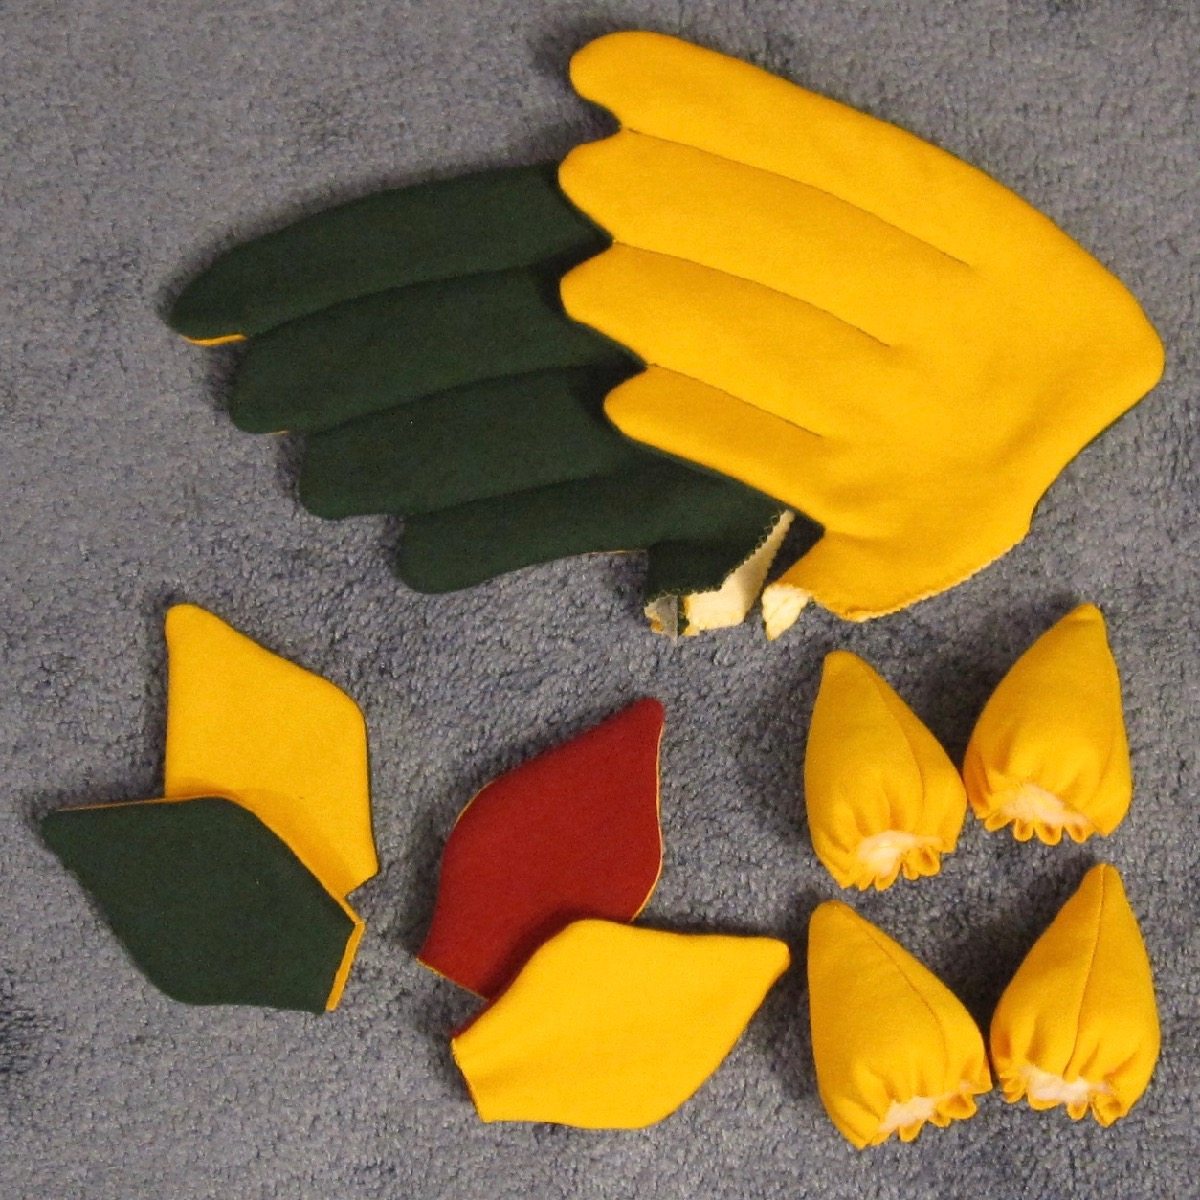
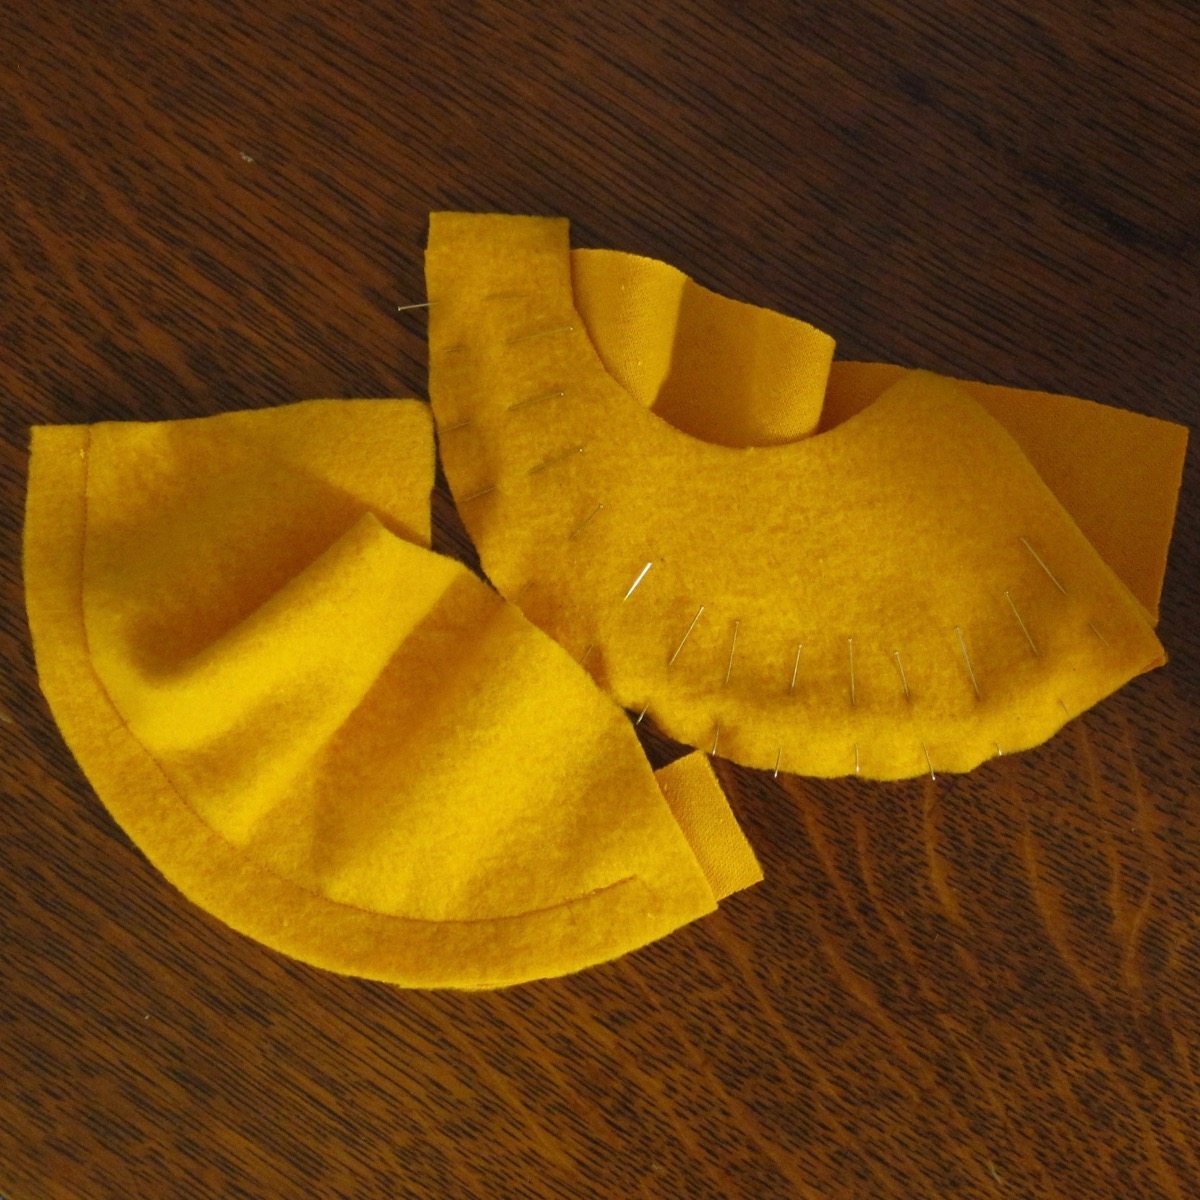
We each had wings, horns, and ears. We thought about back spikes and tails, but ultimately the desire to sit down comfortably won out. I padded the ears with a thin layer of batting, as well as my wings but not the other wings – I had bird-type wings on my back, and my husband and his sister had flying squirrel/bat wings. The horns were stuffed with batting.
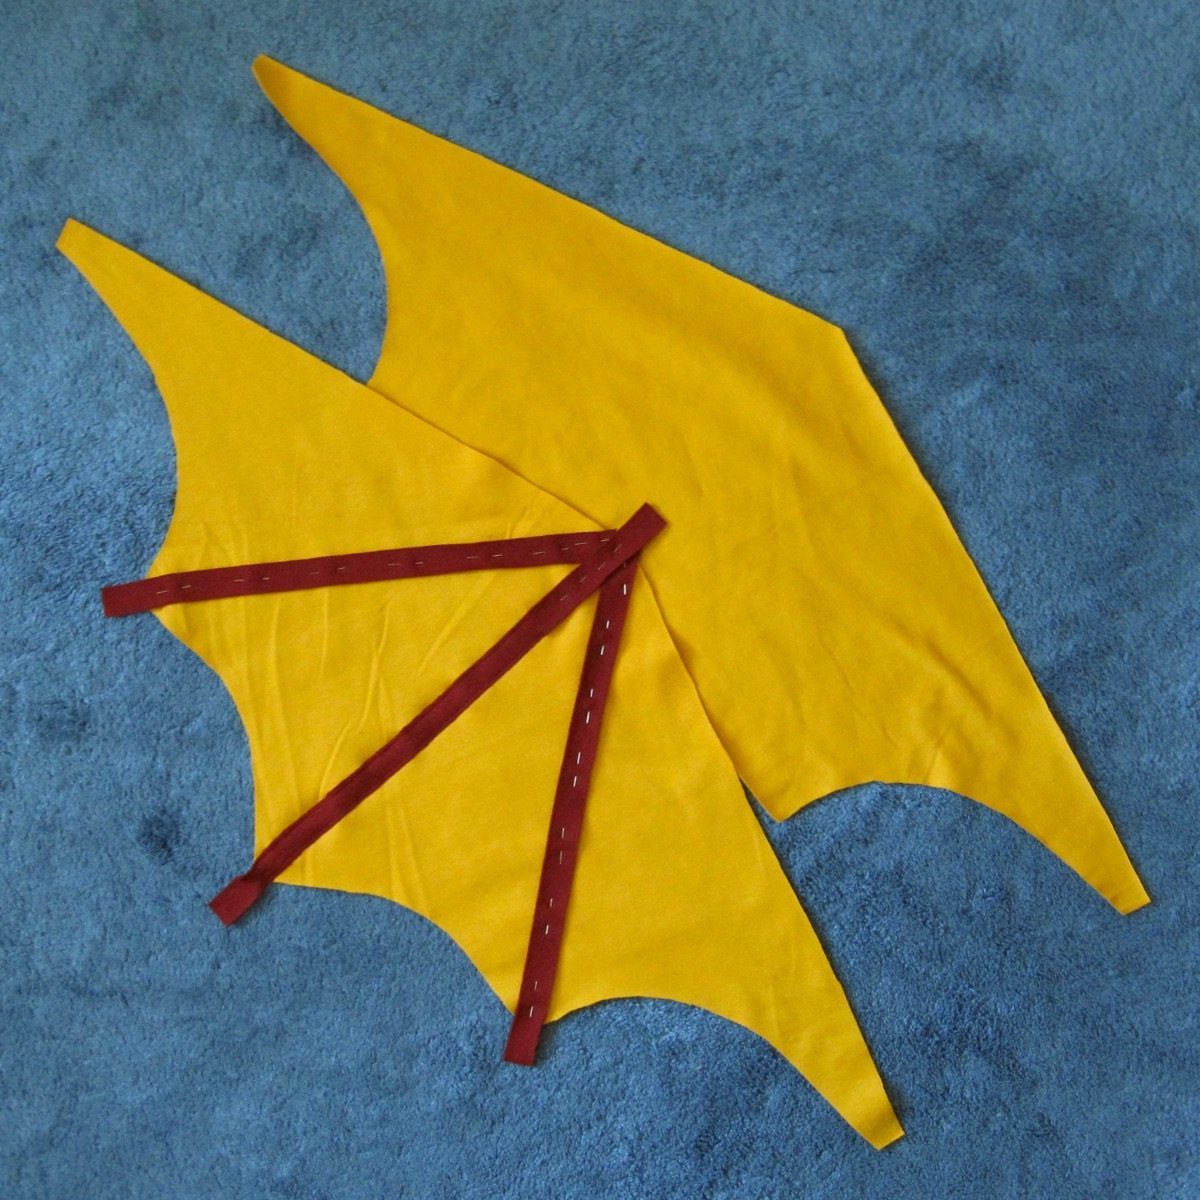
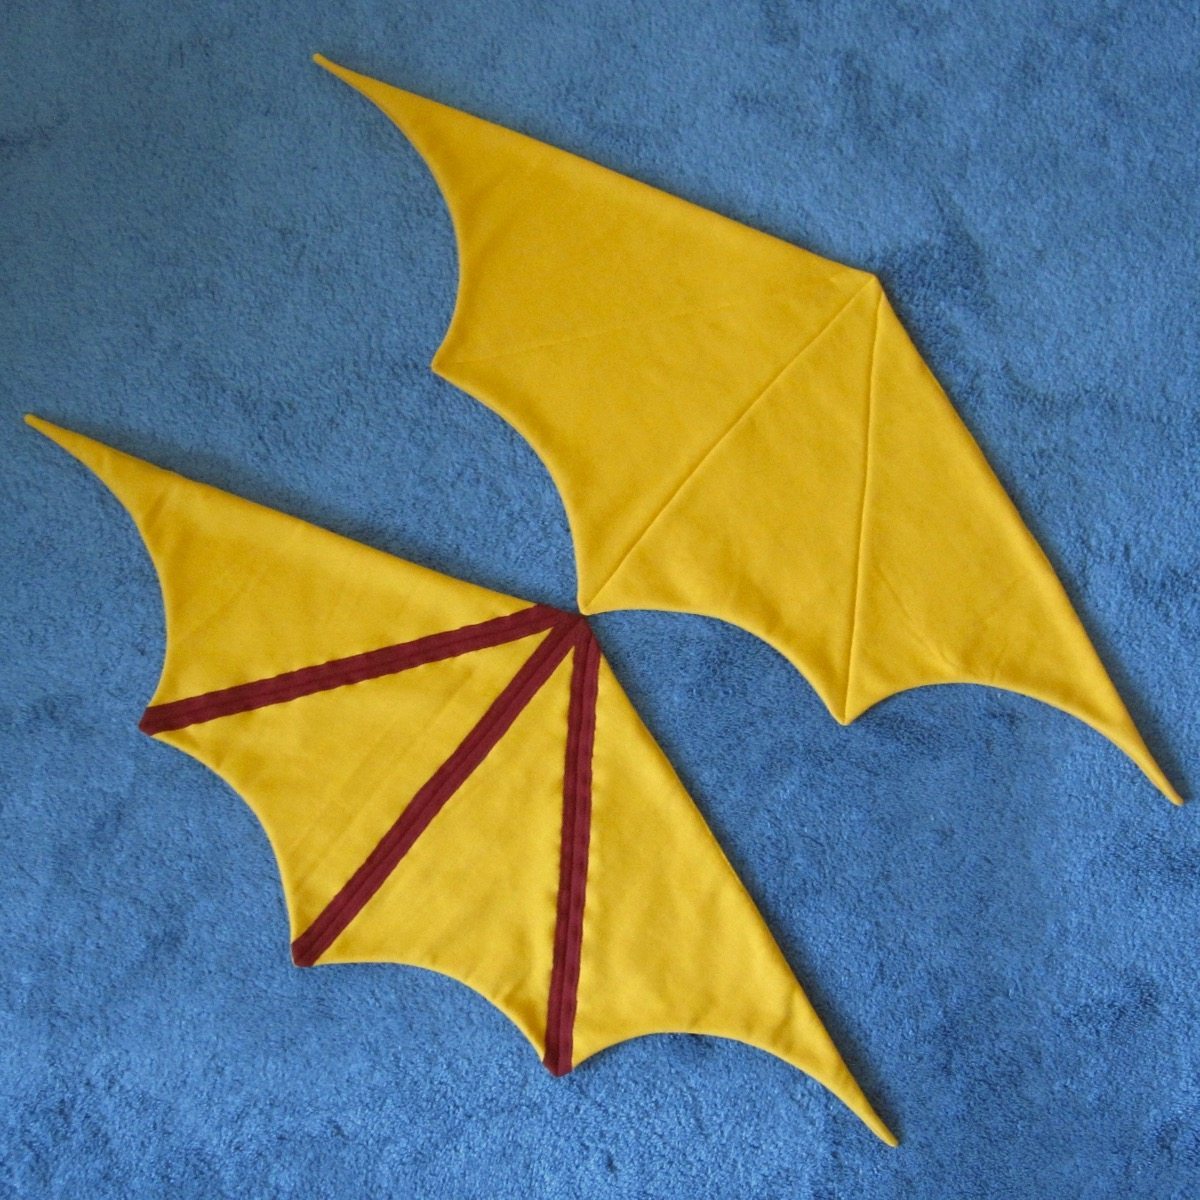
I was very pleased with how the big wings came out. They were the only fully machine-sewn accessory – I hand-sewed the others on to the sweats, but with the big wings I butted them up against the sleeve and side and made a wide zigzag through both, backstitching frequently to protect against popped stitches.


We all had different horns – mine were the stubby horns pictured above, the hubs’ were curved, and my sister-in-law’s were long, thin, and wound with embroidery floss (with a backstitch at each seam crossing) to make them look spiraled like a unicorn horn. I seem to be missing a lot of the photos I took (all of the ones from my sister-in-law’s costume, in particular) so I just have one shot of making the curved horns. There were three pieces each: two curved ones and one tapering but straight one.
The straight horns were made from three pieces apiece, shaped as curved-edge triangles.
Now we can be dragons all the time!