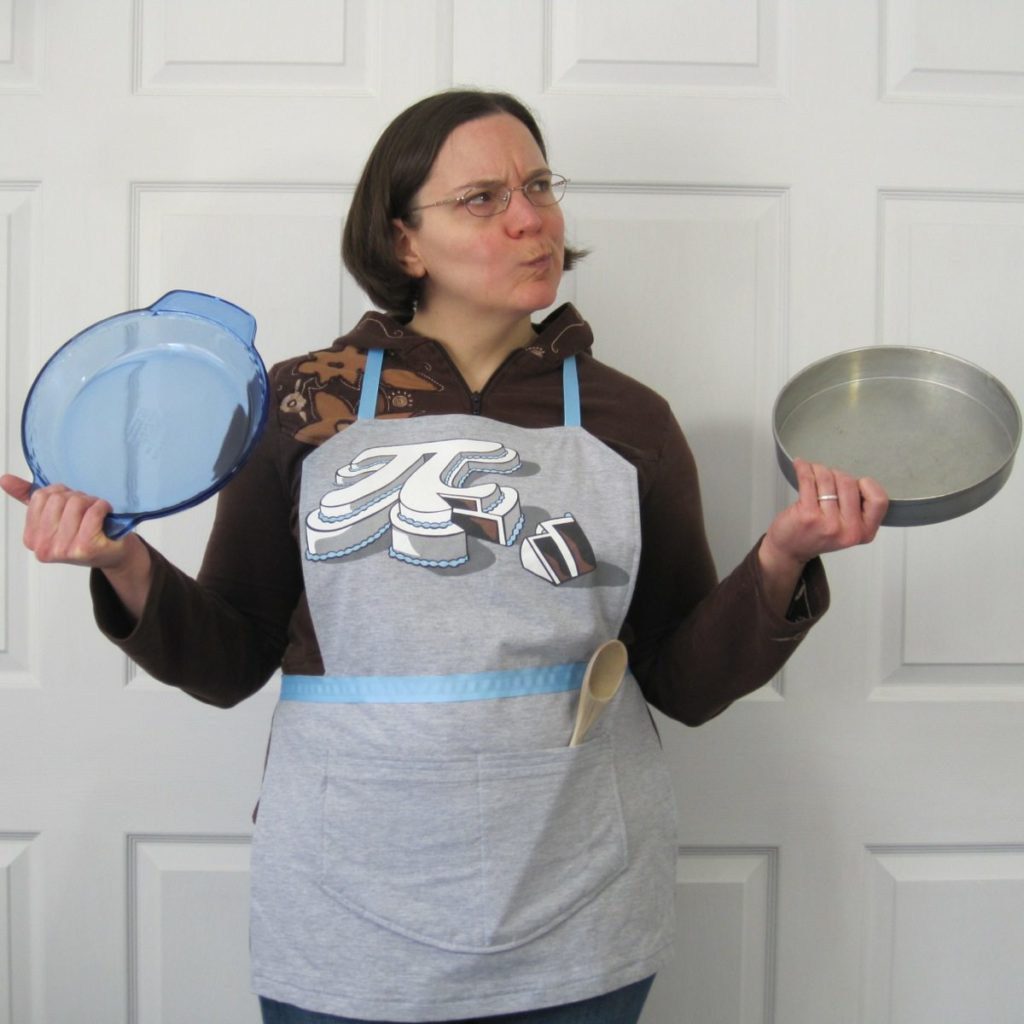
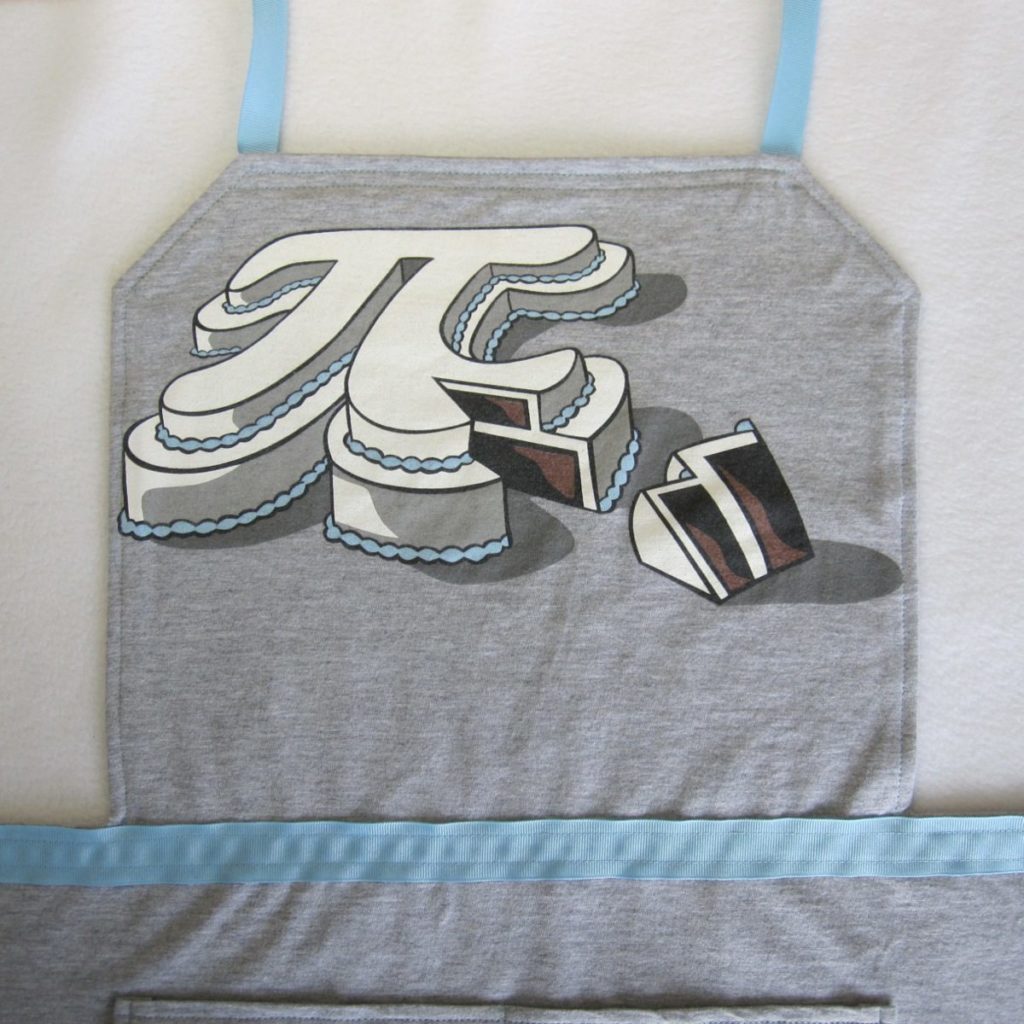
A long time ago I was given a Cake or Pi shirt from shirt.woot. It was size large, which somehow meant it was too big in the body and too small in the neck. I put it in my “refashion or eliminate” bag for later. There are a lot of ways to refashion t-shirts, but most of them assume you want to wear the t-shirt as a shirt. I never wear t-shirts with things printed on them, so there wasn’t much point in restyling it for a shirt for myself. Then, considering the image and size, it occurred to me the shirt could become an apron. And so it did!
I didn’t take any process photos, but here’s how I did it:
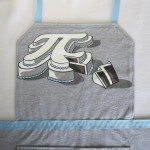 Since the accent color of the graphic is blue, I bought matching blue ribbon in two widths and did all stitching in blue thread.
- The graphic was already more than 12 inches wide, which is wide for an apron top. I basically made the apron as narrow as possible while still preserving the entire image plus a little margin.
- The graphic was also pretty high. I cut across just under the collar, stitched, and after turning right-side-out to check I stitched diagonally across the corners to cut off as much as possible without crowding the image on the side where it was closer to the corner.
- This image is properly centered not by taking the full painted region’s width and halving it, but by shifting that toward the larger part of the image. The way it is centered on the apron is not quite right (and I do wish I’d just let the slice’s shadow be cut off). Anyway, that meant the wider part of the apron was limited by the distance to the closer side edge of the t-shirt. I stitched just inside that edge (which was the full distance rounded down to the nearest half inch) and at a matching distance on the opposite side.
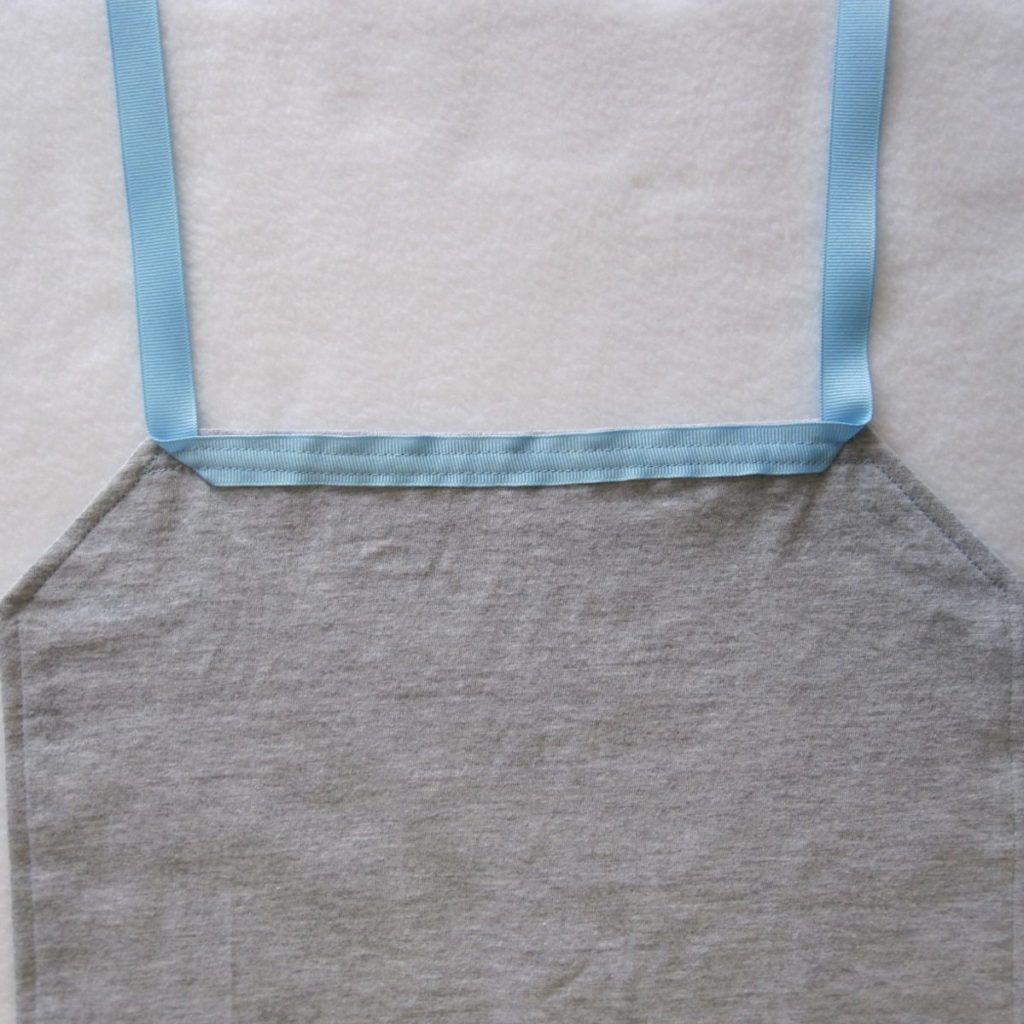
 I chose where the apron got wider by seeing how high I could make the wider part without it becoming unreasonably high. To connect the widths I stitched a perpendicular connecting line. I clipped all the corners, pressed the seam allowances open, and turned it right-side-out. I topstitched around the entire apron, which closed the turning opening (the entire bottom of the apron).
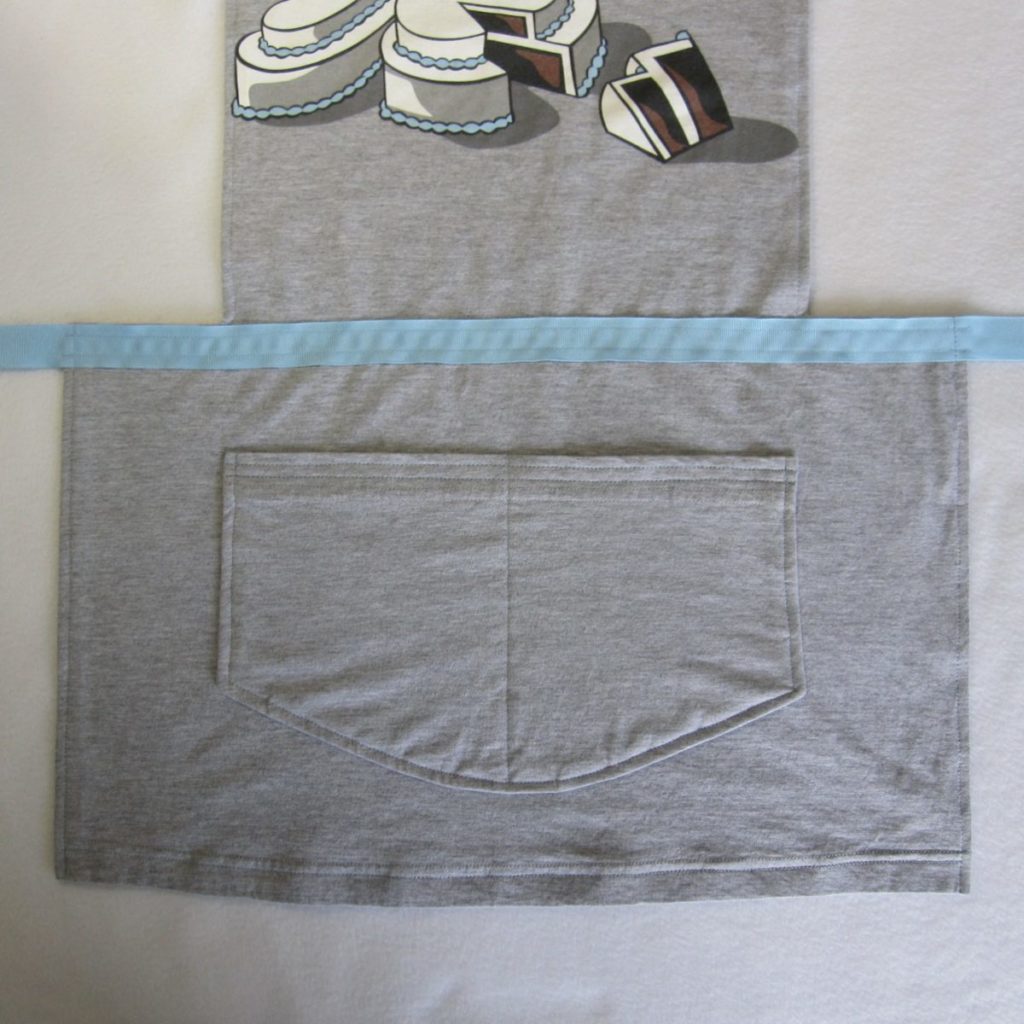
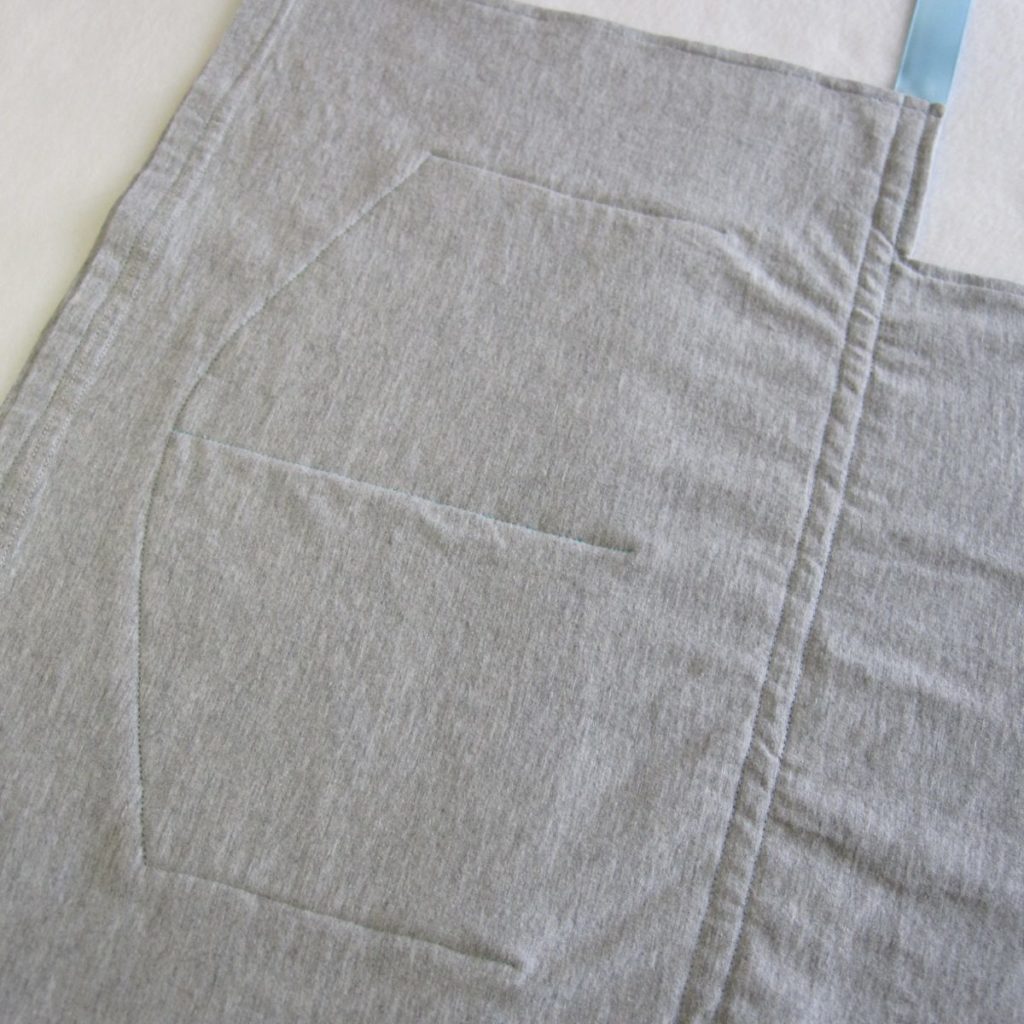
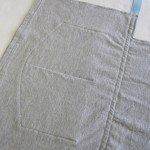 After cutting the top of the apron I cut the sleeves out just inside their seams. I laid them right sides together, trimmed the curved edges to match, and cut the sides to square them off. I stitched them together on the non-hem sides, clipped the curves, pressed, and turned. To close the hem-edge opening I topstitched. After consideration, I added another line of stitching up the center of the pocket.
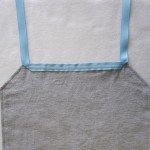 T-shirt fabric isn’t the most stable, which is why I stitched the ribbons and pocket through both layers of the apron. My original thought was to have both neck tie and waist tie stitched across the front of the apron, but there wasn’t enough space between the graphic and the top edge to do that. I did stitch the waist tie across the front of the apron, but the neck tie goes across the back (it is still a single length of ribbon, for stability).
That’s it! You can get this apron in my Etsy shop, should you so desire.