The joys of the twin needle

twin needle package 
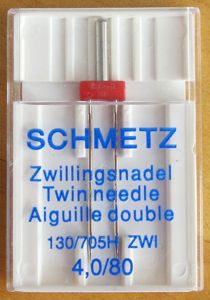
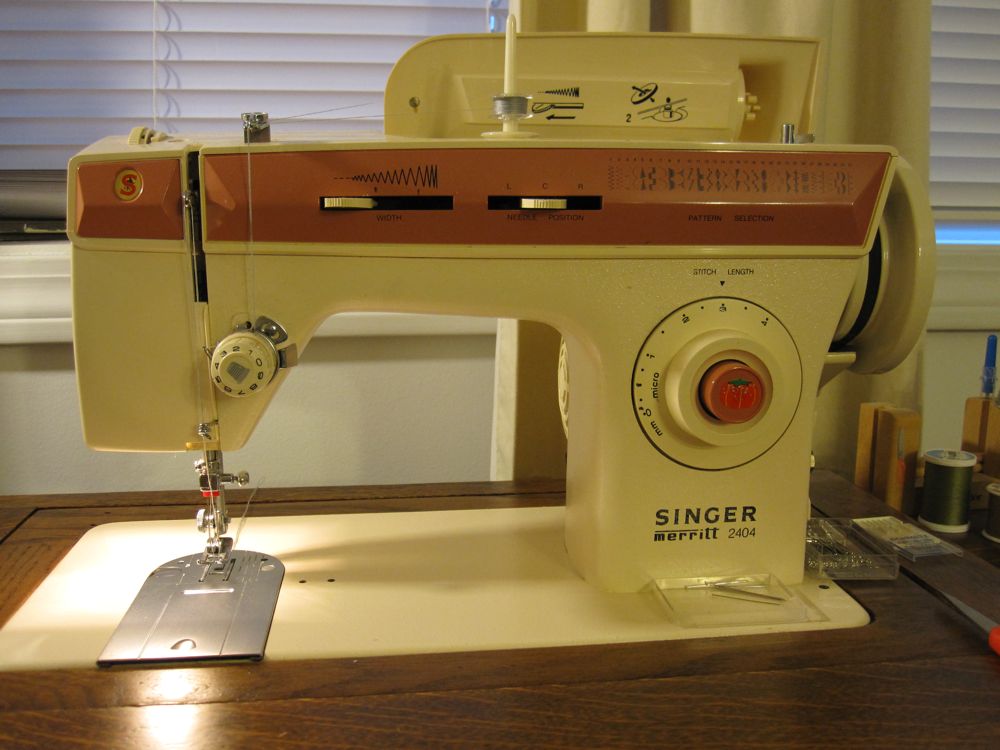
It was not too long ago that I discovered the twin needle. They come in various widths and weights, make two evenly-spaced lines of stitching a cinch, and mimic the commercial stitching of hems in t-shirts and other knit clothing. The bobbin thread zigzags between the two stitch lines on the back, tacking down the turned-up edge if you line it up right.

Last year I redid a bunch of shirts, bleaching and re-dying some that had faded and hemming others; one had some pinholes I could eliminate, one was far too long, and three were somewhat too long but also had an obnoxious silver Calvin Klein logo on the front left hem. That was when I learned about twin needles, doing research online into sewing knits. I had one in the machine cabinet drawer, but had never used it.

threaded for the twin needle

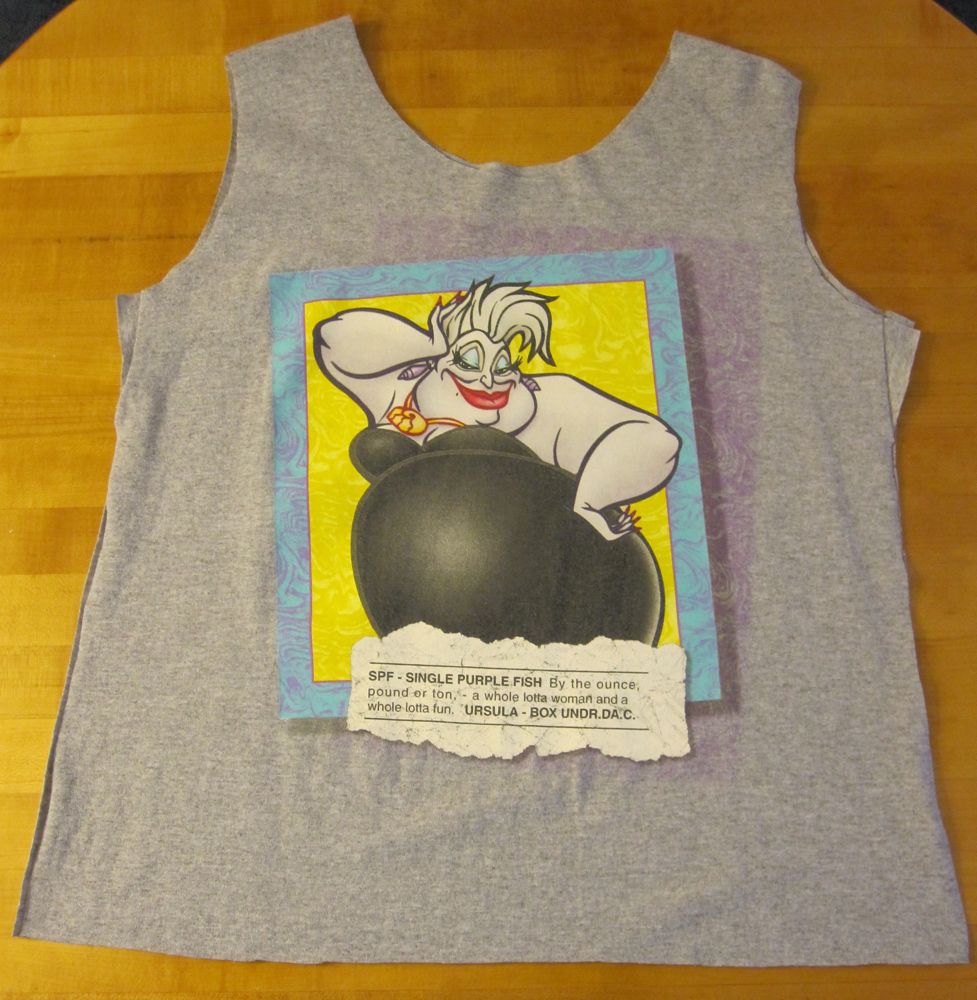
This summer, packing for a long trip, I discovered that instead of the five or six tank tops I thought I had, there were only three in the drawer. However, I have a stash of t-shirts I never wear, for various reasons, and one was way too big. I was quite surprised to discover it was only a large, as it looked like at least an extra large.

cut out, not sewn
Unfortunately I forgot to take a “before” picture.

I made a quick and lazy alteration to it. I laid it out on a table, lined up a well-fitting tank top at the shoulders, and cut around it, leaving about three quarters of an inch on the sides and neck and more like an inch and a quarter at the bottom hem. This meant the armhole corner of the sides cut into the sleeves of the shirt, but I did not care. Then I turned the neckline and armholes under a half inch and stitched them down with the twin needle.

The armholes had to be stitched a second time, because between my complete lack of use of measuring instruments and the fabric pulling back a little as it stretched along the fold, a lot of the armhole turn-under was not caught by the stitch lines.

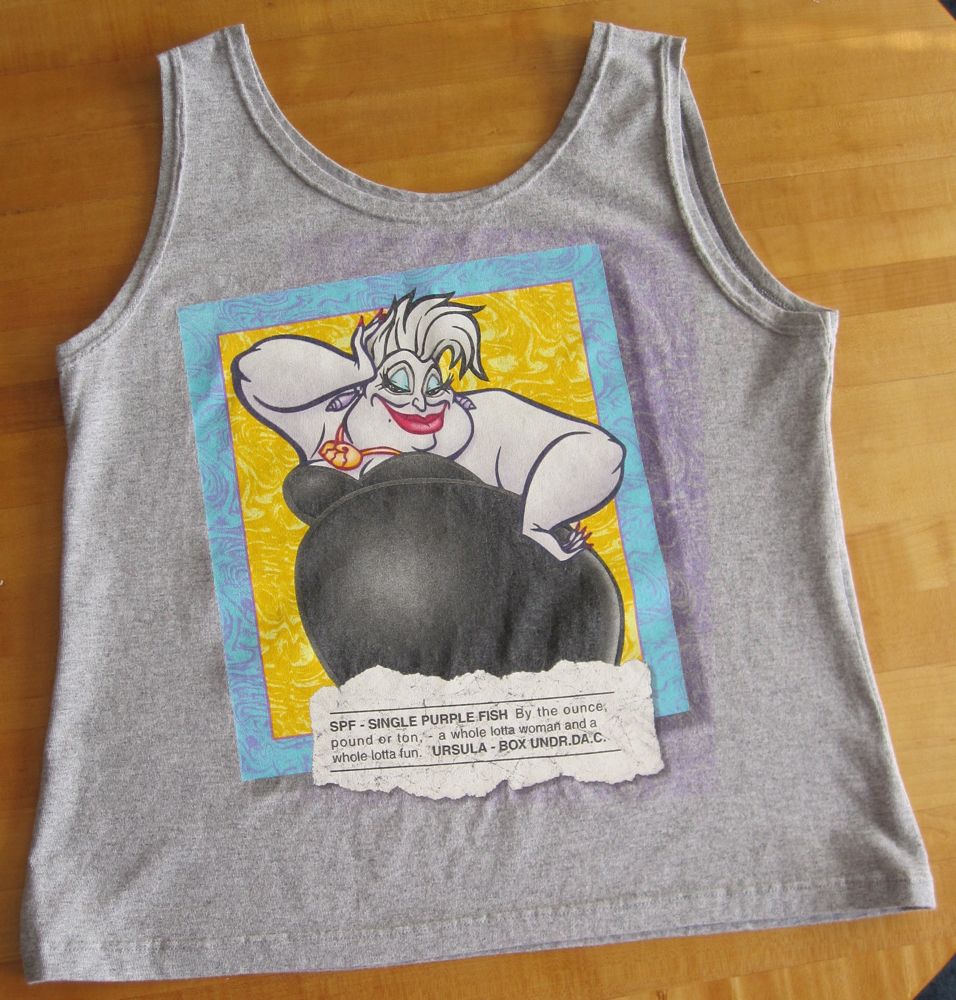
I pinned and stitched the side seams with a single needle, tried it on to check how even the bottom line was, and turned up and stitched the hem with the twin needle. Done! Easy. It is not perfect, but it is perfectly adequate.

done!

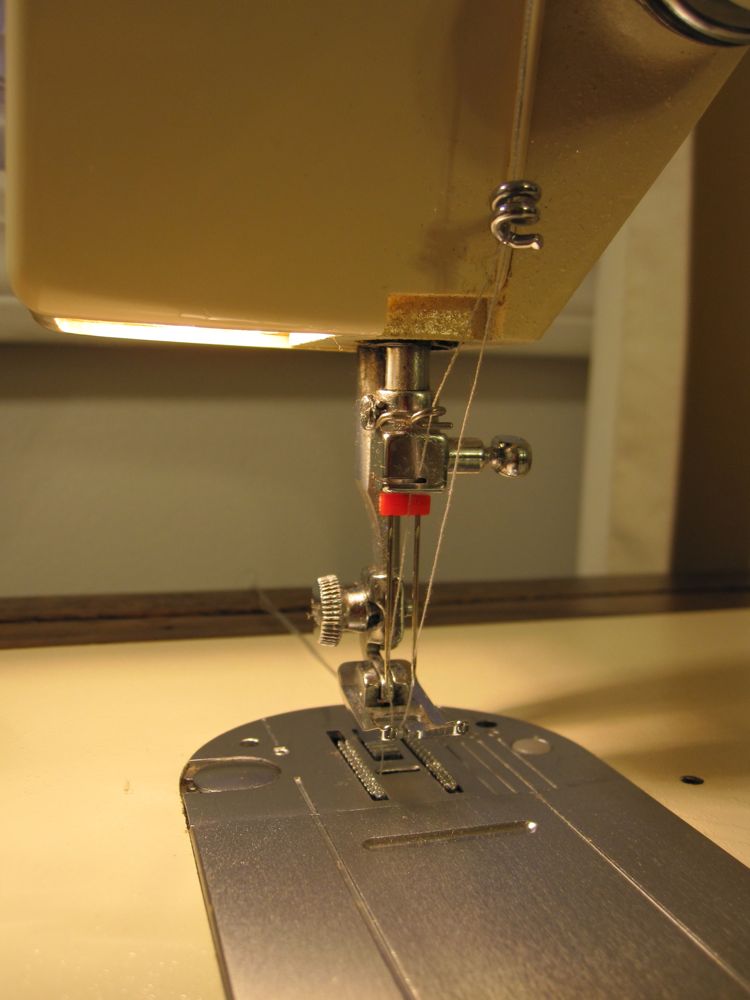
Now, I did get some skipped stitches and bobbin art, but the stitching will hold. I took my machine in for a tune-up while I’m out of town and the mechanic told me that skipped stitches are hard to avoid entirely with a twin needle because the bobbin hook has to catch both top threads, and it’s only designed to catch one. The machines that make the twin seam lines on commercial t-shirts have two separate bobbins. He said to minimize the problems, though, to turn the stitch length and tension both down. My stitch length settings run from 0 to 4, and I usually have the machine set to 3, with 4 for basting and gathering stitches. He said between 1.5 and 2 would be appropriate for twin needle stitching. Easing the thread tension so the top thread is pulled under the fabric a bit helps both with avoiding skipped stitches and with increasing the amount of stretch in the seam. ‘Twill be tried at the next opportunity – which may be more t-shirt remaking, now that I’ve done it once.

the whole machine

Hairy situations

My dear BF sent me a birthday package that included some fun fur yarn in variegated green, blue, and yellow. It made me think of Muppets. I had some fun fur in my stash already – some black that is waiting to become Barbabeau, and some bright purple and hot pink that, actually, the BF’s mother handed down to me – but this stuff inspired me to actually make a stab at crocheting something now.

My first attempt was with the steel hook I use for embroidery floss (2.75mm), since the main strand of fun fur is not very large. I can’t recommend it. The fluff makes it very hard to see what you’re doing anyway, and also means that even with a larger hook the fabric is solid enough to keep stuffing in. It’s not that I didn’t succeed in crocheting in my first attempt, but the result didn’t look like much. My second attempt was with my trusty E hook (3.5mm) and went much, much better.

fuzzy guy on a post fuzzy guy on a post

I freehanded this because it was just too overwhelming to try to keep track of stitch counts. It started out with 6 sc, then 12 sc, then I increased in every other stitch for a while, then sc’d around a few times, then decreased with every other stitch for about two rounds, then stitched around once or so, then started increasing in every other stitch for a while. Before I’d decreased too much I put in the eyes. At some point in the body I chained out and sc’d back for arms, and later chained out more and hdc’d back for legs, and finally chained out still more, sc’d four times in the first chain and then slip stitched back for the tail. Then I tried to decrease at a rate that would make the bottom flat. The initial yarn tail sticks out the top like a Dr. Seuss drawing; my inspiration was that combined with my image of a Creep or Woodie from the Moomintroll books.

in progress
As good as it gets, visibility-wise.

Some things I learned, besides the fact that the hook shouldn’t be too small:
– the “right side” is what would in normal yarn be the back/inside. At least for me. That’s the side the fuzz wanted to mostly be on.
– a magic circle doesn’t work at all – once you’ve got a few stitches into it, you can’t pull it tight because it’s all hung up on the fluff. You have to slipknot, ch 2, and work the first round into the first ch.
– likewise, I didn’t try to do an invisible decrease. It could be done, in the back loops instead of the front loops, but it seemed more difficult than it was worth. Also, the yarn is not elastic, adding that difficulty.
– of course, half the time I sc’d into the back loop only anyway, because finding the other one was too much work. Visibility is poor. On the other hand, no one looking at the finished work can really make out your stitches anyway. Freedom!

And then I discovered all my tips were already available from June Gilbank.

fuzzy guy in  tree
They all end up in trees. In this one you can see the initial yarn end hanging.

fuzzy baby
The baby I made first.

Nonorientable crochet

Do you want a yarn Möbius strip? Of course you do – who doesn’t?

mobius with ants
Every Möbius strip needs ants.

One of the crochet techniques I have yet to master is working in the round when the beginning is an open hole instead of a magic circle or a chain that is worked on both sides. I can’t connect the ends of the starting chain to my satisfaction; there is always a big wonky bump at the join.

However, some experimentation has led me to the following discovery: it is easy to make a crochet Möbius strip that requires no sewing. This is hardly news, as the internet will tell you, but I think my instructions are easier, or at least more specific, than the ones I’ve seen online.

Crochet Möbius Strip: Make a chain as long as you want. There will be a natural way for the chain to come off the hook to the left with the back bumps facing up and the front teardrops facing down. With the back bumps facing up the whole length of the chain, bring the slipknot end toward you and to the hook to make the chain into a loop. Insert the hook from outside the loop to inside the loop through the back bump closest to the slipknot, and slip stitch to join the ends.

starting the strip
The back bumps go around the top when it’s set down like this.

Now, crochet around, using the back bumps, until you get back to the slipknot. Crochet into your initial slip stitch. It should be natural to make your next stitch in the front teardrop of the chain closest to the slipknot. Now the next time you get back to your slipknot it should be natural to crochet into the first stitch you made after slip-knotting the chain into a loop. Keep going until the Möbius strip is as wide as you want, making sure when you end, the rows are aligned on each side of the slipknot.

I found that my yarn tail was a useful indicator – if it faced toward me after I had put crochets on each side of the starting chain, then I needed to finish with it facing toward me.

Of course, this method makes the Möbius strip curl a bit into an S cross-section, since stitch rows tend to lean forward or back. I tried to change direction for the last row, but as you can see I ended up with a little nub at the turning (bottom center):

compact mobius strip

I tried a second time but didn’t come up with a solution that satisfied me.

Mesh Crochet Möbius Strip: Looking at the Escher picture made me think of crocheted mesh, so I tried that as well (see the crochet abbreviations). For this you must chain a multiple of 3 – it is better here to use the same size hook throughout. Slip stitch to join as described above, and chain 5. Skip two chains and dc into the next, in the back bump. (ch 2, sk 2 sts, dc in back bump) until you get back to your slip knot. This is a bit wobblier than sc, so make sure it is not twisted, ch 2 and do the next dc into the front teardrop of the first ch you made – it seems like you’re skipping 3 sts, but the joining slip stitch and initial chain are really the same stitch. (ch 2, sk 2 sts, dc in front teardrop) around, until you get to the ch 5. Ch 2 and sl st into the middle ch of the ch 5.

Now, *turn if desired, ch 5, (sk 2 sts, dc, ch 2) around (i.e., twice around initial chain), sl st in middle ch of ch 5; repeat from * until the Möbius strip is as wide as you like.

I washed these to see if the mesh would even itself out a little; the ch-5 squares and the squares on the starting chain didn’t really match the others. Of course, they crumpled up.

crumpled mobius strips

Q. How does one block a Möbius strip? A. With an iron. They smoothed out nicely. And are very decorative on my lampshade.

ironed mobius strips lampshade mobius strips