Sketchbook Project: 2012

The Sketchbook Project is a brainstorm of the Art House Co-op, which has its physical location in the Brooklyn Art Library. Blank sketchbooks are available for purchase; the buyer chooses a theme from the year’s list and is sent a book with a personalized barcode on the back: name and hometown appear on the label, and those plus theme are encoded into the barcode. The completed books must be sent back by the end of January of the title year and go on tour starting in April, with 14 locations (though in 2012 London and Melbourne will include only European and Australian books, respectively). People check out the books to look through them, which means the artists can find out how much their books are being selected, and after the tour is over the books are housed permanently in the Brooklyn Art Library.

After witnessing my sister waffle about doing the project this year, I waffled myself – there was a tempting theme, and finally I decided that if I didn’t complete my sketchbook, I was comfortable with having made a donation to the Art House Co-op.

My sketchbook arrived May 16, giving me eight and a half months to complete it. Since then I’ve had notepaper with me all the time – I always carry paper in my purse, but now I have it in the little mesh bag I tote around at the gym, for making notes on the exercise bike. I’m hoping the deadline will inspire completion, but the ideas are not – so far – sufficient to fill it, so let me know if you have suggestions along the way for themes or images.

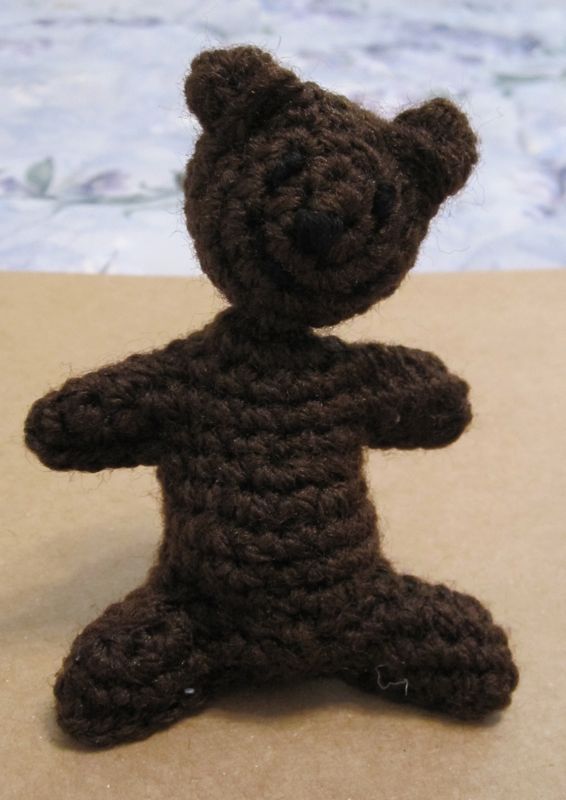
My theme? Stitches and folds. Naturally. It was difficult to convince myself to mark the first page, but ultimately, that step had to be taken, so I just freehanded something. The inaugural work:

the inaugural page

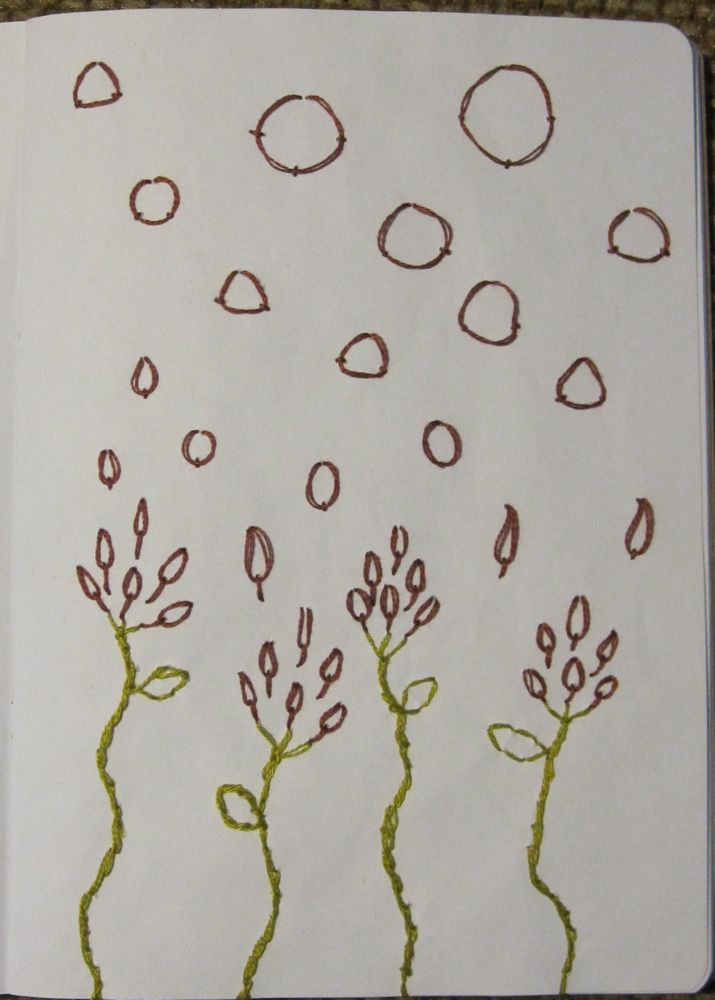
Don’t ask to see the back – I haven’t decided what to do with it yet.

Little crochet animals

In this space would usually appear my entries for the monthly crochet challenges I’m part of on Ravelry. However, I didn’t make it this month. Between travel and finishing my wedding gift potholders, I didn’t succeed in finishing either the Amigurumi Army’s June mission or the June CAL from Ravelry. Actually, I can’t entirely blame that; I also crocheted a dustrag and a third Swiffer sock. However, I wanted to finish the projects anyway, so I used the grace period between month’s end and this post to work on them. One was finished, on one I declared bankruptcy because I have higher-priority items. It will appear later.

The one I finished was for the CAL, with the theme of animals. I had been wanting to make Kristie’s Kids’ little mouse (the designer of the pig I indentured earlier) and these monthly challenges are providing me impetus to get through my TBC list (to be crocheted, analogous to my sister’s TBR(ead) pile). I worked, as usual, with my 2.75mm steel hook and six-strand embroidery floss.

a mouse with a mouse and again

While visiting friends, I made a couple of small things – or at least started them. The one I completed had the highest honor of making it into their middle daughter’s Cinderella purse. I don’t know what he is, but the bird wings were the suggestion of their oldest daughter, and I think he at least turned out cute.

it's a bird, it's a plane? what is it?

With him, I had some inspiration for a better way to do small ears. Say you have 12 stitches around (as I did) and the ears are roughly halfway. To make the ears, sc 4, (sc, ch 1, dc, ch 1, sc) all in FL of next st, sl st in FL of next st, and repeat () in FL of next st. Sc 5 to get back to the beginning. For the next round, sc 3, sc in BL only of next 5 sts (this is the BL of the previous round’s st for the first and last, and the remaining loop of the ear stitches in between), and sc in both loops for the last 4 sts. I found the ears stood up more easily with the addition of the BL stitches on each end.

I then started on a teddy bear, using dc bobbles for the ears. My first attempt was a bit microcephalic, so I made a new head and produced the following. Both this and the winged thing were made with worsted weight yarn and an E hook (3.5 mm).

alas, not very cuddly

Finally, sitting in from of my parents’ television one day I made a bunny, from a pattern I believe I may have downloaded before I even knew how to crochet. Although it is very soft and squishy, the 22% wool of the yarn is too much for me, and it makes me itch even through my shirt. 🙁 Someone else will have to love it. This one was made with bulky yarn (Sensations Angel Hair) and an I hook (5.5 mm). I made a 4dc bobble for the tail but you can’t see it in either picture.

snuggly! snuggly!
A bunny tail is called a scut or a fud, according to my mother’s crossword dictionary.

The Amigurumi Army theme for June was mythical creatures, and I am halfway through a project, but I have some other projects with deadlines and travel upcoming this month, so it will appear in a later post.

Maneki neko

While trying to think of crochet patterns I would like, I looked at my little ceramic lucky cat, bought in San Francisco’s Chinatown many moons ago. Locale of purchase notwithstanding, the maneki neko (beckoning cat) is a Japanese sculpture to bring luck, customers, and/or money to the owner – the raised paw is beckoning good fortune. The coin is labeled “ten million ryō”, which is something like ten billion US dollars.

I started the design process before really looking for existing patterns. I found a few, but only one at the level of detail I wanted, and it was not the shape I was looking for, so I persisted. Three heads, four raised arms, five legs, two lowered arms, and three bodies later, I present to you the pattern.

front view

Good Luck Cat (beckoning cat, maneki neko)
Use worsted weight yarn and an E or F hook, in white except for the collar, which is red. You also need:
* some stuffing
* a small gold bell for the collar
* yellow, gold, or gold-painted felt for the coin
* a black paint pen for the coin and optionally for the facial features (otherwise, black embroidery floss for the features)
* small amounts of red, black, and orange or tan felt, or the same colors in fabric paint (I used Tulip Soft fabric paint in gold metallic (on white felt for the coin), red velvet, ebony matte, and golden tan matte, and a DecoFabric paint pen in black)

Continue reading Maneki neko