Every once in a while you come across a tutorial that is truly different from the herd and makes you think “What an interesting idea!” Such was my reaction when I came across a post on Mel’s Own Place about making rubber stamps with puffy paint and plastic bottlecaps. Amazing! I’d been wanting some custom stamps but didn’t think cutting them out of erasers with X-Acto knives was going to go well.
The stamps I wanted were planner stamps: a recycle symbol to mark recycling pick-up days, and an envelope back to make occasions for which I want to send cards. That way they could be large and visible without really taking up space, because I could write over them easily. I indentured my husband to play with paint with me.
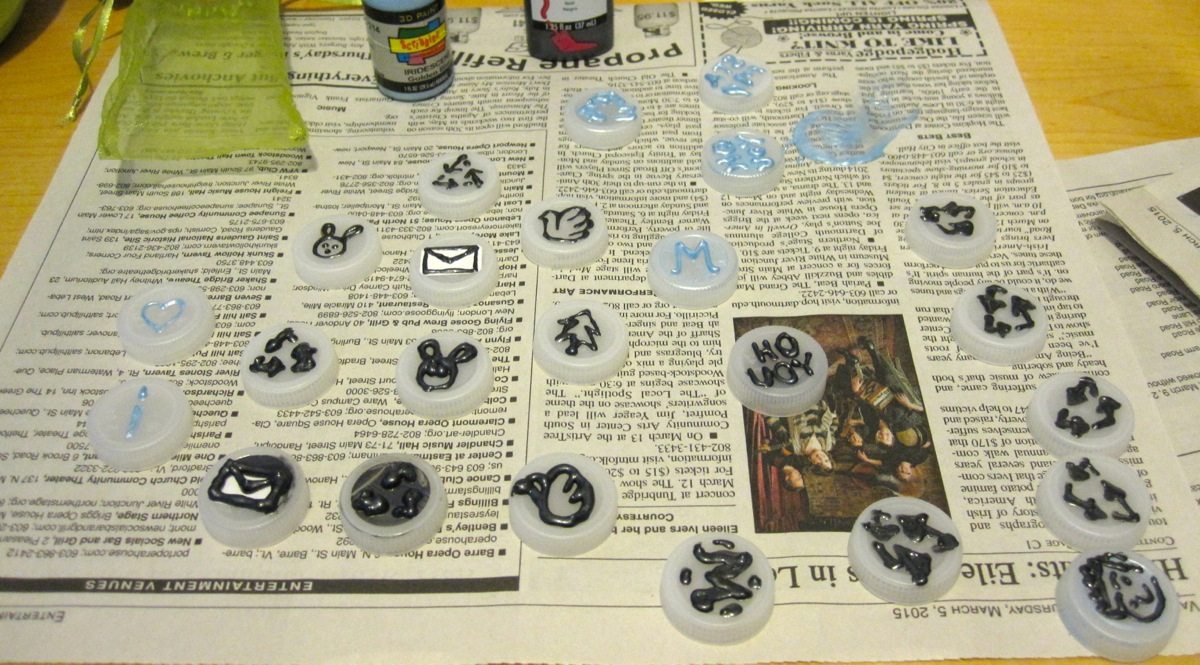
I had two kinds of 3D paint in my stash: Tulip dimensional fabric paint and Scribbles 3-dimensional paint. The taller bottle of the Tulip was easier to control (more in squeezing than aiming), but the Scribbles seemed to keep its shape better while drying – Tulip flattened out a bit. We found we needed 3 rounds to get truly good images. The papers in the picture below show the images after 2 rounds (rectangular) and 3 rounds (hexagonal) of painting – the third round was really just local touch-ups.
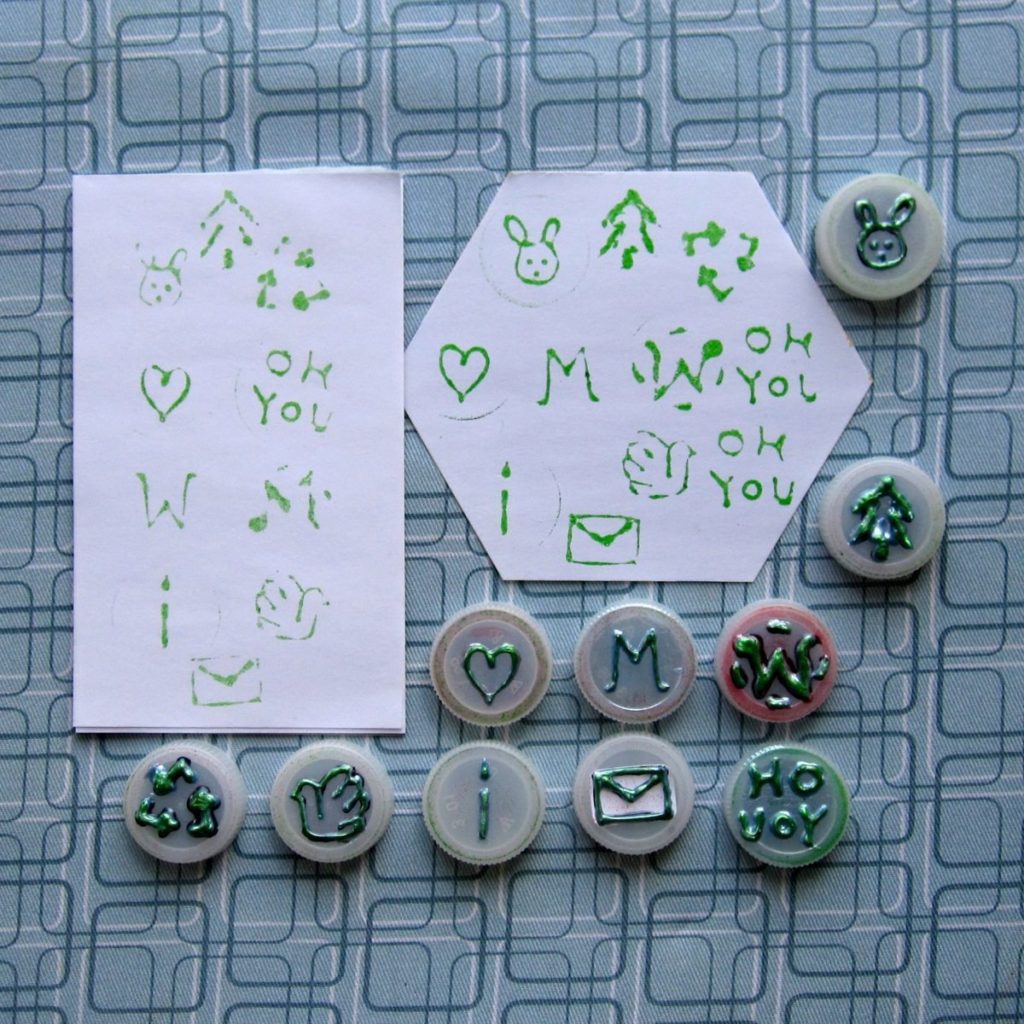
As you can see from the Oh You stamp on the hexagonal paper, you still have to be careful and press on all areas of the cap to get a good impression. If you catch the paint at the right moment you may be able to flatten it down a bit while it’s dry enough not to stick but still soft in the middle; I was able to do that to some extent with the recycling symbol.
All in all, though, it’s a great idea – quick, easy to correct errors (more than just heightening low spots: you can see the giant smear of paint in the first image, and there were others on different sheets of newspaper), and fun.
I seriously need to buy some paint and try this. Thanks so much for the practical advice & tips!
You’re welcome! I’m happy enough with how they turned out, but I think if we’d known from the start that there would be multiple rounds involved, more of them would have come out, and better. Have fun and send a photo!