On the occasion of my mother-in-law’s birthday I took the plunge into needle felting with the llama fleece she gave me for Christmas. Using a small cookie cutter as a mold, this was the result:
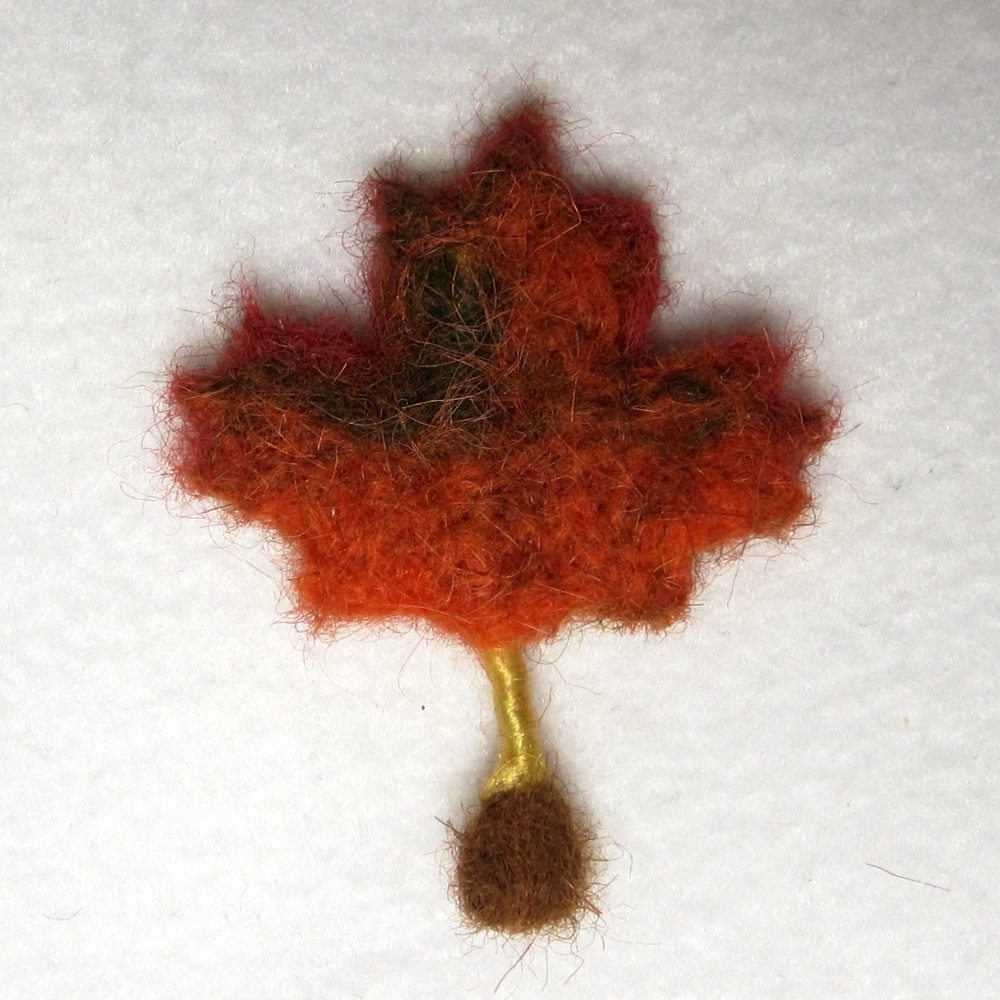
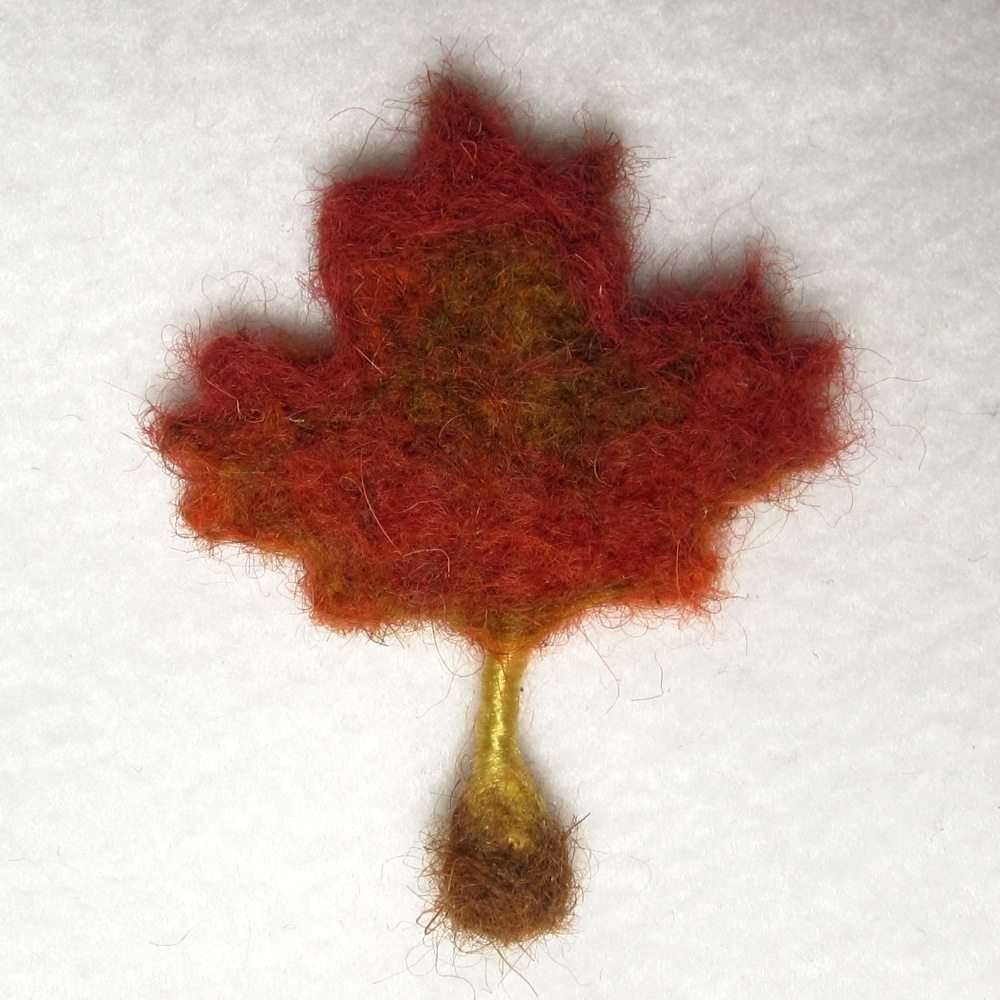
The stem is one-third of a length of cord (the cord I used for Stumpy’s belt when he was dressed as an Assyrian king); the rest is llama fleece. I am fairly pleased although it is a bit shaggy (and I even gave it a haircut). I acquired a three-needle pen but the needles were a bit fine for catching the smooth, slippery llama fibers, so then I got a set of heavier needles and made this little guy:
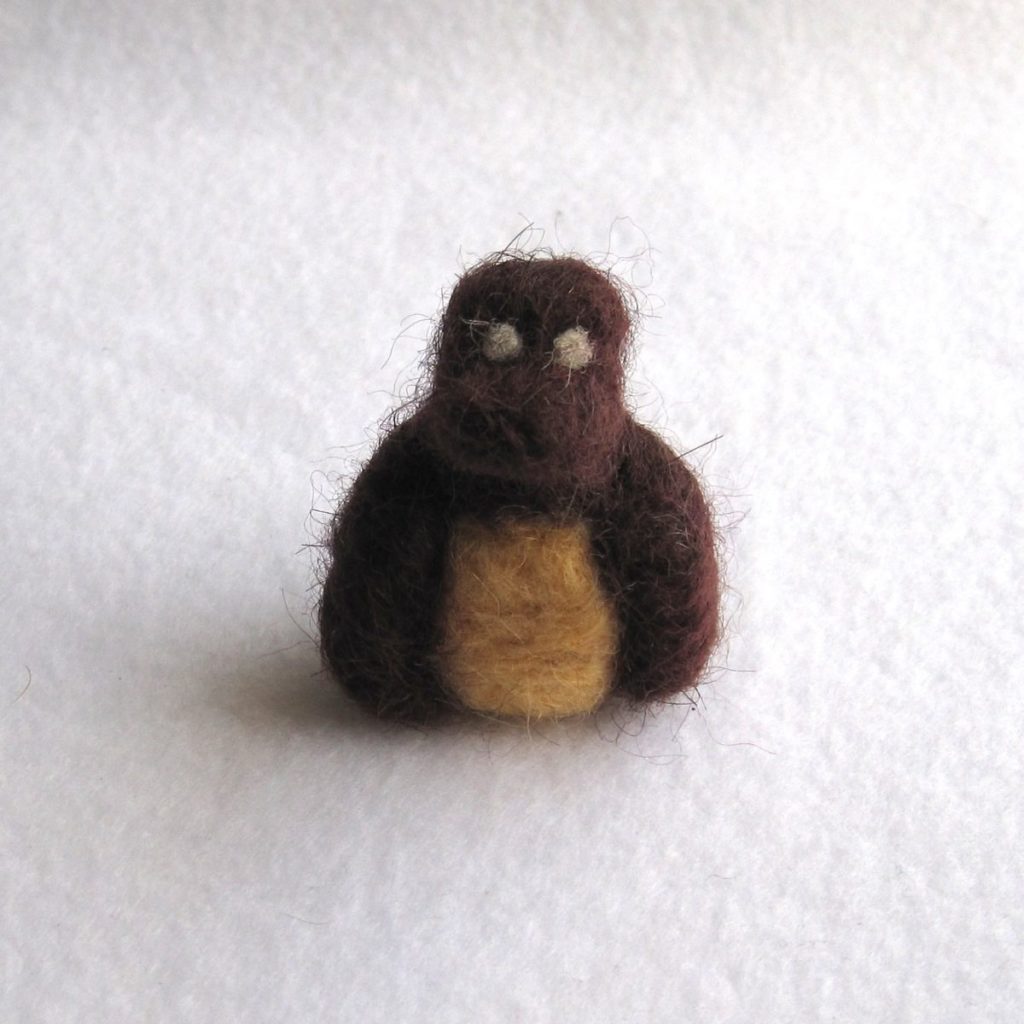
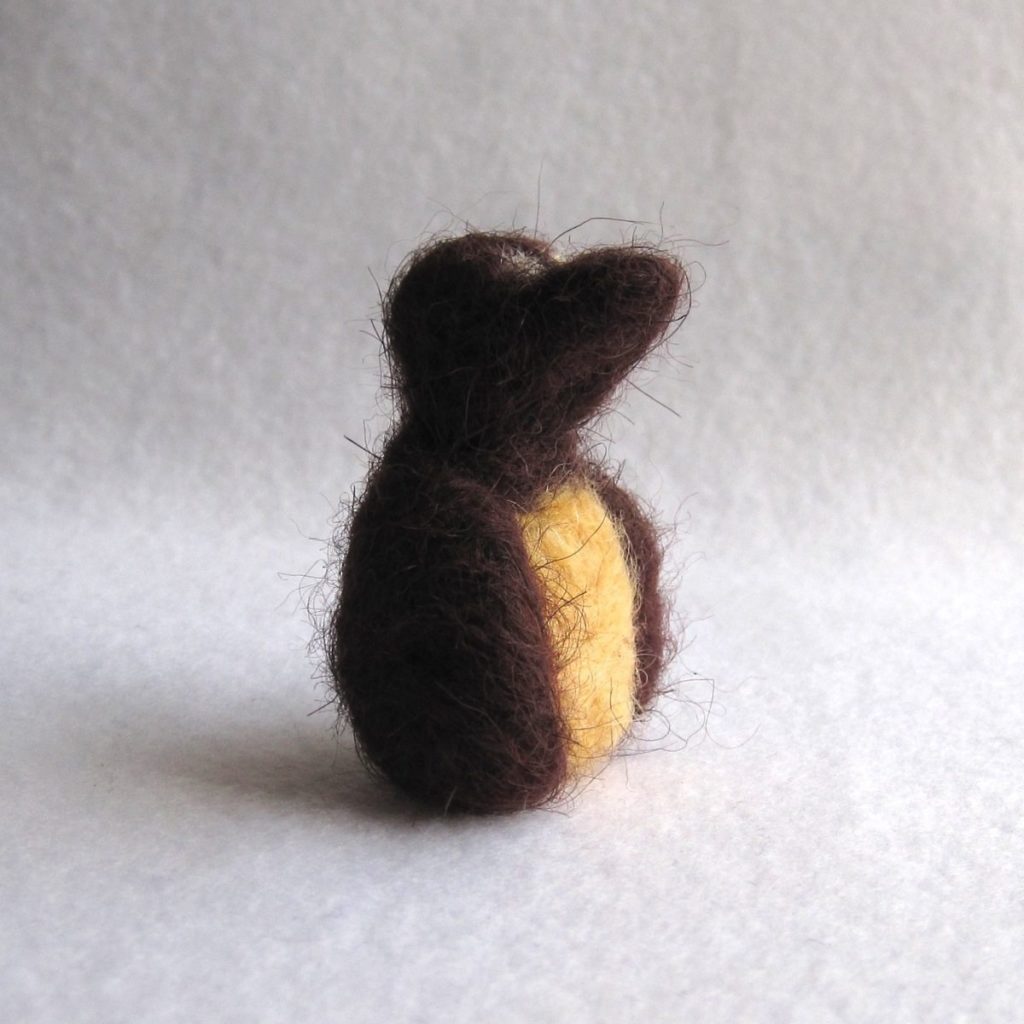
I started out trying to make a teddy bear, which is why he’s dark brown, but I couldn’t get the shape right so I changed direction. His eyes are coarse sheep’s wool, which was much easier to work with than the llama fleece, but the llama was easier on this one than the previous one. I think I’m getting the hang of the necessary manipulations.
After looking at an online preview of The Complete Photo Guide to Felting, I’m going to try to smooth the penguin-creature a little. She suggests four approaches: felting densely, applying the needle almost parallel to the surface, wet-felting by hand (dip your fingertips in warm water and rub the surface of the item until the loose strands are felted in), and giving the creature a haircut or a shave (with an actual safety razor). I think the middle two options are my best bet, especially as I already tried the haircut option. You’ll see him again in a while!