 Early this year I used tracing paper in two different ways in short order, so I thought I’d write a little post about it.
The main way was for patterns to stitch through, whether by machine or by hand. For the sample embroidered seam block I made for my second crazy quilting class, I used strips of tracing paper to make evenly-spaced repeating stitch patterns from my graph paper sketches. It was a mixed blessing – the stitching creates the perforations to tear along to remove the paper, so shorter stitches = easier removal. Mine were long and tearing the paper without stressing the stitches was a challenge. I also had trouble with the stitches getting loose when I tore away the paper and had to consciously stitch more tightly than I normally would to accommodate it. One piece of advice unrelated to my block: don’t fill areas while the tracing paper is still attached because you will never get it out.
Advice from elsewhere: Susan at Plays with Needles recommends Bienfang brand tracing paper in particular. I’ve only tried what I have – Strathmore – and it’s fine, but takes a little effort to sew through. I’ll test out Bienfang when I need a refill. If it’s easier to tear that will help a lot with avoiding stitch distortion.
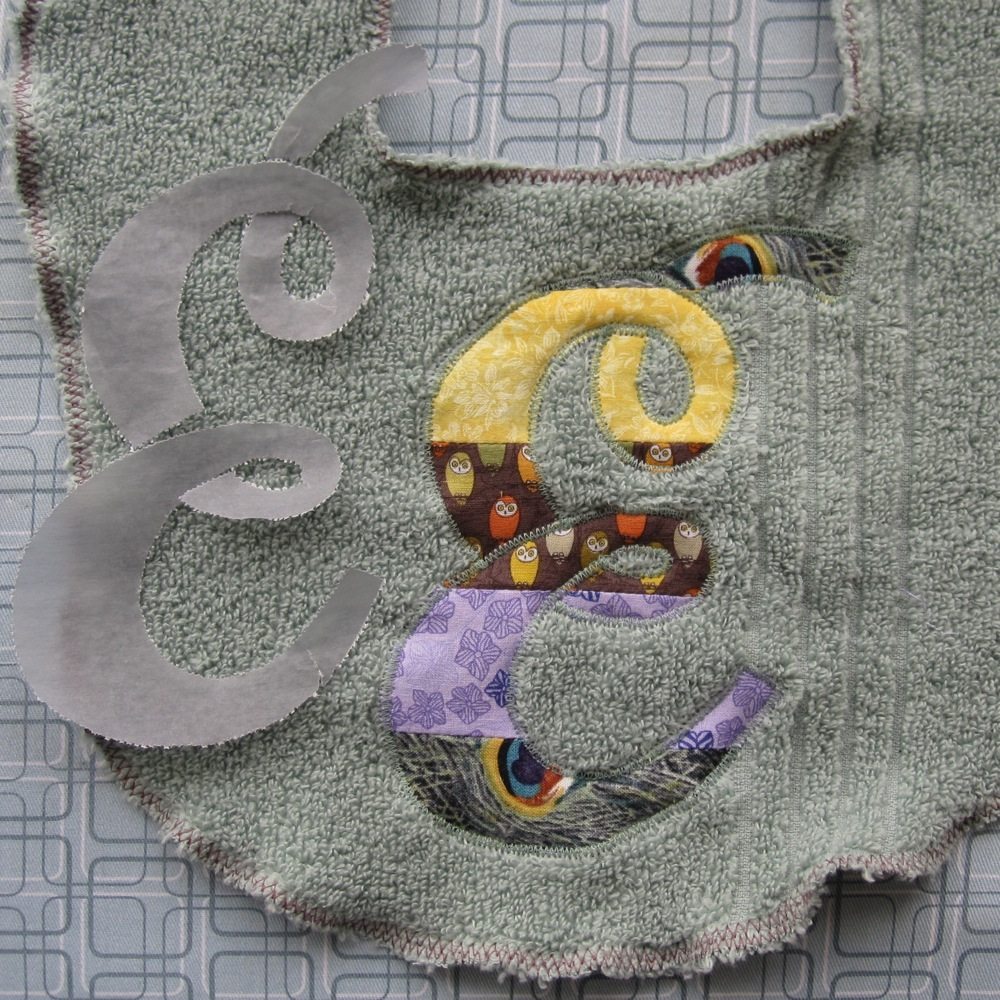
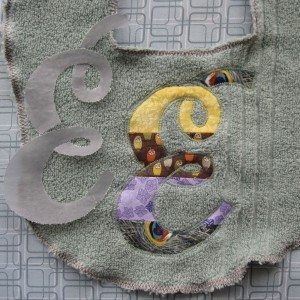 I also printed a large letter to be used as an applique pattern. I put tracing paper through the printer by trimming it to about 8″x10.5″ and taping it across the top to a standard sheet of letter paper, an idea I got from a tutorial for decorating candles with printed tissue paper. I generally use a small piece of tape at each end of the short edge and two more equally spaced in between.
Advice here: if you’re printing large solid letters and don’t have a way to convert them to outline, change them to a nice medium gray. Then you use less ink, which means less time to dry and less distortion from soaking the paper. For my applique I straight-stitched by machine around the outline of the letter, removed the paper and trimmed the applique fabric as close as possible to the stitch line, and then made a tight, narrow zigzag all the way around. In one spot my trimming was a little too close and I had to recapture the fabric with the zigzag, but most of it went as planned.
[This pattern was for a gift for friends we see very infrequently, and in fact we passed it to a mutual friend and it may not even have made it to them yet, but I am tired of holding on to this post until the gift is given!]
Incidentally, the letter shown is Oleo Script Swash Caps, a font that’s free for commercial use. The designer also has the plainer Oleo Script, but I specifically wanted an E with loops in it. Both are thick enough that at a large size you don’t even need boldface to make a good applique letter.
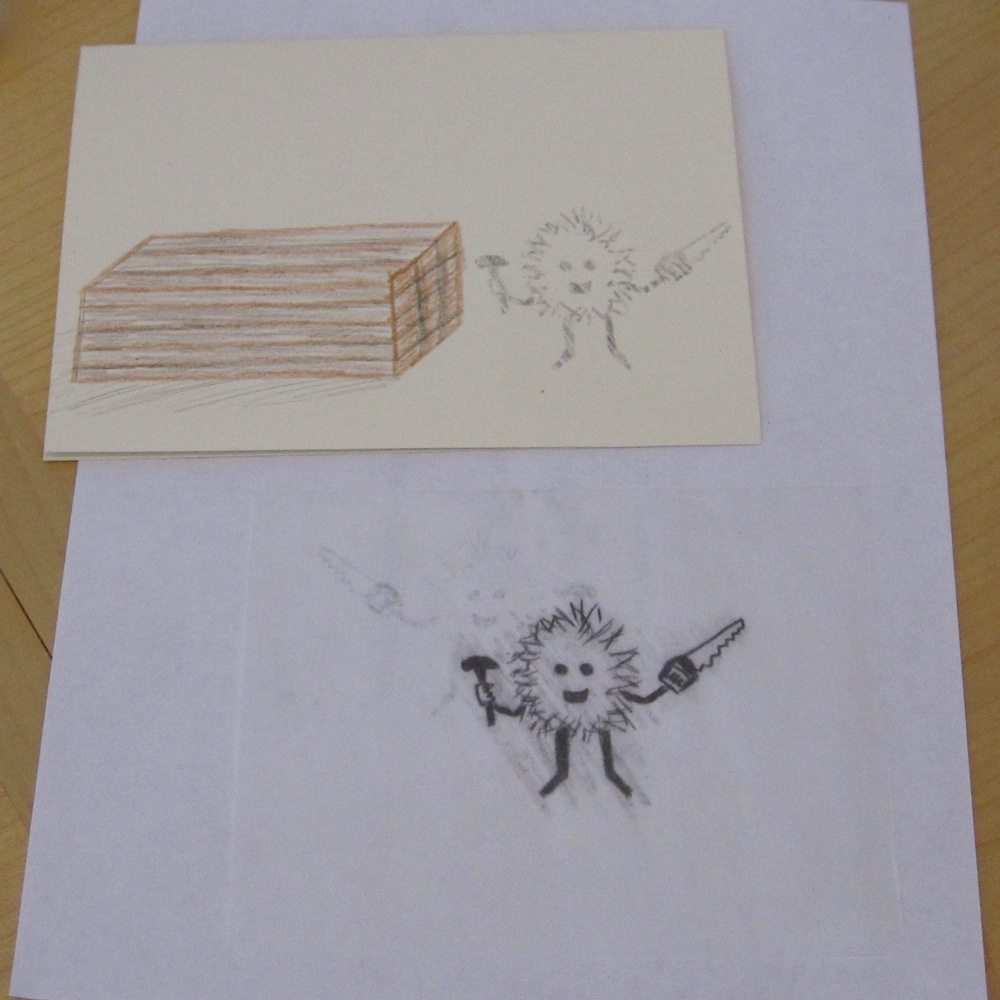
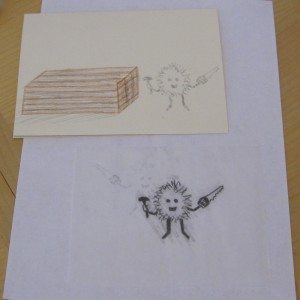 My second recent use for tracing paper was to make my own rub-on transfer. I was drawing a greeting card and had a little fuzzball character that I didn’t trust to come out as well in future versions, so I traced him with a soft pencil (4B), turned the tracing over, and rubbed with the (eraserless) back end of the pencil to transfer graphite. Then I went back with a colored pencil to finish the drawing. It worked really well, and I was even able to face him in opposite directions by turning the tracing paper over, using the first trace as an image to trace again, and rubbing the second version onto the page. In the photo, where I’ve transferred but not drawn over the image, you can see where the first version rubbed onto the scratch paper a bit, ghostly under the tracing paper (which itself is not easy to see).
By the way, as I focus less on blogging I’ve found myself using Facebook a bit more, mostly for random crafty links I come across (though the Fun With Vintage Patterns album gradually grows). I’m not regular with it, but moreso than here.