Crochet baskets

For whatever reason recently I went on a spree of crocheting baskets, and got their portraits made. I’ve got some edging ideas/instructions and other information for you along with these photos.

crochet baskets all together

All of the baskets are tight-gauged single crochet other than the top edging; the rainbow basket was worked in a simple spiral, and is the only one made with a single strand of yarn.

joined basket interior view spiral basket interior view

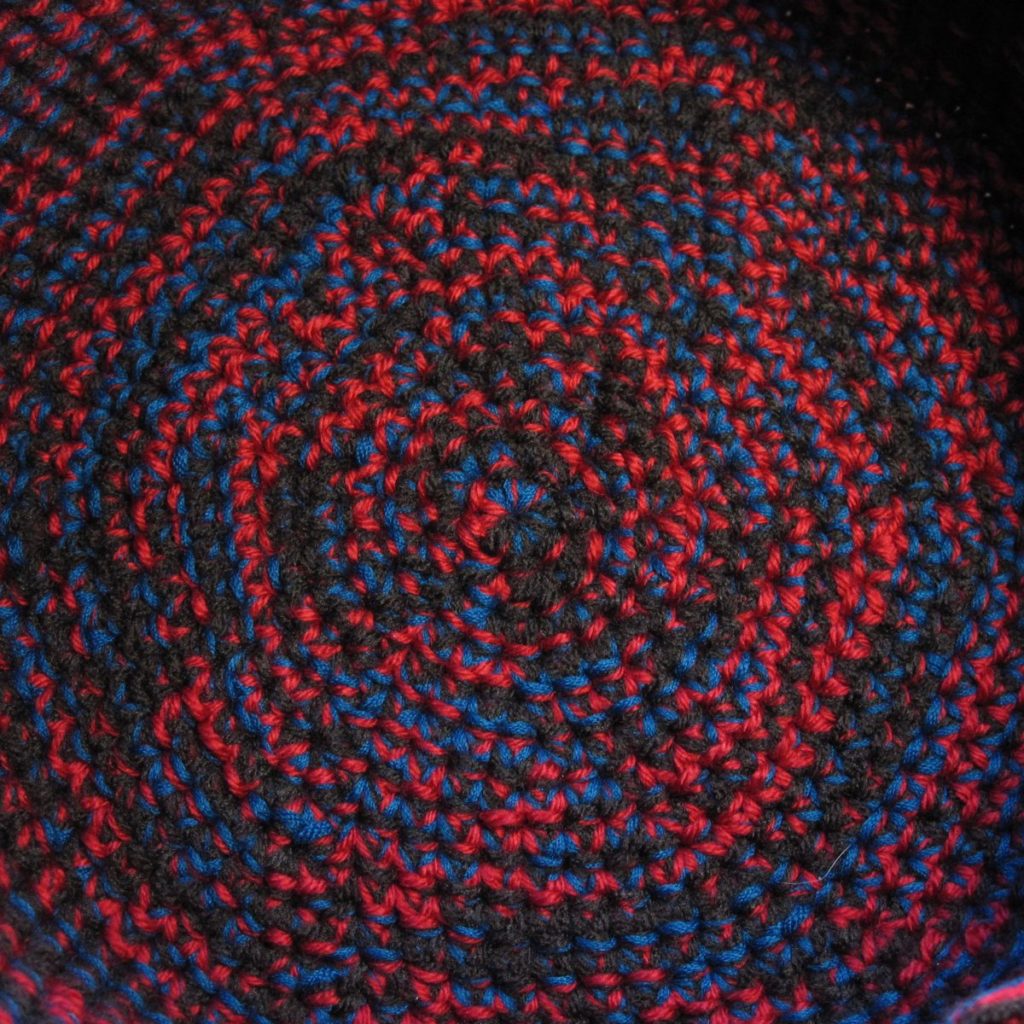
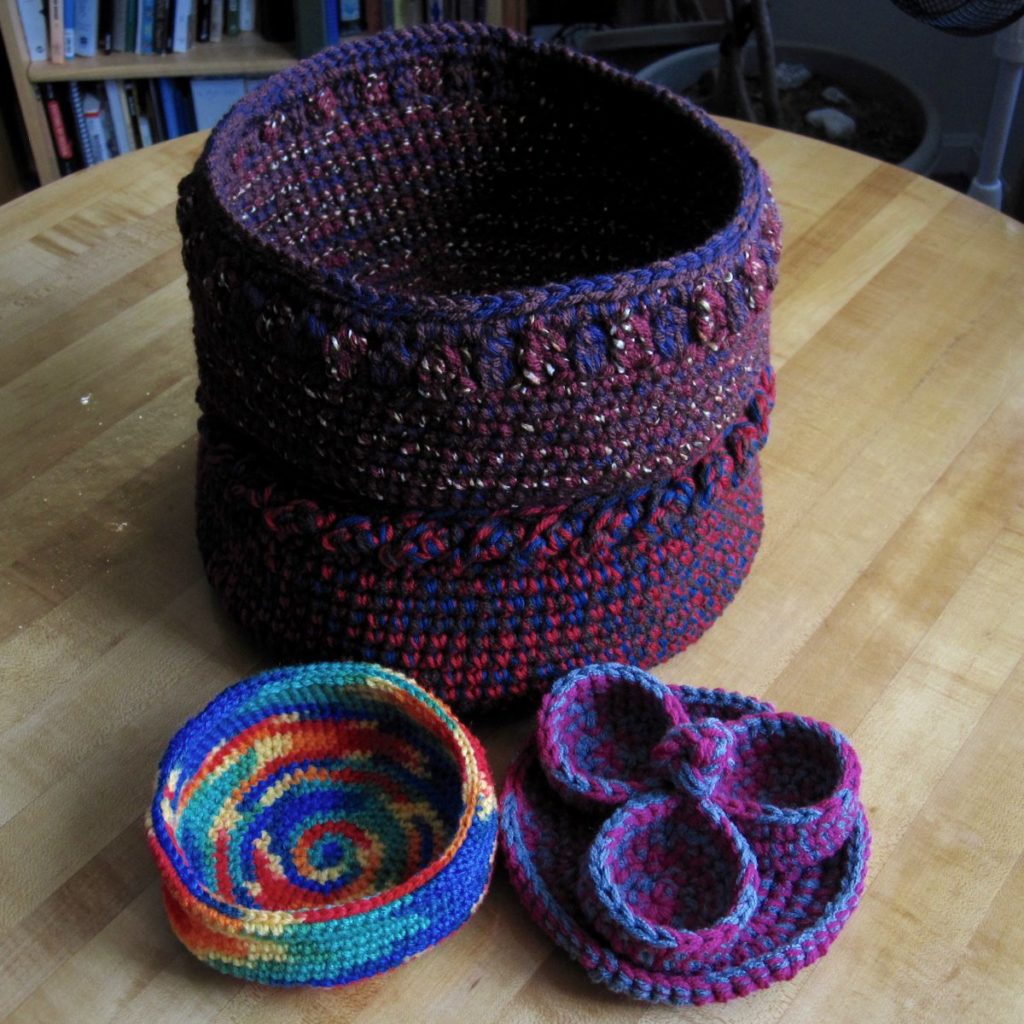
The first picture above is the inside base of the biggest basket, made with 3 strands of worsted acrylic in red, teal, and brown, and worked in joined rounds. I believe I made a few decreases on the sides to give it that pot-like silhouette.

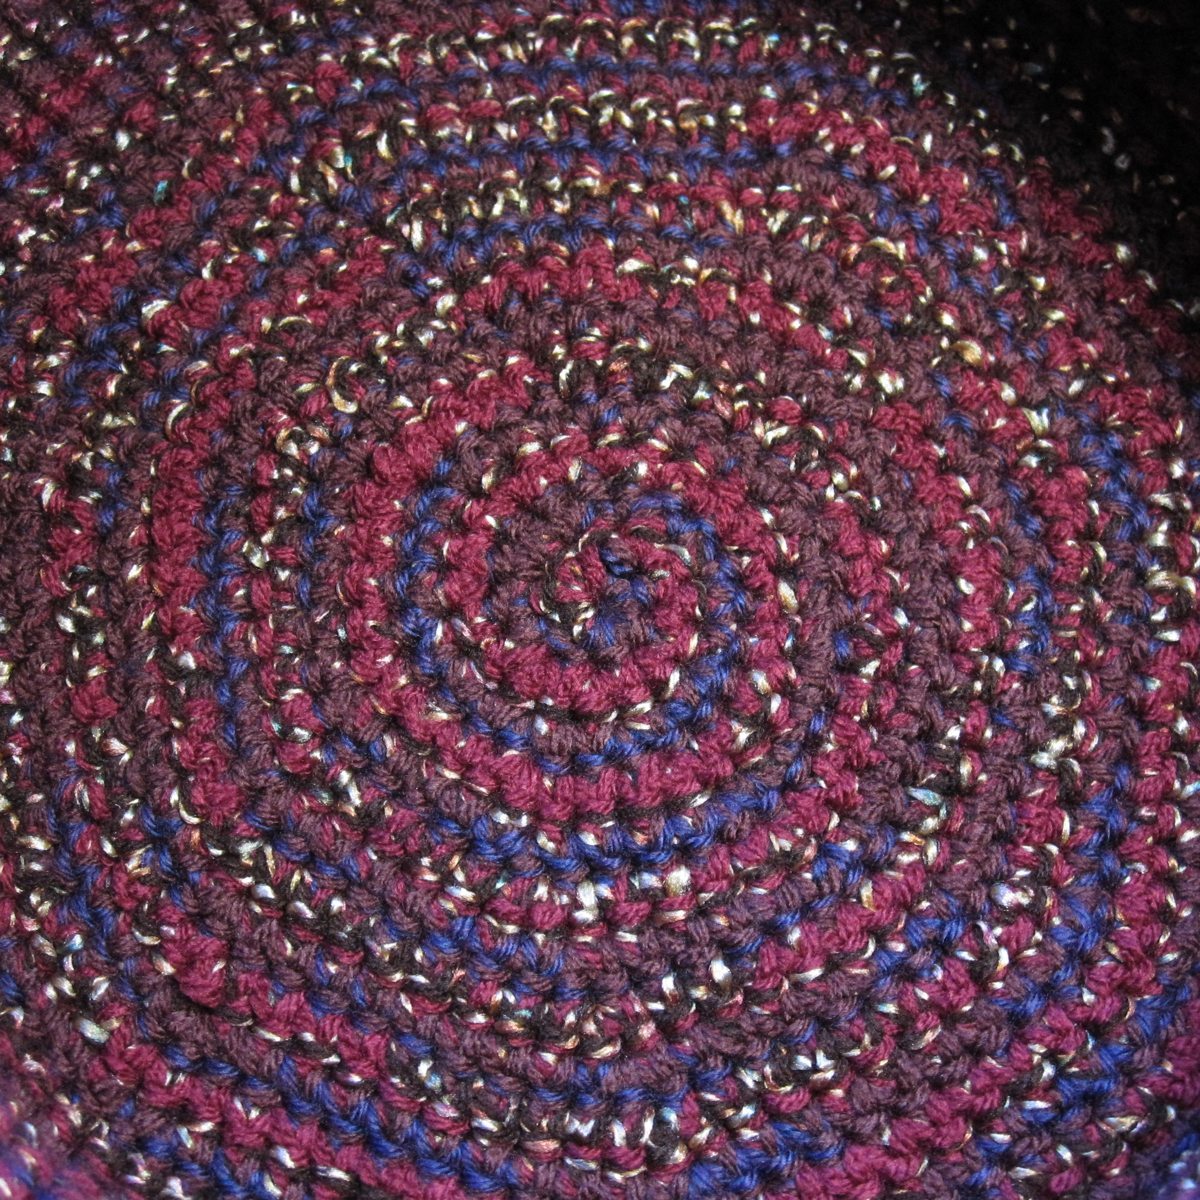
The second photo above is the second-largest basket, made with two pairs of worsted weight yarns: a textured purple/plum paired with a ruddy brown, and a brick red with a dark brown that had a thin shiny strand wound with it to make it tweedy. They are crocheted in a double spiral.

I’m really pleased with how the colors worked together in both cases.

the biggest two baskets together trefoil basket with button knot and tray

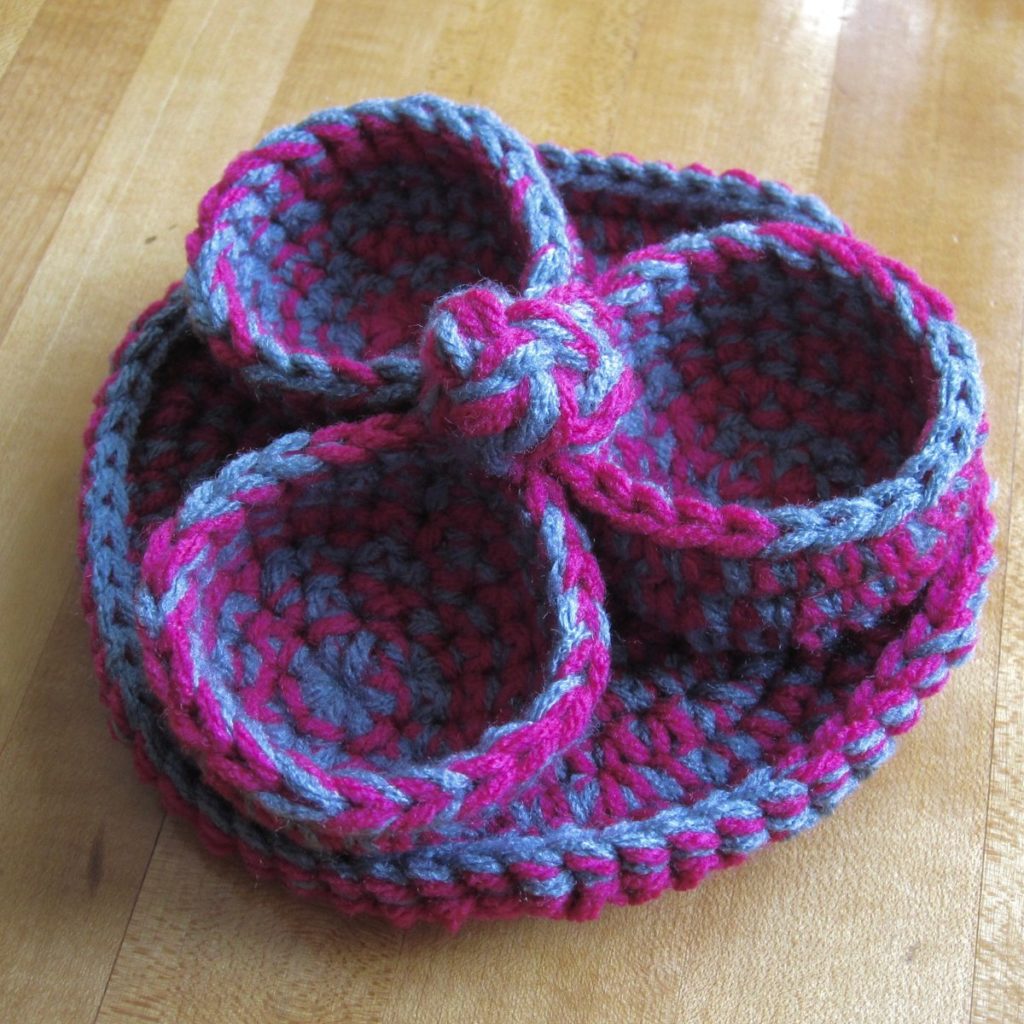
The outlier clearly is what I’ve been referring to as the “trefoil catchall,” in hot pink and gray worsted. This one I actually wrote a pattern down for so I could get all three pieces the same:
1. Sc 7 in magic ring. Sl st to join each round; chain up at the beginning of the next.
2. *Sc inc* around (14).
3. *Sc inc, sc* around (21).
4. Sc inc, sc 20 (22).
5. Sc inc, sc 21 (23).
6. Sc inc, sc 22 (24).
I needle joined at the end, though the join spot ends up hidden. Weave in the ends of the first two; use the tail of the third to sew the three together at the increases/joins.

For the “knob” I cut three long pieces of each color of yarn, threaded them through the joining so they ended up doubled, braided the lot (12 strands!) and then tied a Chinese button knot. Tightening it was a process – lots of tugging of loops along the path of the braid. I pulled the whole tail down through the join and wove in the yarn ends individually (phew!).

The tray is just a disk in joined rounds; I would have made it larger but I ran out of yarn.

How about edgings?

crochet basket edgings

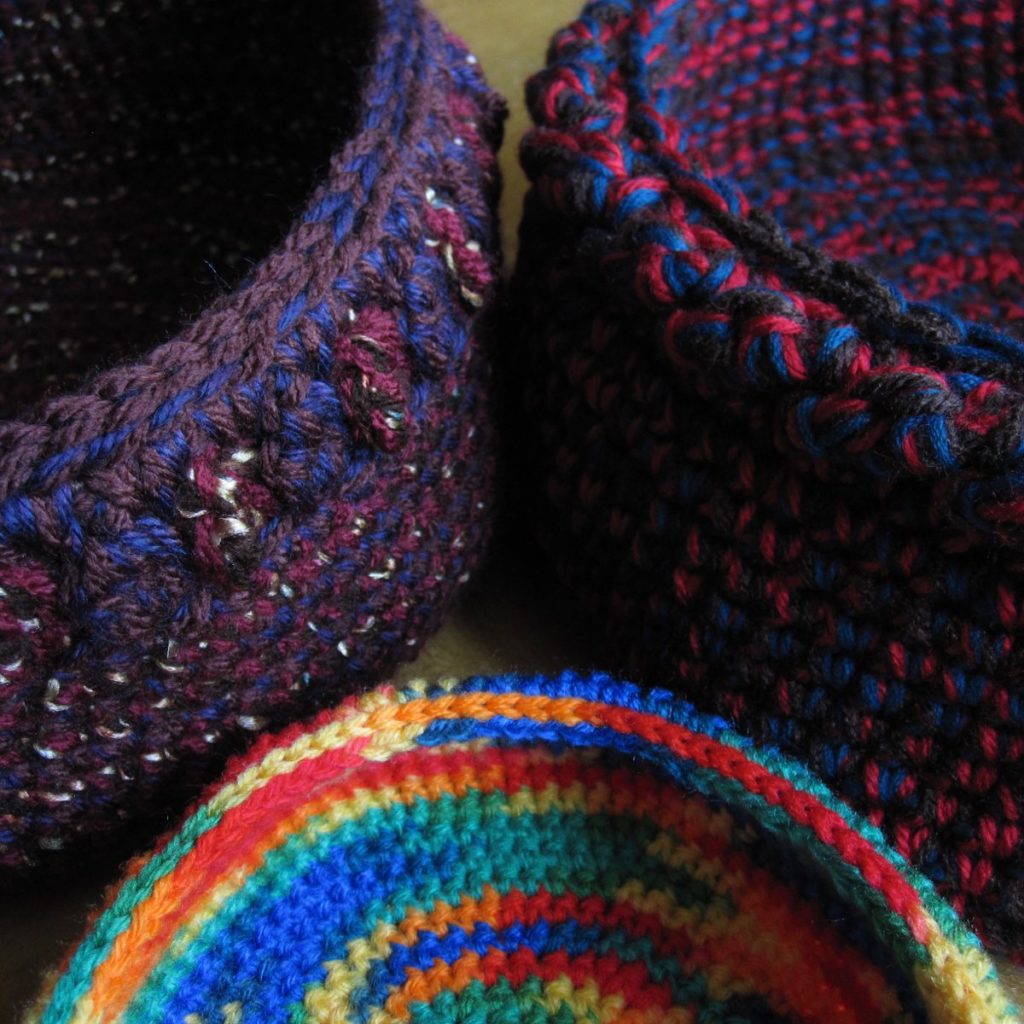
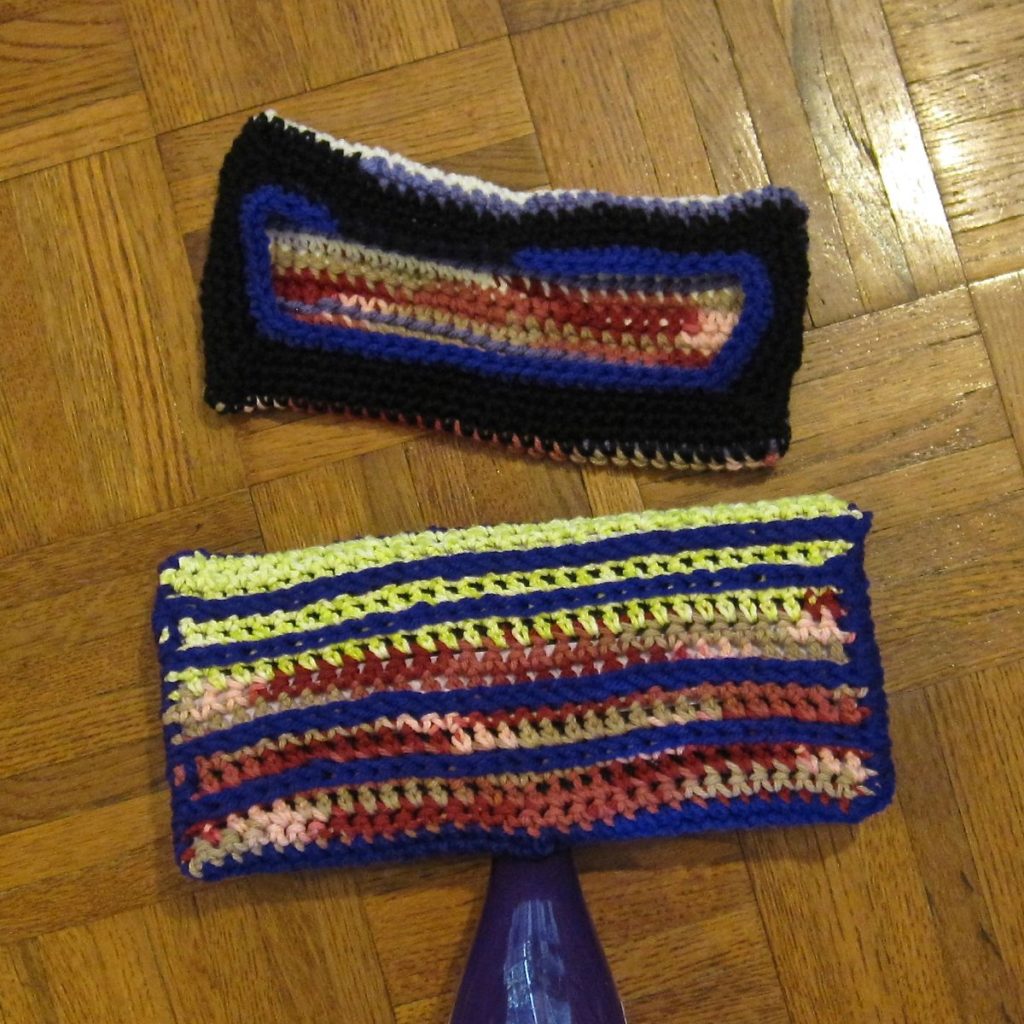
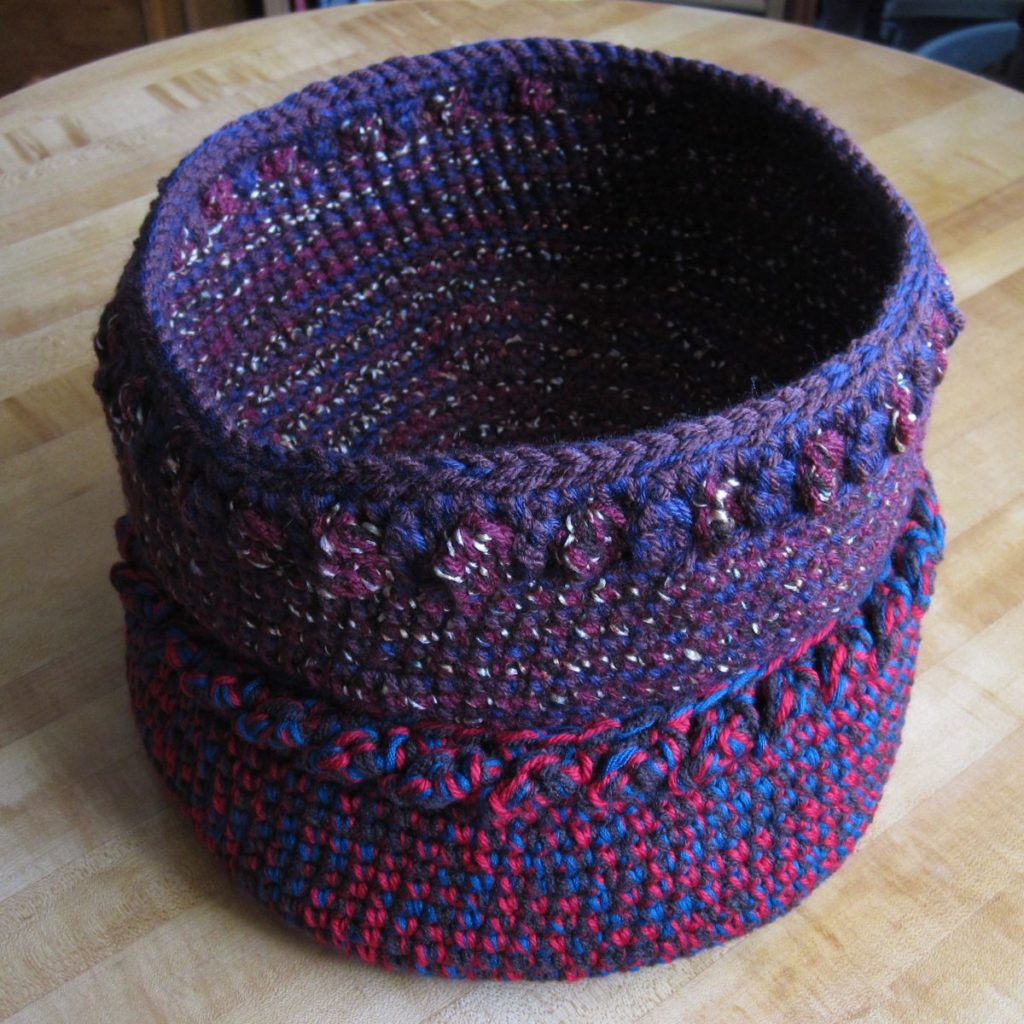
On the left, a bobble stitch edging separating out the two doubled yarns. I used 4-dc bobbles; 5-dc bobbles would have looked nicer but I was concerned about running out of yarn. That is also the reason the top round is in only one color set. To note before we make bobbles: I had finished the main-body spiral with the two doubled yarns across the basket from each other.

Except for where I had to fudge it because of the count, I spaced the bobbles 1 stitch apart: in one color set, ch 2 and use as the first dc in a bobble (I can’t remember whether I made the bobble in the same st as the sc the ch comes from, or the next st; same would be better), ch 3/sk 3, bobble, and so forth almost halfway around. Stop short of color set two and sc 1-2 sts with it, if needed, to put it halfway between two of the color set one’s bobbles. Go back to color set one and finish the ch 3/sk 3, bobble round; if you don’t have a multiple of 3 stitches make the last two bobbles 2 or 4 apart from each other instead of 3. Sl st to join; finish off if this is not the color for the final round. Repeat the process with color set two; its bobbles will be in the middle of the 3 skipped stitches from the first set (with fudging as needed).

After the bobbles are done, pick up your final-round yarn, chain 1, and sc into the top of each bobble (enclosing the other color’s chain) and between adjacent bobbles (around both chains). You could also squish the tops of your bobbles a bit more by making 2 sc between bobbles (around the chains) and none into bobbles.

On all the baskets you want to join the final round with a needle join instead of a slip stitch.

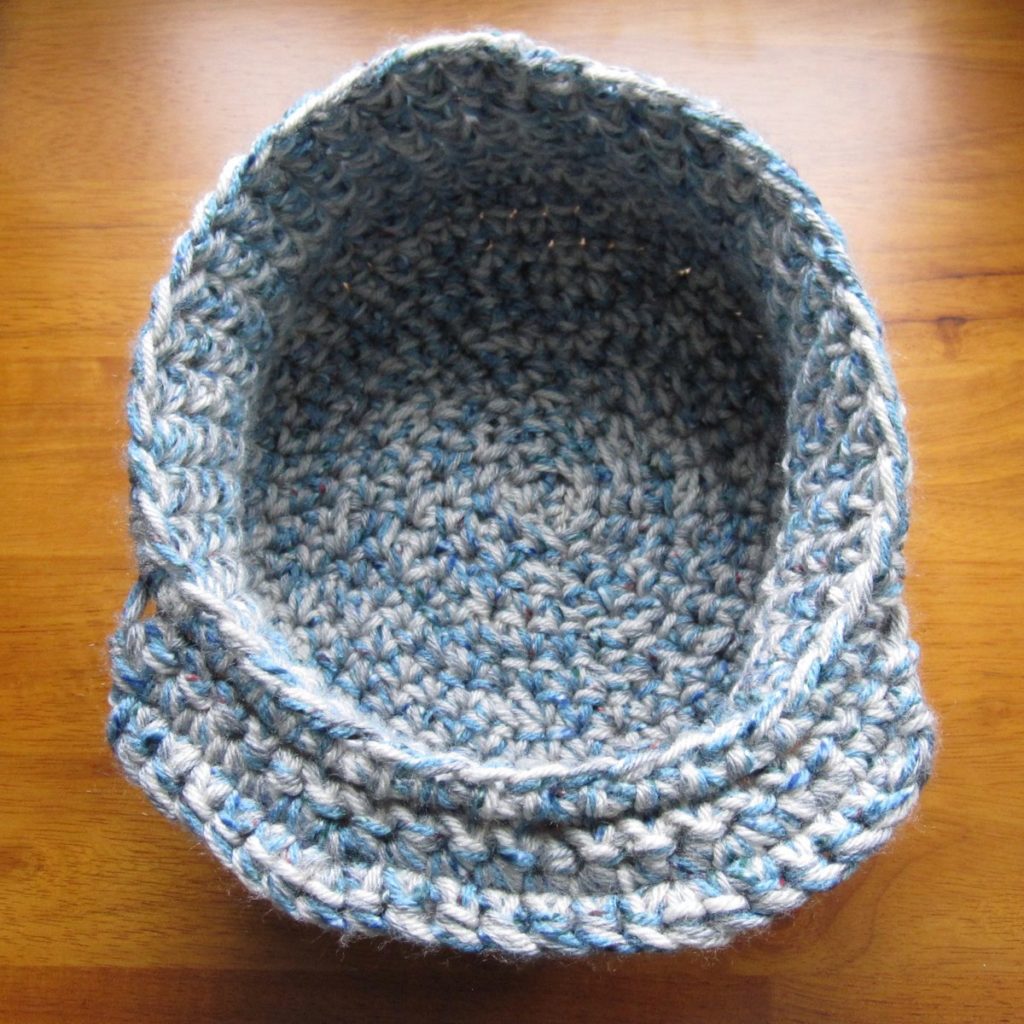
On the right, a portion of the border to Julie Yeager’s Deco’Ghan. Fortunately I had a multiple of 3 stitches around so I didn’t have to fudge here. After joining my last round, I did round 3 of the Deco’Ghan border – as with my previous modification I skipped 3 unworked stitches at the beginning, marking the first one, and made the 2 sc in unworked stitches into the unmarked stitches. At the end I joined my chain into the marked stitch, made only 1 sc, and joined to the beginning of the first chain. After chaining up, I sc’d around in just the “sc 2” sts (i.e. the ones at the beginnings of chains and between, but not at the ends of chains). This tightens up the silhouette even more and poofs out the chains.

And finally, front and center, a simple border without concern for spiral-caused jogs: sc around in FL only; sc around in both loops; sl st around in both loops of last round plus unused BL of two rounds prior. Join last sl st to first with a needle join and weave in end. Makes a nice little lip.

Just a simple snow hat

One day last fall I decided to start a project I could just work on in the evenings. I thought a snow hat would be nice – something with a brim to keep my glasses dry. I was remembering some multicolored bulky yarn – white, silver, and blue – but when I went to look for it there was nothing. Instead I combined off-white, gray, and tweedy blue yarn for my own custom bulky yarn.

me in my crochet snow hat

Given the trueness of my purple shirt in that photo I have to imagine I really was that red-faced.

Simple Snow Hat Pattern

Worked with 3 strands of worsted-weight yarn held together and a K hook.

You may find my crochet pattern abbreviations and conventions useful.

1. Fsc 46.
2. Sc 14, sc BLO 18, sc 14.
3-4. Sc around (46).
5. 2sc, sc 4, 2sc, sc 35, 2sc, sc 4 (49).
6. Sc 7, 2sc, sc 11, 2sc, sc 11, 2sc, sc 11, 2sc, sc 5 (53).
7. Sc 2, 2sc, sc 7, 2sc, sc 36, 2sc, sc 5 (56).
8-10. Sc around (56).
11. Sc 17, dec, sc 17, dec, sc 16, dec (53).
12. Sc 5, dec, sc 12, dec, sc 11, dec, sc 11, dec, sc 6 (49).
13. *Sc 5, dec* around (42).
14. *Sc 2, dec, sc 2* around (35).
15. *Sc 3, dec* around (28).
16. *Sc, dec, sc* around (21).
17. *Sc, dec* around (14).
18. Dec around (7).

I might make this again with a change: make rounds 11-13 into four decrease rounds, two of 3 dec and two of 4 dec, and maybe also add another round to the “sc around” block that’s currently 8-10. It should make it a little deeper and less boxy.

I don’t think I recorded the brim, but it was to go across 3 times, starting in the unused front loops of hat round 2. I increased a few times in the middle so the brim would stick out and decreased on each end so it gets slightly narrower.

bottom view of crochet snow hat, showing brim

It’s not as warm as my beehive hat (the second one in that link), but with the mild winter we’ve had it’s seen a lot of use.

Mop covers

Long ago I made crochet covers for my Swiffer sweeper, but I never got much use out of them. They were not as thorough at sweeping as I would have liked, and the normal Swiffer sheets are terrific at their job. That sweeper finally kicked the bucket and I got a Swiffer Wet Jet, unaware that it would not be able to hold the sweeper sheets. Well, for sweeping I’ve gone back to a broom and dustpan.

For mopping, though, I’d been using the Swiffer pads. They are much less good at their job than the sweeping sheets, but my regular sponge mop, which was supposed to squeeze out by folding shut like an alligator mouth, was no better and a lot more aggravating. What to do? Make new pads for the new Swiffer. I thought a smooth flat cotton pad with some acrylic slip-stitch stripes for scrub would work well. I also used acrylic for the upper part to hold it on to the Swiffer, though that choice was more to use up acrylic than anything else. The pad is also held by the velcro on the bottom of the mop.

photo of two crochet mop covers

I started by making two of slightly different size for testing: one that was the full 10.5″ by 4.5″ of the Swiffer itself, and one that was a scant 10″ by 4″. After testing I went with the larger size pattern but dropped a hook size. Size isn’t as crucial as with the sweeper because of the velcro on the bottom.

I soon realized they work much better after multiple washings, so for the remainder (I wanted 5 for the five rooms I mop, plus two spares) I made the cotton panel, put it in the laundry, added the acrylic stripes and upper sleeve, put it in the laundry again, and then put it into service.

My pattern

Your needs may be different depending on gauge! I use a G/4.25mm hook, but also seem to crochet more loosely than average. You may want to change hook sizes, stitch counts, or both.

I make the panel in cotton and the slip-stitches and upper in acrylic. This is mostly to use up acrylic, so if you want to use all cotton, go ahead.

Cotton panel:
Chain 31; make 14 rows of 30 sc. Wash this panel.

Scrub stripes:
Slip-stitch across in the valley between rows 3 and 4, 5 and 6, 9 and 10, and 11 and 12.
After a couple of panels I started slip-stitching from one row end to the next instead of stopping and starting each time.
If you run out of yarn slightly before the end of a row, don’t worry about finishing it. It’s not that important. I do find, however, that these stripes successfully catch gunk, so I wouldn’t leave them off.

Upper cuff:
Starting in the middle of a long edge, join yarn with a sl st, ch 1, and sc around the entire panel.
Join your round when you get back to your starting point and chain up for another. Make four rounds in which you decrease by 2 stitches in each corner. I accomplish this with what I call sk-dec, “skip decrease”: make a regular sc dec but skip a stitch in between the two loops you pull up at the beginning. This takes out two stitches at once with less bulk than sc3tog.
Join your final round and finish off. Wash again!