Jet setting

Ready for takeoff!

jetside

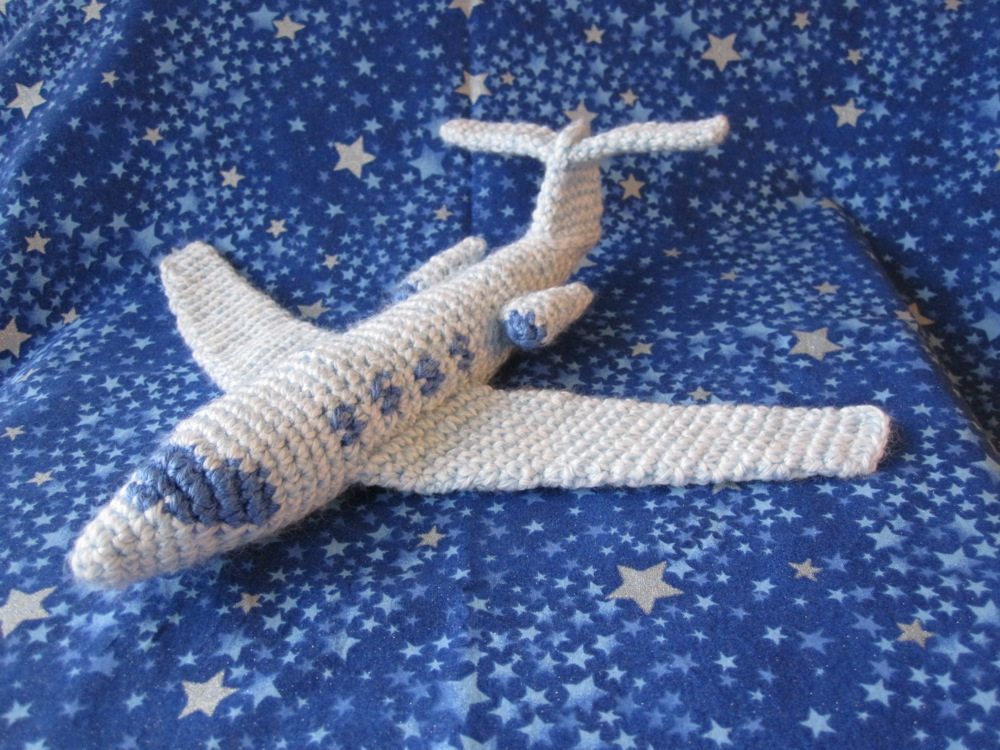
A friend had told me about the paucity of airplanes for babies, which she discovered when her daughter and jet pilot son-in-law had their first child (I’m told Disney is planning a Cars-like movie about planes, so that’s likely to change soon), and I thought that was the perfect push for me to design one.

jettop

The pattern is not ready for prime time just yet, but I am very pleased with how this came out. The wings and tailfins are, of course, kind of floppy, but I think that just gives the plane personality.

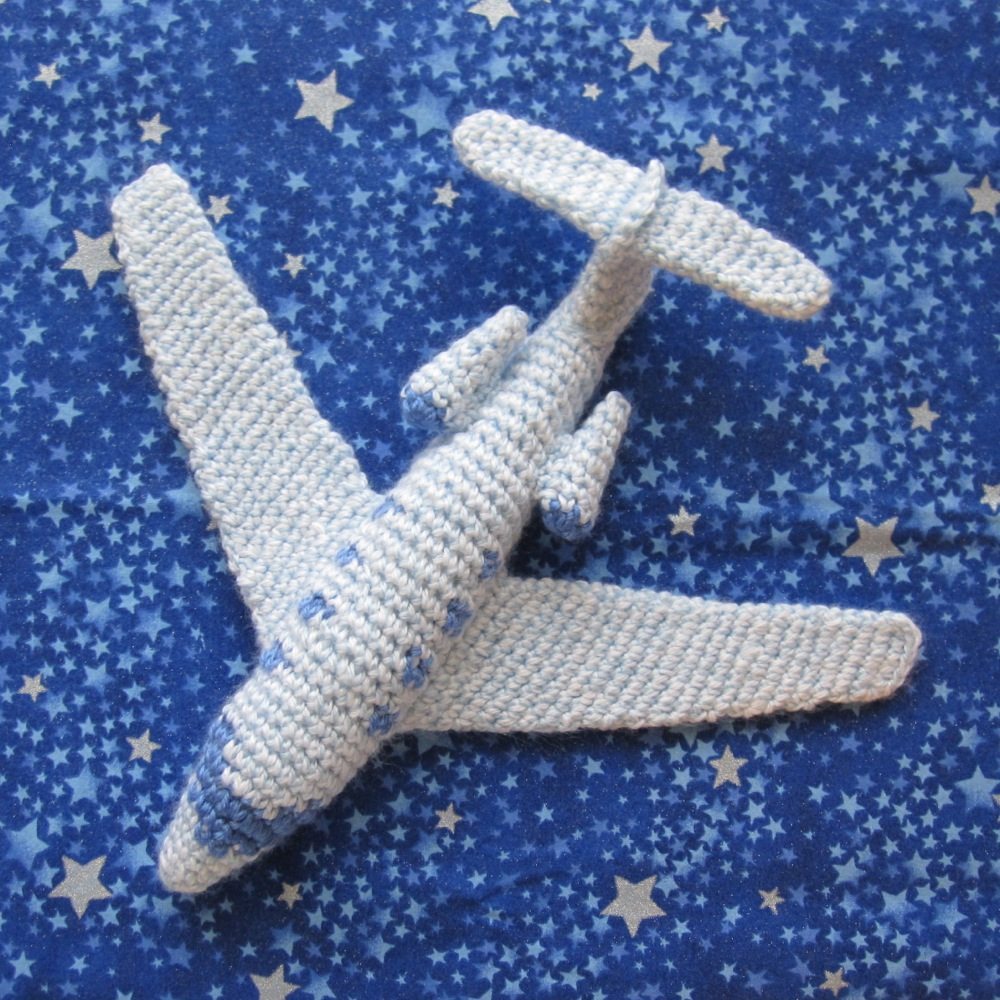
I washed it the night before giving it to her and it was, unfortunately, not dry by morning (despite over a half hour in the dryer before sitting out overnight). However, that was not the worst thing, because I was able to blow-dry out the marks left by my overnight shaping method:

jetblocking

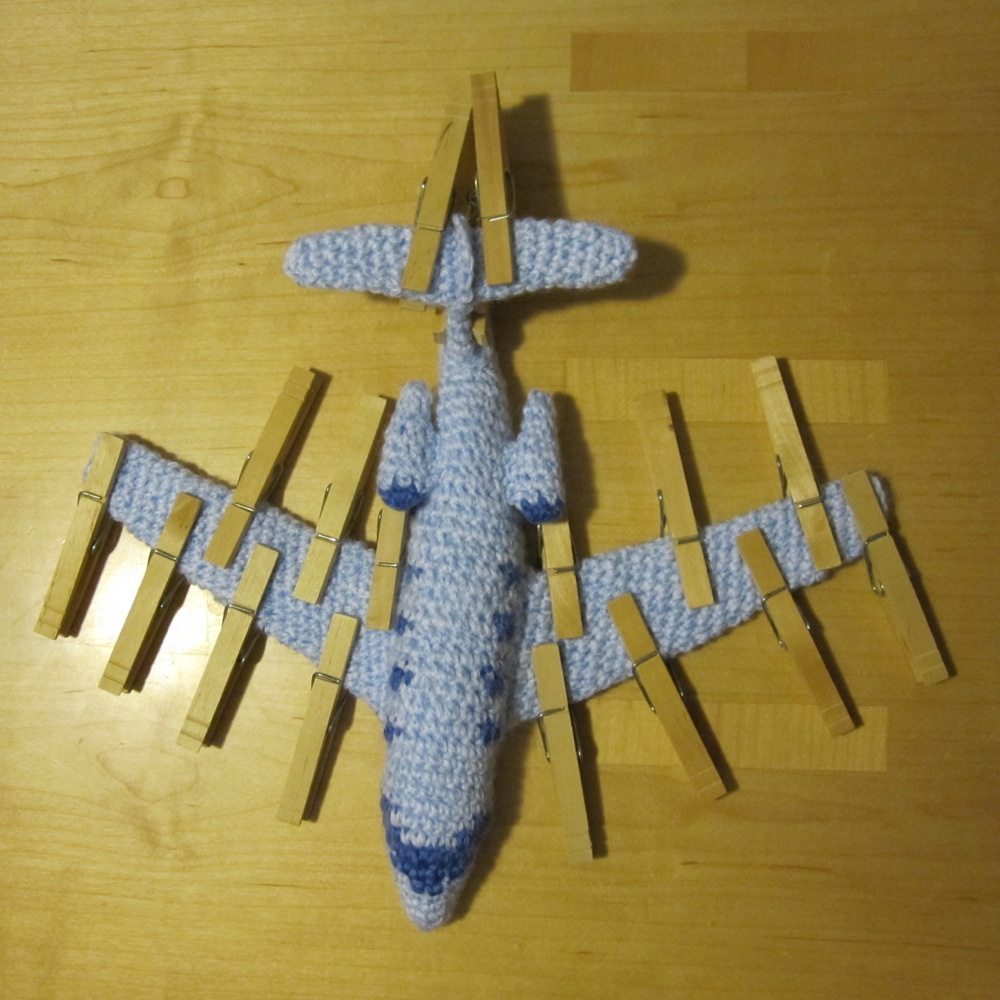
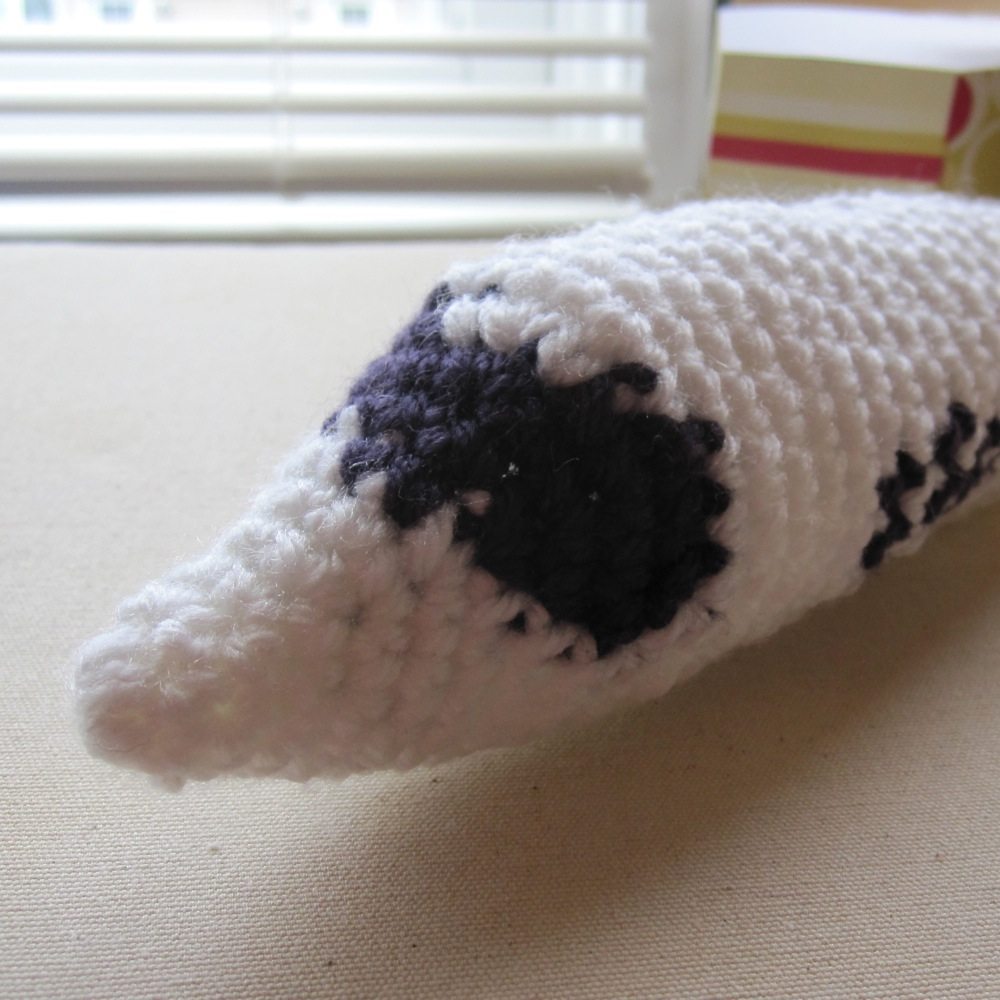
That photo just amuses me. The plane is about 10 inches long in sport weight yarn (100% acrylic, with 95% polyester/5% silk fiberfill), made with an E hook (3.5mm), and while the engines and base of the tailfins are sewn to the jet body, the wings are crocheted directly onto the body, the base of the tailfins is crocheted directly onto the fins, and the fins are then crocheted together across the top.

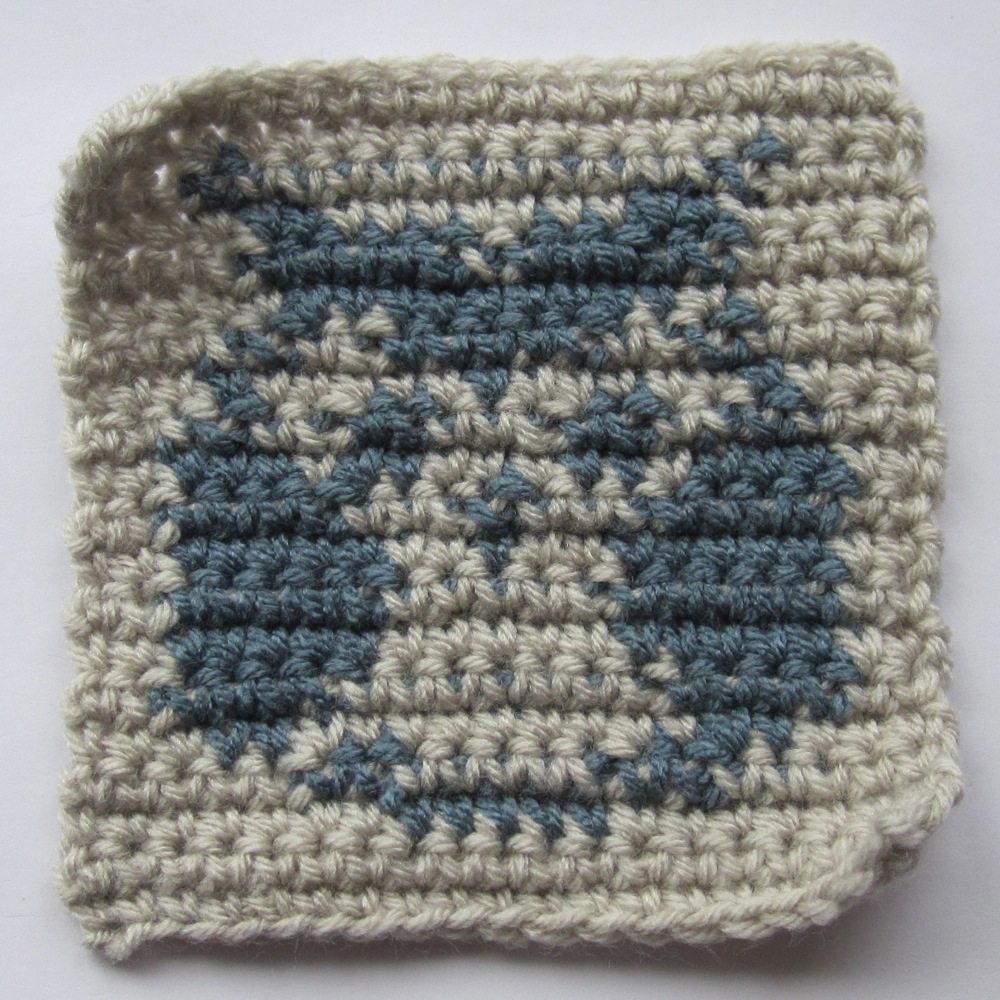
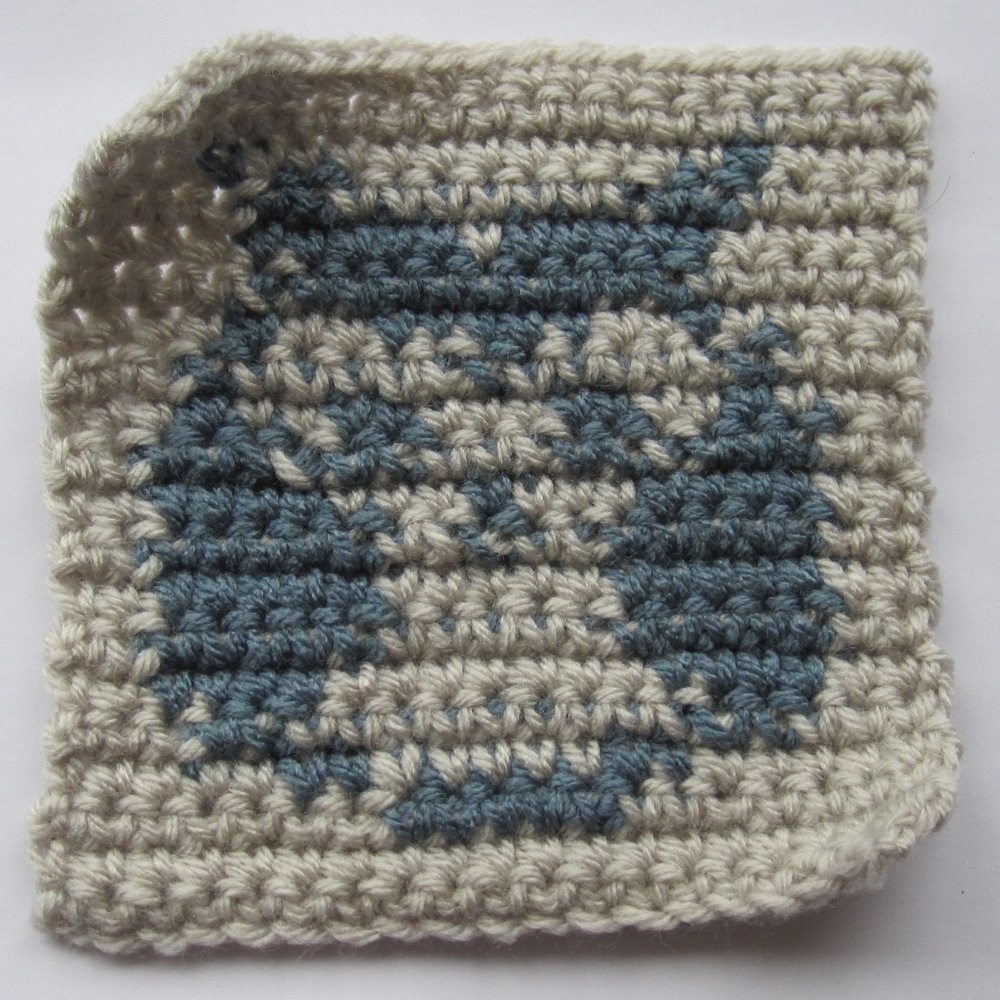
Incidentally, I’m pretty sure one of my design drafts looks like a comic book character – a specific one – but I can’t for the life of me figure out which. Any identification out there? The darker color is purple.

superhero?

First Friday

Happy June to you all!

My list of crochet techniques to try only grows: playing with the crocodile stitch and Jacob’s Ladder technique, crocheting with wire or cassette tape (provided I am convinced it’s not hazardous to my health to do so), beaded crochet, more intensive color work, and (the most recent addition) overlay crochet.

Overlay crochet is a technique that produces flat but multi-layered motifs in the round. In its fullest version the “background” is stitched in back loops only and the front loops are used to stitch outer-round colors into the inner rounds either by chains connecting them or by very long stitches. It is a great elaboration of spike stitches; I found simpler patterns that have this idea on Ravelry and Crochetville (both free).

Online patterns for overlay are not abundant. There is a woman in Germany who sells beautiful patterns on Etsy and Ravelry under the name CAROcreated; I chose this pattern of hers as my entree into overlay crochet. I ordered 2-ply afghan yarn (sport weight) from Herrschners, below, to make it, in colors chosen on a whim.

overlay project yarn

There is a much simpler free pattern of an overlay crochet heart available as well, but I went to the CARO pattern because I had some confusion that twisted me up when I looked at it. I think it is not so hard as I thought at first. The only other pattern I found that was called overlay crochet was an afghan block with overlaid hummingbirds, though I believe these Tangled Web and Celtic Cross afghan blocks both qualify. Offline, there is a book called Overlay Crochet Jewelry, by Melody MacDuffee, who really developed and popularized the technique, and one chapter (also by her) in the book Crochet Master Class.

I would have to consult the books to know what overlay crochet does and does not consist of “officially.” This flower (free) is three-dimensional because each layer of petals is made in two rounds of stitching. To add a layer of petals, you start by making a round of single crochet in the spaces between the petals of the previous layer, joined by enough chains to make a circle but no more. Those chains lie behind the previous layer of petals and well below their tips; the second round of stitching creates the next layer of petals on those chains. I’m pretty sure that technique alone is not overlay crochet, though there is a beautiful stained glass afghan square on Ravelry that combines this technique with “proper” overlay crochet.

Finally, on the stained glass topic, here is another stained glass crochet project – this time far, far larger – that also uses a technique that ends looking similar to overlay crochet. However, the description says the front is made first and the back after, so I doubt the construction details are the same as the overlay patterns I’ve linked to.

Anyway! That’s my plan. You will certainly see my CAROcreated pattern when I finish, and I’ll let you know what I learn about overlay crochet!

Color conundrum

In part 2 of beginning crochet, I teach basic color work. I don’t do a lot of color work, and when I do it’s typically in a case where the unused color can hang out loose behind the work, so it’s based on less experience than pretty much the entire remainder of the course. I was practicing before the most recent iteration, and made the following from a cross-stitch pattern:

owl A front owl A back

Holy tension problems, Batman! As a note, this was made with worsted-weight yarn and an H hook (5mm). I tried again, resisting with all my might the urge to tug the yarn down when I switched colors:

owl B front owl B back

Immediately after I finished the piece some of the carried yarn was peeking out between the strands of the yarn in use, but I stretched the finished piece vertically and then horizontally and they all disappeared. Apparently for me the key is to hang loose.

So, then, that’s all about practice, but what can be done about the exploded mess that is the back side of the stitch? It seemed perhaps I’d found the reason that well over half the fancy color work I’d seen online was on pieces worked in the round.

There is either surprisingly little to be found online about colorwork, or I have not found the right search terms. I mostly got pages with what I have always seen as simply the correct way to change colors in crochet, presented as though it is a special technique.

However, Carol Ventura’s blog about tapestry crochet includes a tutorial category, and there I found a post about the mess wrong sides make. Her solution? Crochet in such a way that all the stitches’ fronts are on the same side of the work. She either switches hands between rows or works the “wrong side” rows with a backwards crochet technique.

The comments section of that post includes another tip: if you’re making something with a larger hook (J/6mm or K/6.5mm, say), it will look better if the carried colors are uniform, since they will show through a bit. That is, if there are stretches where you are carrying white inside yellow, you should carry white inside all the yellow stitches.

As a bonus, as someone who crochets with always at least two and often several more colors, she has a solution to the twisting-strands problem: don’t untwist, just make sure the twist is right up against the back of the work. You can see in the example in her post about this that it does not produce any bump or peek of color, at least when done right.

I can see I have some practicing to do!