Wide old owl

A new pattern!

Wide Old Owl crochet pattern from ReveDreams.com
Wide Old Owl Pattern

I like owls and got a good response to my peacock coasters, so an owl coaster was a natural choice for design. I wanted to make one that was completely flat – no eyes sewn on top of a base, as was the case with every owl coaster pattern I found. In fact, I really wanted to make eyes and a beak separately and then stitch the body around all three of them, but that was not to be. I was unable to make a small diamond shape in crochet; the points all soften too much.

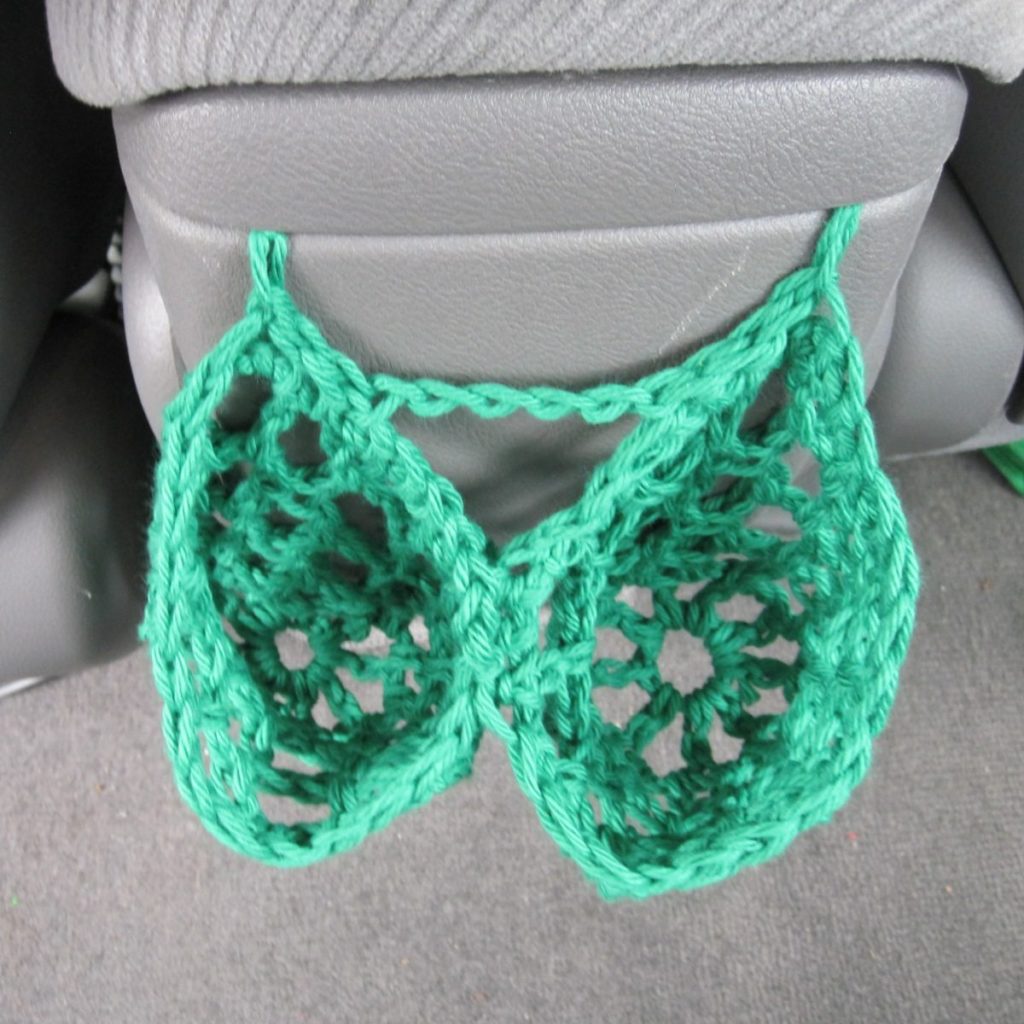
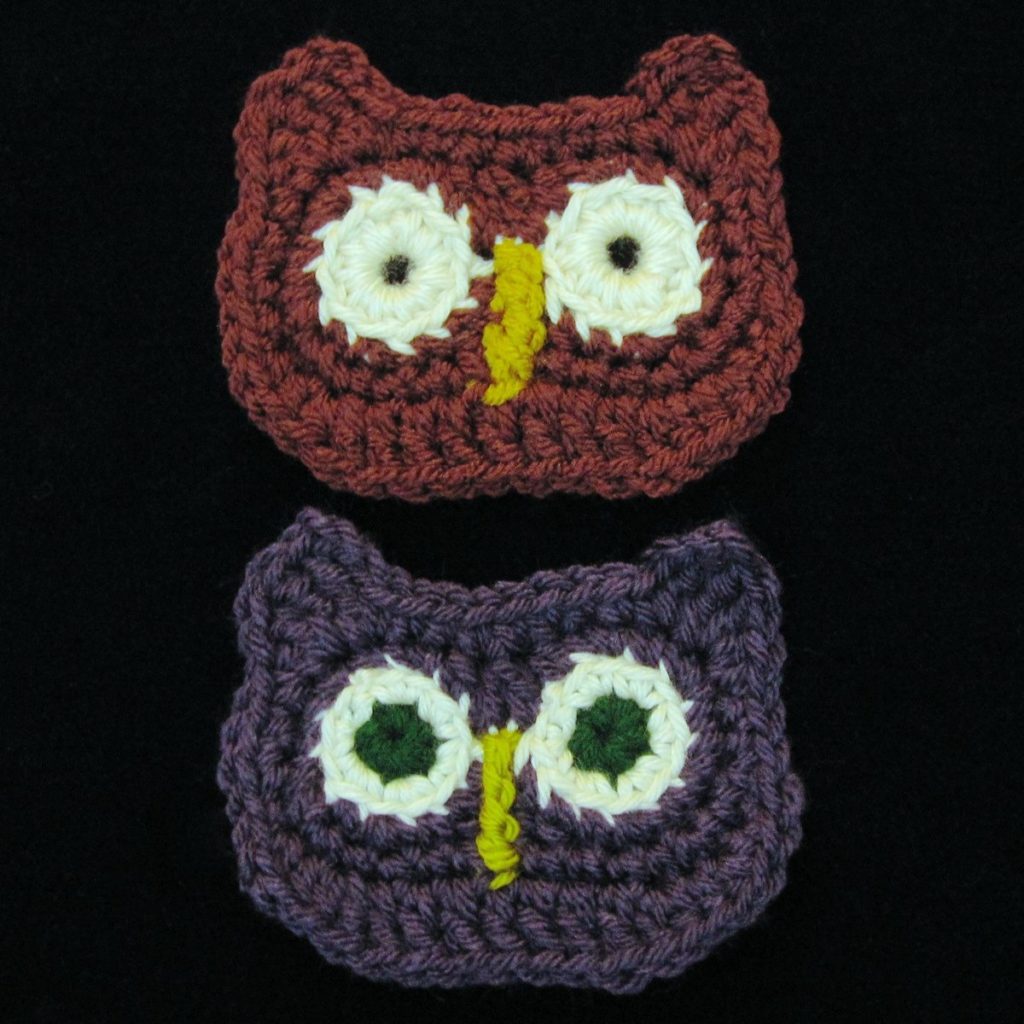
However, I did get the eyes to work out as planned. You make two eyes, in one of two versions (or, I suppose, one of each if you like), and then join a new yarn to stitch the body around them. The beak is done via color change and a long stitch, inspired by overlay crochet. It does sit on top of the rest, but my investigation shows it’s not enough of a bump to make issues with your glass, can, or bottle.

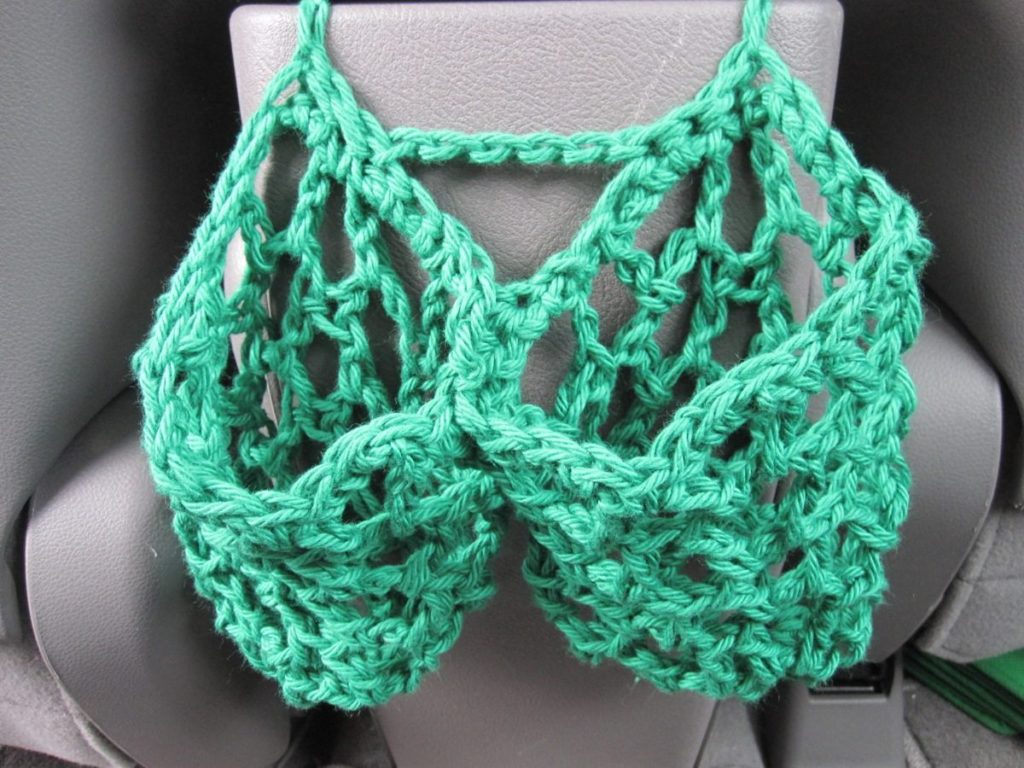
There are eyes with an open center and eyes with a solid center worked in two colors. I personally prefer the open center, but they only look good on a contrasting background. The only uncommon stitches used are triple treble crochet (4 yarn-overs) and linked triple crochet (instead of two yarn overs, two loops are pulled up through the side of the previous stitch); they are taught in the pattern, and the pattern page also links to a video of linked triple crochet.

Incidentally, you can make these with a solid eye of 12 dc in a ring. That was my original eye, but the result is a little creepy so I changed it!

The Vault: Part 7

My next project was the small apple ornament that appeared here early on and has been expanded into a whole fruit salad. I also free-handed a couple of additional finger puppets.

small creatures

After that, though, I got back to the embroidery floss amigurumi with the mighty & ferocious dragon. I really liked this project and the way the variegated floss looked with it.

dragon dragon

This dragon was given to a friend of a friend to be a cross-country road trip mascot. I may have to make another one.

At this point we have essentially caught up with ourselves. I hope you’ve enjoyed this walk down Memory Lane as much as I have. When next we meet it will be 2014 – happy New Year!

Quick back seat cup holders

My car is comfortable, reliable, and pretty efficient, but it lacks certain creature comforts. I’d been meaning to fix one of those lacks: there are no cup holders for the back seat. The front center “armrest” is the top of a cubby, hinged on its back end, and I pictured something like macrame plant hangers but on a cord that would tie around the hinge. Last week we drove the 90 minutes to my mother-in-law’s place and on the way I made these:

cup holder from side cup holder head down

The pattern is easy to find in my notebook because my pen globbed up and then I got it on my hands and now, well, all the local pages are ink-stained.

Backseat Cupholders
I made these with a J/10 hook (6mm) and worsted weight cotton yarn.
Make two:

  1. Chain 6, sl st into ring.
  2. Ch 5 (counts as dc + ch-2), *dc into ring, ch 2* 8 times, sl st in 3rd turning ch to join (9 dc, 9 ch-2 spaces).
  3. Ch 3, dc in 2nd ch sp; ch 3, dc in same ch sp and next ch sp; ch 3, dc in same ch sp, sk 1 ch sp and dc in next; ch 3, dc in same ch sp, sk 1 ch sp and dc in next; ch 3, dc in same ch sp and next ch sp; ch 3, dc in same ch sp, dc in rnd-1 sl st; ch 3, dc in 3rd turning ch to join (12 dc, 6 ch-3 spaces). [This is much easier to follow in diagram form; see below.]
  4. Ch 3, *[dc, ch 3, dc] in next ch sp* 5 times, dc in next ch sp, ch 3, sl st in 3rd turning ch (12 dc, 6 ch-3 spaces).
  5. Repeat round 4.
  6. Repeat round 4.
  7. Ch 1, sc between each dc pair and 3 times in each ch-3 space (24 sc).

On first pocket, slip stitch or needle join in first sc of round to join and finish off yarn. On second pocket, use the yarn to join the cupholders together: place the first in front of the second so their outsides touch, and stitch into loops of round-6 stitches of both simultaneously. Sc 3, sl st, FO.

For the hanging cord, I did this:
Ch 30. Flatten cup holders so joined part is in the middle. Sl st into middle 4 stitches of back of right-hand cupholder (left if you crochet left handed), ch 5, sl st into middle 4 stitches of back of remaining cupholder. Ch 30, cut yarn and tie a knot. You’ll work outside to inside on the first pocket and inside to outside on the second. Ch-30 on each end was longer than needed, though, and even ch-20 should be adequate.

cup holder ties

Behold my first crochet diagram for public consumption, rounds 1-3 of the pattern:

cupholder diagram rounds 1-3

Dot = slip knot
Open oval = chain
Solid oval = slip stitch
Capped line with cross = double crochet

And a few more pictures.

cup holder empty cup holder flattened