Reve Appleseed

I am involved in the Upper Valley Sew-Op, a project of the Upper Valley Food Co-Op in White River Junction, VT. The logo of the Co-Op is a red apple with one leaf.

One night at the drop-in open hours, I started making one of the Lion Brand apple patterns (registration required to see the pattern). I got bored and started at the other end of my skein of red yarn to design a small flat apple pattern, finishing the large apple later. I had recently made a dozen or so of PlanetJune’s Love Hearts, the smallest of which is done as one round on a magic circle, shaping coming entirely from stitch height. I followed that model; the pattern is below. All pictures link to larger versions, and if any of them look odd it’s probably because I tweaked them to try to make the stitches clearer.
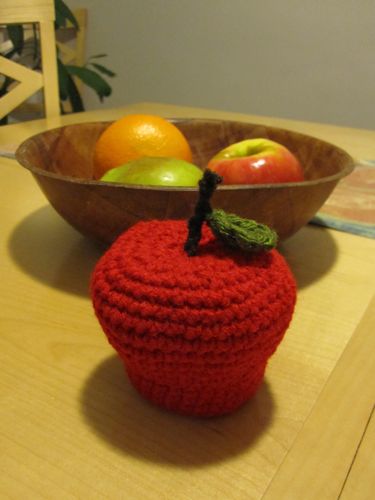
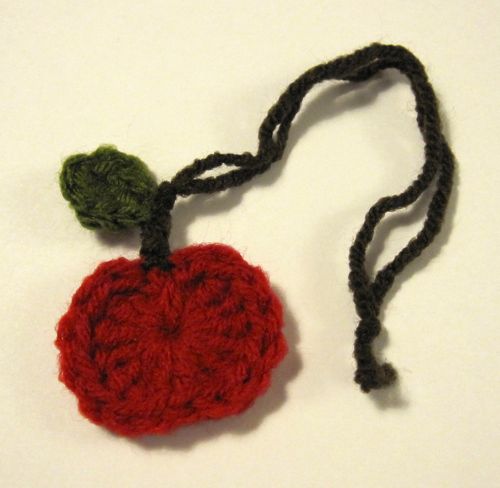
amigurumi apple paperweight crocheted small apple ornament

Small Apple Ornament  
Abbreviations explained here.

Materials:
Small amounts of red, green, and brown worsted weight yarn
Size G/6 (4.0mm) hook
Yarn needle

Apple:

  • With red, make a magic circle, pull a yarn loop through, and ch 1.
  • Into circle: dc, 6 tr, 2 dc, 6 tr, dc.
  • Ch 1 and sl st into circle.
  • Pull circle tightly closed, sew yarn ends into apple to hide, and trim.

You may find that you need to scrunch the stitches together as you go along to make room for all of them, but hold on to both strands of the magic circle when you do so it doesn’t tighten up.

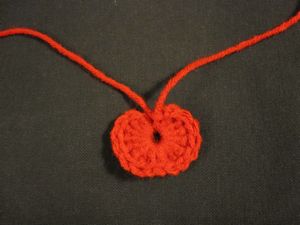
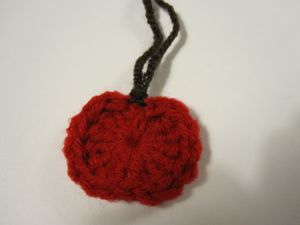
Pictures: apple halfway finished (one of the 2 dc done), complete and mostly tightened.
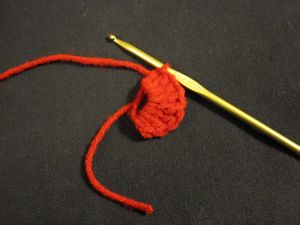
halfway finished crochet apple ornament finished crochet apple ornament

Leaf:

  • With green, make a slipknot, leaving about a 4″ tail.
  • Ch 4. Starting with second ch from hook, one st per ch, work sl st, sc, sl st.
  • Ch 1. Proceeding on the opposite side of the ch, sl st, sc, sl st again.
  • Sl st in first st to join; cut about a 3″ tail and pull through.
  • Sew slipknot end of yarn through leaf to emerge at about the same point as the other end of the yarn.

Picture: ready to make first slip stitch on second side of chain and final joining slip stitch. The larger loop is the second one (closer to the hook end) and the smaller is the final loop of the previous stitch.
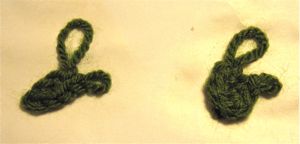
steps to crochet apple leaf

Stem and finishing:

  • For an ornament, cut about 15″ of brown yarn.
  • Feed each end through a red loop near the top center of the apple, front to back, keeping the two yarn ends even length. Bring the ends toward you over the brown loop and then feed them front to back through the loop. Pull snug. You may also make a lark’s head knot (properly it will be a reverse lark’s head), but it will not look as much like a proper apple stem, as you will see two split brown marks at the bottom.
  • Knot the brown yarns together about a half inch from the apple, and again a good ornament-hanging distance away from the first knot (I just use an overhand knot, treating the two strands as one).
  • Tie the leaf to the stem by feeding one of the leaf’s yarn ends between the brown yarn strands, between the apple and the first knot. Tie the leaf yarn ends together (I use a square or granny knot) and sew them back through the leaf to hide. Tug the ends of the leaf to make them pointier.
  • Trim the ends of the green yarn, and cut the brown yarn about a half inch above the second knot.

Pictures: What the lark’s head looks like, my attempt to show the knot I actually use, and that knot tightened down.
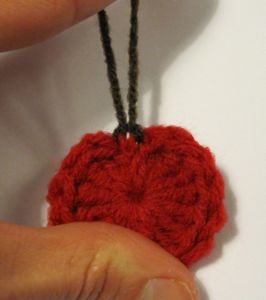
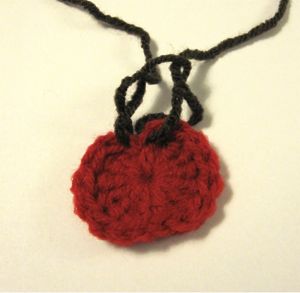
lark's head knot better knot for stem tightened knot for stem

Bonus Post: Iron Craft Challenge #17

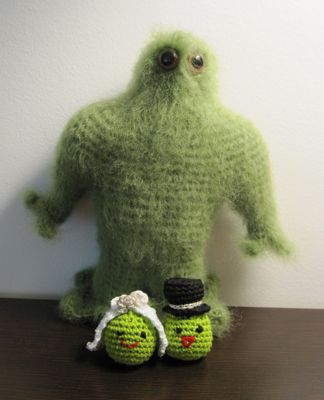
I wanted to make Lion’s “Two Peas in a Pod” amigurumi (registration required to see pattern) as soon as I saw it, but when does someone who’s not planning a wedding or bridal shower have a reason to make an explicitly wedding-themed project? Well, as it turns out, when Iron Craft takes the British royal wedding as its inspiration and sets weddings as the theme of the week. Until I remembered this pattern I wasn’t going to participate, since I have a number of wedding gifts to make but they are either already in progress or items I can’t complete in a week.

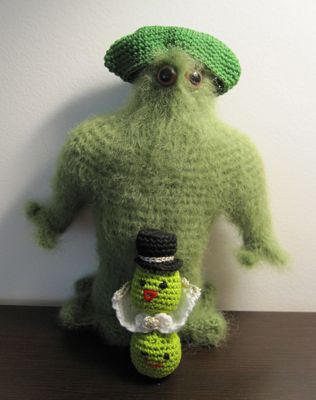
I added some silver to the mix, in the form of a hatband and trim on the bridal veil. Crocheting with metallic floss gets a big thumbs down – the strands would either prefer to have nothing to do with each other, or they catch on each other. However, I am very happy with how it came out! (except perhaps for Mr. Pea’s mouth.)

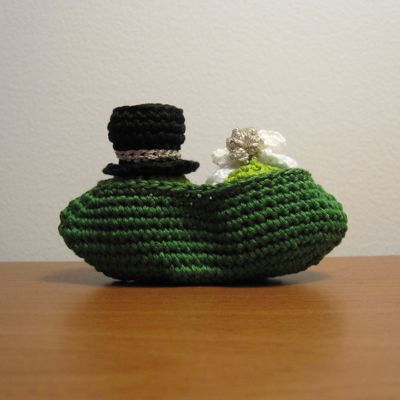
peas in a pod

peas taking vows
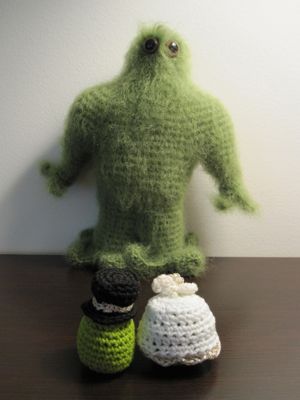
Stumpy got his one-day license for this.

posed picture
Smile for the camera!

silly picture
You always need a silly picture.

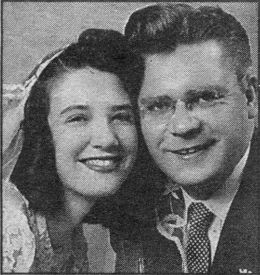
I made them grinning and winking because I wanted joy. Long ago I cut a 50th anniversary announcement out of the paper – they had used a wedding picture for the announcement, and happiness shines out of it.

wedding photo 1951

I cut it out as a reminder that unless I feel the way they look, I shouldn’t walk down the aisle. Also, they’re just darn cute.

Excellent ideas

Before I even began crocheting, I trolled Etsy for amigurumi patterns. My sister loves Peeps, so I was delighted to find Chiwaluv’s neon chickens pattern. Her chicks have exactly the right blobbiness to be Peeps.

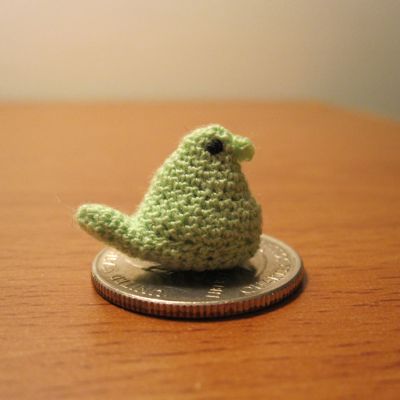
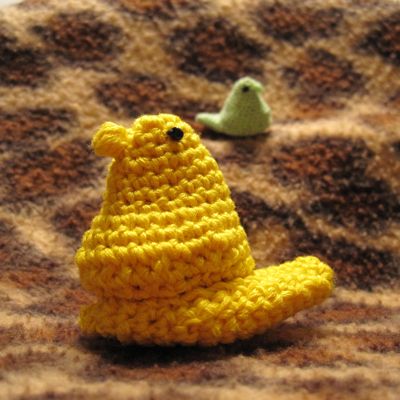
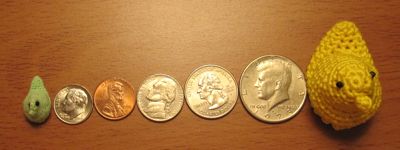
Kate’s current Peeps, all official plushies, are named Peep, Megapeep, Gigapeep, and Terapeep, and she mentioned she was hoping for a Picopeep. I thought I could make her at least a Micropeep out of embroidery floss. Then I realized crocheting sewing thread with a 10 hook (1.3 mm) would be terrific for a Picopeep. I have a couple dozen tiny spools of thread, bought for no good reason in a large bag at the dollar store, and their odd colors included a few plausible Peep hues.

With my bionic vision and retractable tweezer fingers, I completed Picopeep in a mere five hours, a trivial 500% increase over the length of construction of Micropeep. Let’s see the results:

Picopeep on a quarter
Roses say “I love you.” Sewing-thread crochet peeps say “I love you more than eyesight.”

Peeps in rugged terrain
It is a little-known fact that Peeps’ native terrain is rugged, and in fact they are semi-arboreal.

In seriousness, one difficulty is that, like floss, thread is inelastic. This makes, in particular, the first stitch of the second round very tight. It is also difficult to see the stitches – strong light makes a world of difference! The thread twisted up as I went, though I might have been able to fix that by unrolling it from the spool in advance. I found I would make unintentional increases because the new stitch takes so little room on the previous round’s stitch that it was hard to tell last-used from first-unused. I am curious to know whether a larger hook would be easier; I think the hook I use for embroidery floss is proportionally larger.

Peeps and coins

To note: Peeps are a registered trademark of Just Born, Inc.