I’ll be helping someone sew a dress soon, and thought some information about cutting out patterns that I’ve gathered for that person would be of general usefulness. There are hows and whys and Opinions.
Patterns
The back of the pattern envelope will help you choose your fabric, as well as telling you what you need for fasteners, elastic, etc. Pay special attention to pattern envelopes that say “sized for stretch knits only.” That means the way the pattern is designed and sized, using non-stretchy fabric may produce a body cast. Note also that pattern sizes don’t match off the rack sizes. This may be less true for children and juniors, but for adults… I’m two sizes bigger in sewing patterns than in off the rack clothing. Measurements are provided to make sure you’re cutting the right size.
Cut apart the pattern pieces needed for the garment you’re making. This will in most cases be far from all of the pieces in the envelope. If there is a length variation given by pieces with two possible bottom lines, and you’re making the shorter version, if you think there is any chance you’ll ever want to make the longer version, then cut neatly along the dividing line, fold up the bottom portion of the longer version, and save it in the envelope. Otherwise, just cut somewhere near to and outside the cutting line; no need to be precise when you’ll be cutting again anyway.
If unfolding and running your hands over the pattern pieces doesn’t smooth them very well, you can iron them. My grandmother always did, with a dry iron at the wool setting.
Fabric Preparation
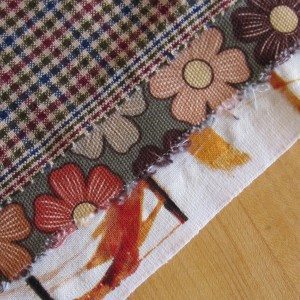
I always wash fabric for clothing prior to cutting it out (clearly I avoid dry clean only fabrics). That way if the fabric makes any changes in the wash, it’s happened ahead of time. I run a zigzag stitch along each cut edge first, to prevent fraying. The zigzag doesn’t have to be tight – I use the widest zigzag and often the longest stitch, though for something particularly fray-prone like satin I’d probably shorten the stitch. Depending on the fabric, you may need to iron it afterward, though with some fabrics if you remove them from the dryer promptly they are ready to go. Something I have learned recently is that pushing a steamy iron along fabric will stretch it, and so now I only use steam for persistent wrinkles, and when I do use steam I try to pick up and set the iron, maybe wiggling it a bit in place, rather than pushing it along.
 A little vocabulary, in case it’s needed: perpendicular to the cut edges are finished edges. “Finished” doesn’t necessarily mean smooth – they may be a bit fuzzy – but does mean that the edge won’t ravel. The finished edge is called the selvedge, and its direction is called the straight grain (or sometimes just the grain) of the fabric. The direction from selvedge to selvedge (parallel, or parallel-ish, to the cut edges) is called the cross grain. Halfway between straight grain and cross grain, which is to say diagonally on the fabric, is called the bias. Some selvedges are shown in the picture to left.
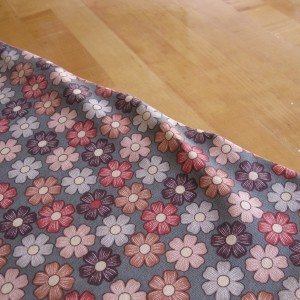 The pattern instructions will show you layouts suitable for different width fabrics. Most of those will have the fabric folded in half, selvedge meeting selvedge, so you can cut two mirrored pieces at once. It is important that the fold line be smooth, and this will sometimes require the cut edges not be aligned. The picture to left shows the diagonal ripples that indicate the selvedges need to be slid a bit along each other; the ripples are caused by the cross grain being a bit twisted.
Laying Out
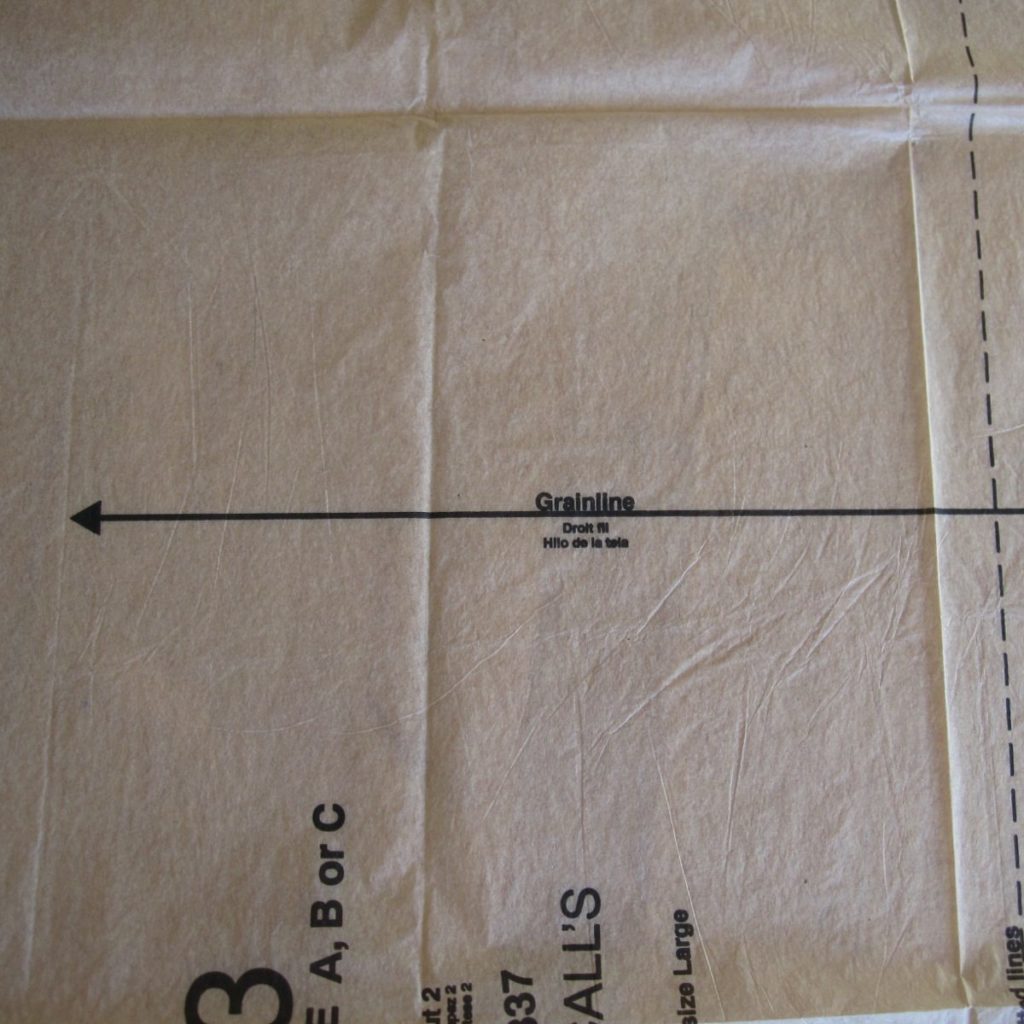
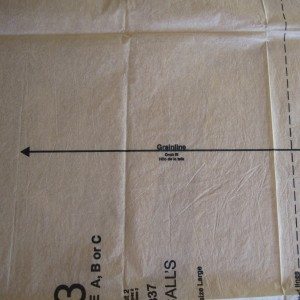 Again, the pattern instructions will show you options for laying out the pattern pieces. Some pieces may be laid out with one edge at the fold line (often the piece that crosses the center front of the garment). Others will be out in the middle of the fabric, but have a long line on them showing the direction of the straight grain of the fabric (pictured; depending on the brand it may or may not have arrowheads or a “grainline” label). The easiest way to get that line the right direction is with a ruler: make each end of it the same distance from the selvedges.
Why? Aside from making sure that, say, the sheen of the fabric is the same on each piece, the grainline marking has structural purpose. The straight grain of the fabric is the least stretchy direction. Most patterns have the grainline positioned so that the straight grain will be vertical in the finished clothing. This makes the vertical line of the clothing the most sag-resistant direction of the fabric. For patterns that use stretchy fabric, the grainline makes sure the stretch goes the correct direction. Some patterns, for swirly skirts for instance, will have the grainline pointing diagonally, so that the vertical (and horizontal, too) line of the clothing is on the bias. The bias is the most stretchy direction, and provides for a lot of mobility even in non-stretchy fabric.
Knowing this, you can figure out when it’s okay to violate the rules. If I’m cutting a boxer shorts pattern out of cotton flannel (read: not a lot of weight hanging, reasonably sturdy fabric, no stretch to worry about orienting), I let the grainline marking be with the straight or cross grain as necessary to fit the pattern on the fabric.
Pin your pattern pieces through both layers of fabric, with the pins parallel to and within the cutting line, making sure to get pins in each corner. How frequent your pins are depends on the fabric and the need for precision; for stable fabric every 5-6 inches might suffice, whereas for shifty light fabric, you might need them every 1-2 inches.
Cutting
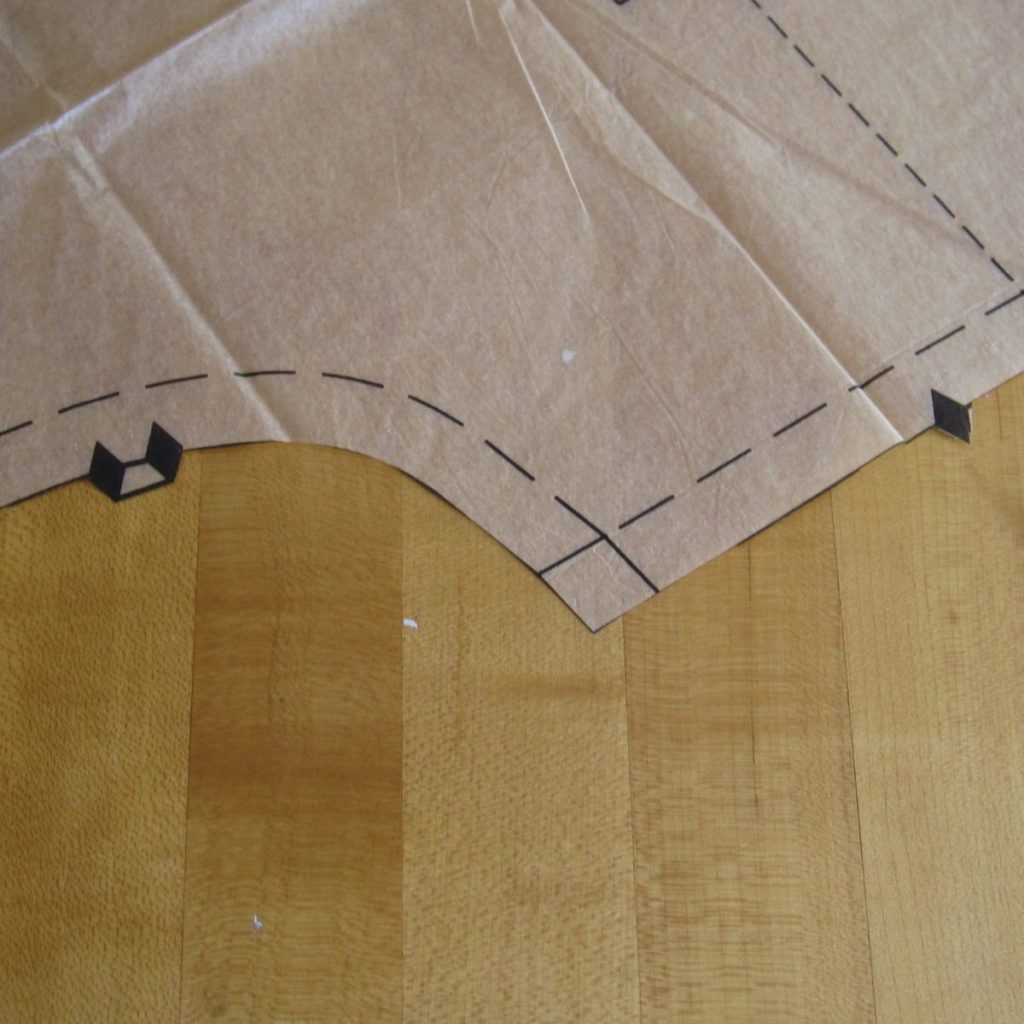
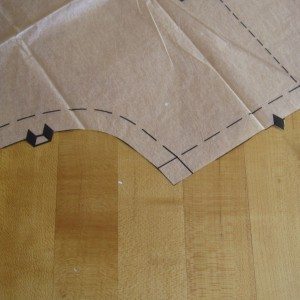 There are numerous markings on patterns, and to me the ones essential in the cutting process are the triangles. These will later help you correctly line up pieces of varying shapes in order to sew them together. I was taught to cut the triangles outward, so as to avoid weakening the seam allowance, and that the most important thing to be accurate with is where the main cutting line meets the outside edges of the triangle(s). The height or shape of the triangles isn’t so important as long as you can match those corners (not every pattern mirrors the triangles on the outside of the cutting line like the one pictured does).
There are numerous other possible markings, including dots, and dashed-line triangles or diamonds indicating darts, but I haven’t found a good system for transferring them to the fabric and tend to just go back to the pattern while sewing and mark these (with sewing pins, typically) when I’m ready to use them. Generally, instructions say to transfer those with chalk or a fabric pen – the kind that fades or washes out.
There you have it: my approach to cutting out patterns. Keep the pattern envelope with its instructions and pattern pieces close at hand.
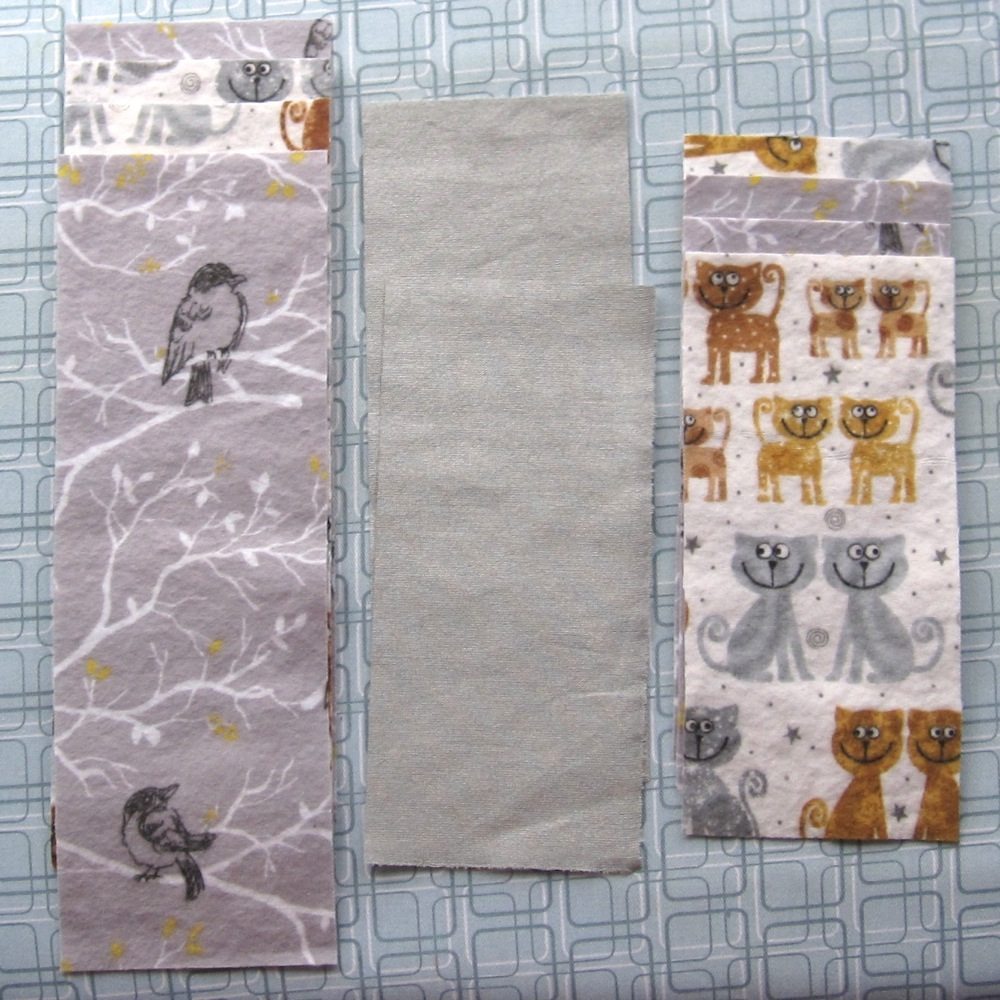
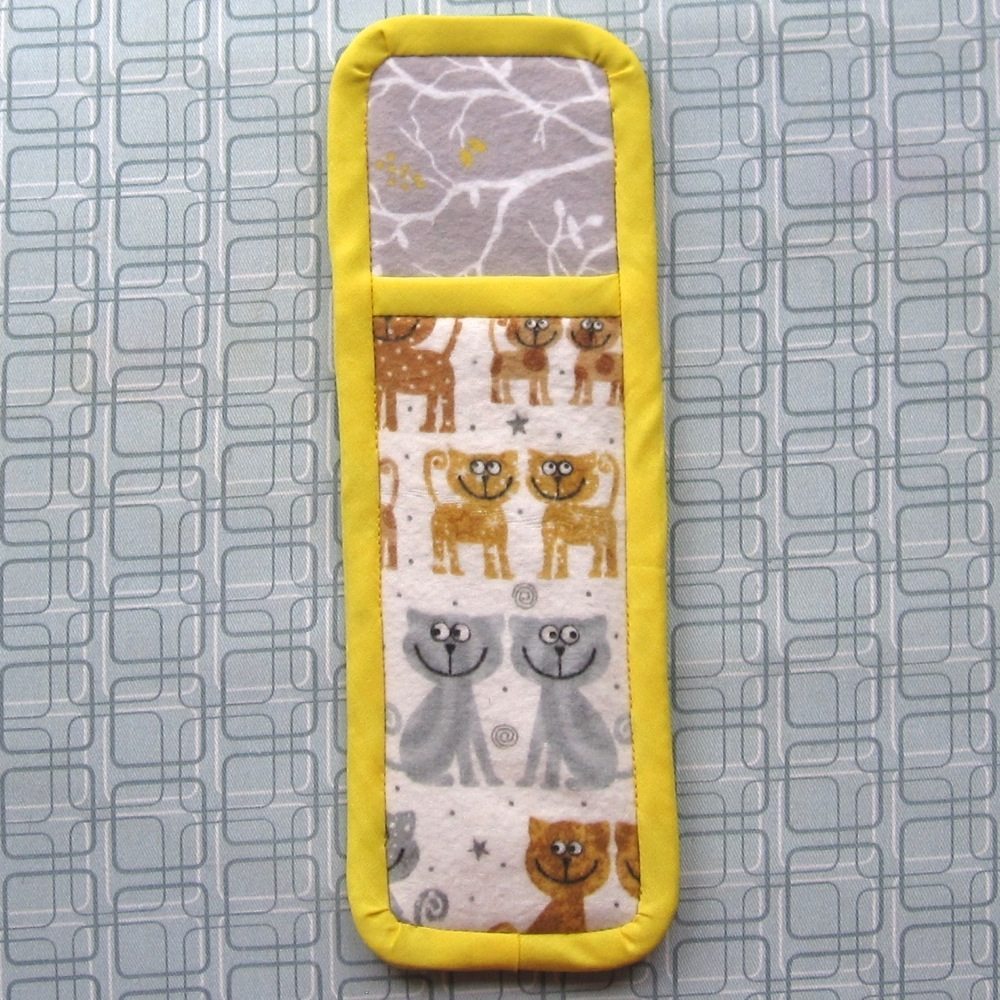
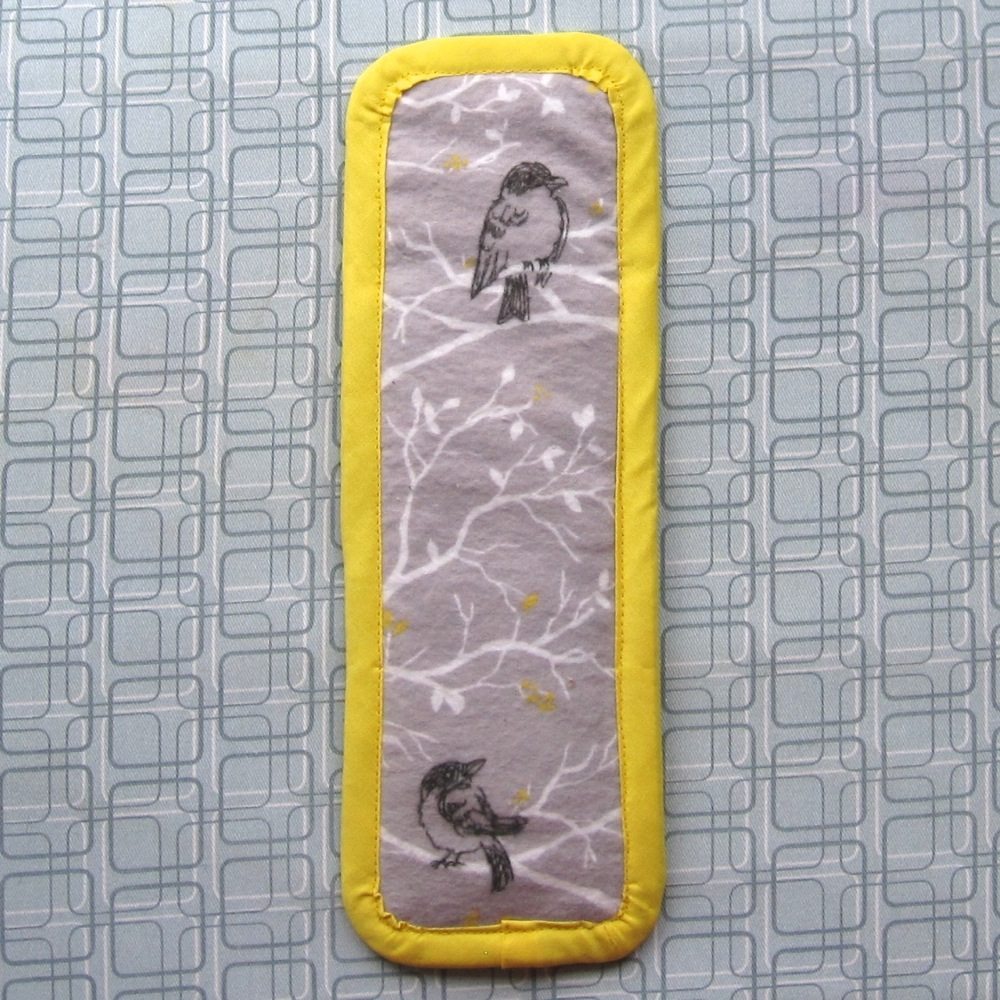
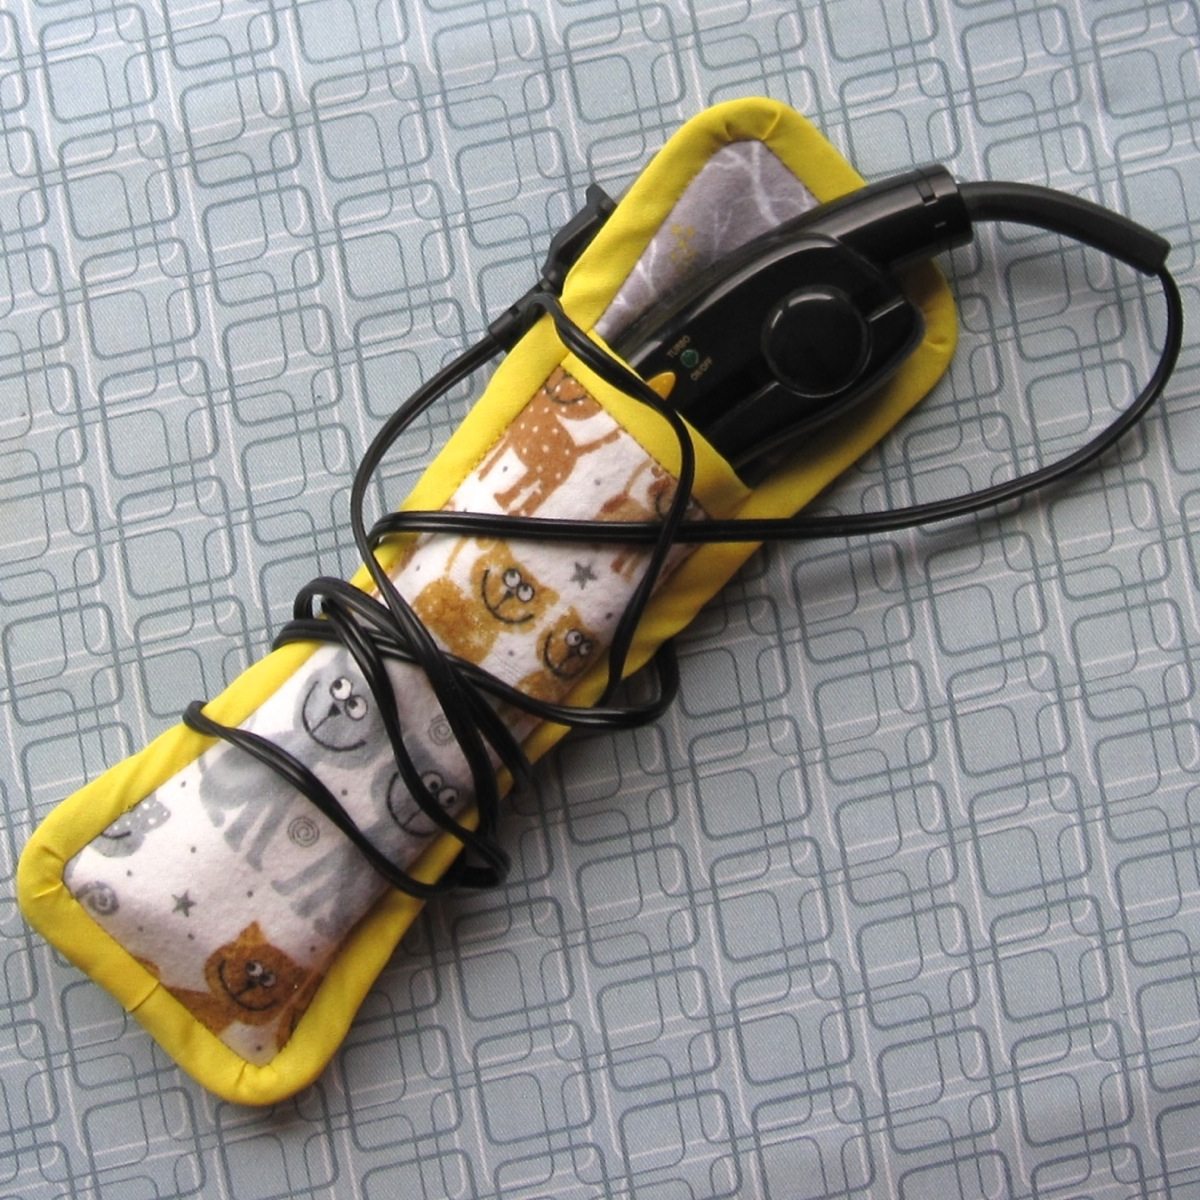
 I’m conducting some in-home sewing lessons for a ten-year-old right now, and realized after the first lesson that we hadn’t made any arrangements for ironing. We’re making a dress so ironing is not optional, but there’s not a ton of space – and there is a large and boisterous dog wandering about (similar to the one pictured). I vaguely recall reading a tip to use a flatiron to straighten ribbon, and I happen to own a flatiron that I bought before abandoning 90% of hair equipment and products (I’m down to shampoo, conditioner, a hair brush, and occasionally a hair dryer). I thought we could use that to at least press the seams open close to the edges of the fabric, where they will intersect other seams, and then they could do a full press all at once at the end.