Flexing

Four years in the making…..

photo of a flexagon face photo of a flexagon face

In 2012 I cut out triangles of paper to glue together into a dodecahexaflexagon (documented in a post about a smaller flexagon). I also found instructions: scanned typed instructions from David Pleacher, and instructions incorporating triangle orientation from Kathryn Huxtable.

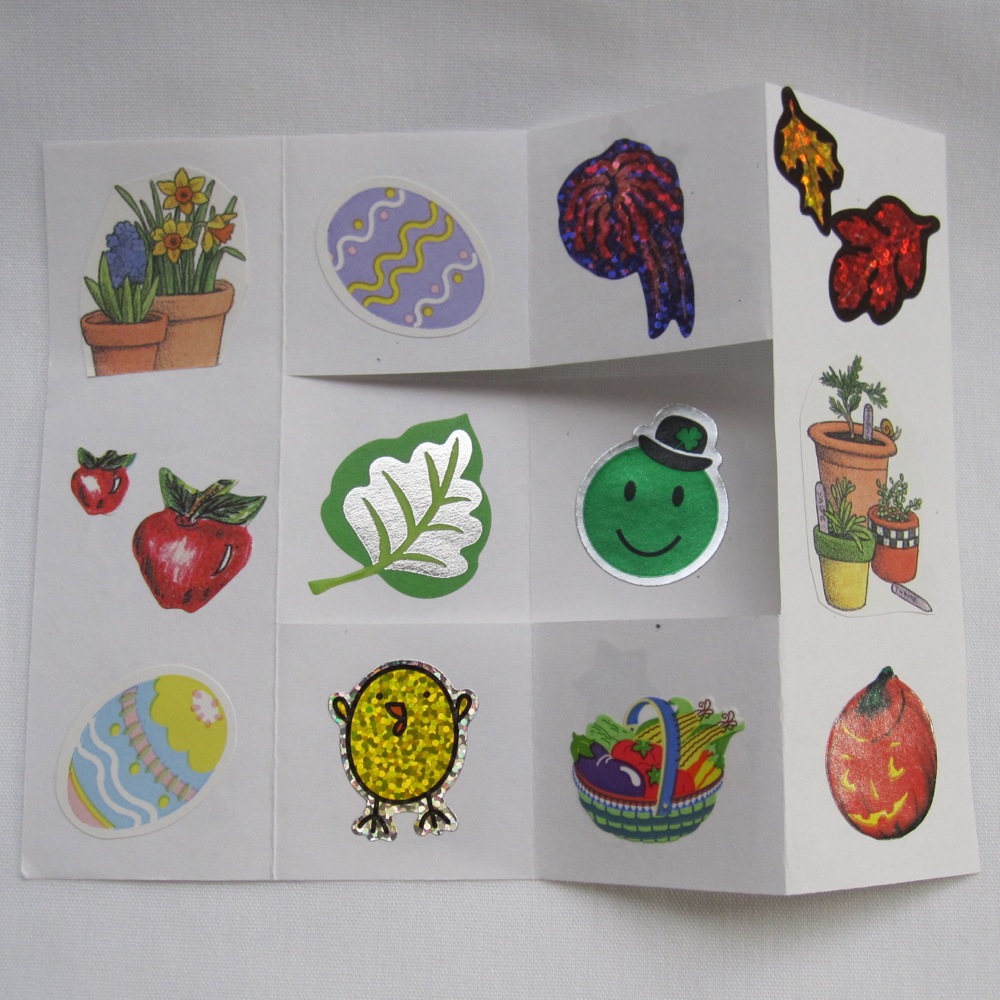
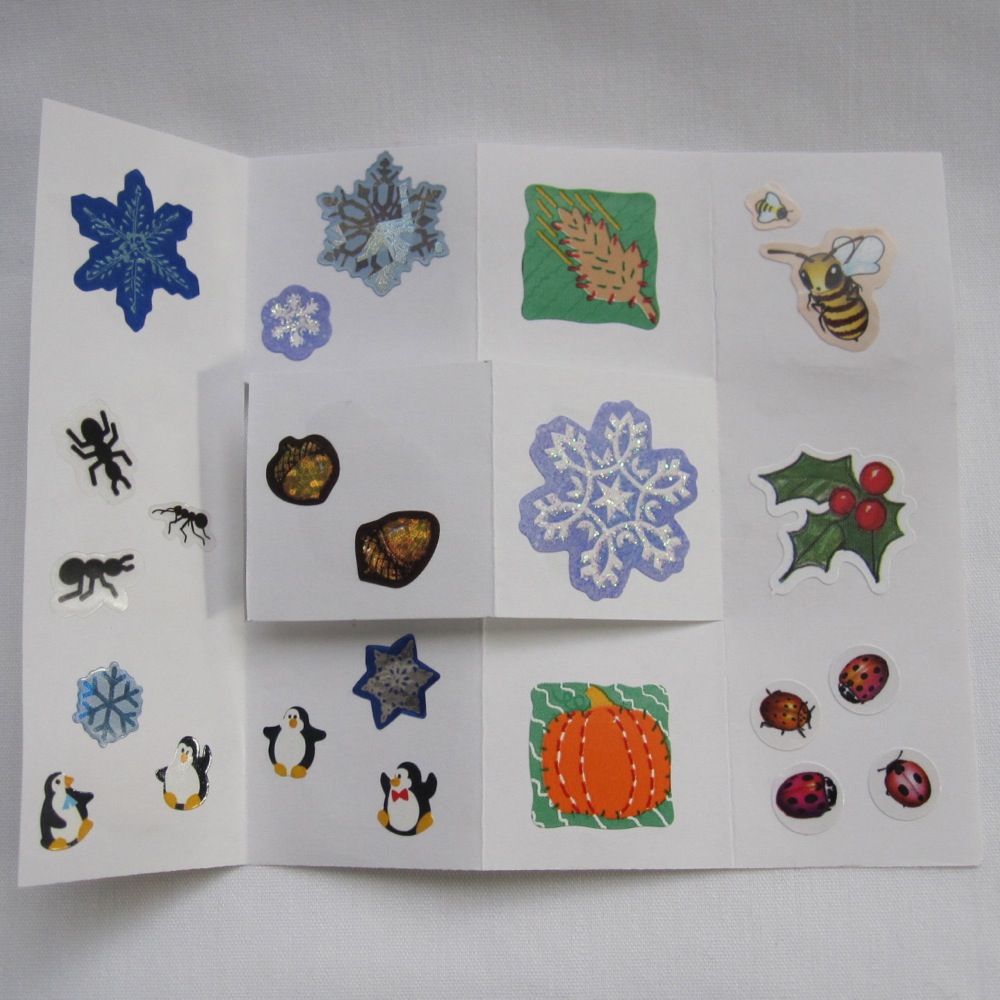
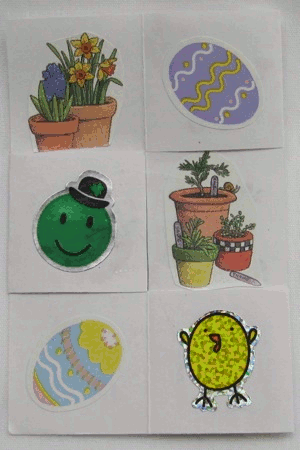
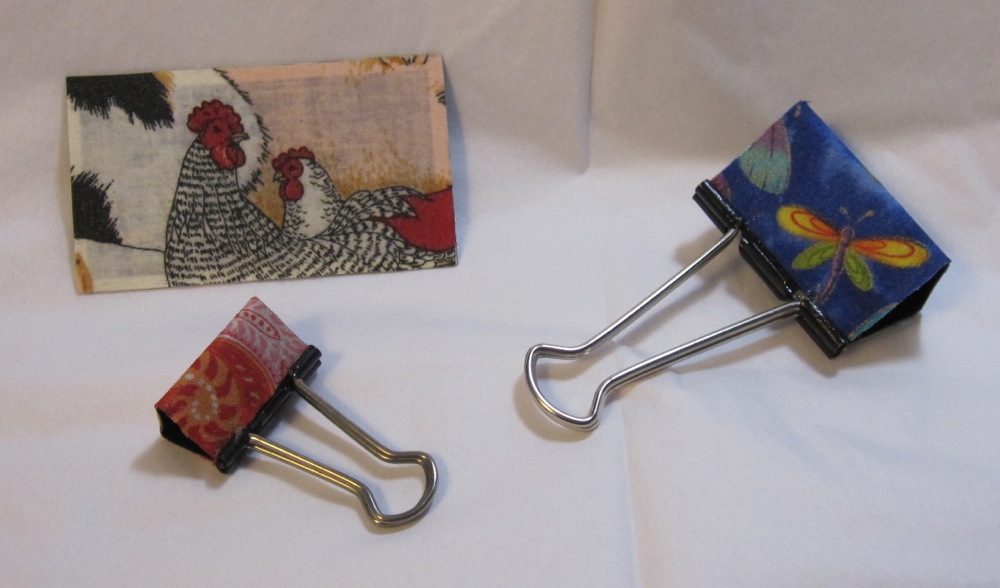
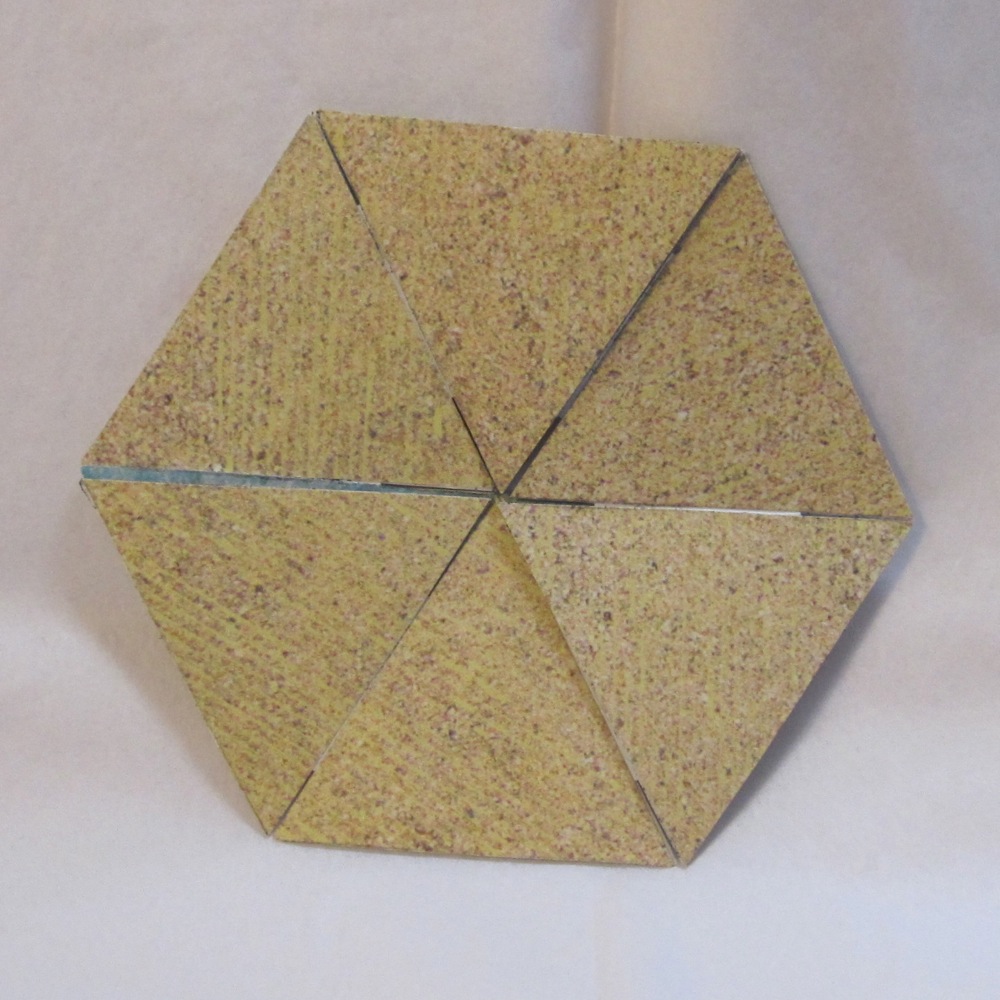
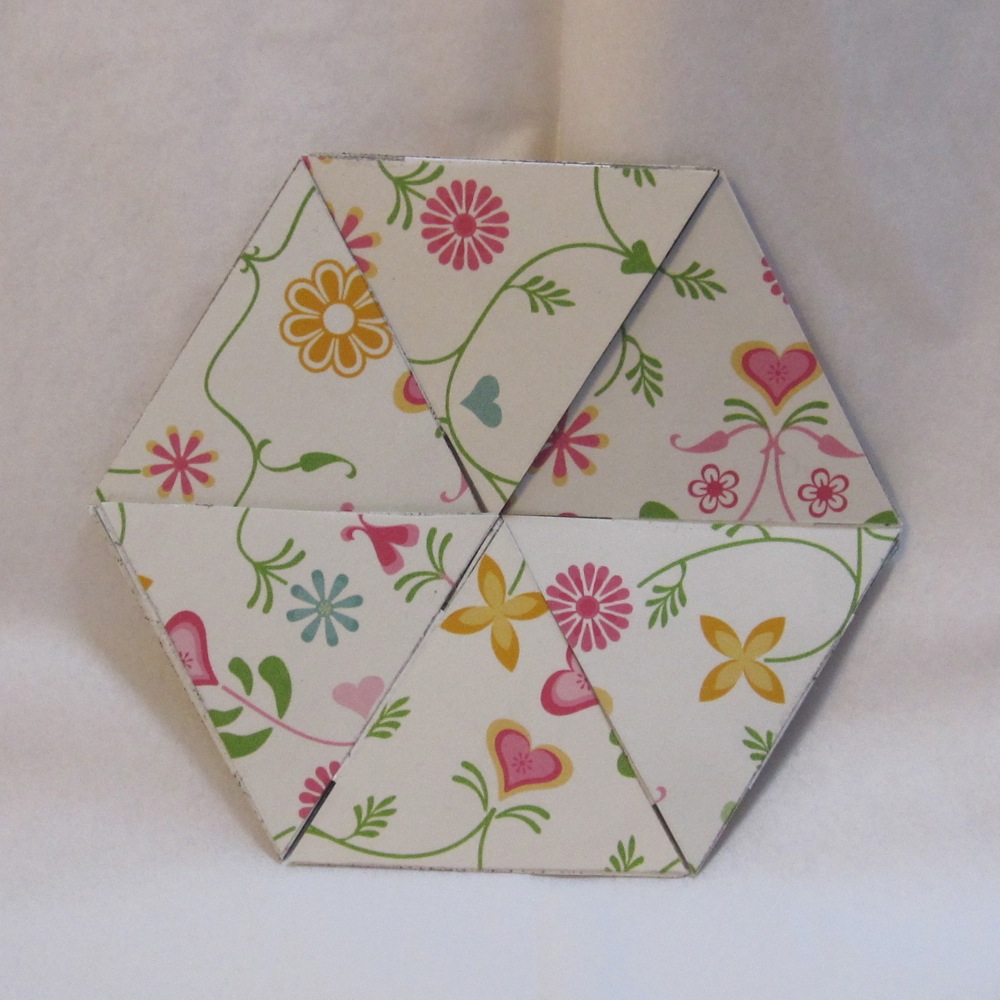
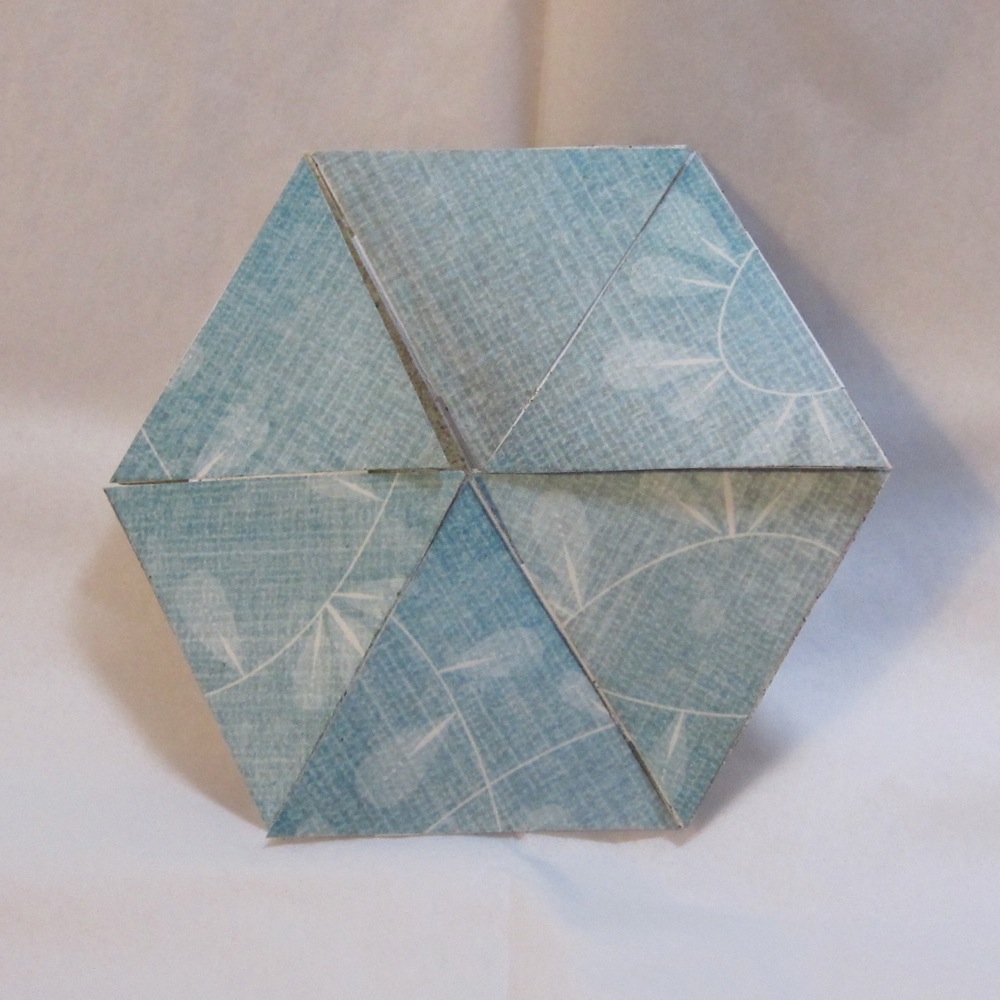
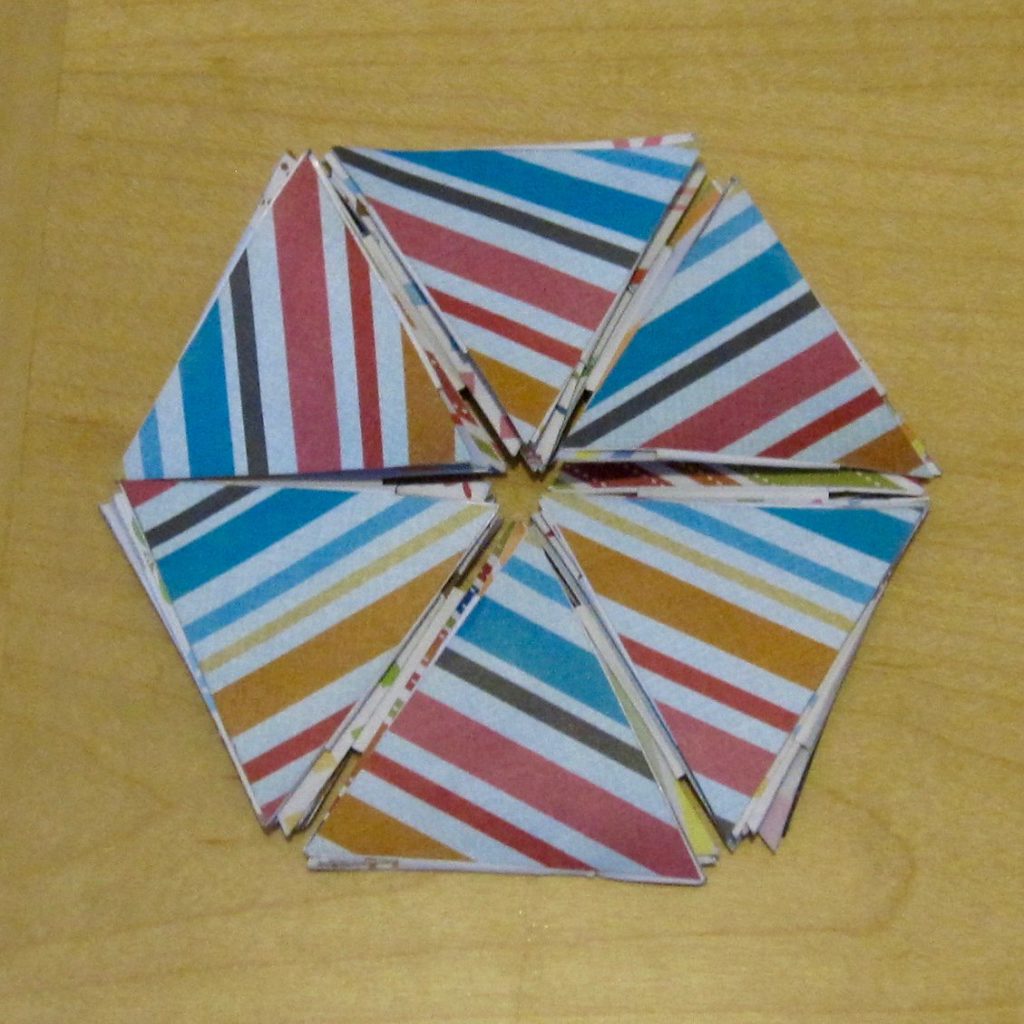
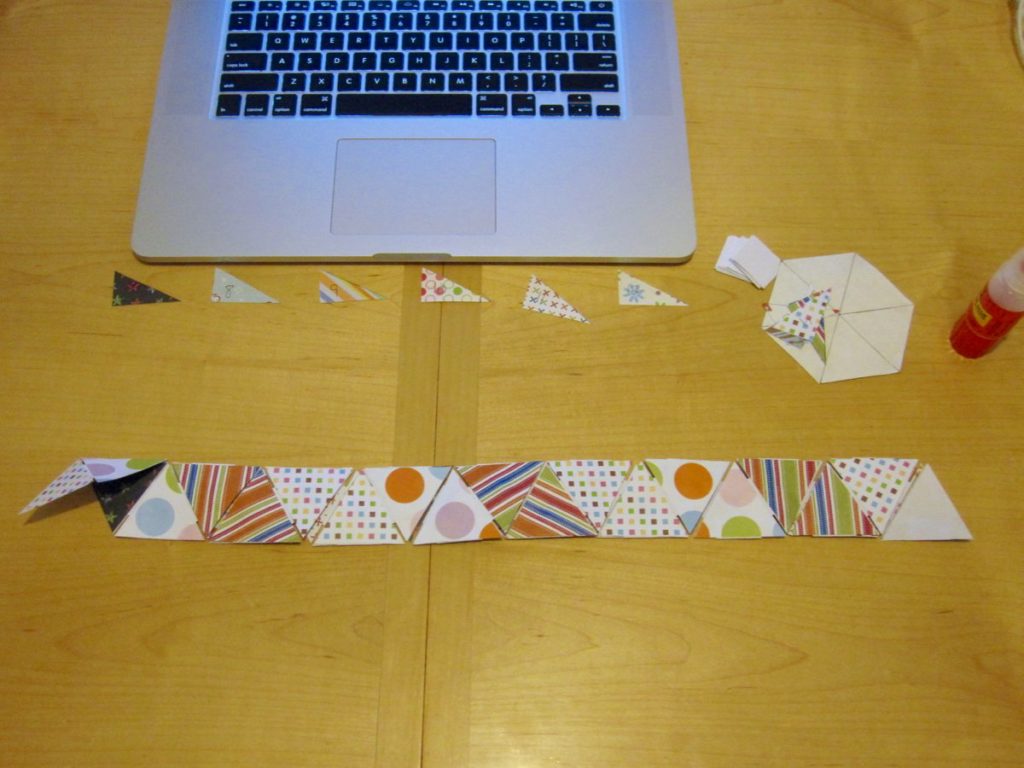
A dodecahexaflexagon is a 12-faced (the dodeca-, as you will know if you’ve read The Phantom Tollbooth, or been a long-time reader of this blog), 6-sided (hexa-) flexagon; each face is made from 6 equilateral triangles. I had cut each face from a different scrapbook paper, and I had small squares of white paper to serve as hinges.

In the summer of 2014 I dug out the paper pieces and started gluing them together. I glued one side of the strip together in an evening, but didn’t get back to the other side until now. The second side was quite easy, since on side 1 the faces were scattered around and on side two they were much more orderly.

photo of in-progress flexagon strip, one side glued together photo of flexagon midway through folding process

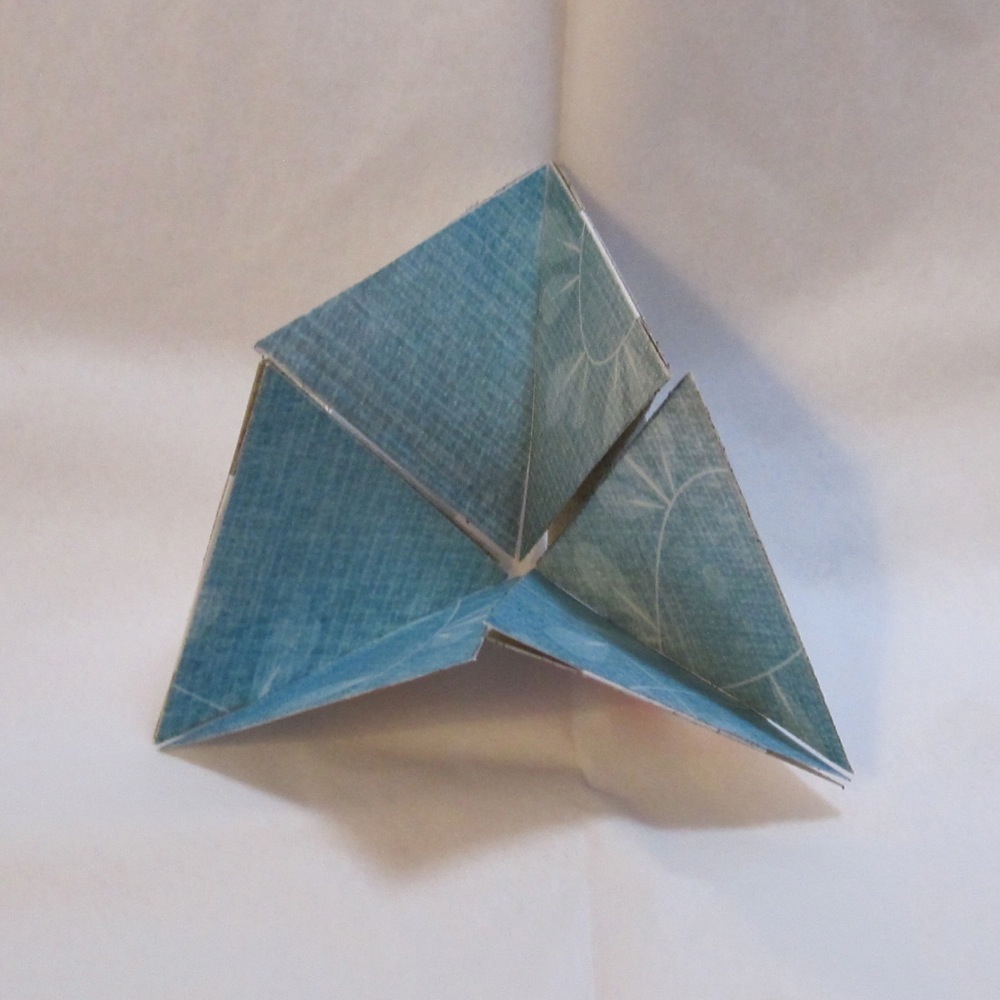
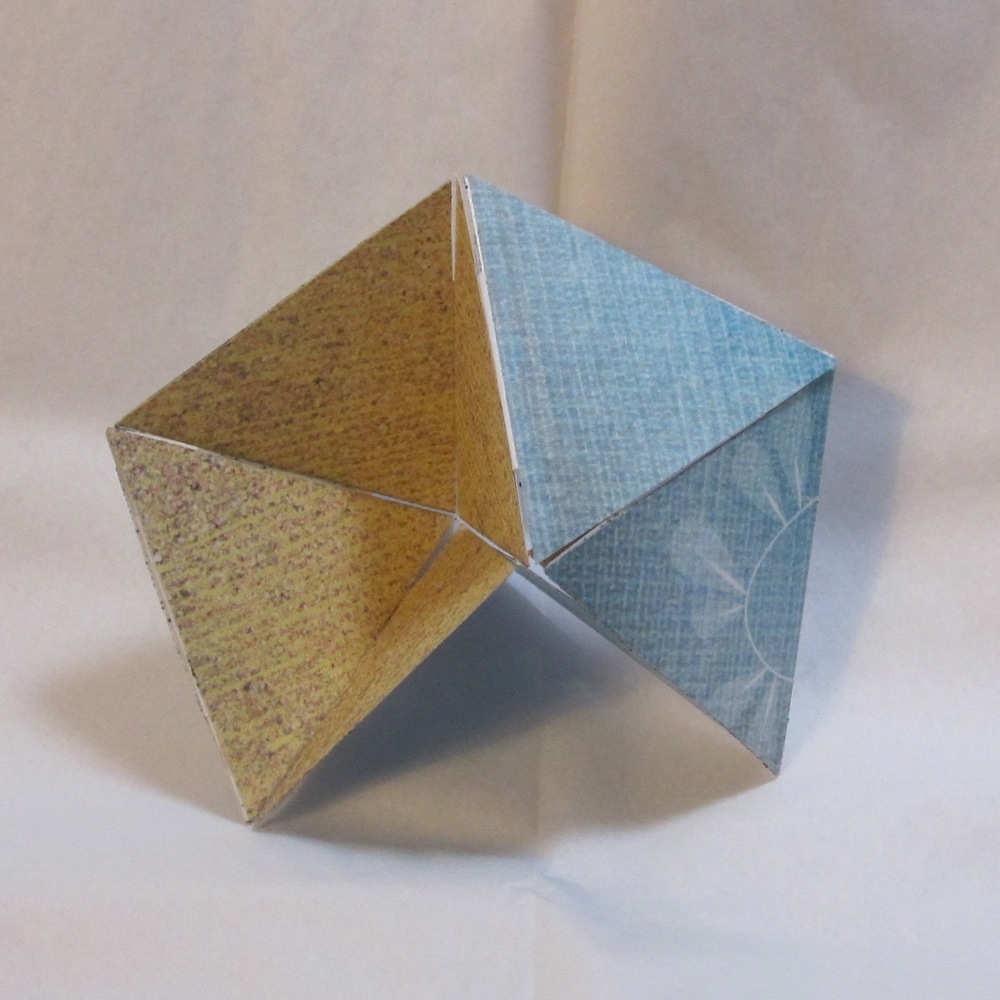
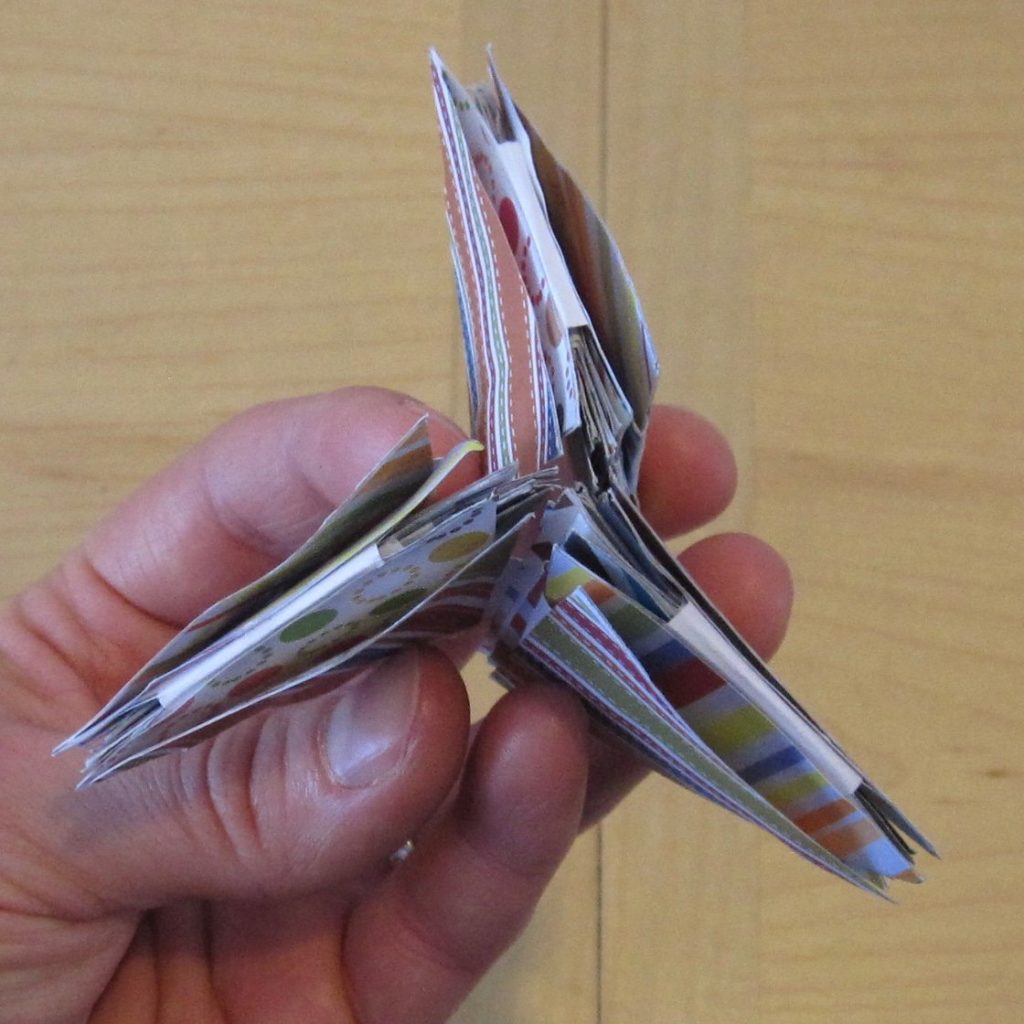
There was some confusion in the folding and a length of time before I found all 12 faces. I didn’t know the trick! To flex, you’ll pinch the hexagon so that three of the lines between triangles are outward corners and three are inward corners (see photo below). Which edges are inward and which outward will change which face you see next (in some cases you’ll only be able to flex in one configuration). To see all of them, you can simply pinch out the same corner over and over again, only rotating to a neighboring corner if it is impossible to flex the first one. I found hanging on to the same pair of faces with one hand, doing the rest of the work with the other, was the best way to enact that. It is awkwardly thick and I’m glad I spaced the triangles apart a bit with the paper squares.

photo of flexagon mid-flex

Each face is connected to at least two additional faces. I haven’t explored thoroughly enough to know whether I found the full set of options, but I made a little map and had each face connected to 2, 4, or 6 others, with complicated interconnection. This lines up with a diagram on Kathryn Huxtable’s general flexagon page, where I also learned about the “pinch one corner repeatedly” method of finding all the faces.

Want more flexagons? Harold McIntosh has an interesting read about the history and theory of flexagons, and Vi Hart’s videos and more (the first of which inspired my flexagon crafting) are all on a hexaflexagon page of puzzles.com. Woolly Thoughts, a bastion of mathematics-inspired crafting, has a page of crochet and knit flexagon cushions.

Historical recreation

Time for that middle-school-era “flexagon” I talked about. Because I recently learned how to make them, I present it in animated GIF form.

animated flexagon

To flex from one face to the next, you fold the long edges away from you and open down the middle. When 1 and 2 are showing, 1 will not open but 2 will reveal 3. When 2 and 3 are showing, 2 will open to 1 and 3 will open to 4. Finally, as you would expect, when 3 and 4 are showing 3 opens to 2 and 4 does not open.

Of course, after making lovely schematics for you, I remembered to do a search to try to find this. It’s a tetra-tetraflexagon, known since at least 1961. I think my instructions still add something, but I’ll put them under a cut.

Meanwhile, I made a new one without numbers. Unfolded it looked as follows:

front side, unfolded back side, unfolded

And here’s another animation!

animated flexagon

Continue reading Historical recreation

Glue

At the Sew-Op, we have a lot of fabric that is too small to sew with, unless you are extremely dedicated. In looking for things that can be done with very small scraps, I found many projects that use Mod Podge to glue fabric to a number of different surfaces. With the idea that, project in hand, we might be able to donate our fabric to a good home (a local art gallery that holds classes and after school programs), I decided to test this Mod Podge theory.

I used ordinary cotton calico, the kind sold for quilting. I have some doubts that Mod Podge would work terrifically well to glue anything very heavy or thick. I cut pieces to wrap around two binder clips and cover a promotional magnet, brushed Podge on the surface of the item, pressed the fabric onto it (this required trimming to fit in all cases, more so for the binder clips), and brushed more Podge onto the surface of the fabric.

mod podge projects mod podge projects, alternate view

As you can see, it worked beautifully, with the caveat that the color of the base shows through the fabric a bit. On the other hand, the glue made the fabric sparkle a bit, which was an unexpected bonus.

If you are disappointed in the post so far, never fear, there’s more. Recently a video was going around about flexagons. It made me think of the old fortune tellers we made in grade school (I’ve also heard them called cootie catchers) and I decided to make one. I was ambitious and cut out pieces for a dodecahexaflexagon (twelve faces, each a hexagon, two of which show at any given time), but came to my senses and made a trihexaflexagon first. I cut six equilateral triangles of each of three decorative papers, two inches on a side, and a bunch of half inch squares of plain paper for the hinges. I glued them together using rubber cement, following the instructions on the Flexagon Portal, with only a front side on one end. After folding the whole thing up I glued the back on.

face 1 face 2

Changing from the second face to the third…

from 2 to 3 face 3

And back to the first…

from 3 to 1

Even more recently I discovered an old flexagon I made in middle school (I think). I’m not sure whether it officially counts as a flexagon, but it has more than two faces. In fact, it has four, and each consists of six squares in a two by three rectangle. With Thanksgiving I did not have time to explore it for this post, but it will appear at some point in the future!