Last Minute Costume Construction

What happens when you go out the evening of Monday, October 25, resolved to spend more money than you would wish on a costume that is not as high quality as you would wish?

If you’re me, you come away with a sewing project.

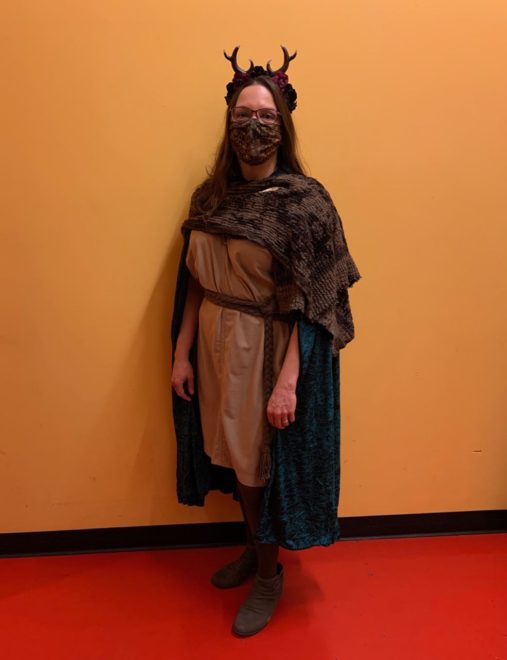
The only Costume Proper in the store that particularly interested me was only available in Small, and that ain’t me. So I went back to the car…but the gears started turning. There had been a green velvet cloak that I might have bought to wear over the unavailable costume, and maybe it was worth buying… I can’t reconstruct how I got there, but on the strength of that cloak and the fact that I owned suede ankle boots and a leaf pin I’d only kept because it was reminiscent of the ones the hobbits get in Lothlorien in the movies, I concocted a plan to be a wood elf.

I went back in and got the cloak; there were elf ears but they were the kind that’s a big production to put on and were also a sickly yellow color so I passed. That evening and the next day I accumulated brown tights, an antler headband (since I didn’t have ears), plus two yards of tan faux suede (found in clearance!), a remnant of sage green heavy slightly-stretch cotton, and a large skein of brown cotton yarn.
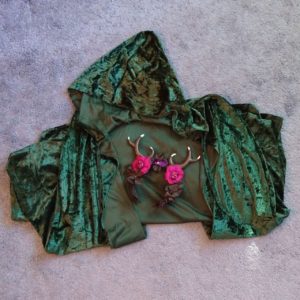
Green velvet cloak and antler headband

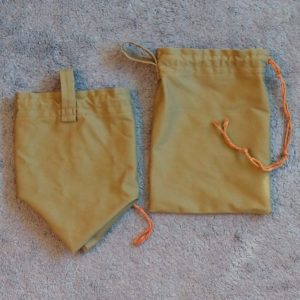
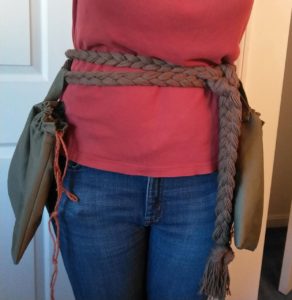
Tuesday night I set to sewing. I made a coordinating face mask from stash elastic and fabric (a brown leaf-patterned batik and unbleached muslin), cut out and started sewing two drawstring belt pouches, and cut the entire 190 yards of yarn into 4-yard lengths. I tied the lengths of yarn into a bundle at one end, combed them out into equal 3 sections, and braided them, tying them off at the opposite end afterward.
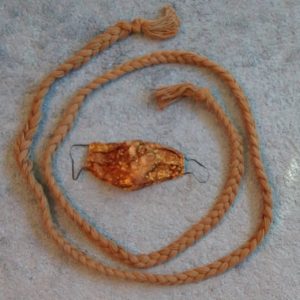
Braided belt and coordinating face mask

I also set the headband to stretch a bit since one-size-fits-all headbands tend to give me a headache.

Wednesday I started the tunic dress. Some poking around online for “simple tunic pattern” had reminded me of the scheme of 4 tall rectangles, sewn into a cylinder for the lower stretch, and with the top edges sewn to make shoulder seams. The unsewn upper part of the rectangles becomes a sharp V neck and the armholes.

The width of the fabric went around me quite comfortably so I measured and cut what seemed like a suitably generous length, and cut it in quarters the other way. My approach to making sure it worked out was to sew the seams only far enough that I knew they would work, then try it on and extend them as needed. I did the center front and back and the shoulder seams first, and decided after sewing about an inch near the bottom of the armholes that I would insert a narrow panel in each side seam. With no stretch to the fabric at all, I thought an additional couple of inches around from the waist down would help my mobility a lot.

I cut those side panels that night, but the rest of the sewing happened Friday, when I was off work.

When I tried the tunic on after assembly I thought, well, it’s really bulky and unflattering but it will do. After that I sewed all the seam allowances flat and hemmed the armholes and bottom (I’d done the neck already), and threw it in the wash.

Then I turned my attention to the drawstring pouches. I finished them as planned and hung them from my braided “rope belt” by their drawstrings – to realize that would have them banging into my thighs every time I took a step. Not enjoyable. Also, they would be much more out of reach. So I cut two strips of the fabric and folded them in thirds, then made a loop out of them to sew to the pouches for hanging. That worked well. I had to thread them onto the belt before putting it on but that wasn’t as awkward as I expected.

Once those pouches were done, I was done. And rather amazed I’d made it in time for our big Friday night Halloween event!

When the tunic dress came out of the dryer I was pleasantly surprised at how well it draped, given that it has less shaping than a paper bag and no stretch to the fabric at all. Stitching down the seam allowances and washing it had somehow made it much less bulky. I did wish that I’d turned more fabric under at the shoulder end of the neck opening, but I’d already done an inch there tapering to the half-inch seam allowance at the center front, and I don’t know if non-stretchy fabric could do much bigger of a taper easily.
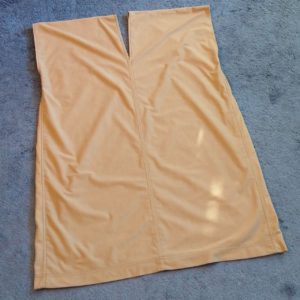
Simple tunic dress laid out on the floor

I accessorized with green and metallic eyeshadow and a tiger eye pendant, and the hubs and I went to a park by the river to take photos in the late afternoon.

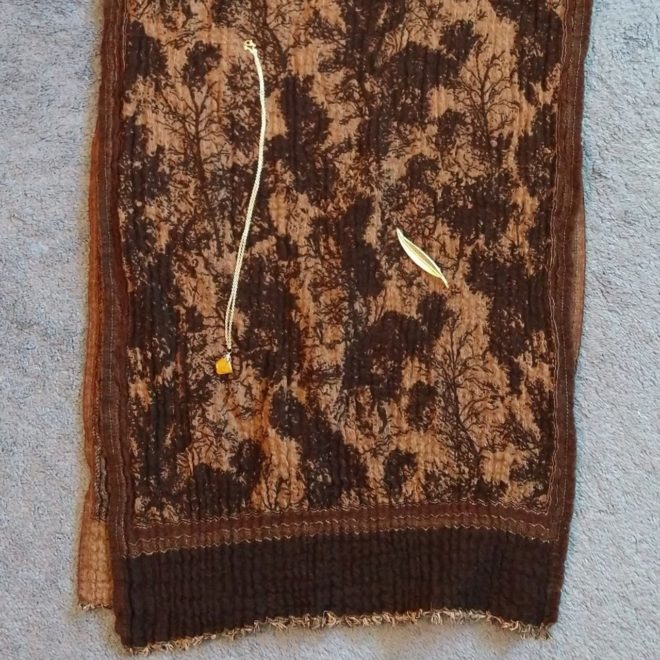
That night I added a tree-patterned shawl secured with my leaf pin, and of course my face mask. I actually liked the face mask as a costume component because it kind of looked like I was going into battle. I had my phone in one belt pouch, and my keys and a pair of gloves in the other.

Suitably geared up for the Friday night festivities! No one had any idea who I was. In reality, or in costume. Such is life. 🙂
Halloween!

I made a Halloween costume this year for the first time in a while. About a week and a half ago I was driving to pick up our farmshare, and I thought, “I should be a sheep for Halloween.”

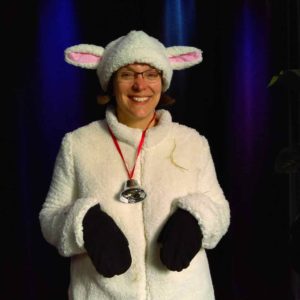
Me in my complete lamb costume

The original plan was a shearling coat, a hat with lamb ears, mittens, and face paint for my nose. I was lucky enough to find a remnant of faux shearling that matched the lining of an on-sale coat – though not so lucky that the coat had lined sleeves. I had to create and attach sleeves, which was simple but somewhat time-consuming: cut sleeve-shaped pieces and make them into tubes, then pin and sew by hand to the coat (by hand partially because it seemed easier and less visible, and partially because once I’m through with this costume I’ll take them back off and wear the coat for real!). Not my tidiest sewing job, but… it’s a Halloween costume.

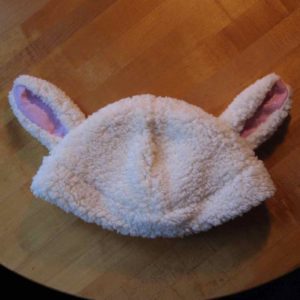
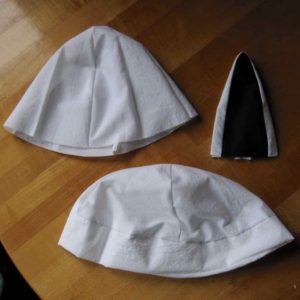
Lamb costume hat

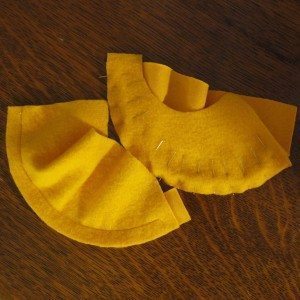
For the hat, I took the general game plan from a dinosaur hat tutorial by Stitched by Crystal and a reversible fleece hat video tutorial by The Crafty Gemini: four rounded triangles and a band below. I decided to make a folded band instead of two pieces since my material was already thicker than theirs, and created ears to insert as low in the side seams as possible. The final hat is bigger around than necessary and a bit shallow for a real winter hat, but if I want to make myself a real hat it will be a good starting point.

Lamb costume hat and ear muslins

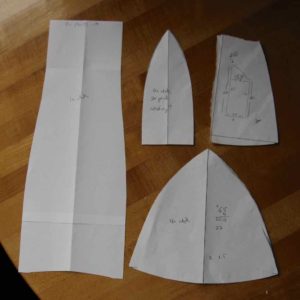
I made an incomplete muslin and a complete muslin, plus one muslin ear. In my pattern piece photo below, the ear isn’t quite the final version – I rounded out the middle, so it not only tapered toward the point, but a bit toward the base as well.

Lamb costume pattern pieces

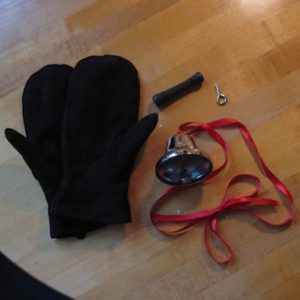
The mittens were a lucky find that I expect to get a lot of use out of. The bell was a late addition when I worried (based on my hat muslin) that people might think I was a bunny. The bell was originally a Christmas bell with a handle, which unscrewed easily. The internet agreed that lambs wear their bells on red ribbons, so that’s what I used. It rang lightly with every step I took and really added to the costume. Though I had to move it out of the way when hugging people lest someone end up with a bruised sternum.

Mittens and bell for lamb costume, with original bell handle

The lack of nose paint was a completely last minute change – I had applied it, and wiped it off with a napkin in the car on the way to the party because it just didn’t look right. Perhaps it just accentuated that my face was otherwise completely human?

In the photo at top, the straw caught in my fleece (so authentic!) was from a hayride I took at the party. (Though I may have patted some onto spots where it didn’t get naturally…)

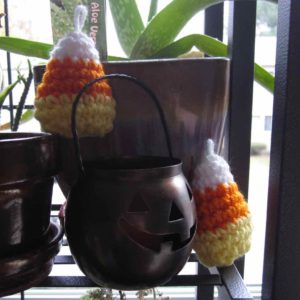
One bonus shot: Earlier this month I made a couple of candy corns out of Petals to Picots’ crochet candy corn pattern. Easy and good! For the hanging loop, I folded a separate length of yarn in half, tied a bulky knot, and slid it into the magic ring before tightening. The knot keeps it from coming out, and if I decide I don’t want it I can push it inside or cut it off.

Crocheted candy corn

Dragons!

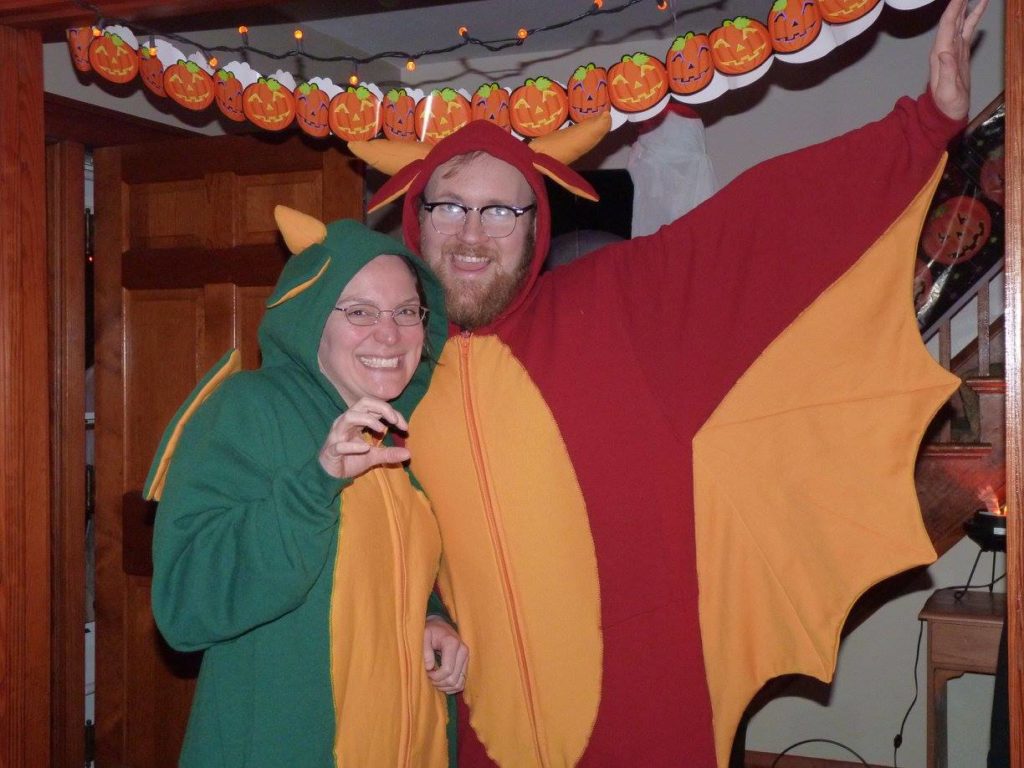
My husband and I were dragons for Halloween!

photo of the hubs and me in our dragon suits

Thanks to my mother-in-law for the only photos I have of us wearing them! At that party my sister-in-law made a Christmas request, so I’ve actually made three of these now. The costumes started life as three sweat suits, three separating zippers (22-26″ depending on recipient’s height), a couple of yards of gold sweatshirt fleece, and a little batting and stuffing.

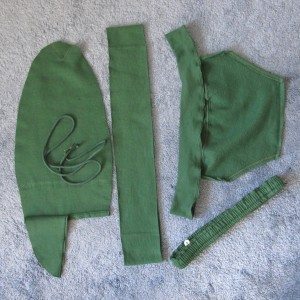
photo of material removed from one sweatsuit

I’m not going to give really specific directions, just a general procedure, but hopefully enough to be helpful if you want to make a similar costume for yourself. Start by pulling out the hood’s drawstring, picking the stitching out to remove the front pocket, cutting off both waistbands right at their edges, and trimming about 4″ off the bottom of the shirt. Pictured above is the removed material from one suit (plus the oval where the belly goes, minus a bit of that oval that I’d cut out for who knows what).

Size and height considerations: I used XL sweats for my 5’11” husband and my 5’6″ self; they were probably a size or two up from what we would get if we were going to just wear the sweats as sweats. For my long-backed hubby I ended up stitching the top and bottom together at only 1/4″ to allow a bit of extra torso length; my short-waisted self could probably have lost another three inches at the waist and been fine. I used S sweats for my 5’1″ sister-in-law (she could probably wear XS but might choose S anyway), and 4″ off the waist was perfect.

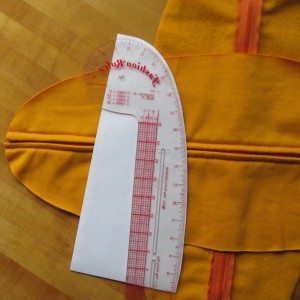
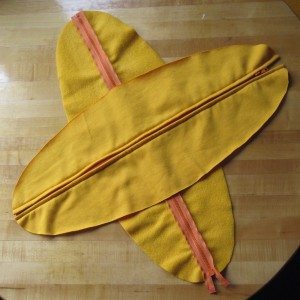
photo demonstrating design of dragon belly pattern photo of sewn but uninstalled dragon bellies

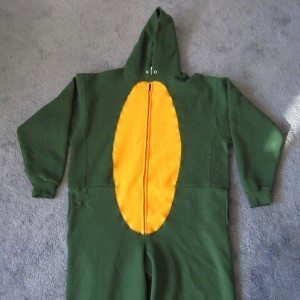
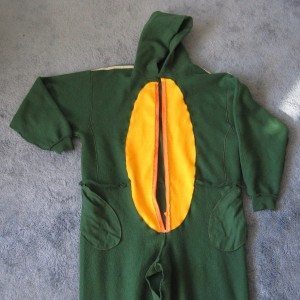
Make and install the belly: Sew the shirt and pants together across the front, center side to center side. Using the dimensions of that area as a guide, cut out two tall, thin half-ovals of your contrast fleece, including a half-inch seam allowance down the center. Baste them together and install a centered zipper between them, with any excess zipper at the top. Topstitch oval to front of body all around with zigzag; fold ends of zipper tape under at top to hide them. Carefully trim body fabric out from under belly fabric, keeping it whole for accessory creation.

photo of dragon body outside front view photo of dragon body inside front view

Sew shirt to pants across back, using unzipped belly for access.

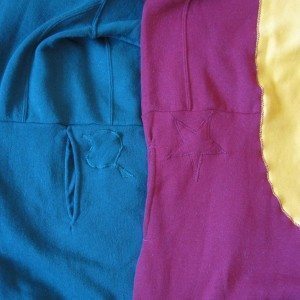
If your sweats are like ours you’ll need to applique a shape over the logo – for us, covering the logo was the easiest way to lose it without losing the pockets. This is a good time to do that but I recommend cutting out all your accessories before cutting out the shape, so you don’t run out of fabric. I used a leaf, a star, and a musical note.

photo of appliques covering sweatpants logos photo of some dragon accessories

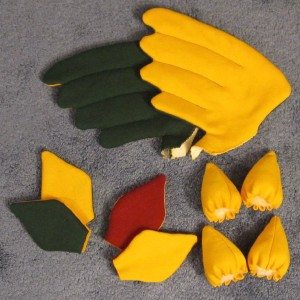
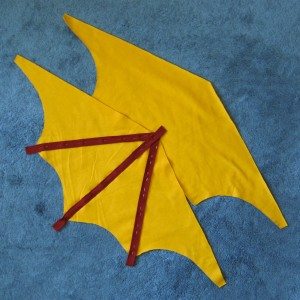
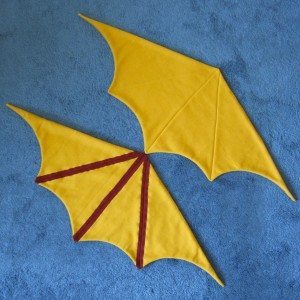
We each had wings, horns, and ears. We thought about back spikes and tails, but ultimately the desire to sit down comfortably won out. I padded the ears with a thin layer of batting, as well as my wings but not the other wings – I had bird-type wings on my back, and my husband and his sister had flying squirrel/bat wings. The horns were stuffed with batting.

photo of bat-style wing pieces, to be sewn together photo of bat-style wings, sewn but uninstalled

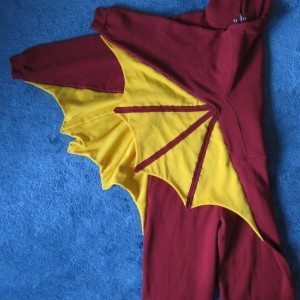
I was very pleased with how the big wings came out. They were the only fully machine-sewn accessory – I hand-sewed the others on to the sweats, but with the big wings I butted them up against the sleeve and side and made a wide zigzag through both, backstitching frequently to protect against popped stitches.

photo of bat-style dragon wings, attached photo of one set of installed dragon accessories

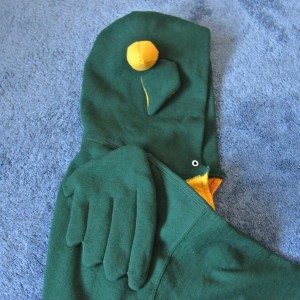
We all had different horns – mine were the stubby horns pictured above, the hubs’ were curved, and my sister-in-law’s were long, thin, and wound with embroidery floss (with a backstitch at each seam crossing) to make them look spiraled like a unicorn horn. I seem to be missing a lot of the photos I took (all of the ones from my sister-in-law’s costume, in particular) so I just have one shot of making the curved horns. There were three pieces each: two curved ones and one tapering but straight one.

photo of making a pair of curved horns

The straight horns were made from three pieces apiece, shaped as curved-edge triangles.

Now we can be dragons all the time!