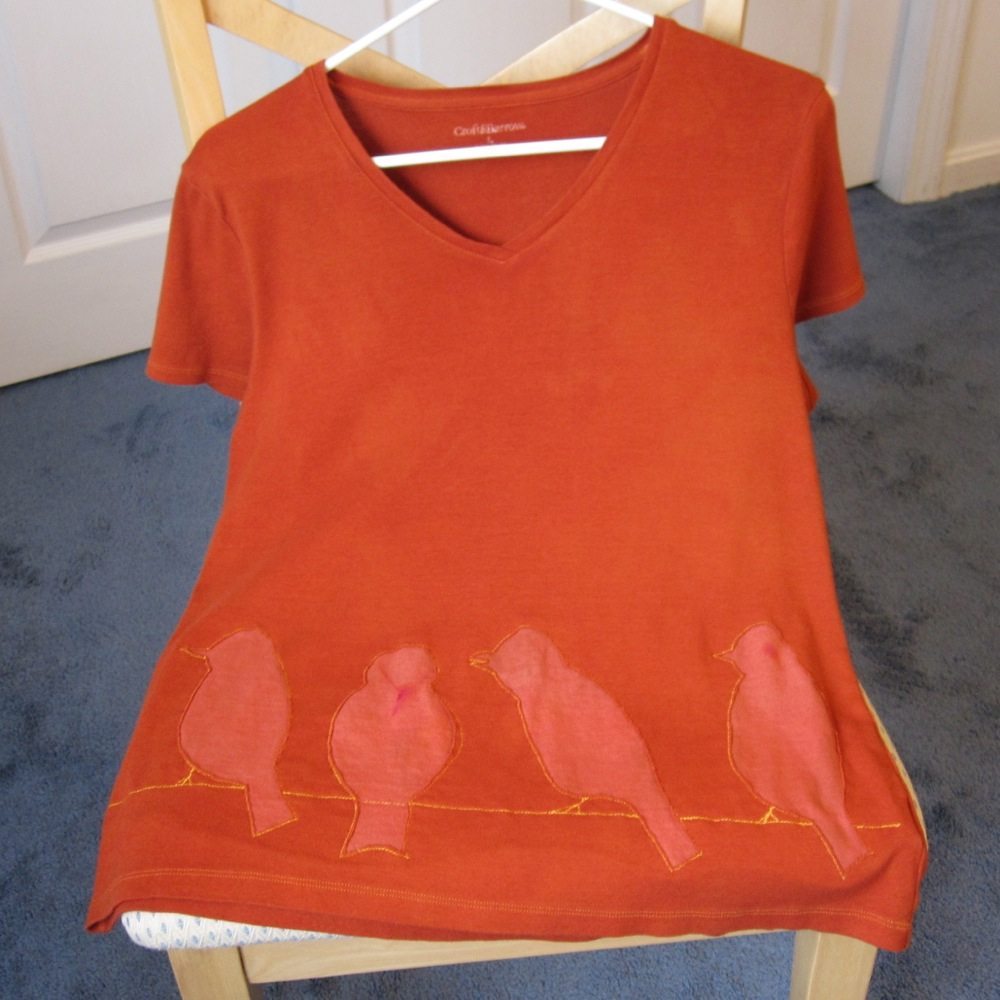
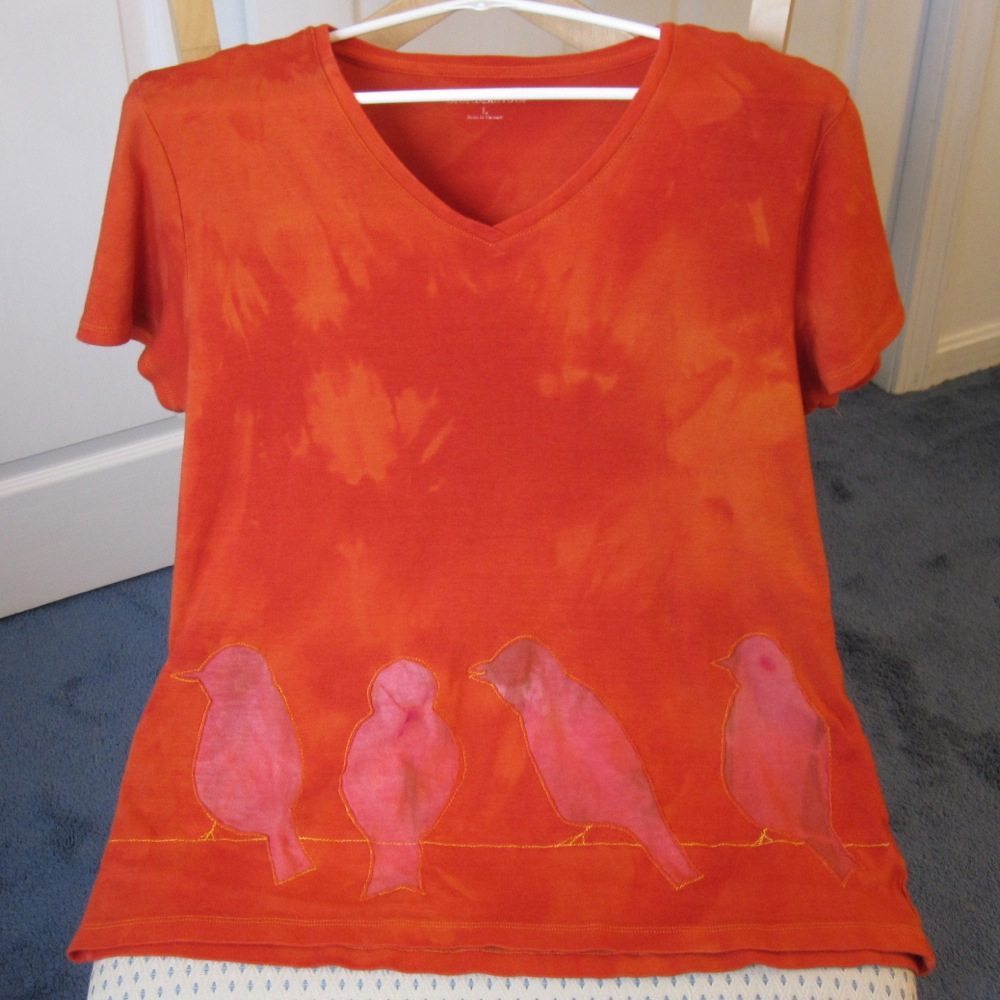
In part 1, I showed you the result of combining two of my three worn shirts into one reverse-appliqued shirt. There was one left, and I planned to combine it with a secondhand white shirt and overdye again, but I didn’t want to completely repeat myself. Ultimately I had this:
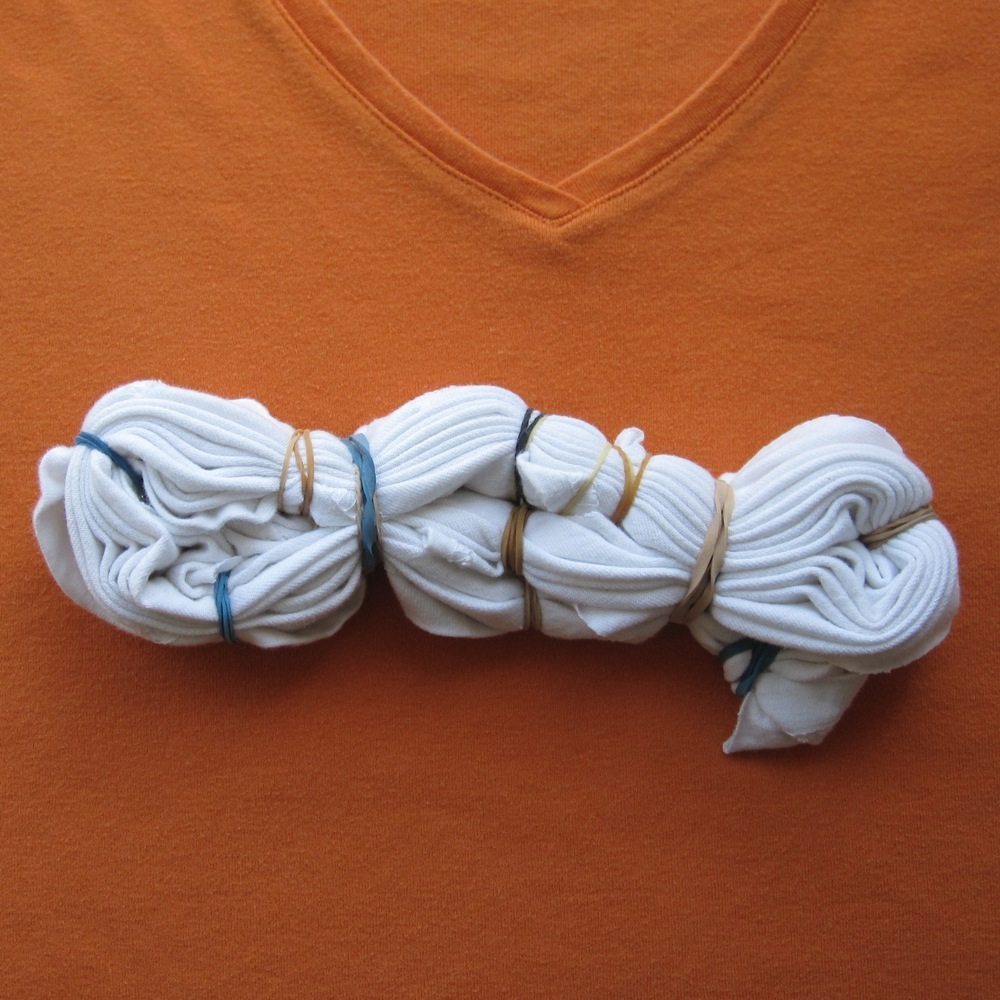
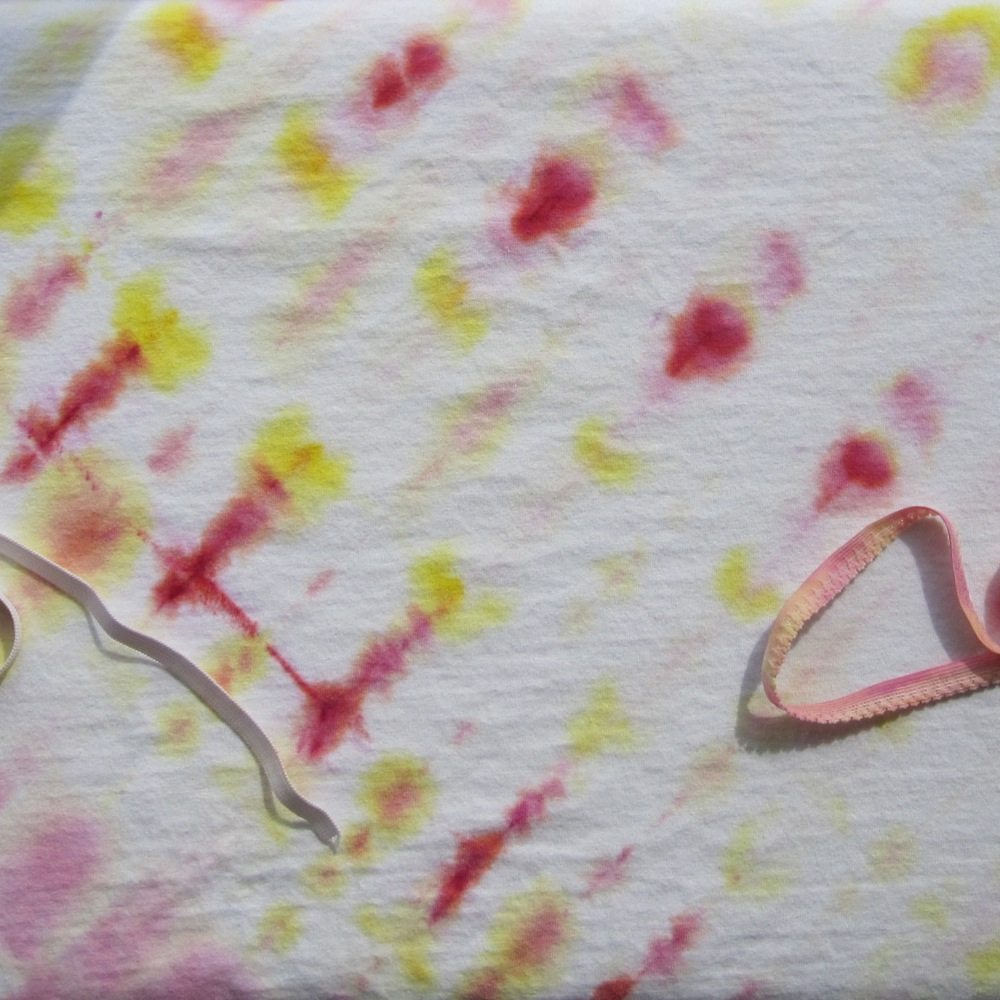
This took longer both because there were more steps and because I didn’t buckle down with it like I did with the green shirt. The white shirt was a men’s XL and huge, so before beginning I cut a panel out of the front so that I would leave a usable amount of the material in its original state. I thought the birds would be more interesting if they weren’t solid red on a red-orange background, so I tried out a Tulip tie-dyeing kit. After accordion folding and rubber-banding the fabric, and then folding it in thirds and rubber-banding again, I put it in a plastic bag, sprinkled dye powder on it, and wet it thoroughly with a spray bottle. This was to preserve the leftover dye powder for later use, as the box warns it loses potency fast, without making the risky maneuver of putting it in a cup and mixing it separately. I could see myself getting dye powder all over the counters. I let it sit for about seven hours and then rinsed it and washed it. Good results! [Incidentally, I tried dyeing elastic as well, and you can see the mixed results there. The one that dyed well was Dritz stretch lace elastic, and the one that barely dyed at all was Stretchrite knit elastic.]
I’d wished for a dark red, like RIT’s wine color, but this would have to do. At least it came out well!
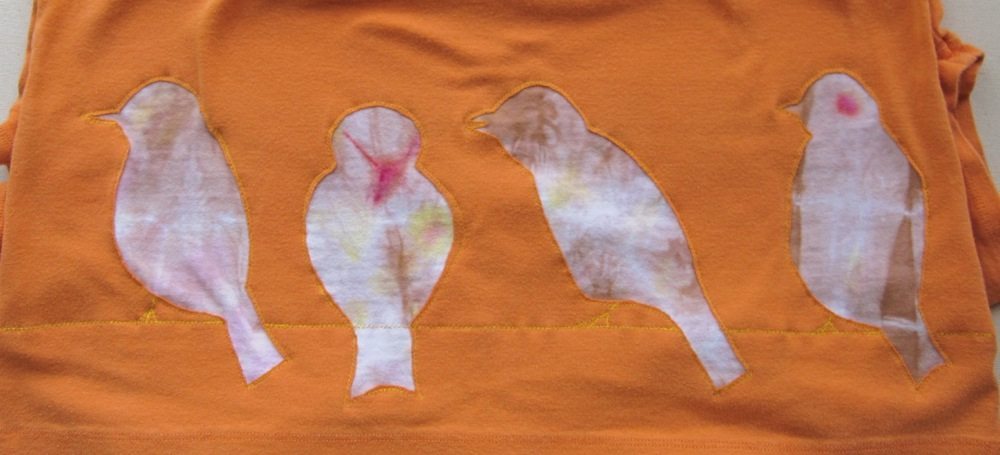
After a time I decided to dye it again, bundled it up in a different direction (and with a scrunch rather than accordion folding), folded it in half, rubber banded it three times and threw it in a dilute bath of RIT dark brown. That made it come out even better. I pinned the dyed panel inside the orange shirt, on which I had drawn freehand bird shapes. As with the previous shirt I sewed with higher thread tension and lower presser foot pressure, just outside the drawn lines. Since there was really no obvious color choice for thread, I used yellow, thinking this might help the birds really pop once the whole shirt was overdyed. After stitching, once again, I very carefully cut out the birds.
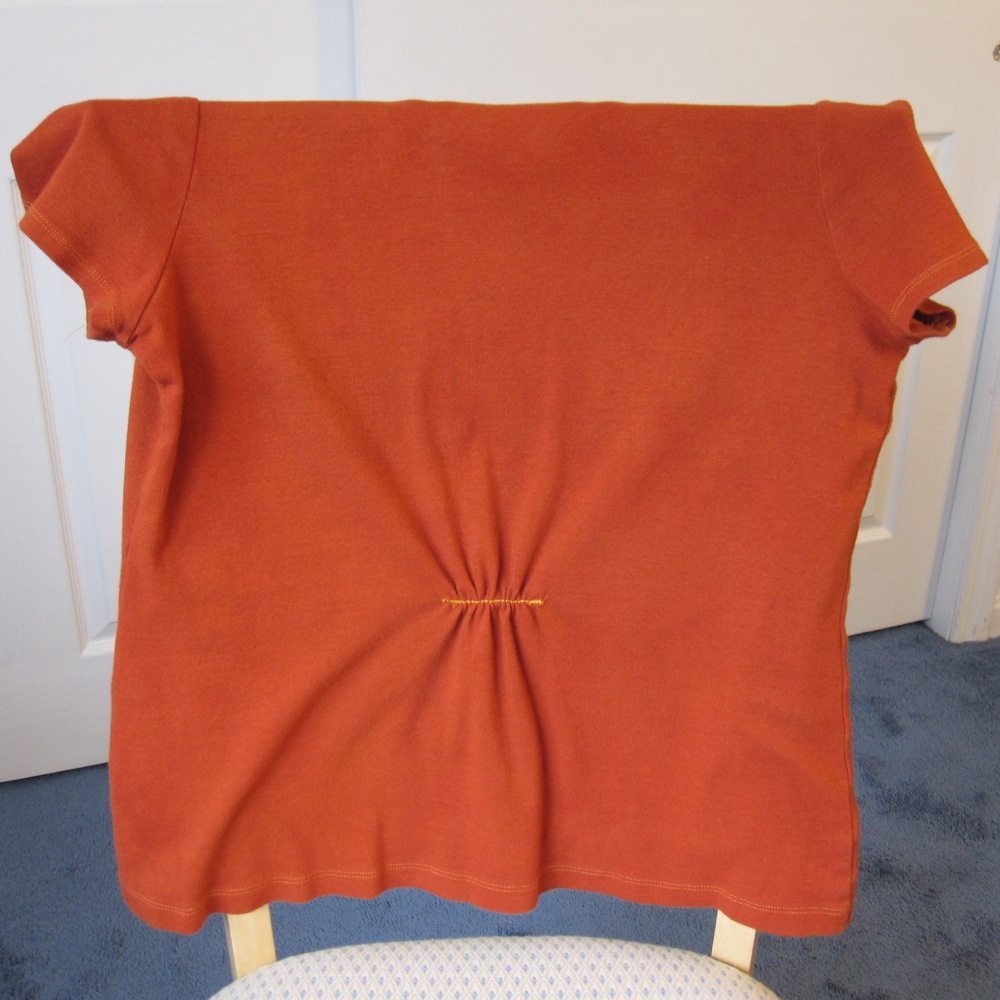
I wanted to do something to the back of the shirt, but decided after trying it on at this point that birds all the way around would be too much. Instead I raised my thread tension a bunch and sewed with a long stitch along a line centered on the back of the shirt at about the level of the tops of the birds’ heads. That gathered the fabric nicely, and then I pinned a length of ribbon along the line on the inside and stitched the fabric to it with a short, narrow zigzag.
Then came a red dye bath, which I did not pay much attention to, and ended up with a very splotchy shirt – almost tie-dyed.
This is why the RIT bottle says “STIR CONSTANTLY.”
It really wasn’t my cup of tea, especially the strange shade of pink the birds had turned, so I went one more round to get the result at the top of the post. This time it was in the washing machine instead of a bucket, and was a dilute bath of red, orange, and brown that I left the shirt in for a good hour. There was some relief when I pulled it from the wash afterward, though it was unfortunate how much the variegation on the birds had disappeared.
Overdyeing like this, incidentally, is something I learned from reading about graphic design. When choosing a color scheme, for a website for example, one way you can make sure the colors coordinate is to set out your palette and then add a semi-transparent layer of a single color over all of them. The resulting blended colors have more in common with each other. The first time I wore the green shirt a longtime quilter, sensitive to color, commented on how well the colors went together, which told me the technique did indeed translate successfully to dye!
This is pretty cool. Most of my shirts I’d want to revive are simply worn out – thin, stretched, holey, that sort of thing. I’m not sure if this sort of approach would work for those or if I should just give up.
Yeah, it depends on how they’re worn out. Thin shirts could be doubled somehow, I’m sure, with one of the collars removed. Stretched is probably only good for scrapping for parts. Holes were actually the reason behind this technique in the original link – have that shirt as the top layer and cut out shapes around the holes.
Layering thin shirts reminds me of reading about Japanese high society circa 1000 AD – the fancy dresses involved 5+ layers of sheer silk, so women would demonstrate their artistic sense by layering colors to get beautiful effects from the combination. Maybe that’s the explanation behind the paper-thin t-shirts you find as often as not nowadays….