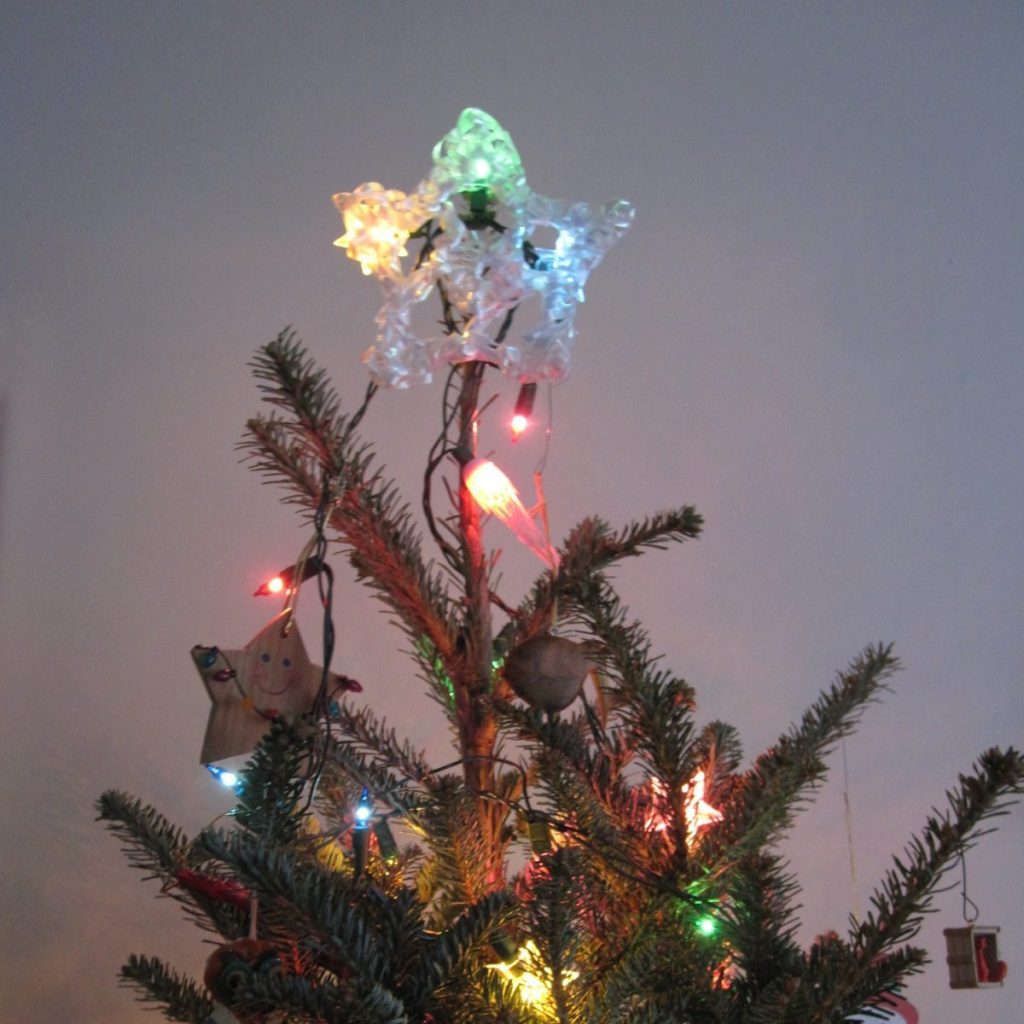
Our Christmas tree has no topper. We’d love to get a high-end crystal star for it, but that’s yet in the future. Meanwhile I’ve been improvising – one year we had wide ribbon tied in bows, one year I made an origami star out of construction paper (because it was the only appropriately-colored paper I had that was large enough). This year I decided to crochet a star out of ribbon, and got the chance to this weekend. The result is shown below, blurrily, on the tree, after my loving husband arranged the lights behind it for best effect.
I thought at first that I would chain stitch ribbon around wire, bend it into shape, and connect the ends; nesting two or three of different sizes would fill out the star. That might have worked if my wire had been a bit heavier, but as it was it was too flimsy, and it was also difficult to smooth and flatten the wire without crimping and creasing the ribbon.
Then I went looking for patterns and found one by Kimura Kraft that I liked the look of. Unfortunately it didn’t work in ribbon; the inner part was somehow too large for the outside.
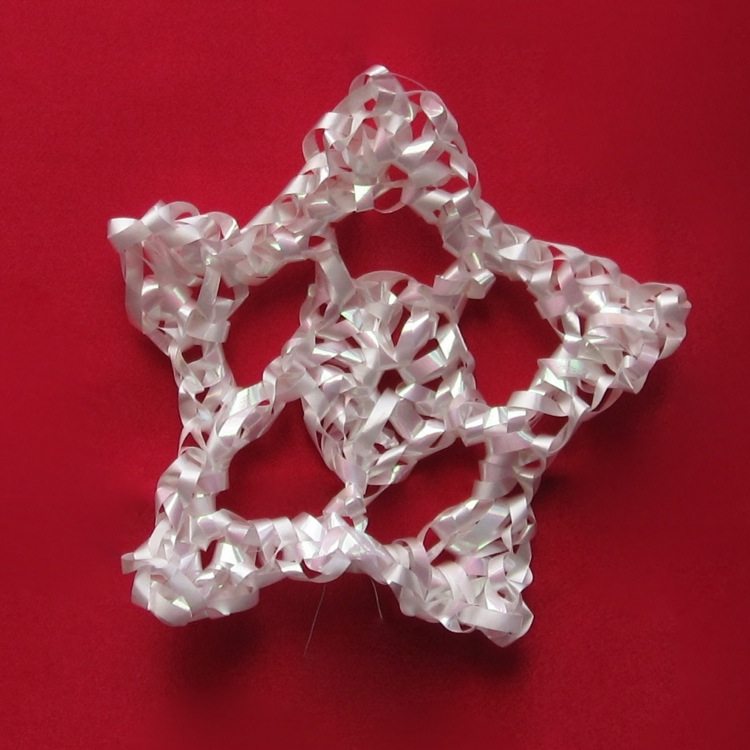
Fortunately I had purchased three “kegs” of ribbon, so after two strikes I could still try for a hit, modifying that pattern. For the star shown I used a J hook (6mm), a 40ft roll of 3/16 inch wide ribbon (12.2m|~5mm), and a generous 2ft (60cm) of 28-gauge jewelry wire. I had a decent bit of ribbon left, but only about half the difference to the next available size down, 32ft (9.75m).
Here are my changes to Markus’s pattern. Unfamiliar abbreviations below (and the rest of them too) are explained on the Crochet Reference page.
Round 1: Replace the starting ring and chains with “ch-4, work into ch next to sl kn.” Make sure to put your sl kn onto the hk loosely – ribbon is inelastic.
Round 2: Ch 3 to start instead of 2; work only 1 dc where it says to work 2 (so don’t make that first dc, in particular).
Round 3: This one’s different enough that it’s simpler to give the instructions in full. Note that “in picot” means to treat the “sl st in 3rd ch from hk” parts of rnd 2 as chain rings, working into the center:
No ch this rnd. Work the following stitches around the wire as well as the rnd-2 sts, leaving a wire tail of several inches: *sc 2 around next ch-2; [sc 2, ch 1, dc, ch 1, sc 2] in picot; sc 2 around next ch-2; sk dc* around. Sl st into 1st sc of rnd to join (40 sc, 10 ch, 5 dc). FO ribbon.
Twist ends of wire together and use to attach star to tree or other hanging/display place. Shape by hand.
I love our tree star!