Fiddleheads and fabric paint

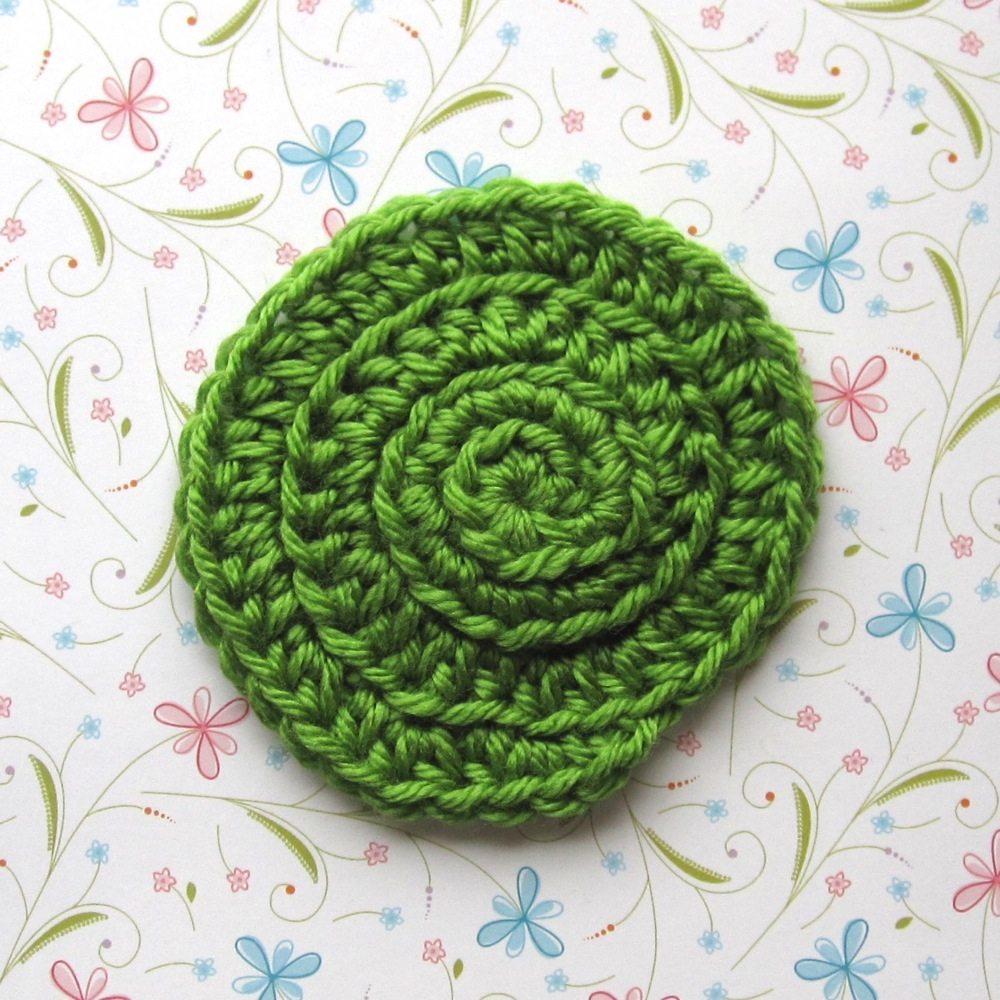
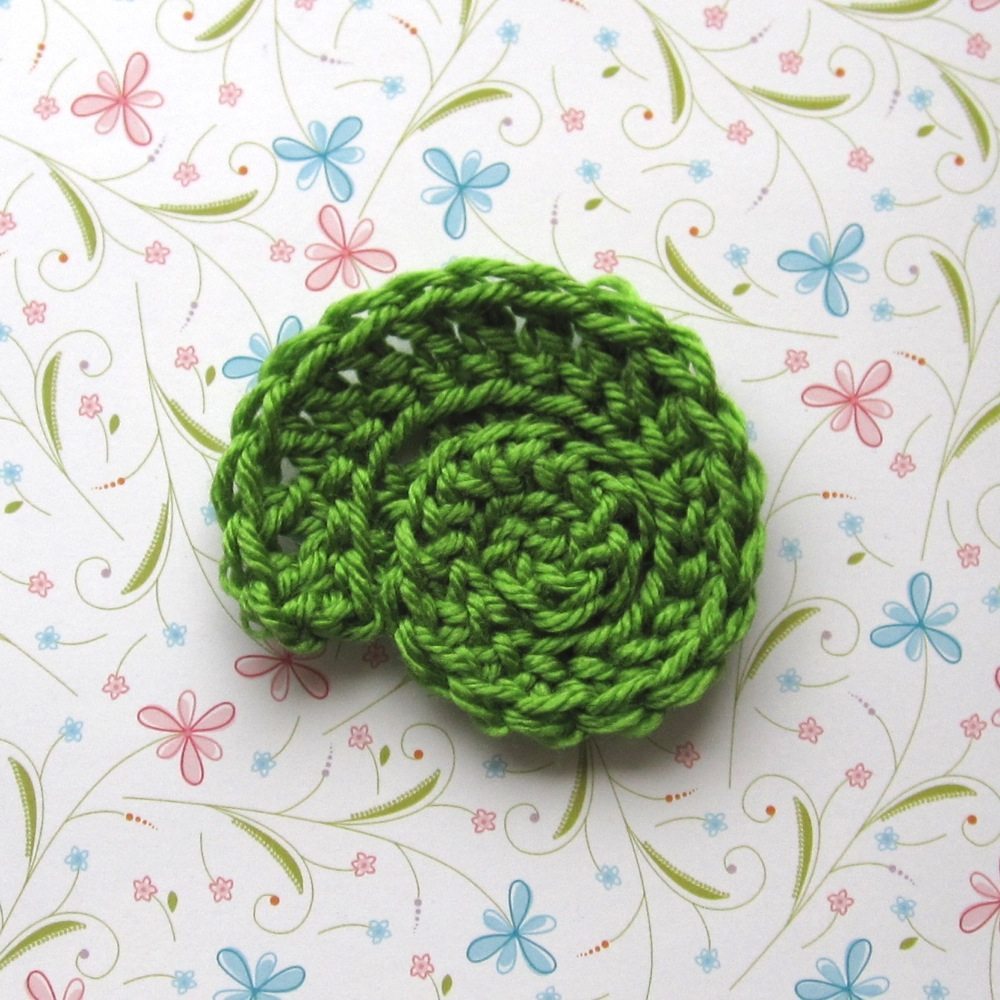
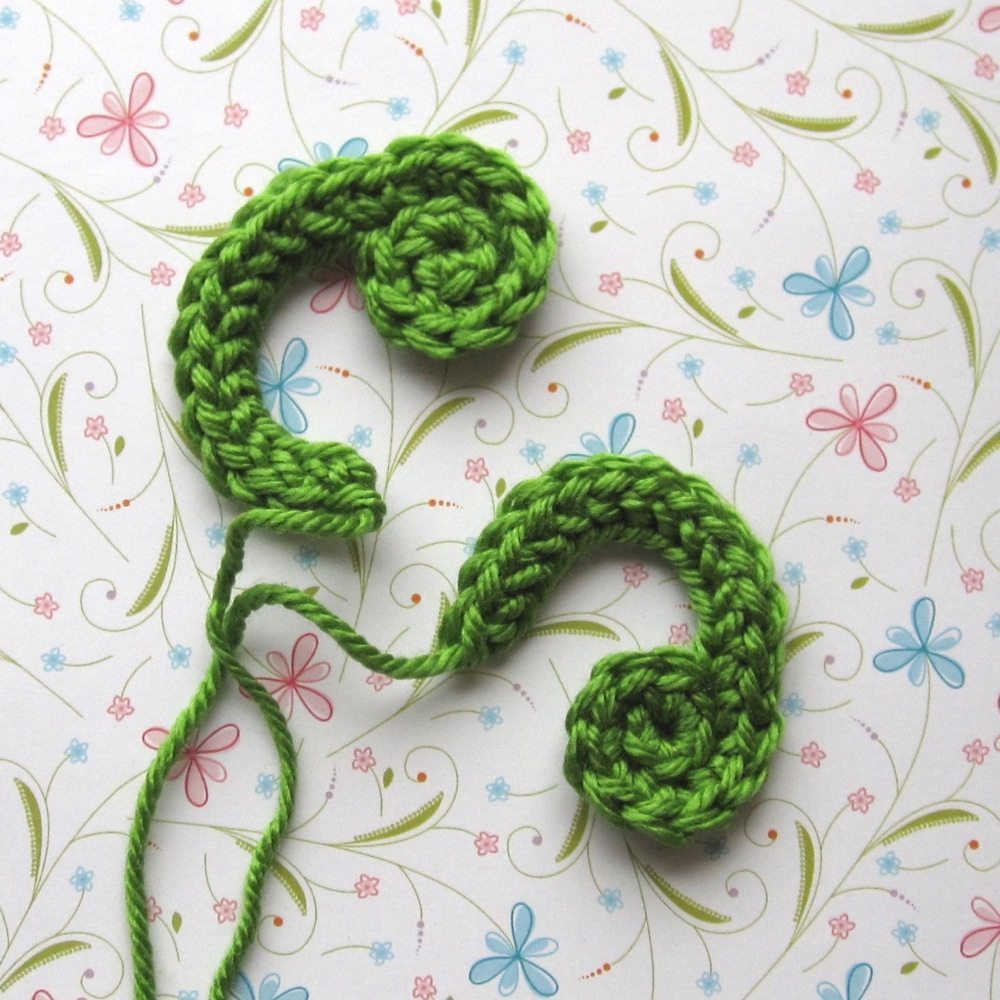
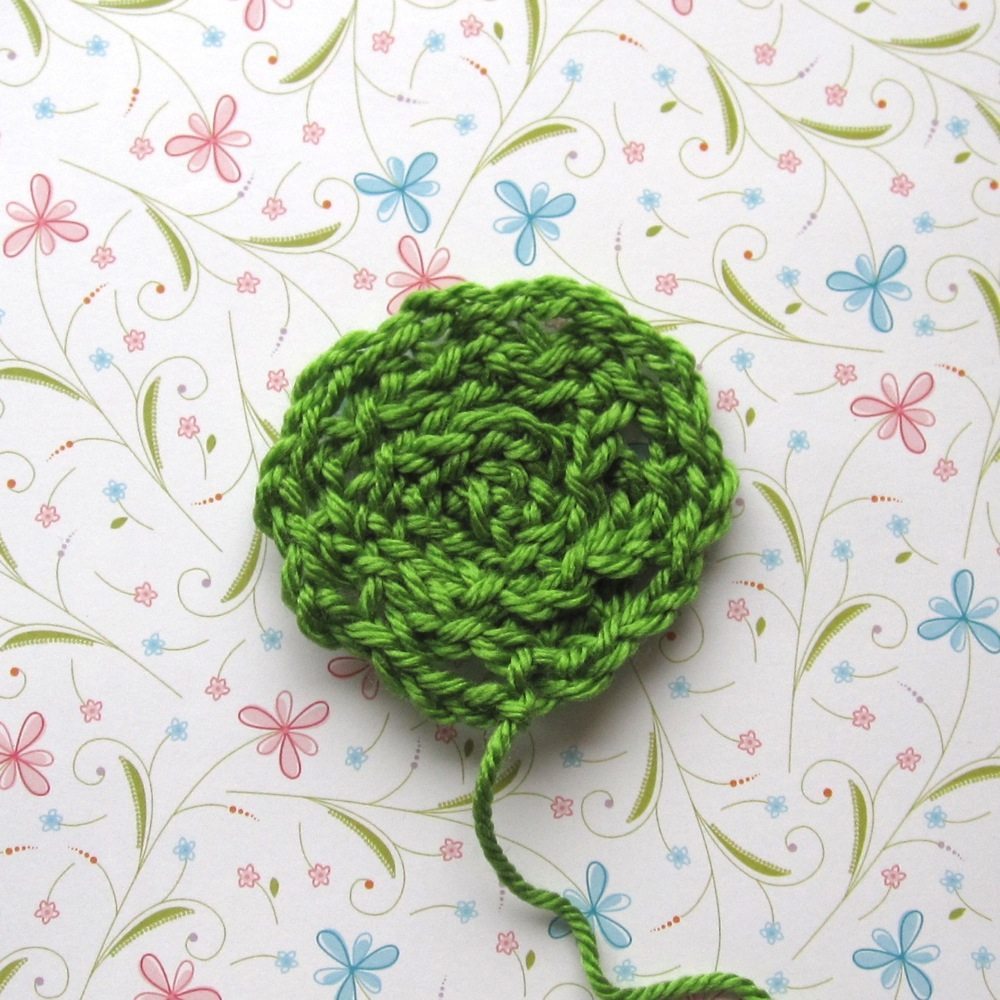
As promised, I made another fiddlehead project for the Upper Valley Fiber Crafts’ April craft challenge (still time to get in on it should you wish!) — or at least, I am making one.

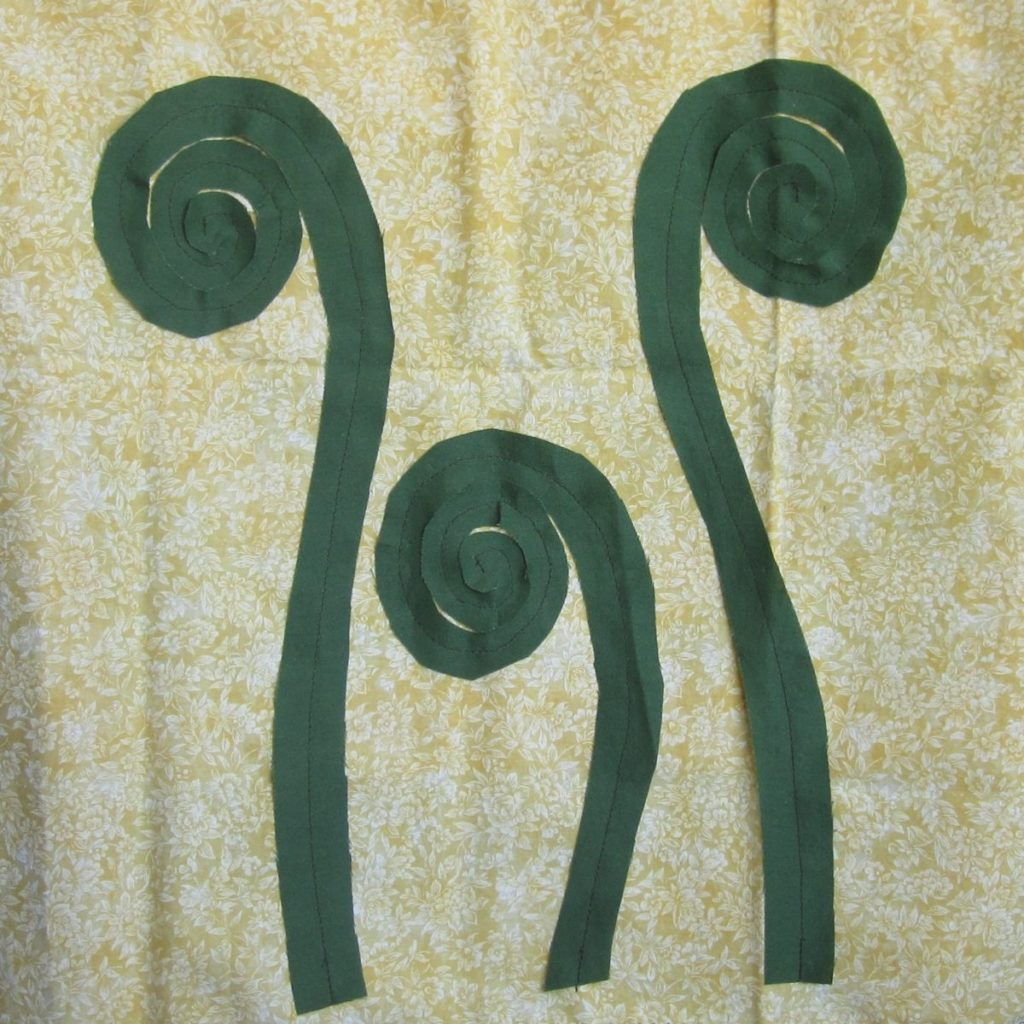
I thought I’d show you the steps so far. I started with a large piece of yellow fabric and some pieces of green that I cut out into fiddlehead shapes. I sewed the spirals on with a straight stitch down the middle of the strip of fabric and zigzagged the outer edge of the background.

fiddlehead fabric project

Then it was time for paint. I wanted a darker green than the fiddleheads at the bottom, and for whatever reason was completely attached to a rosy pink at the top. I also wanted an irregular gradient, so I diluted fabric paint (green with a little black) in a fairly tall, narrow jar, rolled up the fabric, and dunked it in. I happened to have a rolled-up piece of light cardboard — originally the center of a roll of wrapping paper — that could hold the fabric tube upright during the dunking. My hope was that the fluid would wick up the fabric, but gravity would keep it most concentrated at the bottom. I also expected the white design on the yellow fabric to resist the paint.

fiddlehead fabric project

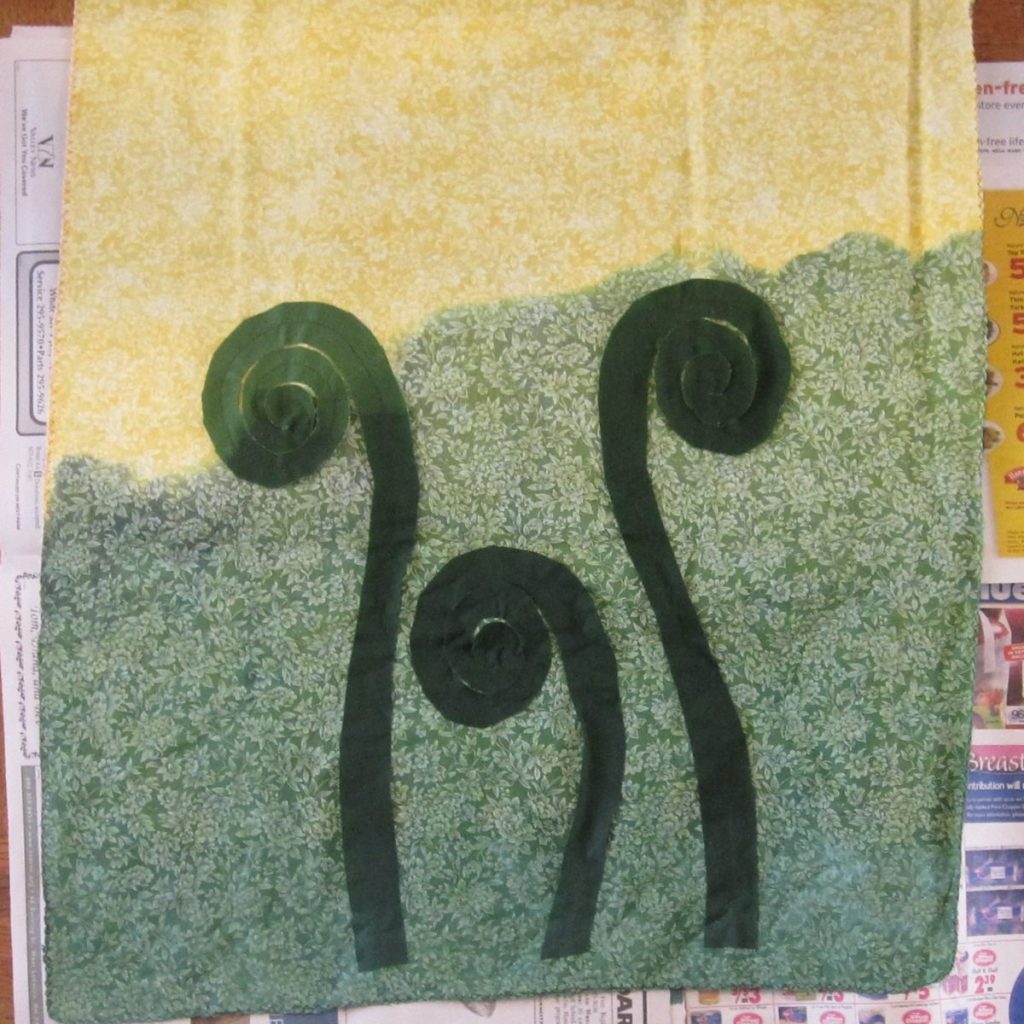
And it did! There is the green, still wet, not as dark as I imagined but just fine as is. I left the fabric in the jar overnight, and it crawled much further up than I expected (especially given the amount of fluid left in the jar the next morning). I love how much further up it extends on the right, which was on the inside of the roll, than the left.

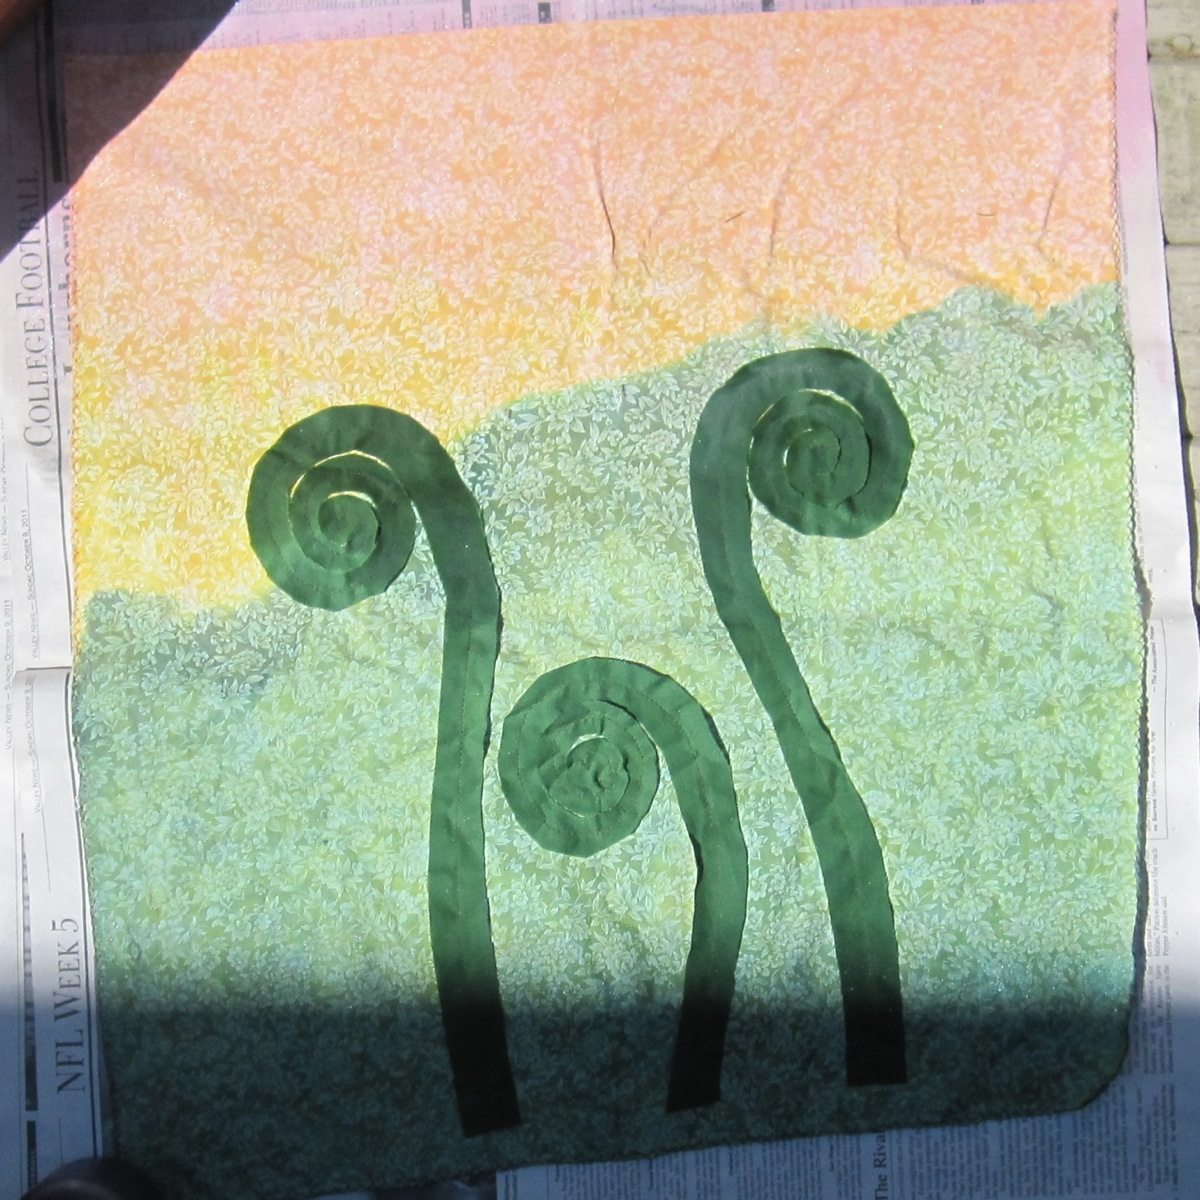
For the rosy pink I mixed pink with a little red and gold, and decided not to repeat the capillary action method, lest I get a muddy mess where the colors met. Instead, I mixed up less-dilute paint, scattered it across the top of the fabric, and used my hand (and water in a spray bottle) to distribute it to be unbroken across the top, with an irregular bottom margin. There was some drippage, which was perfect, although I did have to rescue one fiddlehead from a pink splotch with a judicious spray of the water bottle. Here’s a very sunny picture of the wet pink paint.

fiddlehead fabric project

The next step will involve heat-setting and washing the fabric, but the paint has to set for 72 hours first. This project will see you again next week.

Fiddlehead fumbling

On my local fibercraft blog we’re having a craft challenge a la Iron Chef: craft something inspired by or about fiddleheads, the young fern coils that New Englanders like to eat around this time of year. More details and where you should comment with your project are here, and I would love it if you wanted to participate — whether or not you’re local and whether or not you would be working in fiber, in fact. It would actually be a big favor, helping populate this challenge.

I started working on fiddlehead-themed crochet last night, and I must say, my blogging partner picked a tricky challenge theme. With all sorts of spirals on my mind, my first attempt was a two-strand spiral beginning with single crochet into a magic ring (with strand A, let’s say) and then alternating between slip stitch into back loop only with strand B and single crochet with strand A into the front loops of the slip stitches. The single crochet gradually grew to half double and then double. The result, which looks more like a seashell than a fiddlehead, is the first picture below.

playing with crochet fiddlehead ideas playing with crochet fiddlehead ideas

The second picture above is my second attempt, a strip of foundation sc (then fhdc, then fdc) that I then coiled up and sewed into a spiral. To me, this one evokes seashells even more than the previous one.

The commas below are my third attempt. Chain 2 and make 6 sc into the second chain from the hook. Increase around in back loops only, except the last (12th) stitch of this round was an extended sc that led into about a dozen foundation sc. Here and in the second coil I made sure *not* to pull the linking loop of the fsc out very far, so the strip would naturally curl toward the bases of the stitches.

playing with crochet fiddlehead ideas playing with crochet fiddlehead ideas

The last picture is of a mess. I chained for a while, then I slip stitched into a chain a little ways from the hook, and alternated ch 2 and sl st into somewhere further around the ring for a while. When I was only a few chain-lengths away from the previous linkage to the starting chain I slip stitched into it again, and went back into the ch-2/sl st pattern. Ultimately I think this is best described as a coil of ch-2/sl st going counter-clockwise on top, and a coil of a periodically-secured starting chain going clockwise on the bottom. It was an experiment.

The challenge goes until the end of the month and this won’t be my last attempt, but I’m going to change media for my next effort.