 For reasons I no longer remember, I went through button mania a while ago and looked through at least a hundred pages about button-making. Have I made any buttons? Unless you count the ones I covered and glued magnets to the back of, no. However, you can reap the benefits of my hours of research (those before and the additional ones filling in blanks I found while turning my link list into a post). This got so so long I’m splitting it into the first ever two-part First Friday: fiber-based today and the rest next month.
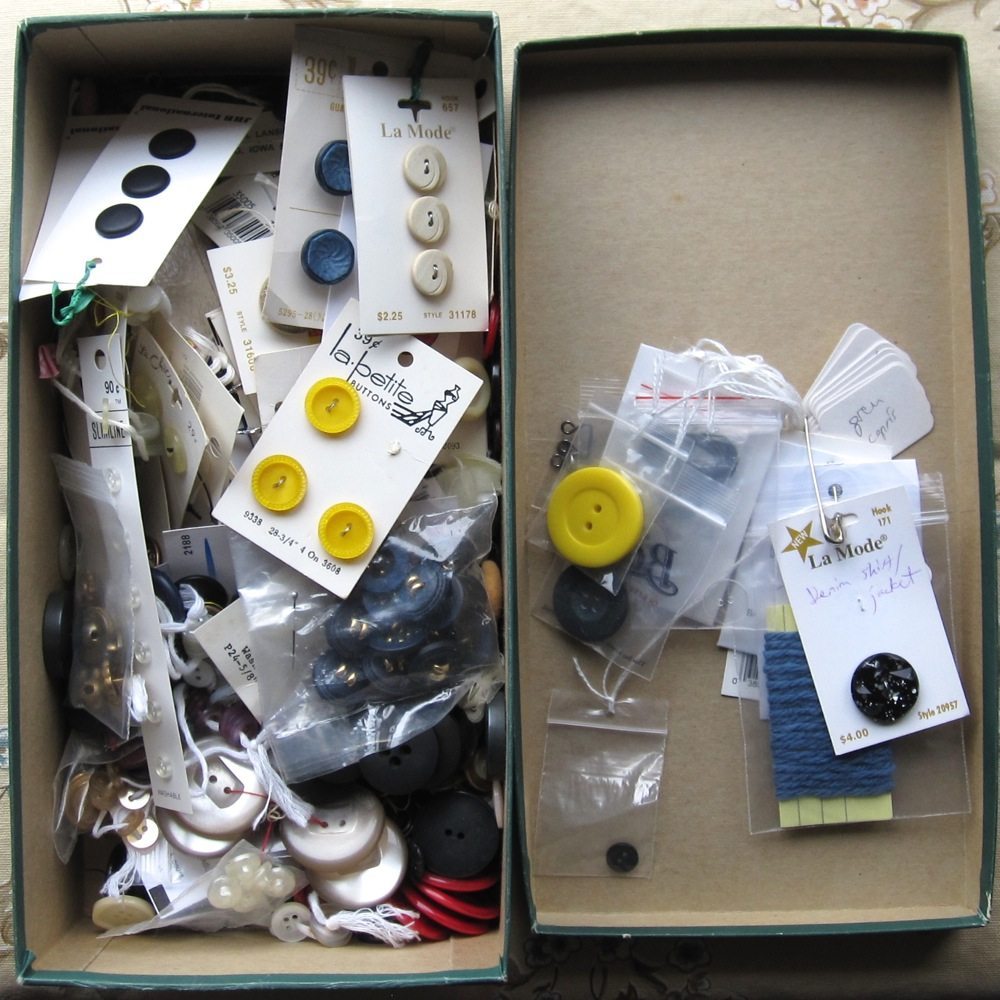
The photo is my button box and organizing system for buttons that belong to clothing I currently own: I got a package of paper tags on strings, and I attach one to each button packet, write a description of the article of clothing on the tag, and add the lot to a large safety pin.
Fabric (and embellished fabric)
The easiest way to make fabric buttons is with button cover kits, which come in many sizes. To dress them up you can ruche the fabric (works best with very large buttons), embroider it, or embellish it with beads.
You don’t have to use a kit, though, and Angie’s Bits and Pieces has tutorials for making standard shank buttons and a particular style called singleton buttons, which are made over a ring and have a raised outer edge as a consequence (there’s a slightly more involved version on Craft Stylish). The Renaissance Tailor has a near-spherical version with stuffing or a wooden bead as the core, and with something heavy like wool felt you don’t even need the stuffing. You can even make bead-encrusted buttons without a cover kit, as shown in this tutorial from Shawkl (though if your buttons will encounter water, don’t use cardboard as your stiffening layer – thin plastic from food packaging, another button, or something like a bingo chip would be preferable).
Knotted cord is a classic form of button. It calls to mind frog closures, though you can certainly use these buttons elsewhere (and very small knotted buttons are seen on wedding dresses sometimes). Of course you can use any knot you like as your button, provided it’s bulky enough to stay closed, but there are standard choices. There are instructions in the frog link, and you’ll find two distinct tutorials for the Chinese button knot on Chinese Knotting and Free Macrame Patterns, so hopefully among them you’ll figure it out easily. There are also a Celtic button knot and the large and lovely Bao treasure knot as options.
Additional toggles and a button called the Monkey’s Fist are in this Threads magazine article if you scroll down. Finally, Threads magazine also has an article about using fabric rather than (or sometimes in addition to) cord for these buttons.
Needle-woven buttons comprise a large category, I found out. The simplest form would be to wrap a disk of some stiff material with yarn, either slightly offsetting each wrap from the previous to work your way around and cover the whole thing, or doing a bit of weaving as in this Knitting Daily tutorial (but again, don’t use cardboard if the button might get wet).
Button weaving can get arbitrarily complicated, though. You can cover a wooden bead, as shown on The Renaissance Tailor; a similar version is called a grindle button and uses needle weaving to cover a fabric-wrapped base. Death’s head buttons, also called Leek buttons, are a particular class of needle woven buttons that seem to be distinguished by starting with an X-shaped wrap used to anchor subsequent stitches. The basic button acquires a look similar to raised fishbone stitch in embroidery, but the weaving is unlimited. I try to avoid non-tutorials in these roundups (otherwise we’d be here all year) but you really have to see this eighteenth-century example.
Dorset buttons are needle-woven buttons made using a ring as the base. You’ll find basic instructions at Craft Stylish and in pdf form from Rachel Clare; the latter is aimed at children. Threads Magazine has a page with fancier variations, including a different style called shirtwaist buttons. As with the death’s head buttons, you can make as fancy a weave as you like here.
Rachel Clare also has instructions for Yorkshire buttons, an all-thread (well, plus a little stuffing) woven button made on a stiff round frame that is removed when the weaving is finished. They look perhaps to be a specific kind of Teneriffe lace, but the other examples of Teneriffe I’ve found are too open to be used for buttons without a lining layer.
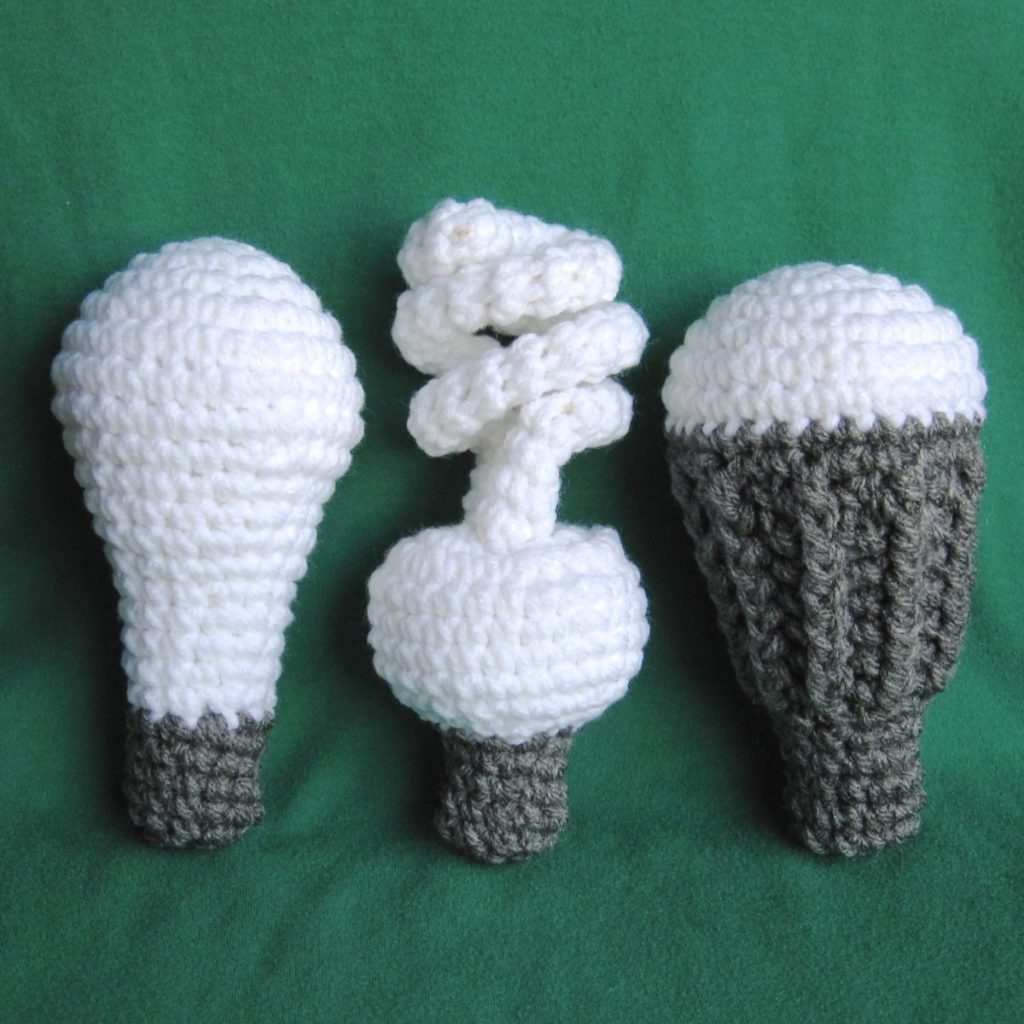
Crochet is another popular way to make buttons from yarn or thread. Mrs. Micawber has a flat crocheted button that involves only yarn; you can also crochet buttons that are round and stuffed or flat, but double-layered and stabilized by a plastic ring or an internal button or other disk.
Wool fleece can be felted down into buttons, either spherical or flat. The International Feltmaker’s Association has instructions for spheres, both wet felted and needle felted; see Simple and Joyful for an additional needle felted version. Mollie Makes has a tutorial for a flat button, and this tutorial from The Art of Megan for felt cabochons could easily be adapted to buttons.
Additional fiber-based buttons I wasn’t able to track down tutorials for online may be found in the book 50 Heirloom Buttons to Make.