My excess of crochet time has allowed me to start knocking experiments/investigations off the list. One such was the comparison of different turning chain methods for double crochet, as discussed in the Learn Crochet page for taller stitches. There’s a big gap in the standard “ch 3, counts as 1st dc” approach, and a lot of attempts to repair it.

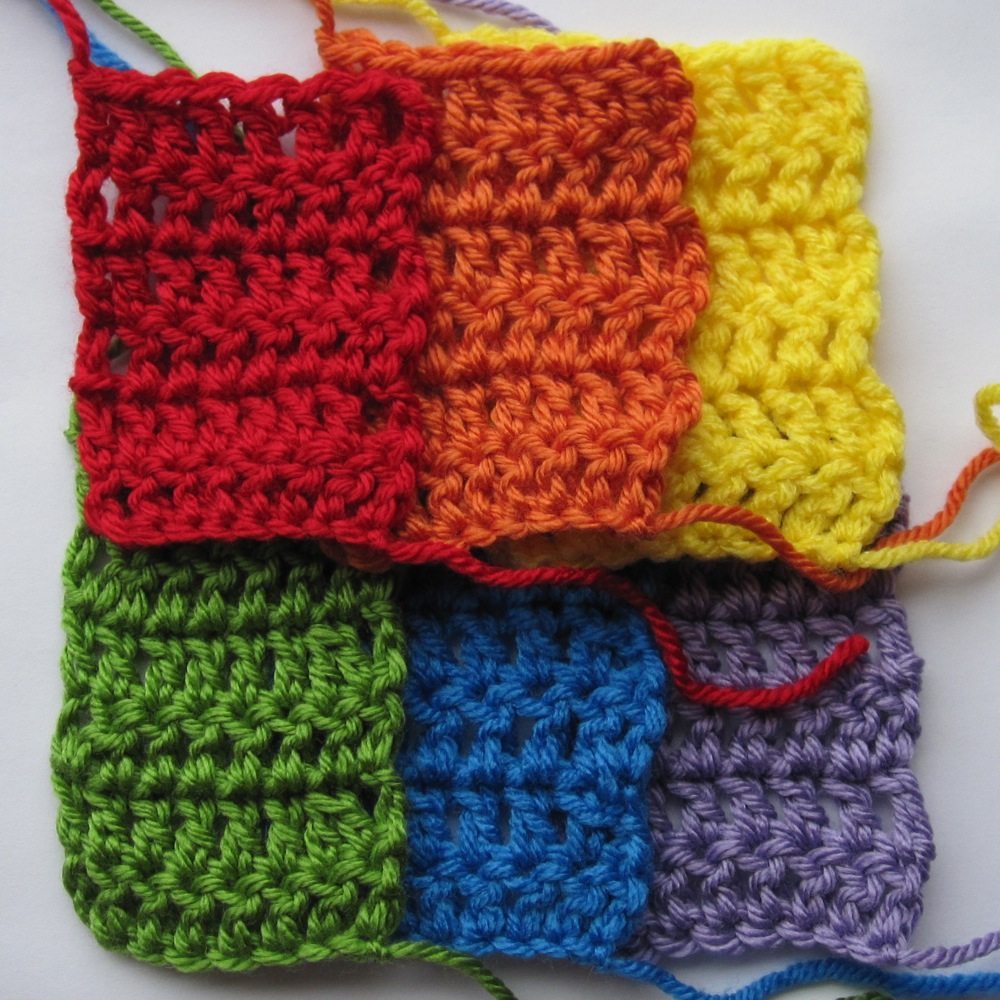
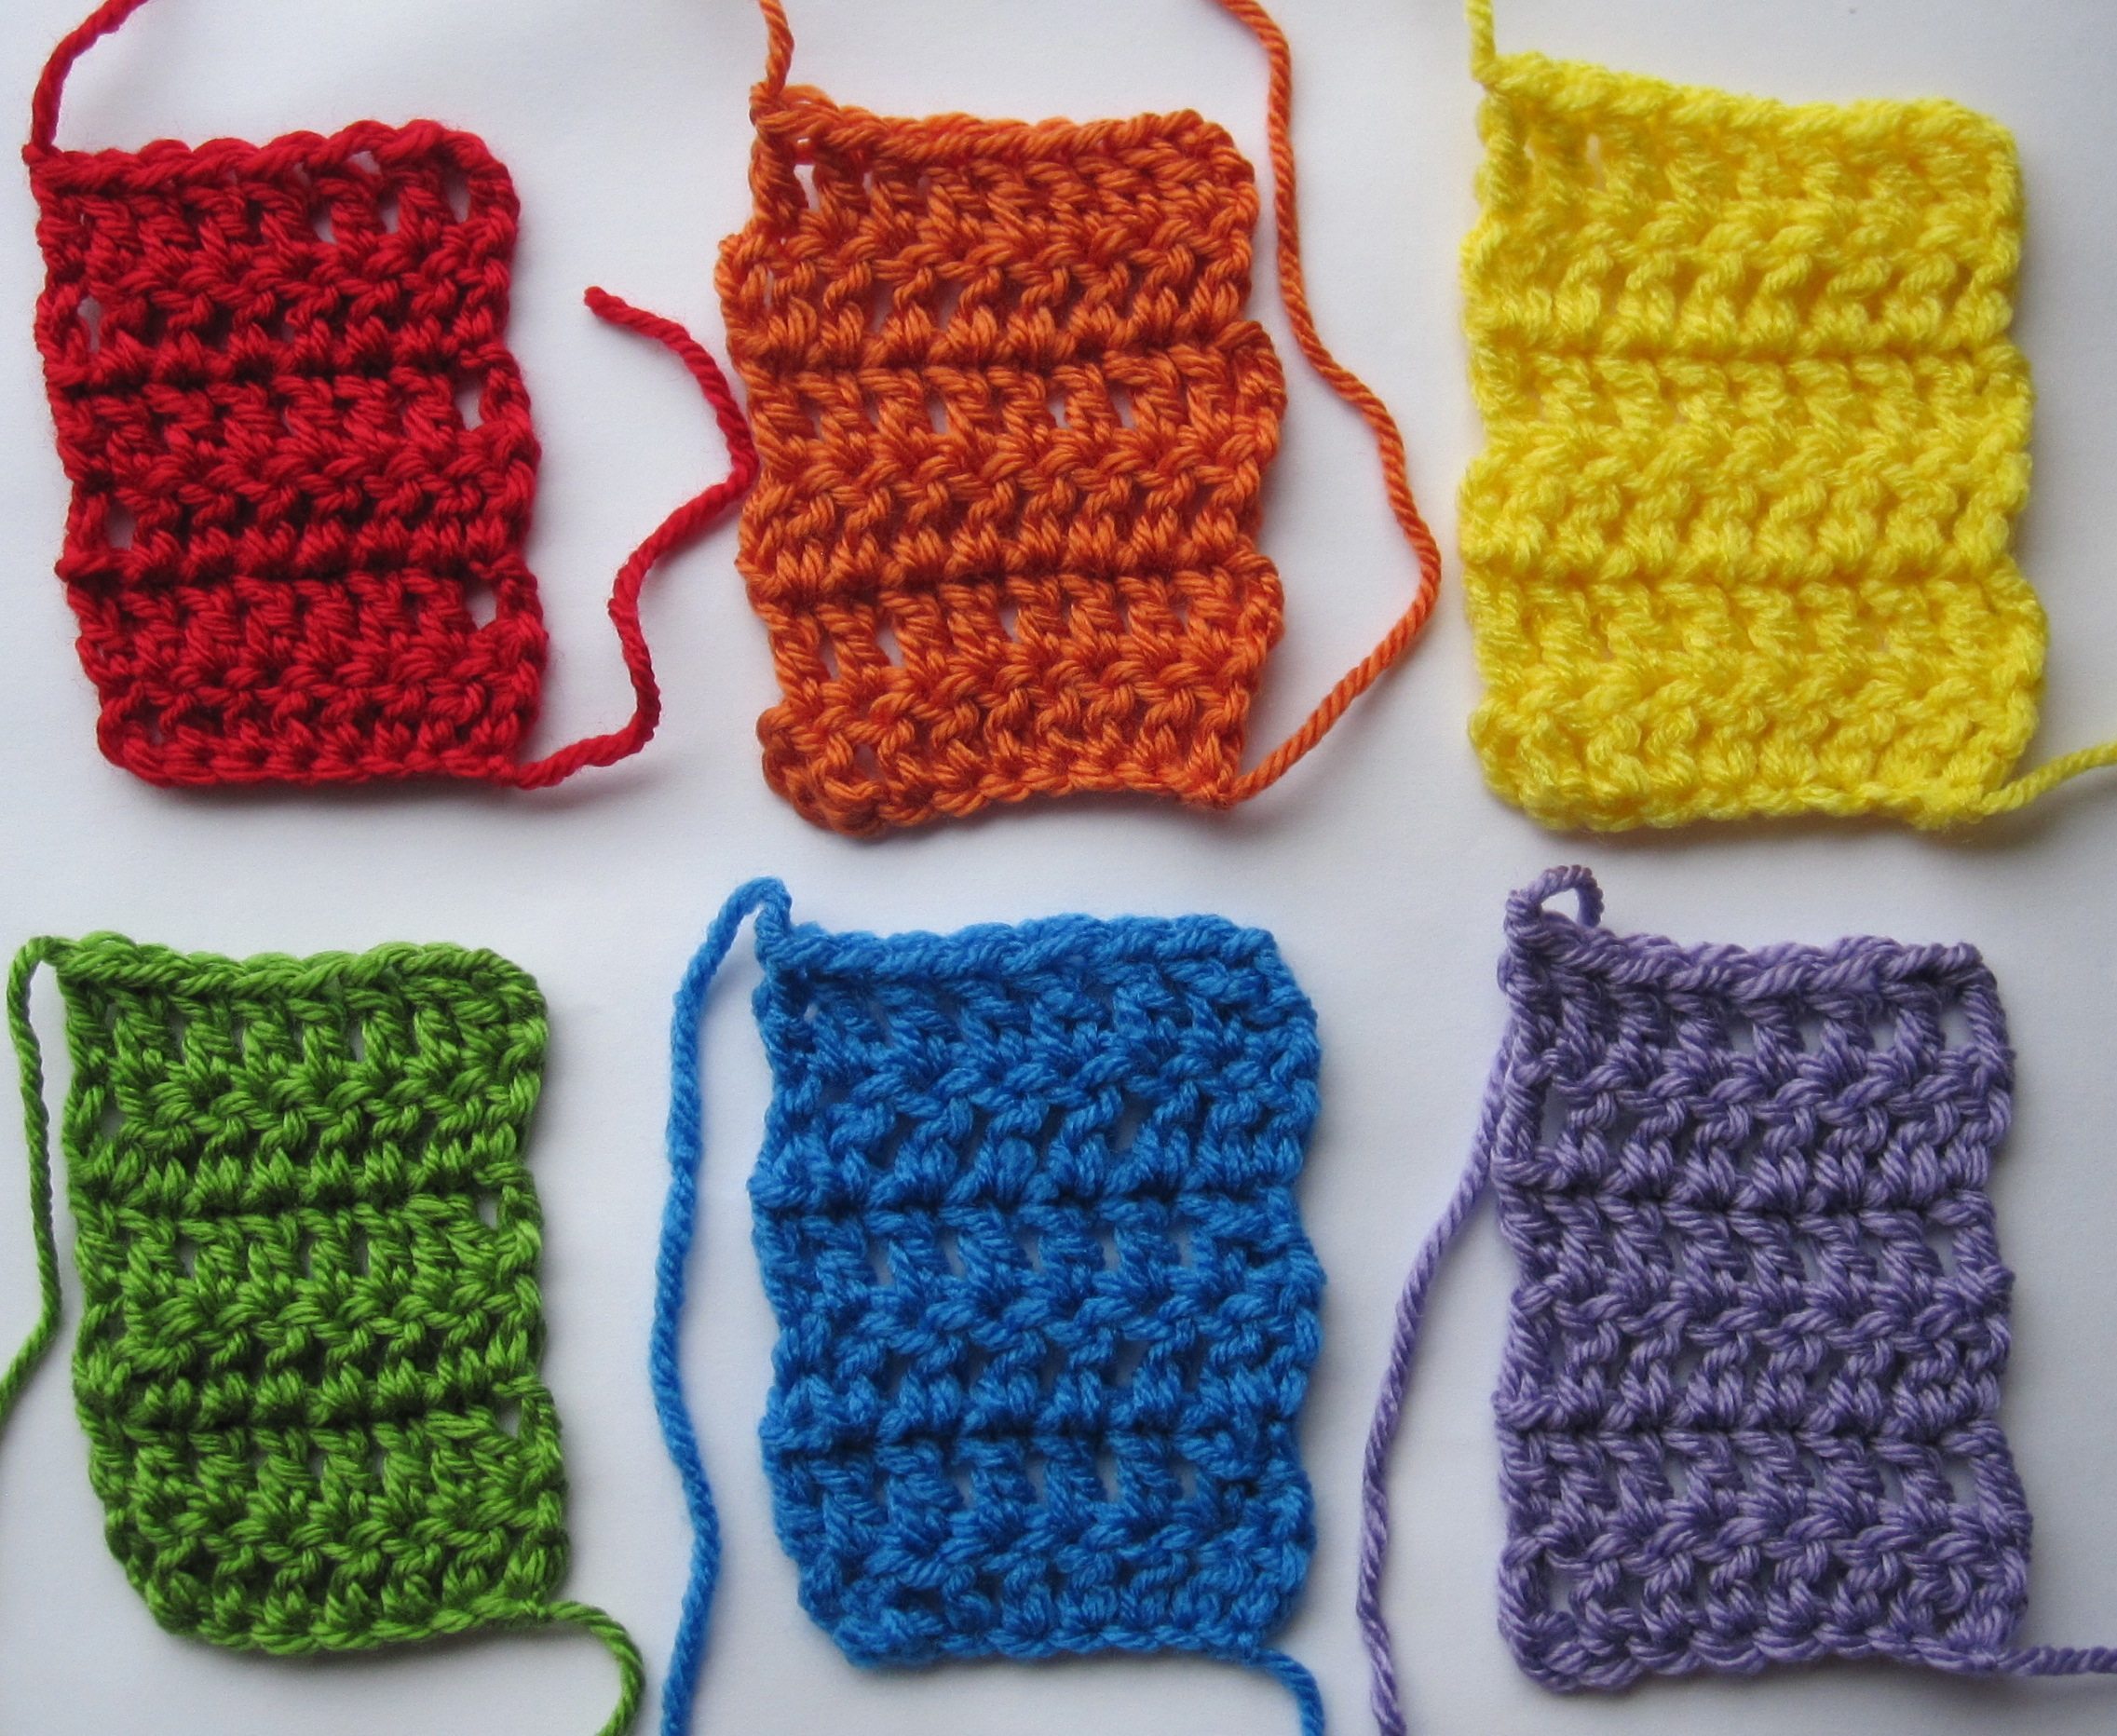
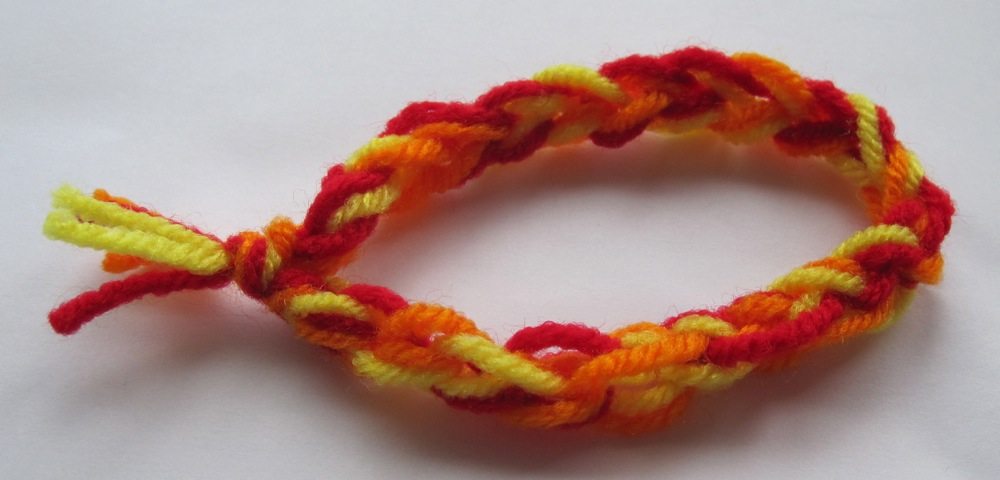
I tried a rainbow of methods. Each was 8 stitches across (however that is counted) and 6 rows tall; I chained 1 at the end of each to knot. They were made with a G hook (4.25mm) and two kinds of worsted weight yarn, Bernat Waverly for yellow and blue and Red Heart Soft for the rest. As usual, click any photo to enlarge it. In this post I’ll use tc to abbreviate turning chain.
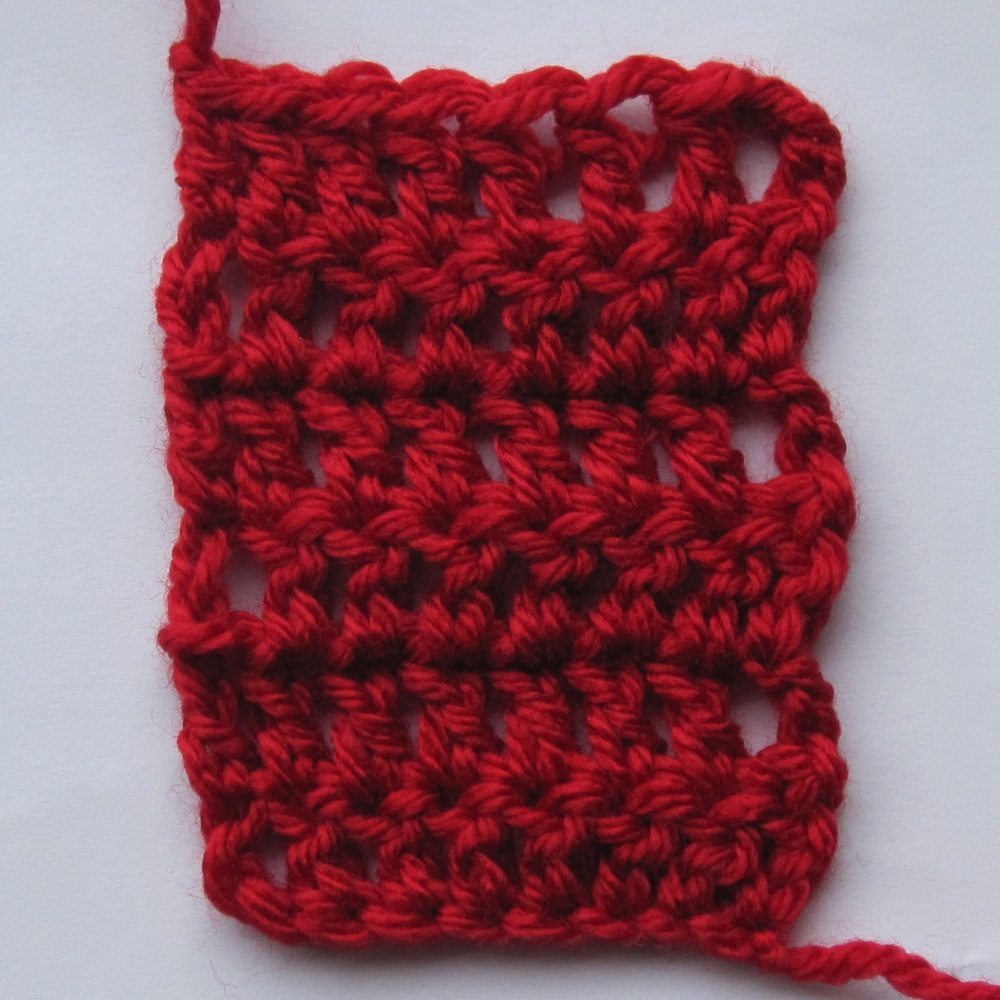
 Red
Red
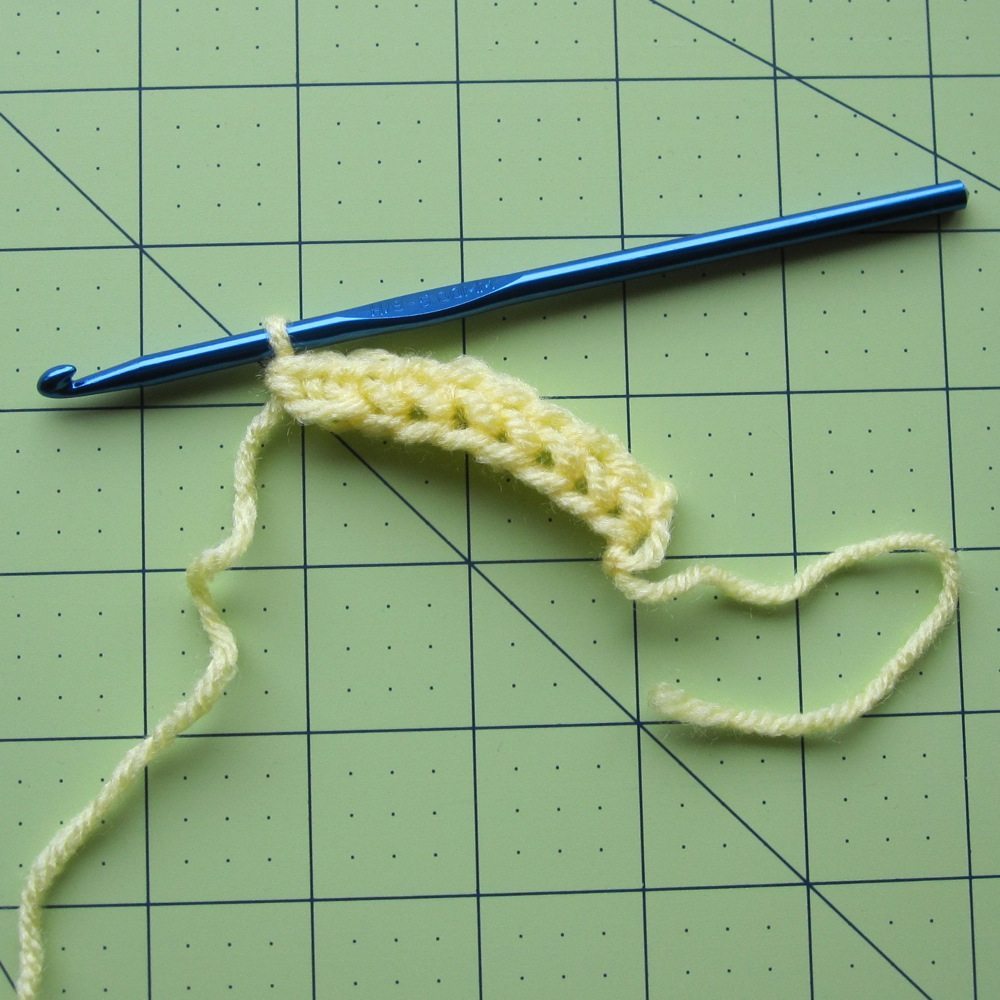
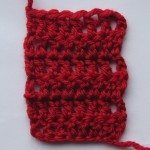
First I took the standard approach: Ch 10, dc in 4th ch from hk and rem 6 chs (8 dc counting tc). All subsequent rows: ch 3, turn; dc 7 starting in second st.
This is your friendly neighborhood gappy swatch. No reason to switch away from it if you’re using a hook that is very large for your yarn, or working a pattern that has a lot of open space. I have more thoughts on this below, however.
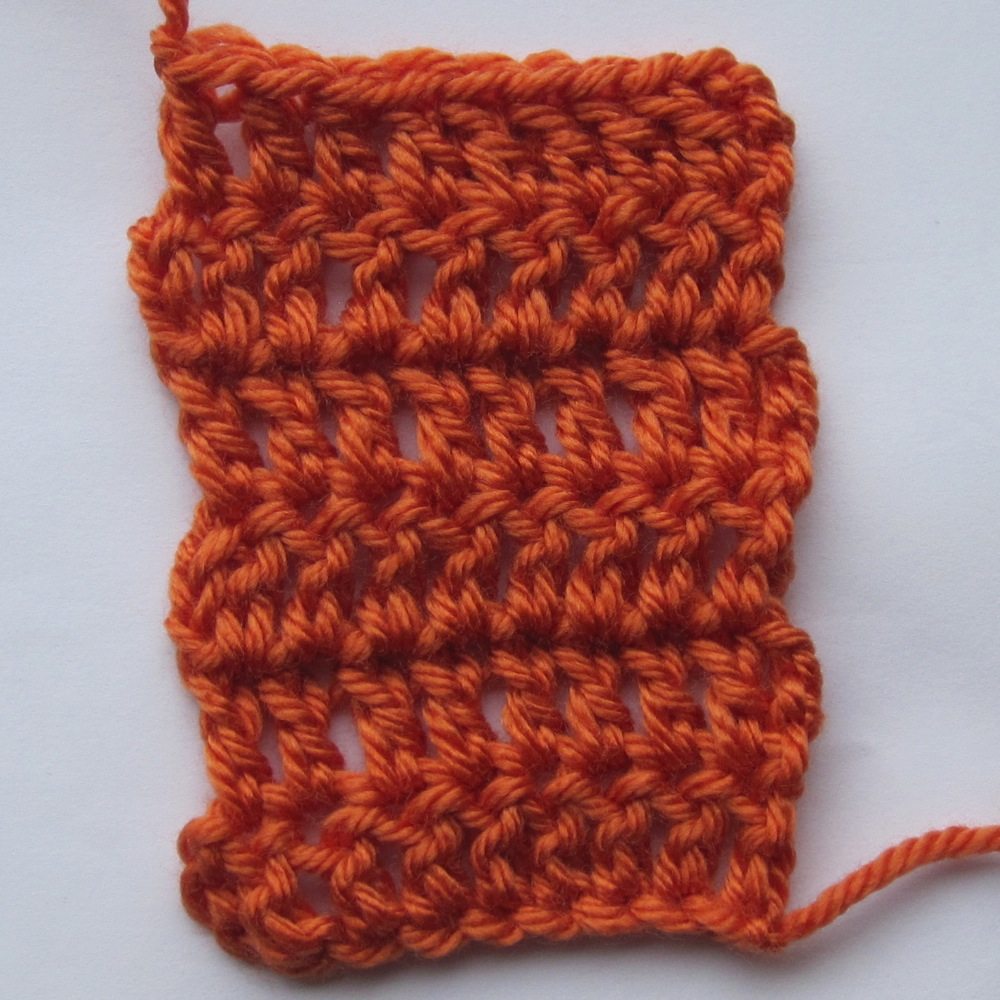
 Orange
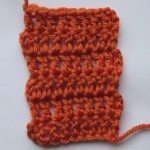
Ch-3 but does not count as dc: Ch 11, dc in 4th ch from hk and rem 7 chs (8 dc; tc does not count). All subsequent rows: ch 3, turn; dc 8 starting in 1st st.
This one has no gaps, but it does have lumps. The ch-3 add noticeable width on alternating sides of the swatch. I can’t recommend it.
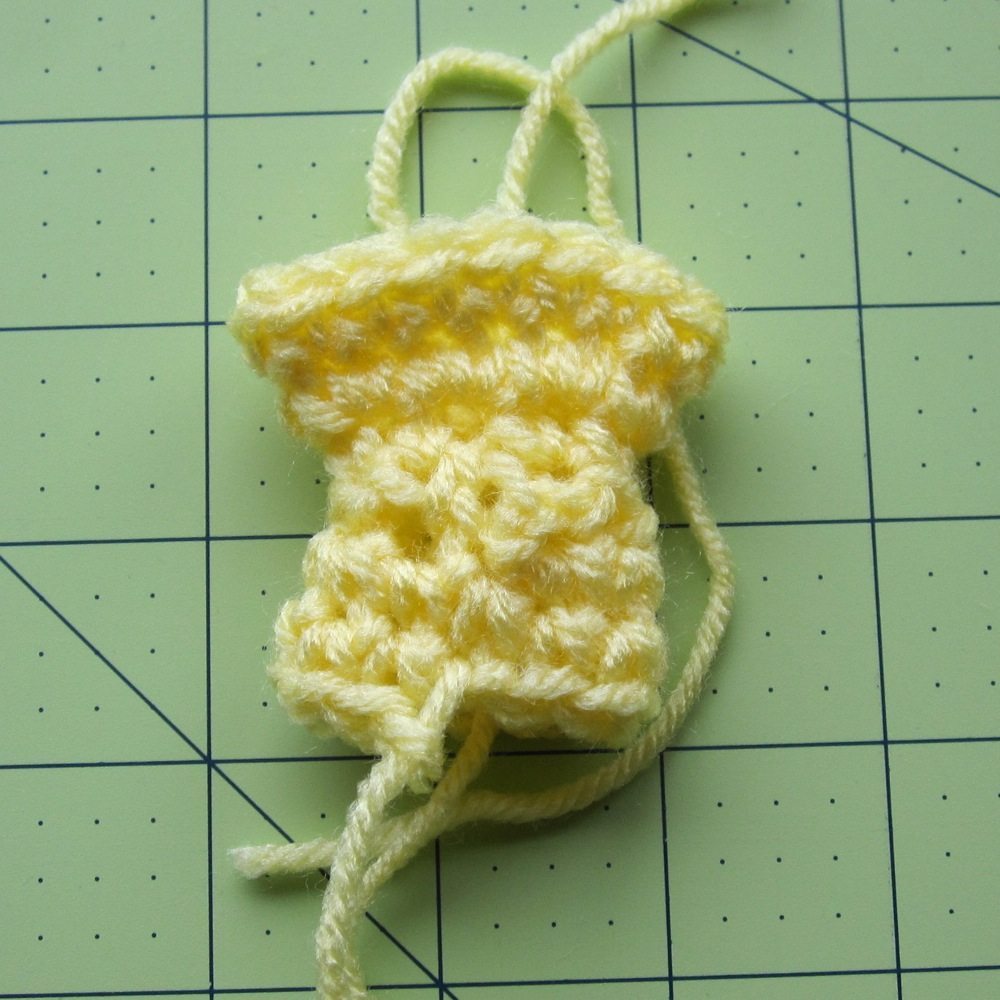
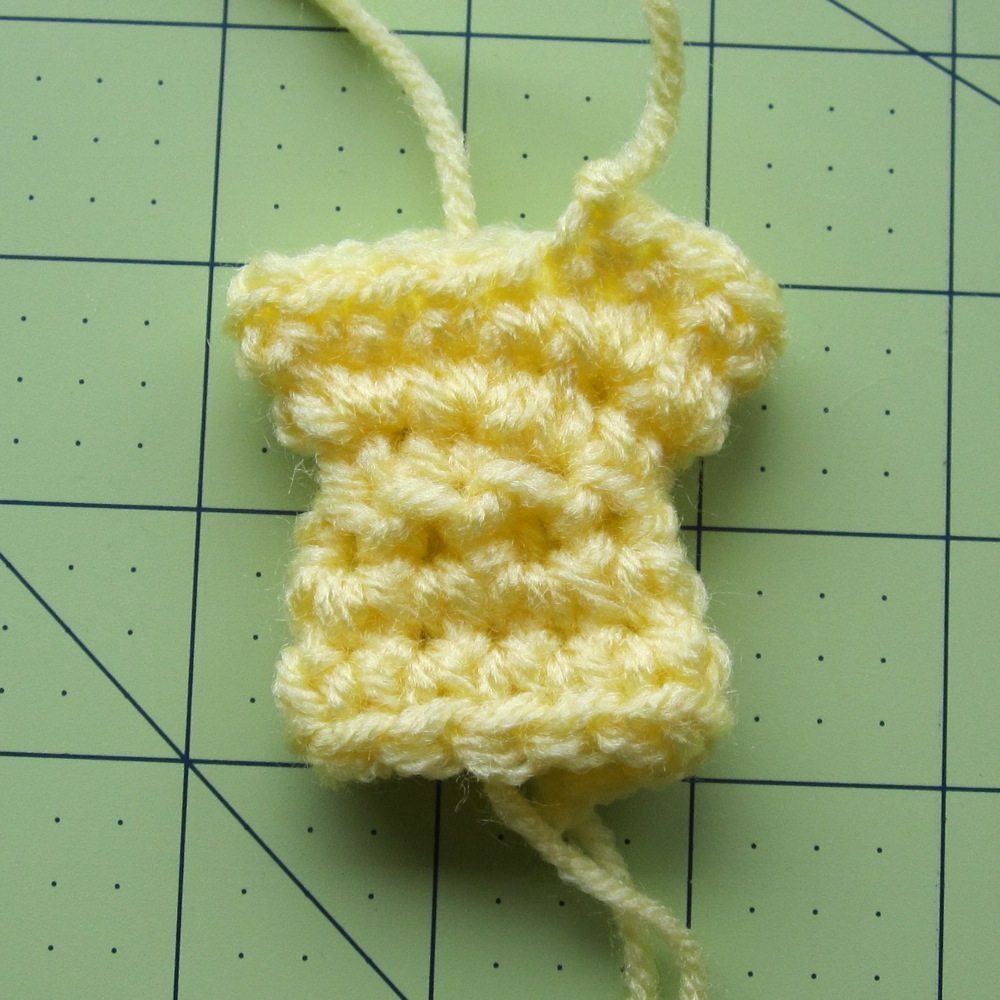
 Yellow
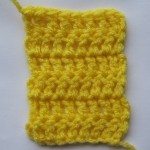
Ch-2 and does not count as dc: Ch 10, dc in 3rd ch from hk and rem 7 chs (8 dc; tc does not count). All subsequent rows: ch 2, turn; dc 8 starting in 1st st.
This was my attempt to repair the lump by removing a chain. It is an improvement. In fact, if you want something easy that won’t slow you down, this might be the best choice.
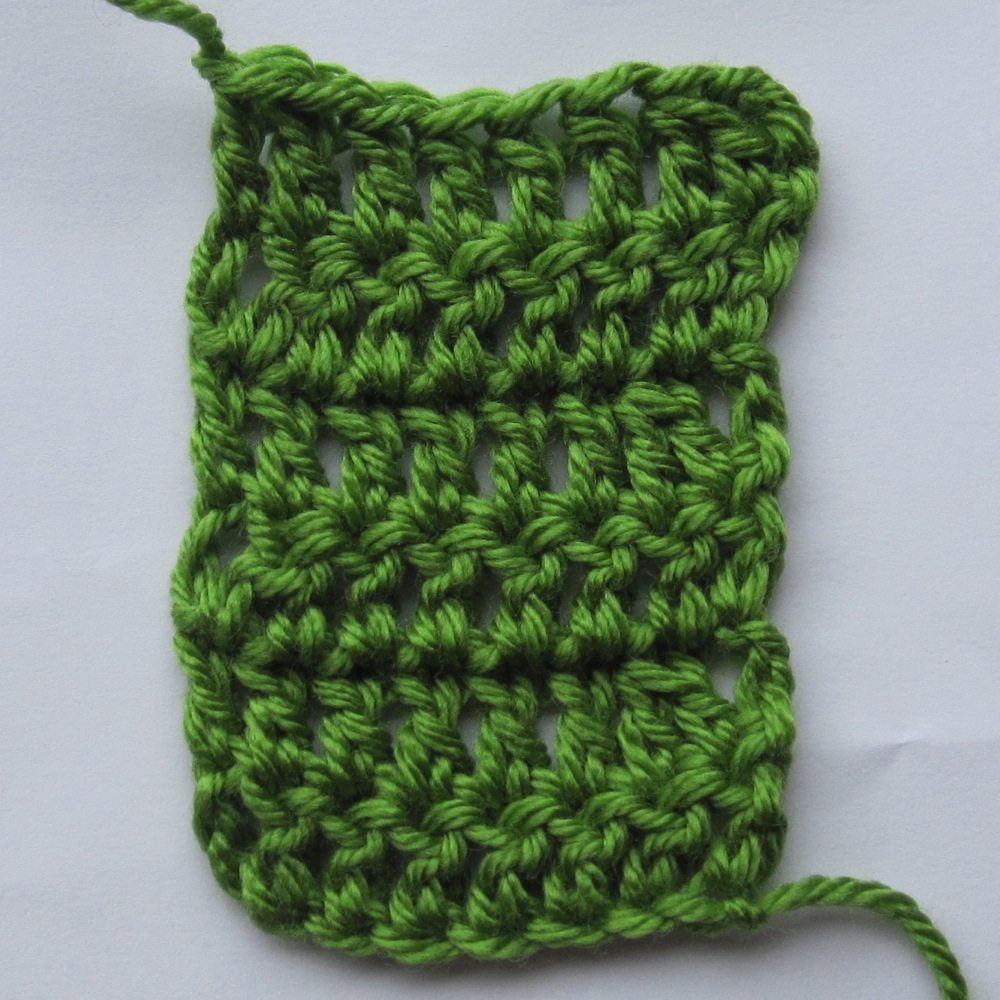
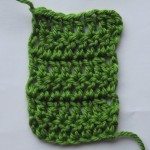 Green
Green
Ch-3, counts as dc; dc dec first two sts together to fill space without adding sts: Ch 10, dc in 4th ch from hk and rem 6 chs (8 dc counting tc). All subsequent rows: ch 3, turn; dc dec in 1st two sts, dc in rem 6 sts (8 dc counting tc). Could also begin by chaining 11, dc dec in 4th and 5th ch from hk, dc in rem 6 chs.
I had written something in the Learn Crochet paragraph about decreasing with the chain, and this was my attempt to make that have any meaning at all – you can’t decrease with a chain in any way I know of! This looks pretty good from a distance, but of course up close you have the little triangles of decrease at alternate ends of the row.
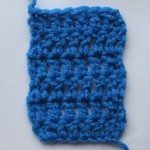 Blue
Blue
Linked stitches (as in this post by Vashti Braha), single loop variation (her step 3): Ch 10, pull up lp in 2nd ch from hk, pull up lp in 4th ch from hk, YO, pull through 2 lps on hk, YO, pull through 2 lps on hk. Dc in rem 6 chs (8 dc counting tc). All subsequent rows: Ch 3, turn; pull up lp through one strand of 2nd ch from hk, pull up lp in second st of prev row; YO, pull through 2 lps on hk; YO, pull through 2 lps on hk. Dc in rem 6 sts.
This was easy to do and is nice looking, but made for a really difficult last stitch on the next row.
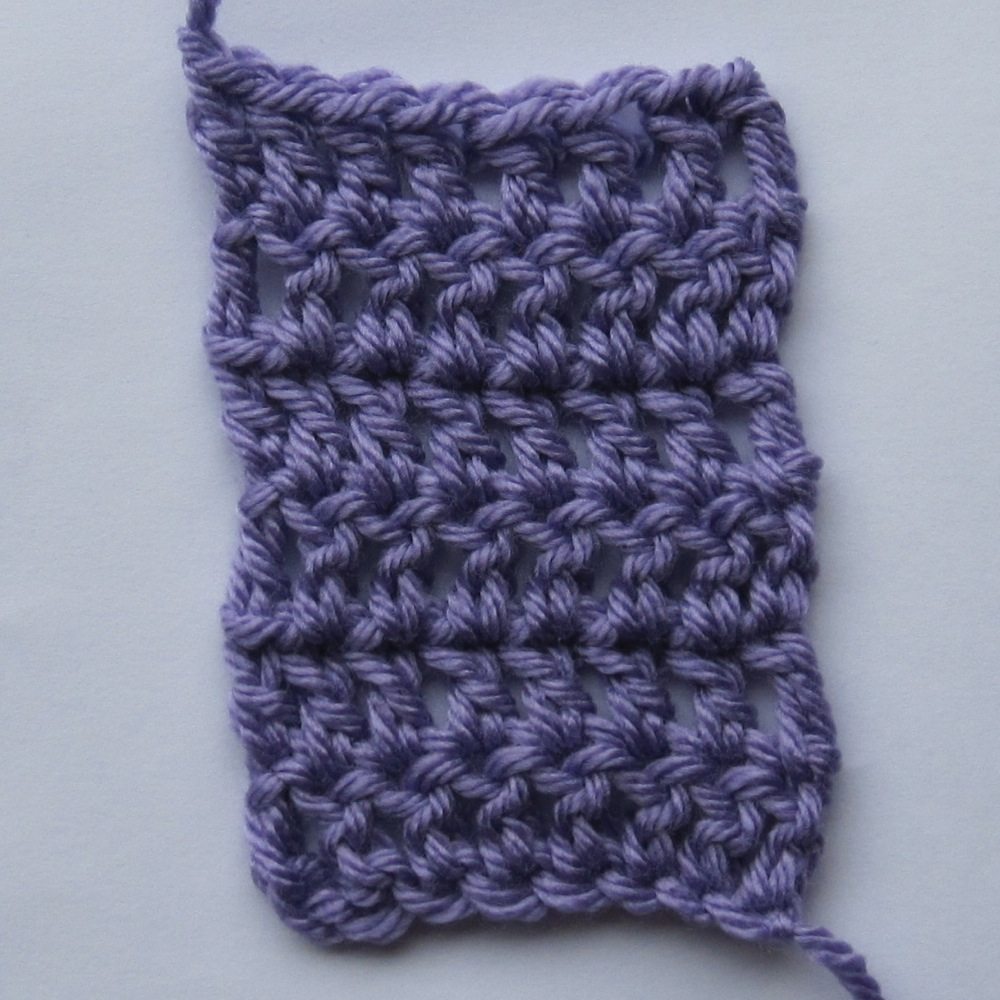
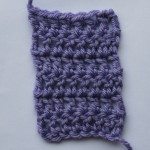 Purple
Faux dc with loop left on hook at end of previous row: Ch 8, make faux dc, dc in 2nd ch from hk and rem 6 chs (8 dc). All subsequent rows: turn, make faux dc, dc in 2nd st and rem 6 sts.
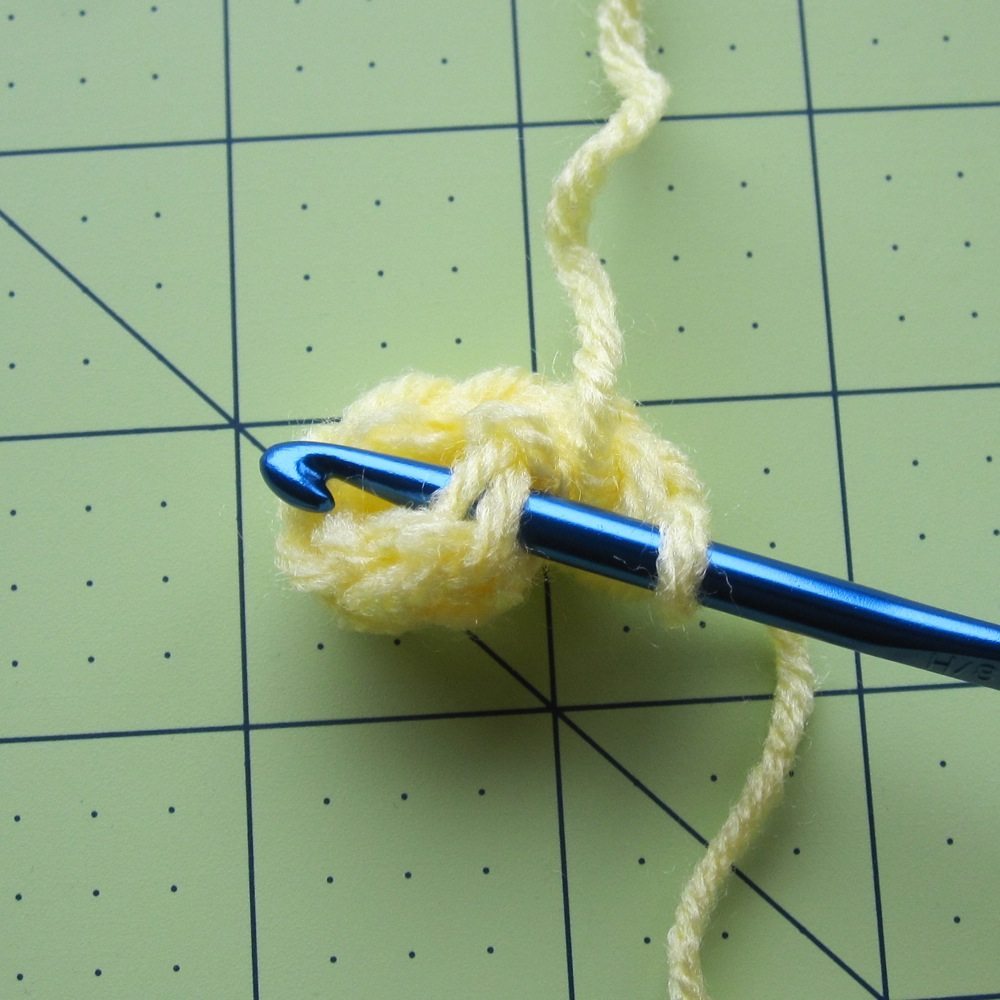
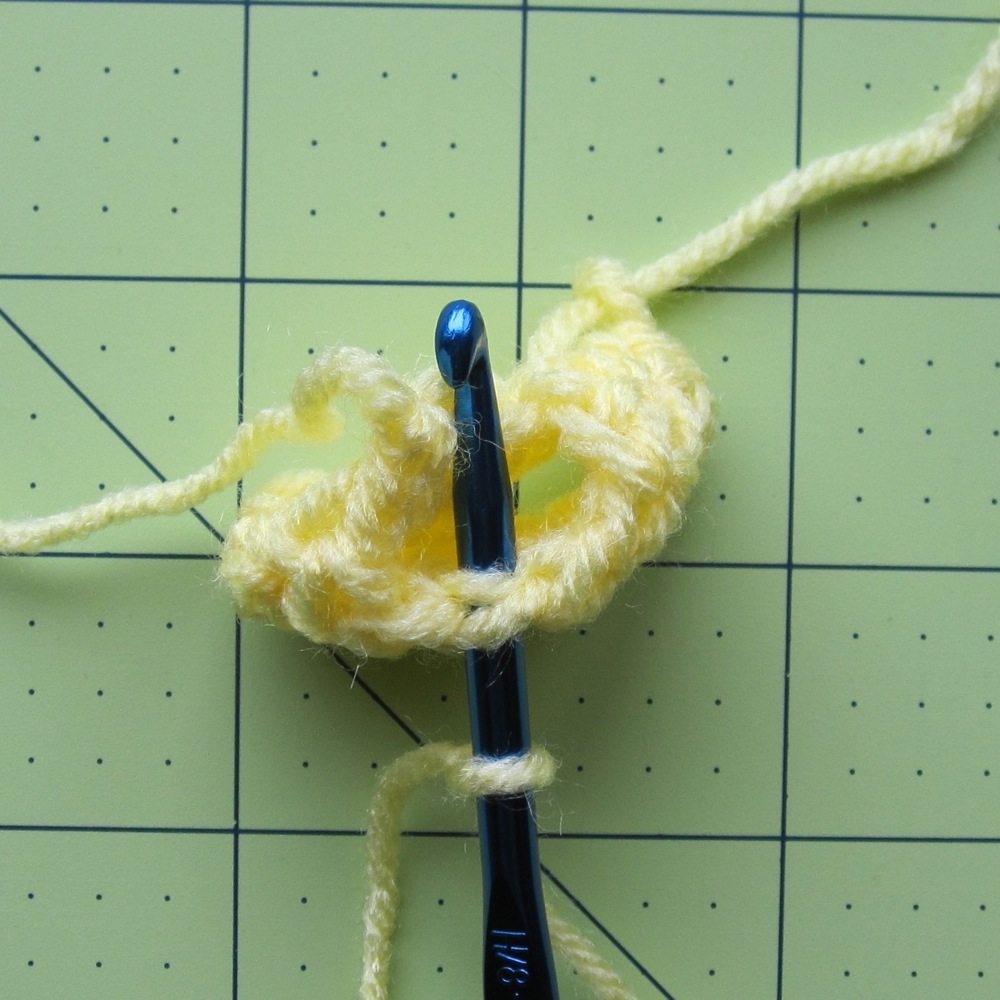
Faux dc: loosen loop on hook until it is a little longer than a dc is tall. Hold center of loop against shaft of hook with index finger. Wrap both strands of loop around hook by poking hook away from you under loop (as though base of loop is working end of yarn and you are yarning over). Yarn over with actual working end; pull through doubled strand on hook (2 loops left on hook). Yarn over, pull through both loops on hook. I learned this from a short video by Sandra Roarty and a much longer one by TXCr1cket, though I didn’t actually get what was going on until I tried to do it from memory after watching them on one occasion, and then watched them again later. Note that the videos say to make the loop as tall as a dc, but making it a bit taller to account for the spiral shape it takes on helps with the tightness of the loop you have to stitch into at the end of the next row.
Using the loop left on the hook after the end of the last row makes the faux dc look more like it is attached to the previous row in the same way the actual dcs are. I made the purple swatch a few times to make sure inexperience didn’t affect my results; the first time the faux dc was tight to stitch into on the next row, but with practice it was no worse than a turning chain (maybe even easier). It also took barely more time than a standard dc.
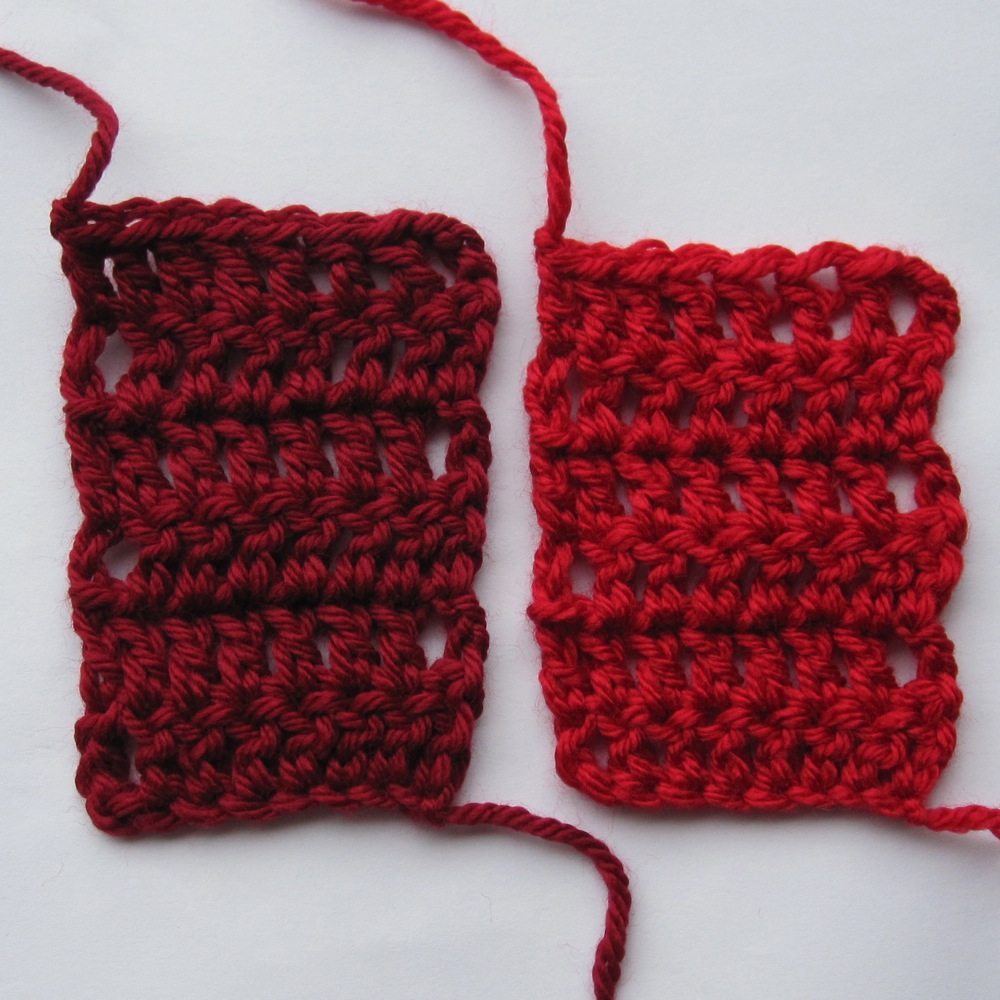
The picture below blows up much larger than mine usually do, so you can compare the swatches more closely.
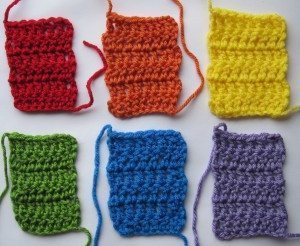
For me the two winners are yellow and purple: ch 2 and don’t count it, or make a faux dc. Which one I use will depend on how much of a perfectionist I am at that moment.
While I was working it occurred to me that the starting chain is mismatched to the rest of the turning chains in the case of the standard method – you should really be adding 3 chains to the desired number of stitches and skipping 4 to make the first dc. Adding 2 and skipping 3 essentially makes the first two stitches an increase instead of neighbors. This is especially clear in the linked stitch method of fixing the gap, where in the first row you skip 1 chain and pull up a loop in the next, skip one more chain and then pull up the second loop. In later rows you skip one chain and pull up a loop, then skip a chain and a stitch and pull up the second loop. I tried the standard turning chain approach with that one tweak.
 Dark red
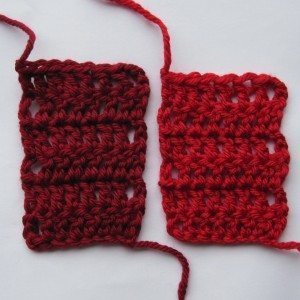
 (on left)
Modified starting chain for squareness: Ch 11, dc in 5th ch from hk and rem 6 chs (8 dc counting tc). All subsequent rows: ch 3, turn; dc 7 starting in second st.
It’s a little hard to tell because my starting chain is tight anyway, but it is more square. If you made a dc rectangle and then had to stitch around it, I expect this corner would be better behaved than the standard one.
Any method that doesn’t use the turning chain as a stitch automatically has a match between the starting row and the subsequent rows, including the faux dc, leaving red, green, and blue. I could have started green this way easily by chaining 11, decreasing the 4th and 5th chain from the hook together, and continuing down the last 6 chains. In fact, I don’t remember the rationale against doing it that way in the first place! Blue is fixed similarly to red, by adding an additional starting chain and additional skip, though the skip is added after the first loop is pulled up: ch 11, pull up a loop in the 2nd and 5th ch from hk, complete as for a dc, dc in remaining 6 chains.
I hope this helps someone beautify their double crochet work. Have I left any methods off the list?