A drop of decoupage

I acquired a strange obsession with Mod Podge after a friend brought some over the night we made pie charts, when I used it to make the candy wrapper collage shown on my About page. I also went through a long phase of saving all the wine, beer, and other alcohol labels I could, going to lengths to soak and scrape them off the bottles. I have long since stopped that, as it is far more laborious than it is worth to me, but I had an envelope of labels and finally (years after the pie chart night) purchased my own Mod Podge.

Also in my possession was a wooden box with grapevines on it.

closed box

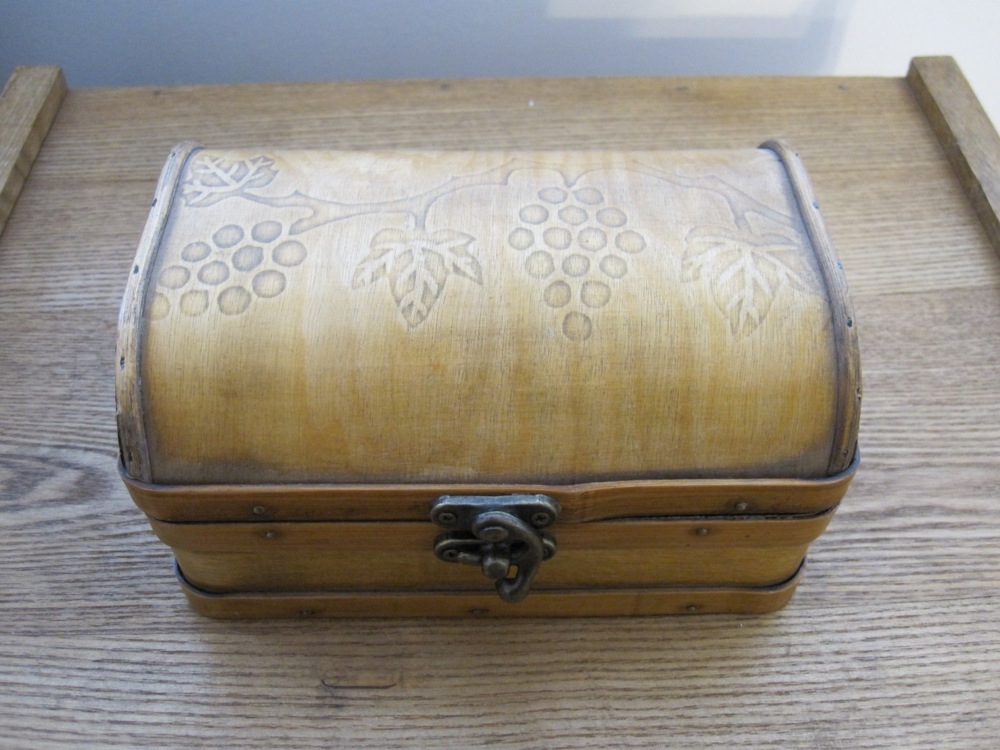
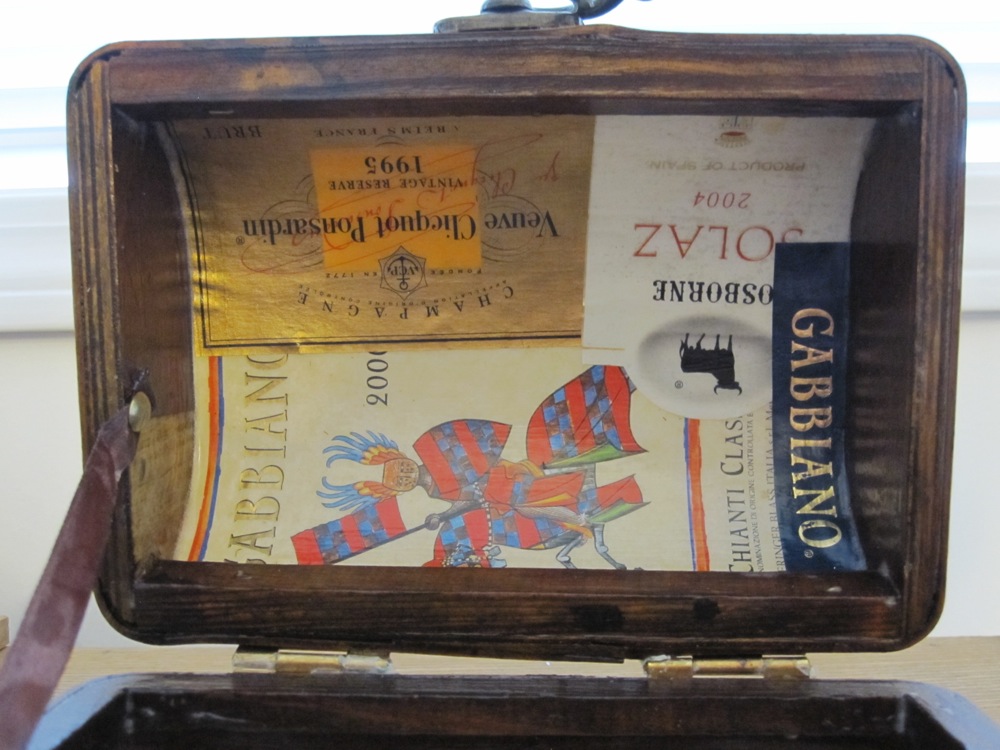
So what is one to do but decoupage wine labels all over the interior and foot of the box?

open box bottom of box

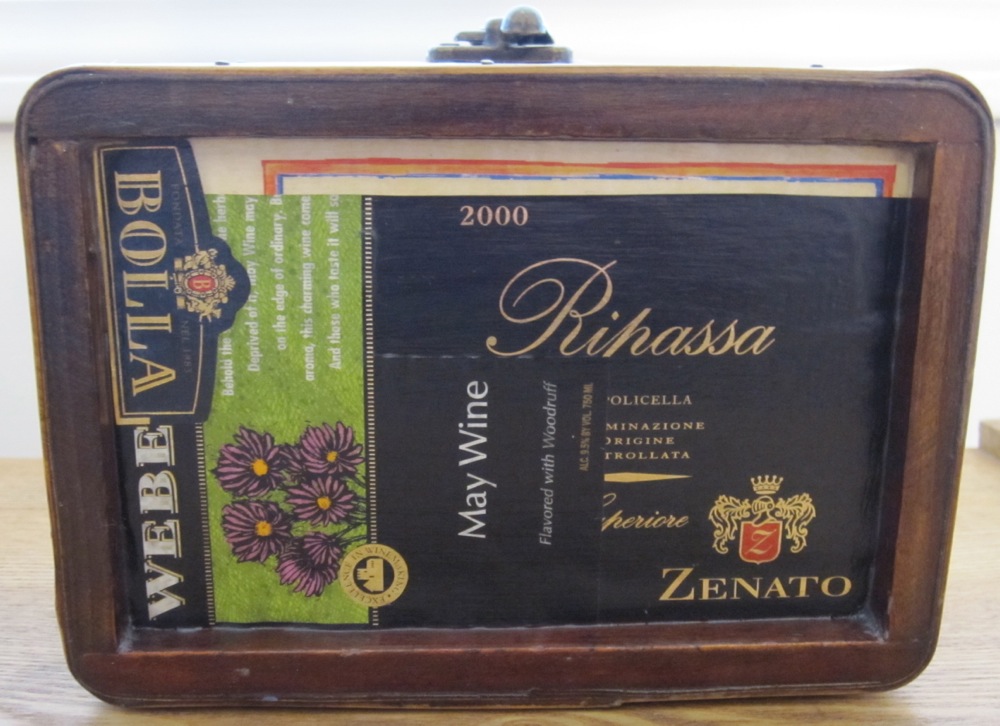
I learned that Mod Podge is not the best glue, though it is an adequate glue. I kind of wish I’d glued the labels down with rubber cement originally and used the Mod Podge only as a finisher, but it worked out. I used many, many layers of Mod Podge. The oval label in the middle of the interior bottom had a ridge around the edge where it was poking up, and my efforts to sand that down led to the entire coating on the oval label peeling off! Fortunately, it only peeled off exactly over the oval, which meant further layers of Mod Podge helped smooth the surface – there was still a buildup of Podge outside the oval, so the ridge was diminished. I did, however, add a label from the neck of a vodka bottle to cover where I’d sanded off the oval label’s color.

box ceiling box floor

All in all, I would call this a fun and incredibly easy project, though it takes a lot of time. Not at once, but spaced out over a number of days. I used a foam brush and wrapped it in aluminum foil between uses, though I still had to replace it once or twice over the life of the project when it got gummy.

Champagne gift bag

Tutorial! It’s been a while. I went with my favorite companion to a party this weekend, and had a bottle of champagne to bring. You will not be surprised to know I decided to sew a bag to adorn it, and perhaps also not surprised to learn I started the whole process a little too late to actually complete it before we had to leave. I was so close! I finished it yesterday.

top

This bag is very similar to the half-hour reversible drawstring bag, though it has more detail and so will take a bit longer. Start with two pieces of fabric each 12.5″ by 16.5″, and fold them long edge to long edge, right sides together. Sew that edge with a 1/2″ seam allowance, leaving an opening between 3″ and 3.75″ away from one end, which will be the top end. Below you can see my technique of doubling my pins on each side of the opening; it’s my special self-signal for “something different happens here.”

starting out leaving an opening

Continue reading Champagne gift bag

Some things just don’t work

I had a great idea last fall. I envisioned a multi-level yarn holder, like milk crates on their sides but with a half-height front hanging out at an angle. One could include up to four bins, because dowels are four feet long and each bin is a foot-cube, and they could be rearranged (well, except one would have to be the top permanently). It was golden! I sketched it out in my little graph paper notebook and gathered all the cotton remnants I had that are too heavy for my usual uses. I made four bins almost completely – the top edge of that front lip needed to be finished – and threaded them onto the dowels. I stood it up in my sewing room and BOW BOW. It sort of twisted and fell over.

Well, I was too busy then to get back to it, so yesterday I dove in again. I sewed up the remaining edges and then sewed dowels along the bottom outer edges of the top bin. I thought a nice square of rigidity would fix the problem. Well, it sort of did. Not quite. So I delved into my shockingly large stash of “cardboard from inside calendars” and had enough to put a 12″x12″ piece in the bottom of each bin. So, okay. Not perfect, but okay.

However, then I tried to fill it. My original plan had four hooks and eyes holding the bins together, one near each corner, and I had faked it with a safety pin in each corner. Not enough. I put things in and the second bin fall off the first one. Okay. Try again. I repinned the corners and added two pins in the center-front and center-back edges. Refill!

sigh

BOW BOWWWWWWWWW. I chose this picture out of the ones I took because it gave the best sense of how much this puppy is leaning. I could perhaps sew the bins together, navigating my lovely dowels, but I am through with this thing. I’m not sure it is ever going to look anything but saggy and wrinkly. Oh well! Not every project succeeds.