Grumpasaurus trogdoriensis

My sister is suffering continued ankle problems from a misstep on Easter Sunday, and it’s making her grumpy. Just the excuse I needed to create a crochet Grumpasaurus.

snoopy vulture pose the grumpasaurus in shadow

He is made of mildly scratchy acrylic, because Grumpasauruses are not cuddly. I was inspired by Kat’s knit Grumpasaurus, but mine looks very little like hers and is probably overcomplicated. I sewed the limbs on before closing up the bottom, but after stuffing the shape changed a bit and his legs are not even close to symmetrically placed.

side view

Should you want to take a Grumpasaurus home with you, here is the pattern. See the crochet reference page for abbreviations and pattern conventions. For this I used invisible decrease.

Continue reading Grumpasaurus trogdoriensis

Hairy situations

My dear BF sent me a birthday package that included some fun fur yarn in variegated green, blue, and yellow. It made me think of Muppets. I had some fun fur in my stash already – some black that is waiting to become Barbabeau, and some bright purple and hot pink that, actually, the BF’s mother handed down to me – but this stuff inspired me to actually make a stab at crocheting something now.

My first attempt was with the steel hook I use for embroidery floss (2.75mm), since the main strand of fun fur is not very large. I can’t recommend it. The fluff makes it very hard to see what you’re doing anyway, and also means that even with a larger hook the fabric is solid enough to keep stuffing in. It’s not that I didn’t succeed in crocheting in my first attempt, but the result didn’t look like much. My second attempt was with my trusty E hook (3.5mm) and went much, much better.

fuzzy guy on a post fuzzy guy on a post

I freehanded this because it was just too overwhelming to try to keep track of stitch counts. It started out with 6 sc, then 12 sc, then I increased in every other stitch for a while, then sc’d around a few times, then decreased with every other stitch for about two rounds, then stitched around once or so, then started increasing in every other stitch for a while. Before I’d decreased too much I put in the eyes. At some point in the body I chained out and sc’d back for arms, and later chained out more and hdc’d back for legs, and finally chained out still more, sc’d four times in the first chain and then slip stitched back for the tail. Then I tried to decrease at a rate that would make the bottom flat. The initial yarn tail sticks out the top like a Dr. Seuss drawing; my inspiration was that combined with my image of a Creep or Woodie from the Moomintroll books.

in progress
As good as it gets, visibility-wise.

Some things I learned, besides the fact that the hook shouldn’t be too small:
– the “right side” is what would in normal yarn be the back/inside. At least for me. That’s the side the fuzz wanted to mostly be on.
– a magic circle doesn’t work at all – once you’ve got a few stitches into it, you can’t pull it tight because it’s all hung up on the fluff. You have to slipknot, ch 2, and work the first round into the first ch.
– likewise, I didn’t try to do an invisible decrease. It could be done, in the back loops instead of the front loops, but it seemed more difficult than it was worth. Also, the yarn is not elastic, adding that difficulty.
– of course, half the time I sc’d into the back loop only anyway, because finding the other one was too much work. Visibility is poor. On the other hand, no one looking at the finished work can really make out your stitches anyway. Freedom!

And then I discovered all my tips were already available from June Gilbank.

fuzzy guy in  tree
They all end up in trees. In this one you can see the initial yarn end hanging.

fuzzy baby
The baby I made first.

Flowers and cupcakes

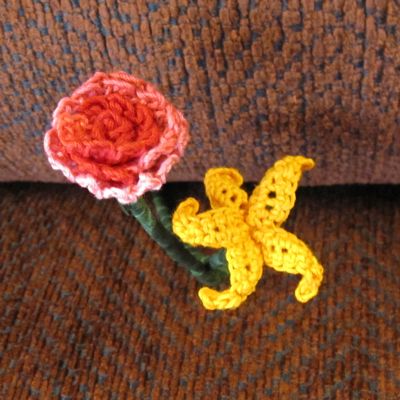
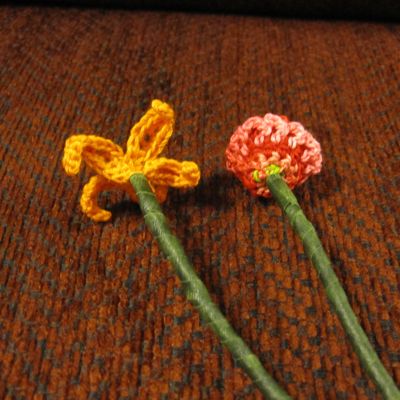
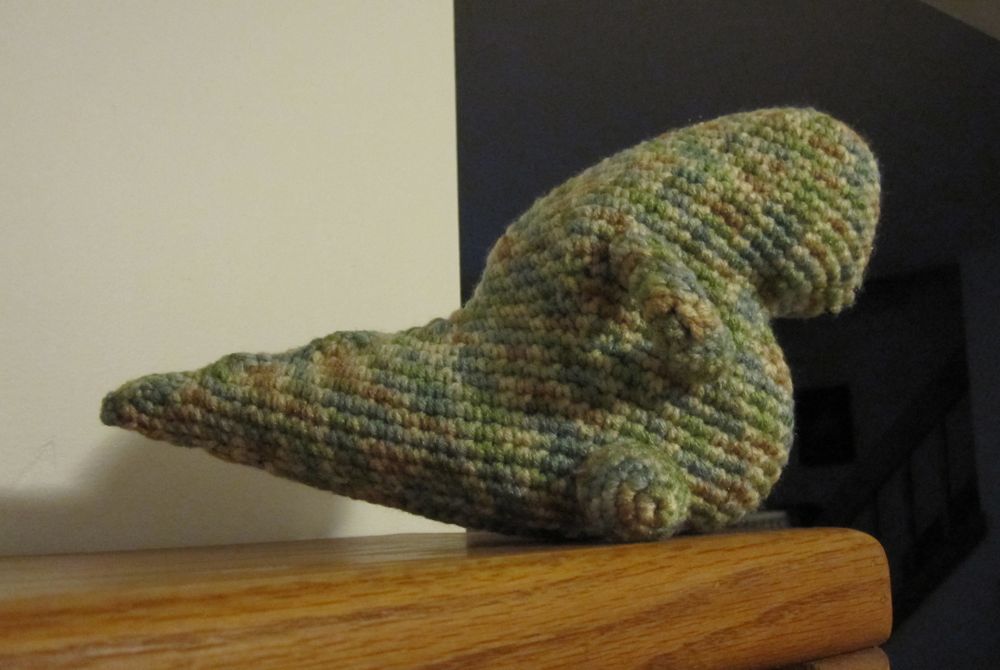
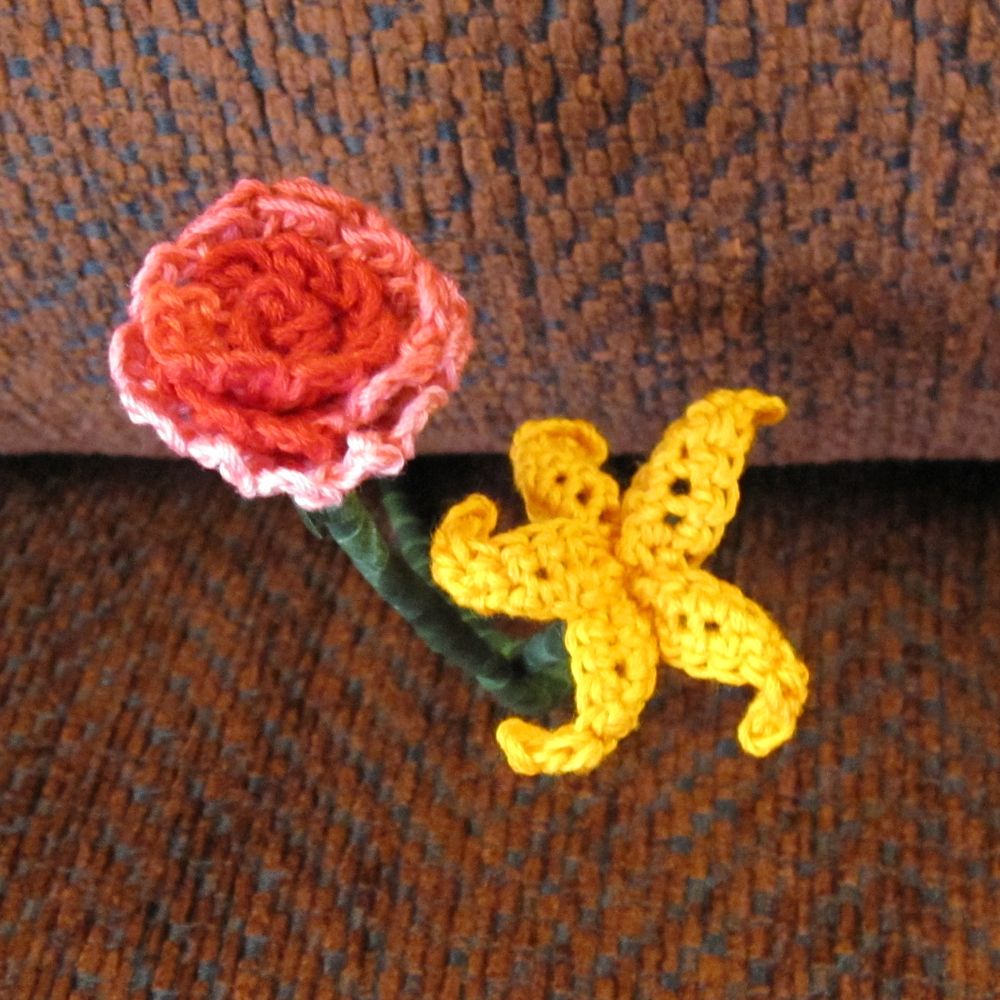
May’s Amigurumi Army mission was flowers. Actually, the week from Apr 28 to May 4 in Iron Craft was also flowers, but I did not complete anything in time. I had a sad half-done daylily on my end table for half the month.

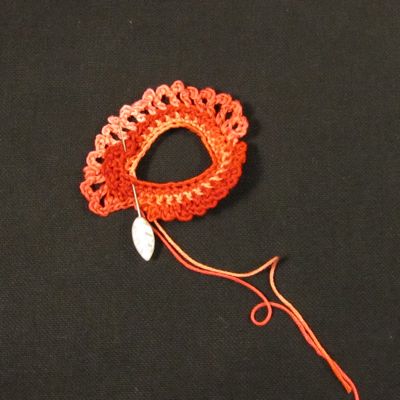
Finally I decided to go for it, finished the daylily, and made a flower that I intended to be a carnation but which may have ended up more like a small rose.

rose and daylily

Patterns! Note that both flowers involve stopping or turning in the middle of a row. Abbreviations are explained here.

Rose or Carnation:  
In any plausible color. (which with dyed carnations is pretty much any color)
– ch 37
– sc in second ch from hk, (ch 2, sc) five times, sc 30, ch 2, turn
– hdc 18, sc 12, ch 3, turn
– sc, (ch 3, sc) eleven times, sc, (ch 4, hdc) seventeen times
– ch 1, sc down side edge, FO.
– Roll up starting with narrow end.
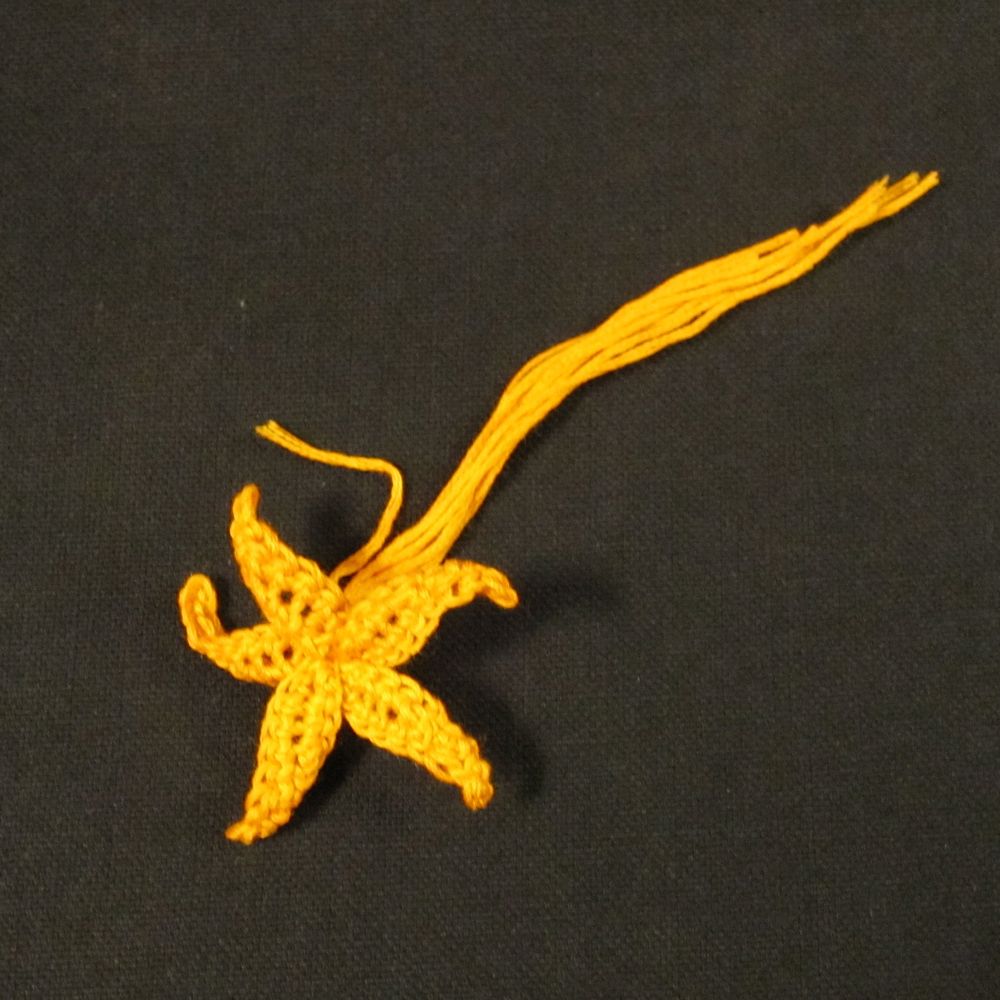
rose before rolling

Daylily:  
make 5 in orange, yellow, or desired color.
– ch 10, sl st in second ch from hk, sc, hdc, sc 5, sl st
– ch 1; on opp side of starting ch: sl st, sc 3, sl st
– FO. Sew together overlapping each petal on the previous. To match real daylilies, the first petal should be completely on the top and the last one completely on the bottom.

lily sewn but unstemmed

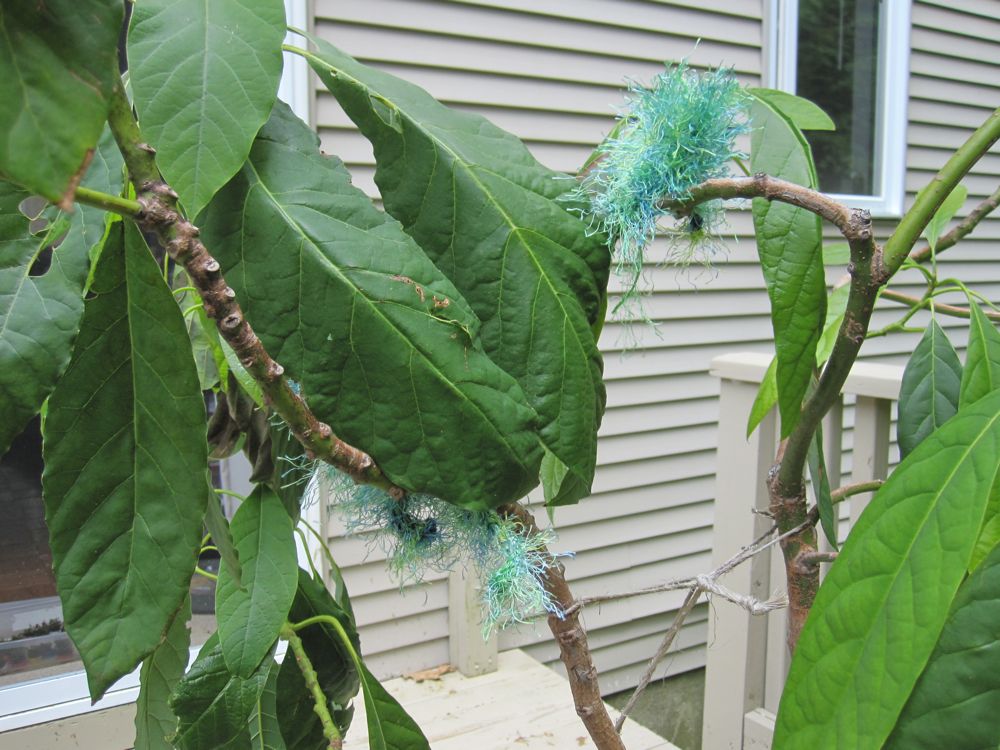
After sewing the flowers together I wrapped the loose floss ends around pipe cleaners and wound them with florist’s tape.

flowers from back

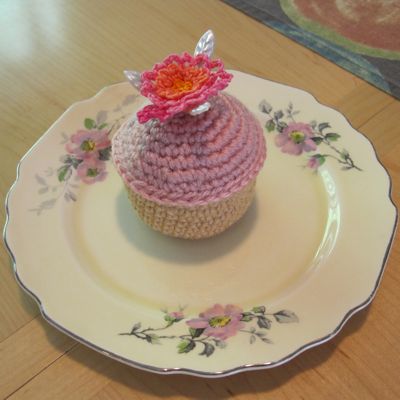
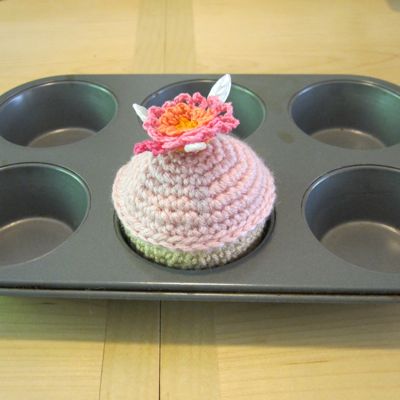
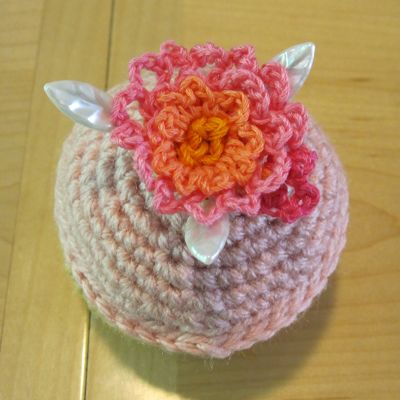
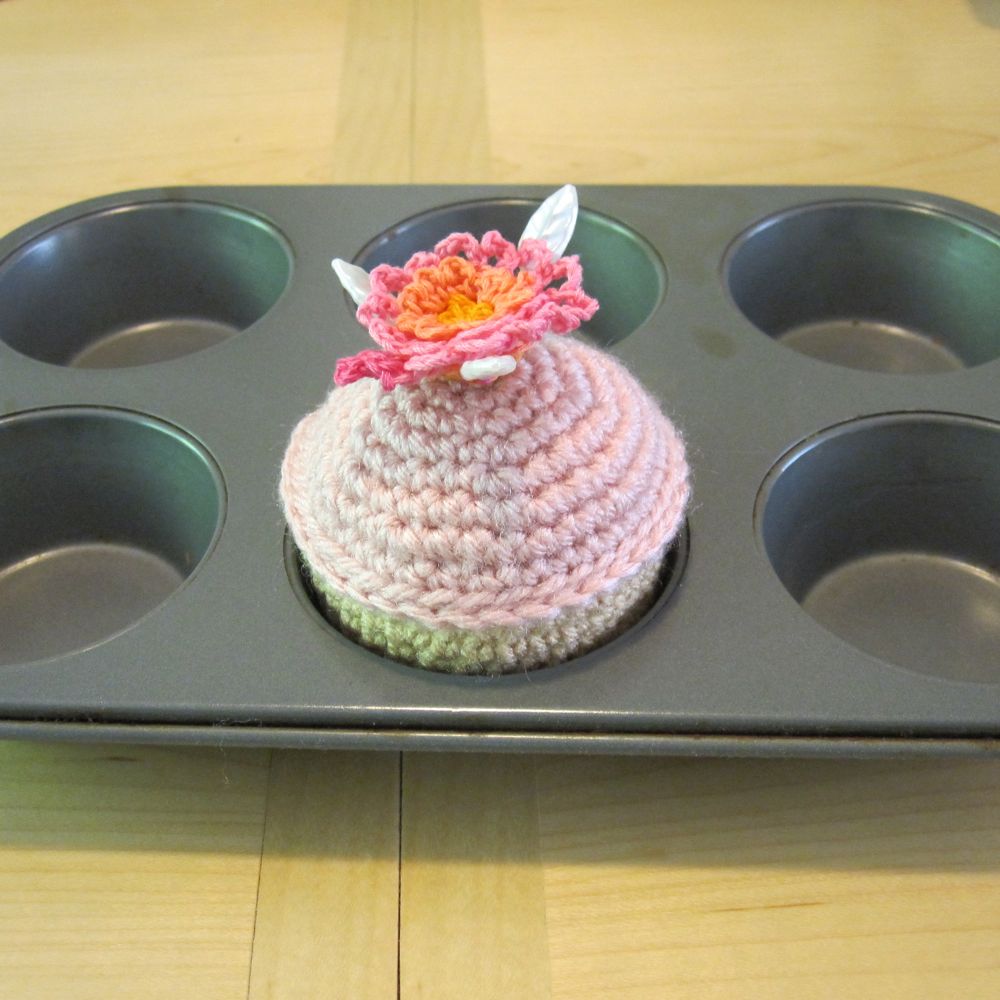
Meanwhile, I joined another monthly crochet challenge group on Ravelry, and their May theme was food. I had previously made a lemon and an apple, but my food crochet was pretty limited. I couldn’t think of what to do, until I realized I’d never made a cupcake, which seems to be the canonical crochet foodstuff. I freehanded one over the course of two days. Afterward I discovered I couldn’t find any pins with plastic ball ends (nor the tomato pincushion I think they were in…) to be sprinkles. I did, however, know where my leaf-ended pins were, so I made another rose to top the cupcake. The one I made sure to sew so the bottom was a flat disc, not too tight, and then fluffed out the petals a bit more.

cupcake on plate

cupcake in tin

close-up of flower